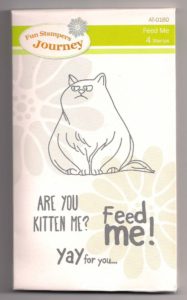
Fun Stampers Journey provides a monthly card kit called the Bloom Box. Since I am new to the Fun Stampers Journey (FSJ) products, I decided to sign up for their Bloom Box card kit. I knew it was a six-month commitment, but after looking at the past Bloom Boxes, I knew this would be a commitment I wouldn’t regret (click here to see past Bloom Boxes). I had one other friend sign-up for this kit. We received our Bloom Boxes on the same day, and we scheduled a day to get together to complete our cards. You might be asking what is the cost and what is included in the Bloom Box. It includes a full stamp set valued at $16-18, pre-cut cardstock and accessories to complete four cards. You use your own ink, scissors, and adhesives. If you live close to Buford, GA, my Bloom Box crafters get together to complete our kits and I provide the ink and other tools you might need. You bring scissors and adhesives.
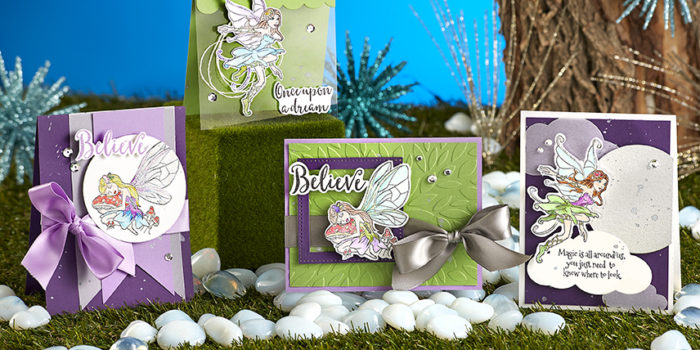
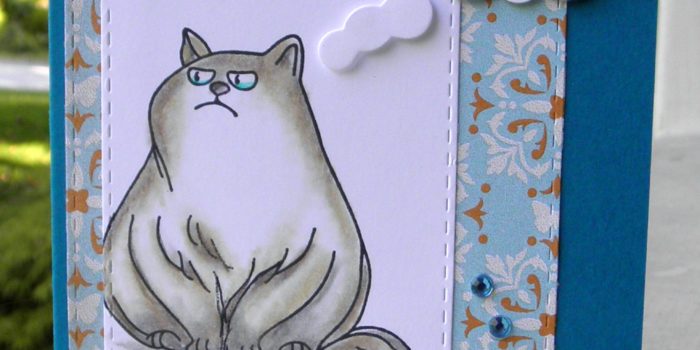
If any of you know me well, I can’t just follow directions, I have to make my cards unique to my style. That being said. I will post the Bloom Box card example and I will post what we created beside it. I did not have all the FSJ inks, silks, or color splashes, but we were able to use what we had to make some amazingly cute cards. By the way, I will have some silks and splashes by the time we get together for the next Bloom Box.
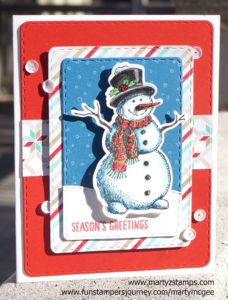
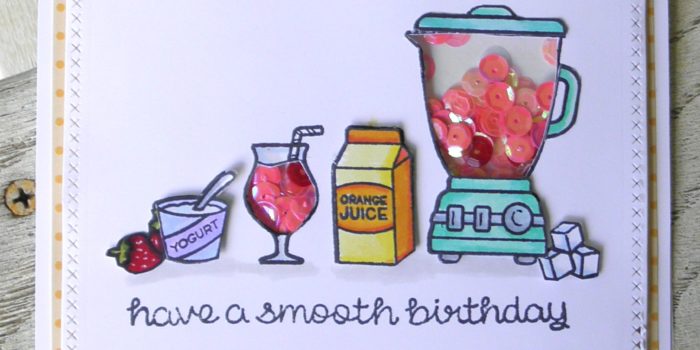
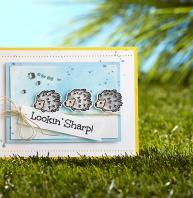
Here is card number one:
FSJ Sept Bloom Box Card 1
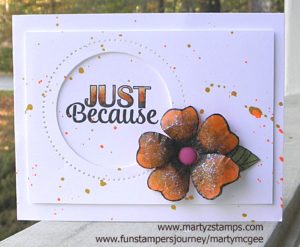
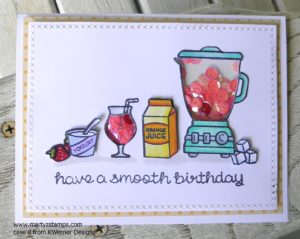
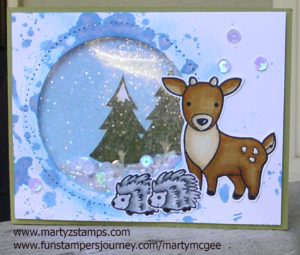
On our card, we kept the sentiment on one line, and we added Journey Glaze to the deer and hedgehog/porcupine. We watercolored the deer and hedgehog using re-inkers.
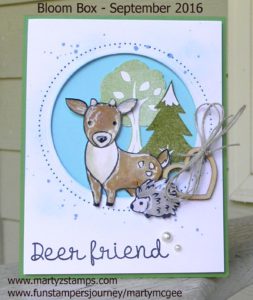
Bloom Box Card 1 – Marty
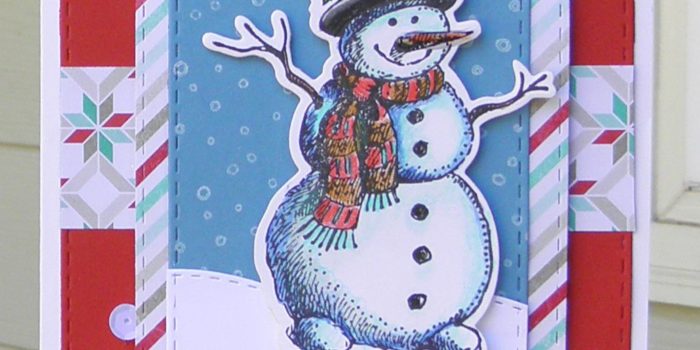
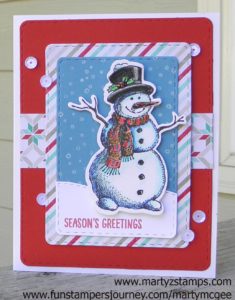
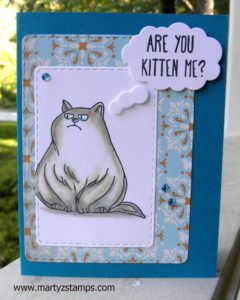
Card Two:
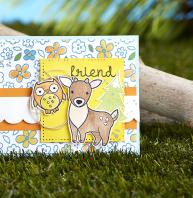
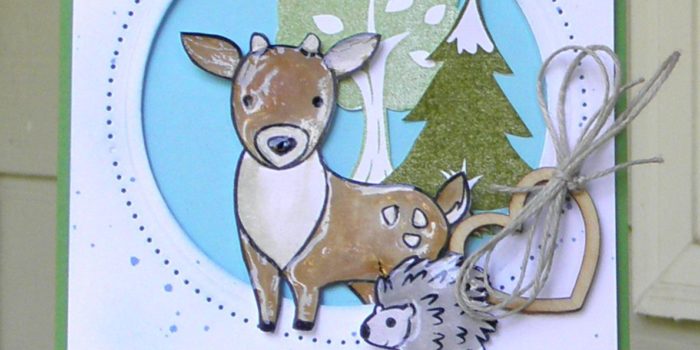
FSJ Sept Bloom Box Card 2
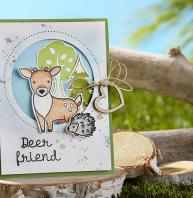
We both wondered why the owl was just hanging in mid-air. It wasn’t like his wings were out indicating flight; so, we took away the owl, added the round-top tree, and changed the sentiment by wording and placing it on a banner tag and clipping to the top left hand corner to balance out the card. We colored the deer using SU! Stampin’ Write markers.
Bloom Box Sept – Marty
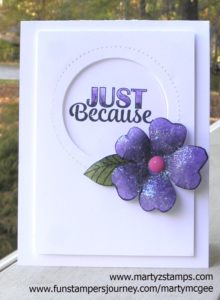
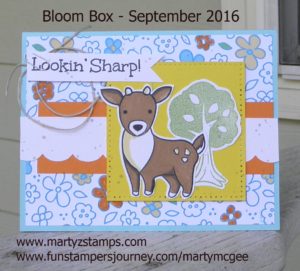
Card 3:

FSJ Sept Bloom Box Card 3
This card we only added two owls sitting together on more green branches. I guess I’m a little OCD about random things and I just kept wondering why the owls would be flipping through the air (o.k. I can be whimsical, but sometimes I just can’t). We colored these with SU! Stampin’ Write markers. Here is our version. My friend thought this would make a great anniversary card.
FSJ Sept Bloom Box – Marty
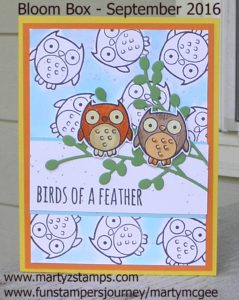
Card 4:
FSJ Sept Bloom Box
This one we didn’t change anything because I had an appointment to be somewhere; therefore, no extra time to change-up the card.

FSJ Sept Bloom Box – Marty
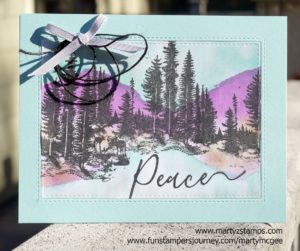
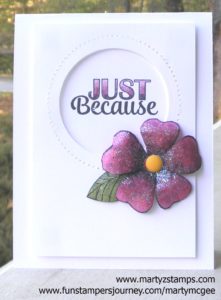
Extra Card: Before I received my Bloom Box, I came up with this design, and we made this card first when we got together. We used our Spectrum Noir markers to color the animals. It turned out great. I will be ordering a word stamp with coordinating die to make this a Christmas card. I will post an updated picture when this comes in and I have added it to the card.
FSJ Bloom Box Additional Card
We both LOVE the Bloom Box, and we can’t wait for our October Bloom Box to get to us. If anyone is interested in the Bloom Box, please click here to go to my website and sign up to receive a Bloom Box kit for the next six months. If you are local, we will get together to make the cards. For an additional $3, I will provide two additional designs with prepared cardstock for you to create two more amazing cards. If you are out-of-town, you will love putting this kit together. The kit includes step-by-step instructions with colored pictures. I can mail you the additional pre-cut cards and email you pictures and directions to put it together for $6.00 this includes additional instructions and postage.