Tag : techniques

10 posts

Last week I received my Fun Stampers Journey order and in that order was my new 8 1/2 x 11 FSJ Gel Press. Yes, Fun Stampers Journey has joined up with Gel Press to offer an exclusive to FSJ 8 1/2 x 11 Gel Press. It is so much fun! I love it!

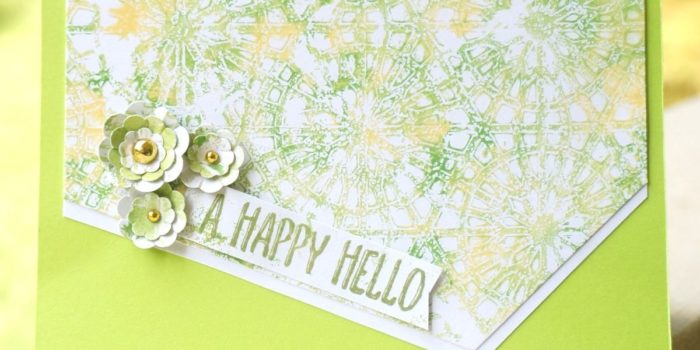
This past Saturday I was demonstrating to a couple of my class attendees how you can create awesomely unique paper for card making. I played around with FSJ Limeade Splash and Pineapple Smoothie Acrylic paints along with the Starburst Lines stencil on the Gel Press. I made quite a few different designs with acrylic paint, splashes, and the Fusion ink pads. Once I had finished, I set them aside to use later.

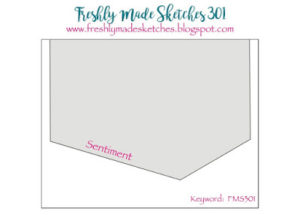
That being said, I looked at the Freshly Made Sketches Challenge 301 and decided one of those designs would make a clean card. Here is the sketch:

For the designed piece on my card, I took the design I created with the FSJ Limeade Splash (JM-0101) and Pineapple Smoothie (JM-0023) acrylic paints. To create this design, I placed several small dots of each color onto the Gel Press (JM-0107) and using my brayer (TO-0087), I tapped across them lighting to create a solid layer, BUT not blended enough to loose each separate color. I placed my FSJ Starburst Stencil (JM-0007) onto the paint then placed a piece of 5 1/4″ x 4″ FSJ Whip Cream card stock (CS-0040) and rubbed my hand across the back making sure to press firmly down so the card stock would pick up the paint between the plastic of the stencil. I pulled it off and there you go. It was just that easy. You can then pull the stencil up and get another impression off of the Gel Press. I made some flowers from the FSJ Summer Pretties punch (TO-0007) using left over impressions of this design. To accent the flowers I placed FSJ Fashion Gold (AC-0292) embellishments in their centers. The sentiment is from FSJ Punny Punny stamp set (SS-0421). A thin strip of FSJ Whip Cream card stock is showing below the designed paper. All of this is adhered to FSJ Electric Lime card stock (CS-0123).


If you would like to purchase any of these supplies, please click here.

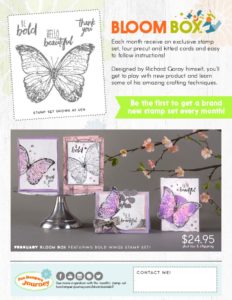
When I began my journey as a Fun Stampers Journey coach, I decided to sign up for the monthly Bloom Box kit. I felt this was a great way for me to experience a variety of FSJ products without having to spend a lot of money. Since I have been receiving my Bloom Boxes for the last five months, I have been pleasantly surprised how a unique technique is incorporated into the card designs of each kit. I and the other ladies really look forward to receiving our Bloom Box in the mail each month. We have enjoyed them so much, we are going to sign up for another six months. The kits are $24.95 plus shipping and tax. The kits include cardstock and embellishments to complete four cards along with an exclusive stamp set valued at $18.95. The kits also include detailed color step-by-step instructions on how to put each card together. As an added bonus, there is usually Sparkle Dust, sequins, etc. left over which can be used on another project. ***

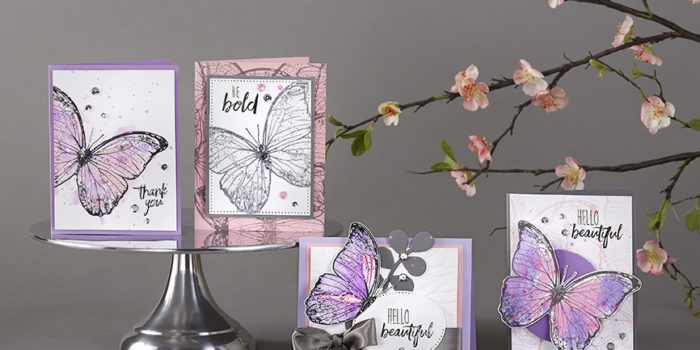
February features a beautiful butterfly stamp set. It’s not too late to get yours! Click here (make sure to enter my FSJ Coach number 818561 so I will receive notification of your purchase).


thumbnail of February Promotional Flyer

*** You must supply inks, silks, and adhesive (Note: I provide these items if you join me and my Bloom Box stampers each month to work on our cards together).


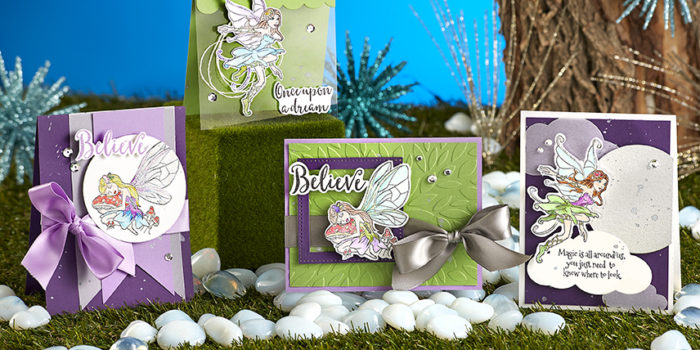
I can hardly wait for this month’s Bloom Box. It’s all about fairies. How adorable! September’s Bloom Box was my first Bloom Box, and I didn’t know what to expect. I was delighted with the stamp set, pre-cut card packs, and detailed in-color instruction booklet. My Bloom Box girls meet together to enjoy making the cards together, and we are counting down the days until we have October’s Bloom Box in our hands. Here is October’s Bloom Box:

octoberbloombox

The Bloom Box is::

SIMPLE: Each month enjoy an exclusive red rubber stamp set, pre-cut elements, coordinating embellishments and step-by-step instructions.

FAST: Create 4 eye-catching, unique greeting cards using the supplies we’ve provided. Just add your inks and a few tools, and you’re ready to go!

FUN: Share your creations with friends and family, give a set as a gift, or keep in your personal inspiration library. Better yet, use it to host your own crafting party!

If you would like to order a Bloom Box, please click here to be directed to my Fun Stampers Journey website.

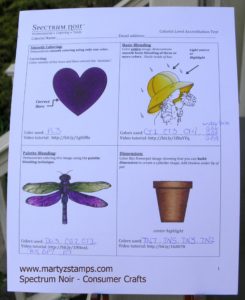
When I purchased my Spectrum Noir alcohol markers, I sent out an email letting my group of stampers know I would be providing classes on how to use these wonderful markers. The only requirement was they needed to purchase their own markers to use in class. I had four ladies sign up, and they went ahead and purchased all 168 markers through Consumer Crafts (they have the BEST price on these markers AND they offer 25% site wide regularly – just saying). We have had two classes so far, and I wanted to give a quick update about the progress of our Spectrum Noir alcohol marker colorist group has made as of this past week.

Note: These are NOT Copic markers and quite frankly, some of the YouTube reviews and compairsons do not do the Spectrum Noir Alcohol Markers justice. These markers fit into their own category; they are versatile; produce a great colored image; they are VERY affordable; and if you will watch the Spectrum Noir – Crafter’s Companion tutorials, you will have great success and produce outstanding papercraft projects. That being said, you can find Accreditation Coloring Download at www.spectrumnoir.com .  You can print this off on an inkjet printer and follow along with their YouTube tutorials to learn, to practice, and to turn in to them to receive accreditation as a colorist.

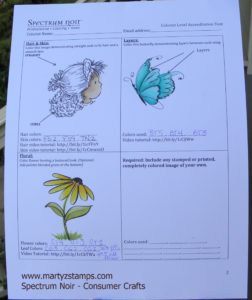
My first class was learning some of the basics. We covered Smooth Coloring, Basic Blending, Palette Blending, Dimension, Layers, and Florals. The class had a GREAT time and came away with a lot of hands-on practice (we colored two images).  Here are the two sheets we have completed so far (note: the second class was skin coloring; therefore, the skin on the girl is colored in on the second sheet):

I found it very hard to get a good picture. The heart on the first sheet is a deep purple color and in “real” life, you can see this clearly.


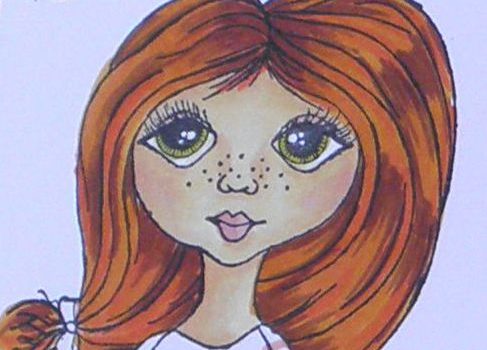
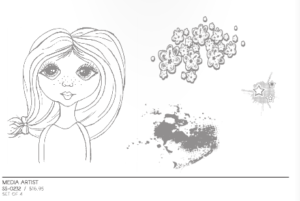
The second class focused on skin tones. I researched Spectrum Noir recipes for skin color on Pinterest and I took those color combinations and either used them, tweaked them, or came up with my own. The cost for classes two and three (skin and hair coloring) included a Fun Stampers Journey stamp called Media Artist (see below).

This image of the girl is a fantastic stamp to practice color combinations for skin and hair. I stamped six images of the girl onto Fun Stamper Journey Whipped Cream cardstock. Note: The quality of paper is important when using any alcohol markers. A lower quality product will increase bleeding of your ink color into areas you don’t want to be colored. Stampin’ Up! Whisper White is a great cardstock to use as well. You can also purchase specialty paper through Consumer Crafts for alcohol marker coloring.

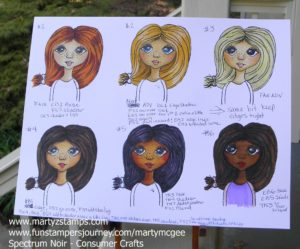
We completed our skin tones, and we all made a few mistakes (that includes me). On my #6 girl, I used the wrong base color (I switched my colors) and she was so dark that her nose couldn’t be seen. I was able to correct this with the blender pen chisel tip and going over and over the image until I pushed some color through the cardstock to lighten up the image. You can tell because the coloring is a little mottled. I found that some of the lighter colors in the combo I chose could pull color out (acting like the blender) instead of creating a smooth blend. You will be able to see this in the next picture. But, that’s o.k. because we are all new to this type of coloring and there is always a learning curve when you learn something new.  I will be gong back and stamping more images and honing my skin coloring techniques to share with my group of colorists. Our next class will feature hair coloring. The image below has the hair colored because I decided to play around after class to see what I could come up with. These are not perfect hair colors, but I just felt the girl’s looked a little naked without hair color. Here is the sheet from class:

Once these classes are finished, our group should be able to scan and upload our accreditation pages to Spectrum Noir and receive their stamp of approval. I will, then, develop YouTube tutorials on how to color with the Spectrum Noir alcohol markers. I hope you decide to look into Spectrum Noir alcohol markers and begin to create outstanding colored papercraft projects.

This is the last of my Scrapbook Expo posts. I know I can be addicted to papercraft shopping. O.k., that’s an understatement, but I do have some restraint. So, I planned before I arrived at the Expo to purchase a Misti. I have been watching numerous YouTube channels featuring many papercrafters using the Misti, and I just had to have one. During the Mega Make-n-Take, designated vendors set up shop and offered products at a reduced rate or with a special bundle price. One of the vendors offered such a great deal, I purchased my Misti that night along with the cleaning solution. It is WONDERFUL! You can check out the Mist at www.mysweetpetunia.com.
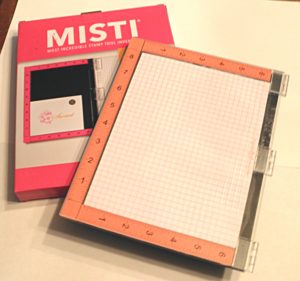
www.mysweetpetunia.com

www.mysweetpetunia.com

I, also, purchased that night some items from Queen and Company.  On a previous post I featured their make-n-take shaker card. Along with making the card, we had extra epoxy and sequin embellishments left over, enough to complete several more card or scrapbook page projects.
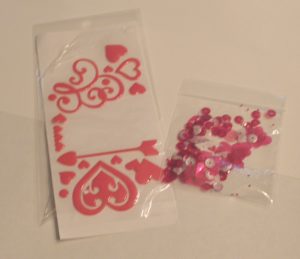
Queen and Company embellishments

Queen and Company embellishments

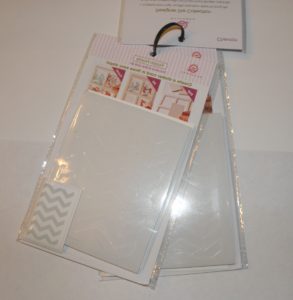
They offered a special on shaker card component purchases. I chose a zig-zag die which came with two foam shaker pre-cut card components. These are awesome. All you have to do is pull the adhesive off the backside of the shaker component and adhere it to your card. You can add embellishments or if the design allows, you could stamp images on the card stock before placing the foam. Next, you remove the adhesive from the front of the foam and place the window sheet (acetate) on top. Once this is completed, you apply adhesive to a pre-cut piece of thicker than regular cardstock and place it on top of the window sheet to finish the project. The cost for these complete kits minus the embellishments runs around $3.00. Instead of purchasing the shaker card components by themselves, I purchased a bundle which included the die. The die allows to me create as many cards as I would like. One way is to purchase “fun foam” sheets from a craft store. I was able to find some with adhesive on one side, and I purchased mine from Michael’s with a 50% off coupon. You would need to cut approximately three sheets of foam to have enough height to allow the embellishments to move around and shake.
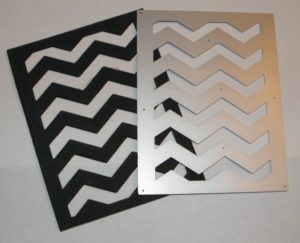
Queen and Co. zig-zag die with black fun foam
Queen and Co. zig-zag die with black fun foam

Queen and Co. shaker card components

Queen and Co. shaker card components

We received during the Mega Make-n-Take some adhesives and rhinestone embellishments. I cannot remember who supplied them, but it was a great freebie.
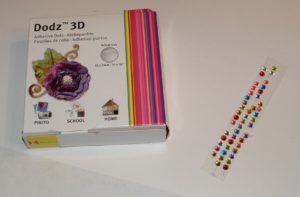
Glue dots, rhinestones, one bottle of adhesive not shown

Glue dots, rhinestones, one bottle of adhesive not shown

It’s Cheaper Than Therapy gave each make-n-take attendee a FREE embossing folder. My folder is Christmas themed.
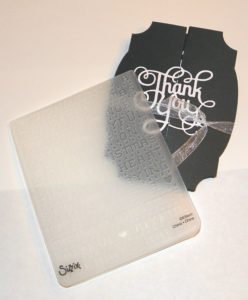
It's Cheaper Than Therapy embosing folder

It’s Cheaper Than Therapy embossing folder

The next two days after the Mega Make-n-Take are designated workshop and shopping days at Scrapbook Expo. Most of the workshops offer free products when you take a vendor’s workshop. Heartfelt Creations offered a free stamp set up to a $19.95 value for each of their workshops. I took two workshops with them; therefore, I received two stamp sets.
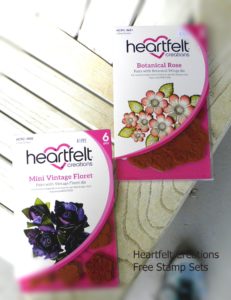
Heartfelt Creation Free Stamps

Heartfelt Creation Free Stamps

There are various vendors in the exhibit hall offering free make-n-takes as well as make-n-takes with a nominal charge. I had been looking forward to Fun Stampers Journey exhibit all year. We had to wait about 30 minutes for a seat to come available, but it was worth it. We made a cute card and received a stamp set for FREE! I have pictured the make-n-take card along with an extra design they offered. I made that card for my make-n-take class.
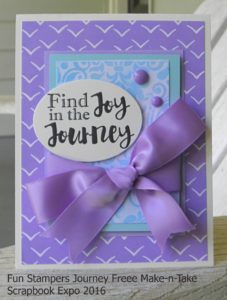
Fun Stampers Journey Card
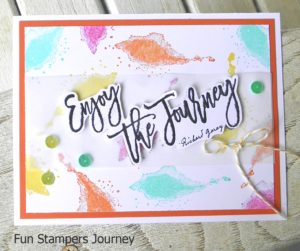
Fun Stampers Journey Card

FSJ Card 2

FSJ Card 2

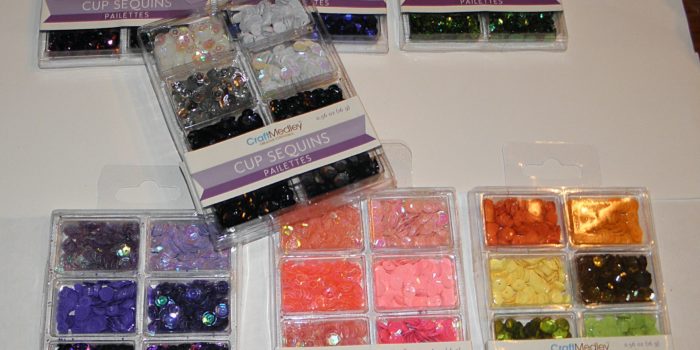
After making the shaker card the night before at the make-n-take, I wanted to purchase some sequins, but I didn’t want to spend a lot of money. I stopped by the Tall Mouse booth www.cre8tiveartz.com and purchased a selection of sequins along with some rhinestones all under $20.00.
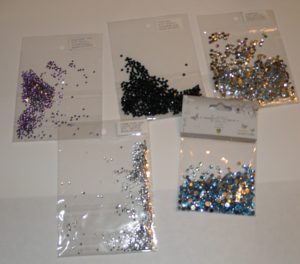
www.cre8tiveartz.com
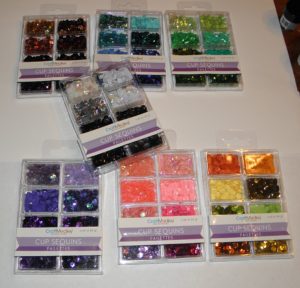
www.cre8tiveartz.com

www.cre8tiveartz.com

www.cre8tiveartz.com

After a wonderful experience with Heartfelt Creations and their flower shaping class, I went by a booth that offers 3D dies for flowering creations. I wanted a hydrangea die and Elizabeth Craft Designs had one. I had my friend, Debbie, go back the next day and purchase the flower shaping tool kit.
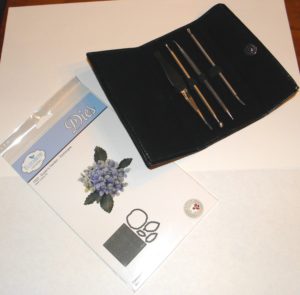
Elizabeth Designs

Elizabeth Craft Designs

Last but not least, Debbie went back to the Heartfelt Creations booth and purchased the Berry Cafe 12×12 paper pack (not pictured). All in all I had a great time and came away with some great products and new papercrafting skills. Next year, I plan on taking more workshops and attending the exhibit hall two days in a row. We didn’t have time to stop at all the booths to compare prices and purchase more crafting supplies. I hope you enjoy this post.

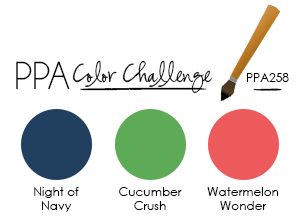
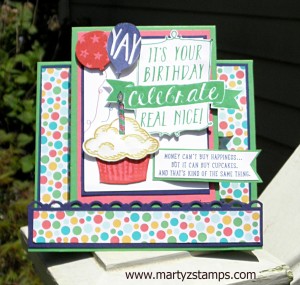
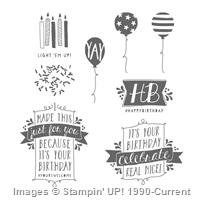
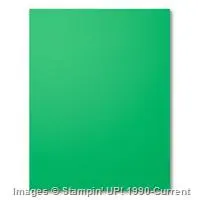
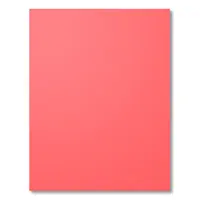
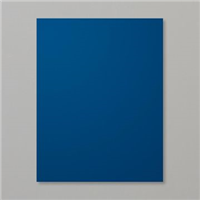
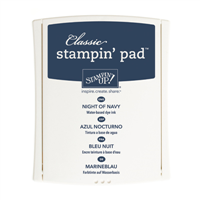
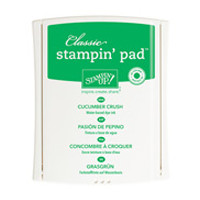
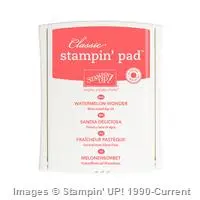
I wanted to complete a Center Step fold technique card this month. I began with a card stock choice of Cucumber Crush and Watermelon Wonder.  I, then, made my cuts and scores and suddenly thought maybe one of the card challenges this week incorporates some of what I was including in the card. I began to browse through the sites of the card challenges I like to submit and low and behold there are my colors with the addition of Night of Navy on the Pals Paper Arts weekly challenge!  So, now, I feel like I’m killing two birds with one stone!!! Yippee!! 6a00e54f95df92883401b7c7a76b46970b-800wi

I think the Night of Navy really adds a lot of dimension as a mat choice. As you can see in the card pictures below, there is a border on the vertical mat at the bottom of the card. This was a case of being given an opportunity to embellish. Yes, I made a boo boo. I scored ALL the way across when I should have scored only to the cut line. I’m really bad at watching and reading directions. LOL

I thought a bright birthday theme with a yummy cupcake would be just right for this card; and, as I was putting the card together, I realized I didn’t have to keep my banners within the confines of the white mat. How liberating! I really love this card.

PPA258 front

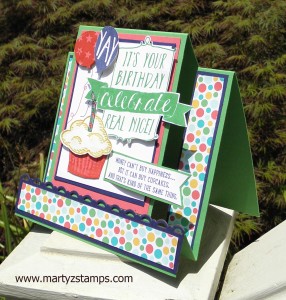
I took a picture of the side view so the cuts and folds would be showcased as well.

PPA258 sideview

Supplies: not pictured (Watermelon Wonder and Night of Navy Stampin’ Write Markers, scallop border punch)

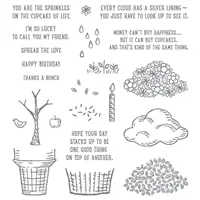
Supply List

Built for Free Using: My Stampin Blog

I like Pinterest; no, I LOVE Pinterest. There are SO many awesome card examples along with some amazing techniques. Once I settle down for the evening, I begin pinning and pinning and pinning. I especially LOVE pinning card examples and card techniques. I saw the Bokah technique on several boards and was very intrigued with this technique and the soft, subtle look of cards featuring this technique.
I decided about two month’s ago the April’s Technique Class would feature the Bokeh technique. I knew my group of stampers would love to make a few cards using this AWESOME technique. It is a very uncomplicated technique and there is a wide margin for error. In other words, you really can’t create a “Hot Mess” using this technique.

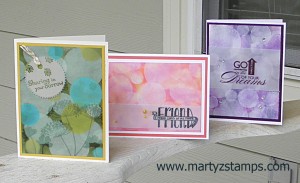
There were three different variations of this technique I found on Pinterest; thus I decided the class would feature three cards using each variation. Below is a picture featuring all three cards.


Bokeh Technique


This is an absolute “go to” technique to use on cards made for friends and family. I included some up close shots as well.


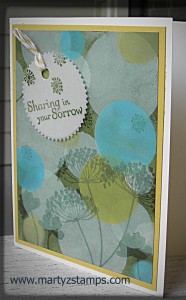
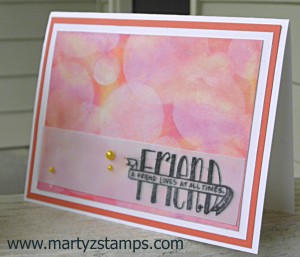
Bokeh chalk Bokeh Chalk Ink Technique


Bokeh WatercolorBokeh Watercolor Technique


Bokeh Standard Bokeh Standard Technique


Supplies:

Retired Word Play Clear Mount Stamp Set

Price: $29.95

Price: $4.95

Built for Free Using: My Stampin Blog


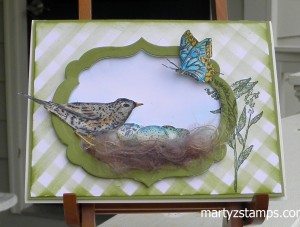
I am really on a roll. I received an update from http://livelovecards.com and went to explore what was new and came across the March card challenge using a stencil. My first thought was making a gingham type background using the stripe stencil from Stampin’ UP! I placed it on the diagonal and sponged using Wild Wasabi and Old Olive inks. I tapered the amount of ink on one side of the card as a highlight effect.
The next step was going through my framelits to determine what type of mat I wanted; then, on to finding the right stamp set. I was inspired by a couple of bird nests on our front porch, and it is really warm here in Georgia, and Spring is right around the corner, and. . . . . .  So, I chose Nature Walk utilizing the bird with its nest popping off the page.
Here is the challenge card I made for Live-Love-Cards:

OLYMPUS DIGITAL CAMERA


Stamp Set: Nature’s Walk (discontinued)
Stampin’ Write Marker (discontinued): More Mustard (Crushed Curry would work as well)
Nest: Pulled apart the ribbons and then glued to card


Built for Free Using: My Stampin Blog

This month’s technique card is the Window Blinds card. It is a quick and simple WOW card.

OLYMPUS DIGITAL CAMERA


The ribbon that is pulled (ends were cropped out of the picture) to raise the blinds to reveal a delightful outdoor garden is located at the top of the blinds.

OLYMPUS DIGITAL CAMERA


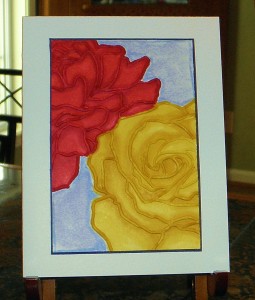
I know we said a sad farewell to the Blendabilities, but many of us have a set or two and will continue to use them. I had a left over scrap piece of cardstock which had been embossed with the Manhattan Floral embossing folder (so sad to say it is retired) and I decided to play around with my Blendabilities markers. I used the Cherry Cobbler (two lightest markers) and the Daffodil Delight (two lightest markers) and started blending. I added a touch of blue to the floral background with Bashful Blue re-inker and an Aqua Painter. The final touch was taking the color lifter and going along the edge of the embossed areas to pull off some ink and add highlights to the flowers to make the POP.

OLYMPUS DIGITAL CAMERA


PAGE TOP
[dealsbar preview] Amazing Deals: !!toolbar-deal-title!! - !!toolbar-deal-merchant!!