Tag : shaker card

8 posts

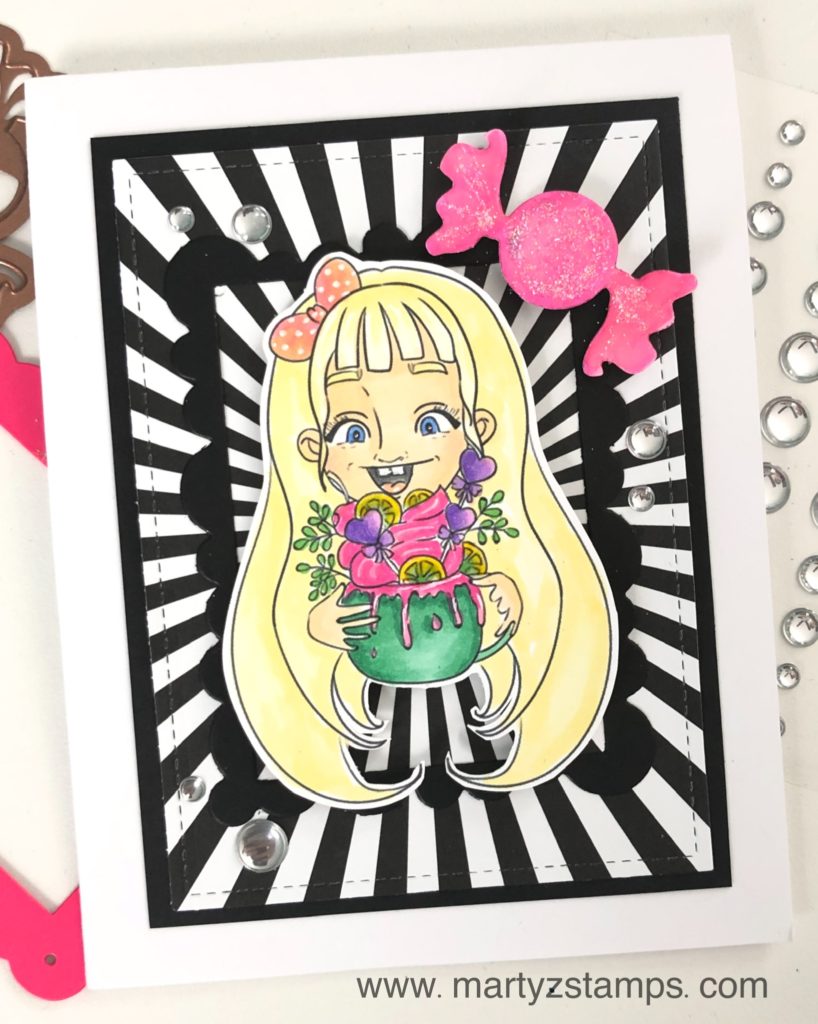
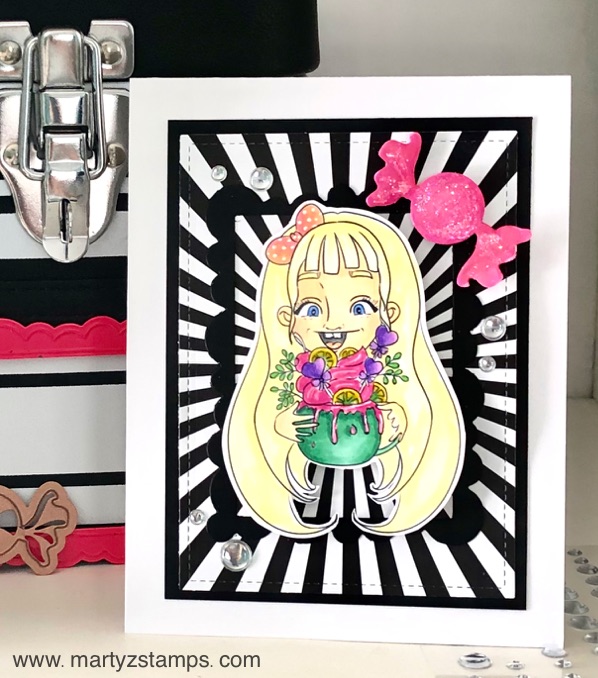
Here is my first Design Team post for Little Blue Button Stamps. “Sweet Tooth” is the new release digital stamp for March, and she is so adorable with her big mug of sugary goodness!

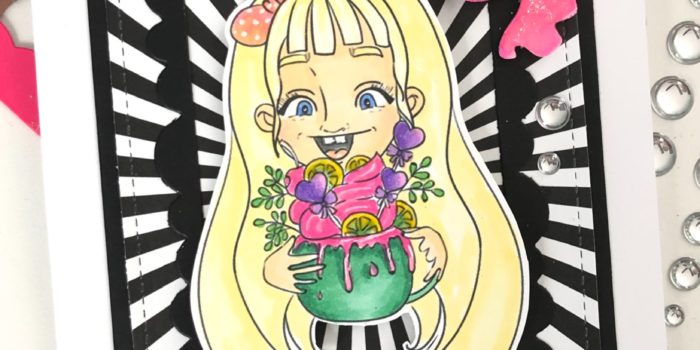
My first card is a blonde haired, blue-eyed sweet tooth girl. The burst of black and white stripes as a background make her really pop!

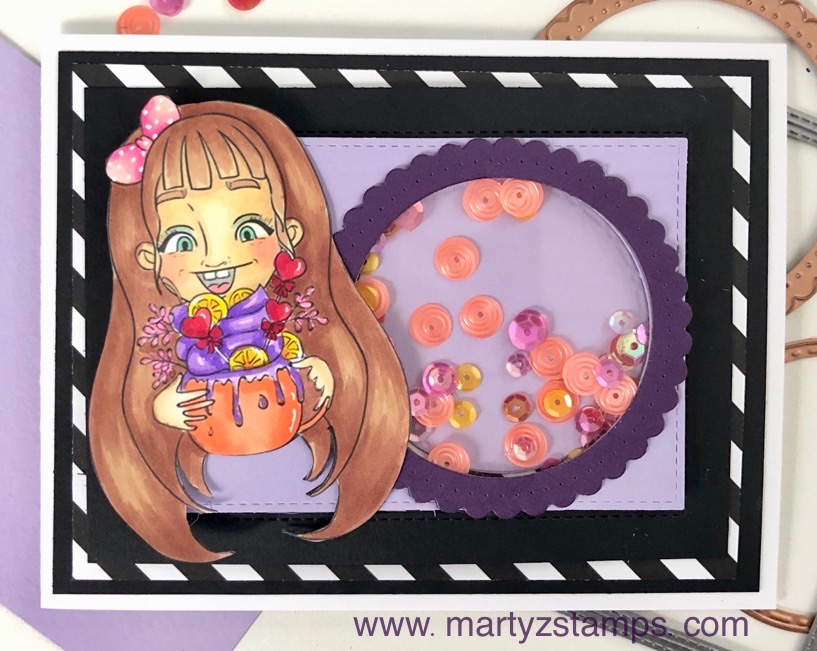
I had so much fun creating the first card, I decided to create a second card with a brunette green-eyed sweet tooth girl. Instead of an explosion of black and white stripes, I chose to let just a little bit of the stripes peek out from a black mat featuring a shaker element. She is just as adorable as the first girl.

Supplies: Digital stamp is Little Blue Button Stamp – Sweet Tooth. I used Spectrum Noir alcohol markers for coloring the images. All cardstock is Fun Stampers Journey. The cloud frame and silver glossy dots are from Pink and Main. The stitched rectangle die is from MFT Stamps and the scalloped circle die is Spellbinders.

Little Blue Ribbon Stamps

Pink and Main

Pink and Main

FSJ + Spellbinders:

Consumer Crafts - Spectrum Noir Alcohol Markers. Click on banner on right side of blog.

There is a background story to this creation. I have an Instagram account @martyzstamps, and I wanted to share an image I colored with the artist that (I thought) created a digi-stamp I had purchased several months ago. Well, it wasn’t her image; and boy, did I really feel embarrassed. So, I went back to Etsy and did a search for JuliaSpiri. Of course, I found several digi-stamps to use on future projects.  I’m sure you know where I’m going with this . . . . Yep, JuliaSpiri Etsy store had just the digi-stamp image I needed to complete this challenge.

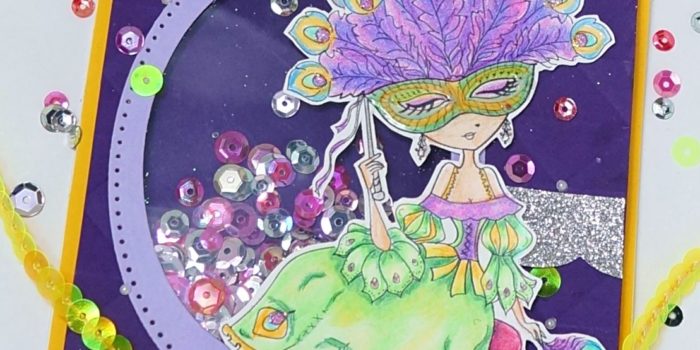
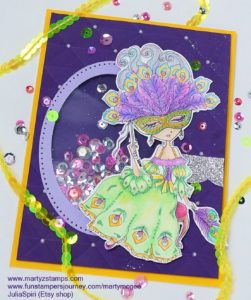
As luck would have it, Paper Craft Crew Challenge #279 this week is a Mardi Gras themed card and this girl from JuliaSpiri  Romantic Fantasy – The Venice Collection – The Mask of Peacock is perfect for this challenge.


Since Mardi Gras is all about the party with glitz and glamour, I created a shaker card to get the party started . . . shake, shake, shake . . . shake your . . . well, whatever you got shake it!  Let me just stop this party to say check out the card below. The featured color scheme are those traditional Mardi Gras colors of purple, green and yellow, which make her pop right off the card. The  Fun Stampers Journey Color Burst Pencils were the perfect coloring tool to create nice blended shading on the digi-stamp image.  She is just too elegantly adorable! So much fun!

Let me know in the comments if you have ever been to a Mardi Gras celebration and whether you liked it or not.

Supplies: juliaspiriart (Etsy Shop), We R Memory Keepers Next Level Embossing folder, all other supplies are Fun Stampers Journey (if you would like to order any of the FSJ supplies, please check out my website here and click on the Shop tab).

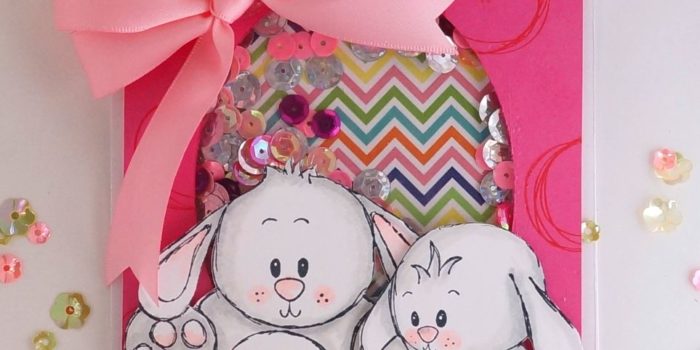
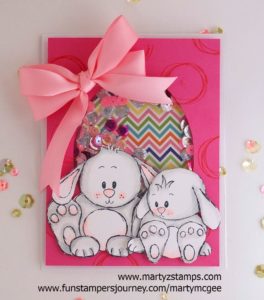
Here in Georgia, the weather is fine, the trees are blooming, the birds are building their nests, and wouldn’t you know the most adorable bunnies showed up in my craft room wanting to make a grand entrance as well. They hopped right over and posed for a Pretty in Pink Bunny Delight portrait.

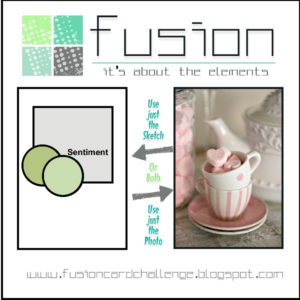
This was perfect timing for the Fusion Card Challenge – Pretty in Pink. Fusion Card Challenges allow three variations to a crafter’s designs. First choice, you can choose just the template layout; second choice, you can choose the color theme; or, you can combine both into one design. I decided to stick with the color theme of PINK.

Once the bunnies were settled down and ready for me to create, I stamped their images onto Spectrum Noir cardstock using Fun Stampers Journey Spring Fling stamp set. I then colored them with the following Sprectrum Noir Alcohol Markers: The bunnies heads and bodies IG1 and IG2; their ears, feet, bellies, cheeks, and noses PP1. This was a very simple and easy coloring project. Great for beginners. They are just too cute.

The base of the card is Fun Stampers Journey Whip Cream cardstock, and the mat with a large oval cut out of it is FSJ Watermelon Fusion cardstock.  I stamped circles with FSJ Watermelon Fusion ink from the FSJ Planner Sketch stamp set. An acetate sheet was placed behind the Watermelon Fusion mat. The zig-zag accent mat is from Pink and Main Spring Fling 6×6 paper stack. The Watermelon Fusion mat is raised using a double layer of foam tape. The bunnies are popped-out using FSJ Foam Squares Medium. The sequins in the oval are assorted sequins from my stash (Note: a horizontal strip foam tape about a 1/2″ up from the bottom of the oval to keep the sequins from “disappearing” when the card is upright). The final touch is a double bow created from SU! pink ribbon.

Such a cute card.

Supplies:
Fun Stampers Journey supplies can be ordered through me – click here

This past weekend a very dear friend’s daughter, Paulina, celebrated her Quinceanera. I wanted to make her a very special card for her birthday using Spectrum Noir alcohol markers, because I, my daughter and son, and my friend, Cheyenne, bought her 84 Spectrum Noir markers. Woo Hoo! I know she will make some incredible art projects using her markers.

I thought the Fun Stampers Journey Media Artist girl was the perfect stamp to create a card for Paulina. I stamped the image on SU! Whisper White cardstock using Memento Tuxedo Black ink. This is the best cardstock I’ve found for coloring with alcohol markers. It took me about two hours to complete the coloring. To get a smooth finish, you have to take your time and work coloring small areas at a time. I tried to video tape the process, but the battery gave out before I was finished.

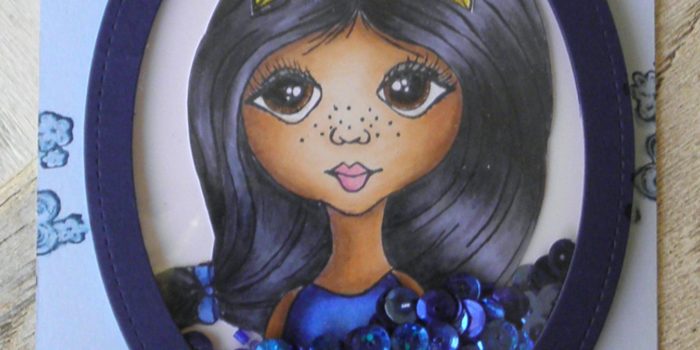
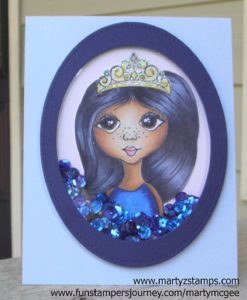
Lest any of you think I just throw together cards with no mess ups or problems. I had to pull this card apart about five times before I was satisfied with how the card looked. I decided about the fourth go round to make a shaker card, and I think this was a great choice. Here is the first picture before I stamped the flowers onto the card.


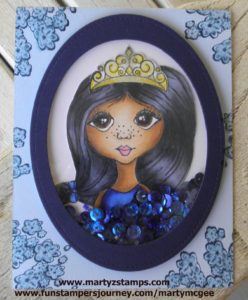
After I took this picture, I decided to stamp the flowers that is part of the FSJ Media Artist girl stamp set onto the card using SU! Midnight Muse. Here is the final card.

I absolutely love this card and I hope you do too!

Supplies:

Fun Stampers Journey:
Stamp Set: FSJ Media Artist girl

Stampin’ Up!:
Cardstock: Whisper White, Bashful Blue, Night of Navy
Ink: Midnight Muse

Spectrum Noir Alcohol Markers, Spectrum Noir Clear Glitter Pen

Miscellaneous:
Sequins, Acetate, Stitched Oval Dies from Lawn Fawn

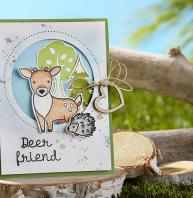
Fun Stampers Journey provides a monthly card kit called the Bloom Box. Since I am new to the Fun Stampers Journey (FSJ) products, I decided to sign up for their Bloom Box card kit. I knew it was a six-month commitment, but after looking at the past Bloom Boxes, I knew this would be a commitment I wouldn’t regret (click here to see past Bloom Boxes). I had one other friend sign-up for this kit. We received our Bloom Boxes on the same day, and we scheduled a day to get together to complete our cards. You might be asking what is the cost and what is included in the Bloom Box. It includes a full stamp set valued at $16-18, pre-cut cardstock and accessories to complete four cards. You use your own ink, scissors, and adhesives. If you live close to Buford, GA, my Bloom Box crafters get together to complete our kits and I provide the ink and other tools you might need. You bring scissors and adhesives.

If any of you know me well, I can’t just follow directions, I have to make my cards unique to my style. That being said. I will post the Bloom Box card example and I will post what we created beside it. I did not have all the FSJ inks, silks, or color splashes, but we were able to use what we had to make some amazingly cute cards. By the way, I will have some silks and splashes by the time we get together for the next Bloom Box.

Here is card number one:

FSJ Sept Bloom Box Card 1

FSJ Sept Bloom Box Card 1

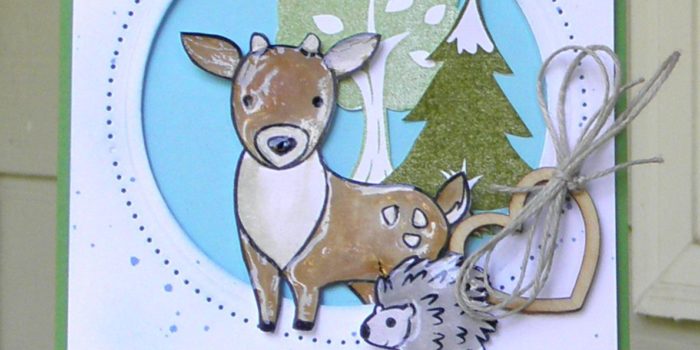
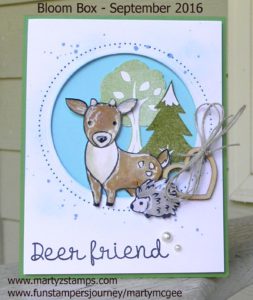
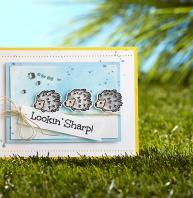
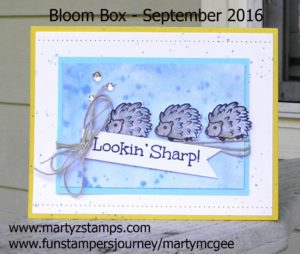
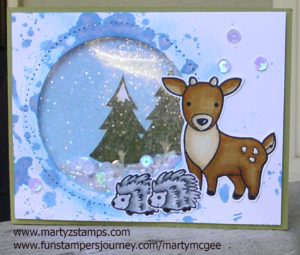
On our card, we kept the sentiment on one line, and we added Journey Glaze to the deer and hedgehog/porcupine. We watercolored the deer and hedgehog using re-inkers.

Bloom Box Card 1 - Marty

Bloom Box Card 1 – Marty

Card Two:

FSJ Sept Bloom Box Card 2

FSJ Sept Bloom Box Card 2

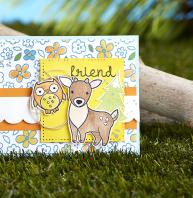
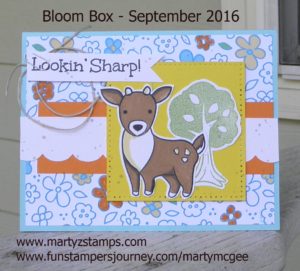
We both wondered why the owl was just hanging in mid-air. It wasn’t like his wings were out indicating flight; so, we took away the owl, added the round-top tree, and changed the sentiment by wording and placing it on a banner tag and clipping to the top left hand corner to balance out the card. We colored the deer using SU! Stampin’ Write markers.

Bloom Box Sept - Marty

Bloom Box Sept – Marty

Card 3:

FSJ Sept Bloom Box Card 3

FSJ Sept Bloom Box Card 3

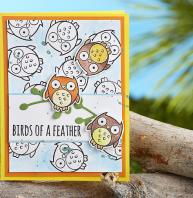
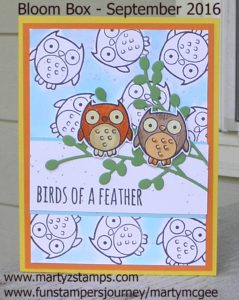
This card we only added two owls sitting together on more green branches. I guess I’m a little OCD about random things and I just kept wondering why the owls would be flipping through the air (o.k. I can be whimsical, but sometimes I just can’t). We colored these with SU! Stampin’ Write markers. Here is our version. My friend thought this would make a great anniversary card.

FSJ Sept Bloom Box - Marty

FSJ Sept Bloom Box – Marty

Card 4:

FSJ Sept Bloom Box

FSJ Sept Bloom Box

This one we didn’t change anything because I had an appointment to be somewhere; therefore, no extra time to change-up the card.

FSJ Sept Bloom Box - Marty

FSJ Sept Bloom Box – Marty

Extra Card: Before I received my Bloom Box, I came up with this design, and we made this card first when we got together. We used our Spectrum Noir markers to color the animals. It turned out great. I will be ordering a word stamp with coordinating die to make this a Christmas card. I will post an updated picture when this comes in and I have added it to the card.

FSJ Bloom Box Additional Card

FSJ Bloom Box Additional Card

We both LOVE the Bloom Box, and we can’t wait for our October Bloom Box to get to us. If anyone is interested in the Bloom Box, please click here to go to my website and sign up to receive a Bloom Box kit for the next six months. If you are local, we will get together to make the cards. For an additional $3, I will provide two additional designs with prepared cardstock for you to create two more amazing cards. If you are out-of-town, you will love putting this kit together. The kit includes step-by-step instructions with colored pictures. I can mail you the additional pre-cut cards and email you pictures and directions to put it together for $6.00 this includes additional instructions and postage.

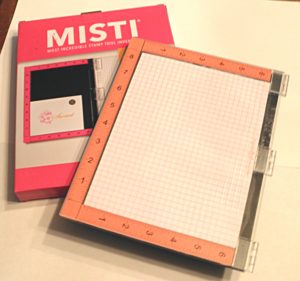
This is the last of my Scrapbook Expo posts. I know I can be addicted to papercraft shopping. O.k., that’s an understatement, but I do have some restraint. So, I planned before I arrived at the Expo to purchase a Misti. I have been watching numerous YouTube channels featuring many papercrafters using the Misti, and I just had to have one. During the Mega Make-n-Take, designated vendors set up shop and offered products at a reduced rate or with a special bundle price. One of the vendors offered such a great deal, I purchased my Misti that night along with the cleaning solution. It is WONDERFUL! You can check out the Mist at www.mysweetpetunia.com.
www.mysweetpetunia.com

www.mysweetpetunia.com

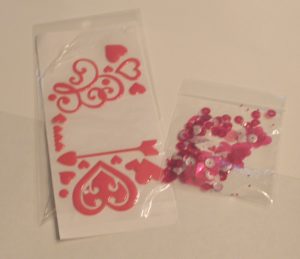
I, also, purchased that night some items from Queen and Company.  On a previous post I featured their make-n-take shaker card. Along with making the card, we had extra epoxy and sequin embellishments left over, enough to complete several more card or scrapbook page projects.
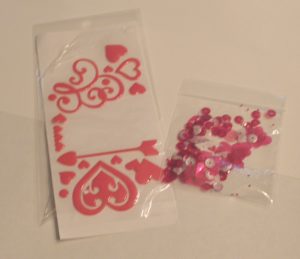
Queen and Company embellishments

Queen and Company embellishments

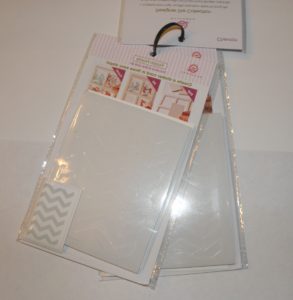
They offered a special on shaker card component purchases. I chose a zig-zag die which came with two foam shaker pre-cut card components. These are awesome. All you have to do is pull the adhesive off the backside of the shaker component and adhere it to your card. You can add embellishments or if the design allows, you could stamp images on the card stock before placing the foam. Next, you remove the adhesive from the front of the foam and place the window sheet (acetate) on top. Once this is completed, you apply adhesive to a pre-cut piece of thicker than regular cardstock and place it on top of the window sheet to finish the project. The cost for these complete kits minus the embellishments runs around $3.00. Instead of purchasing the shaker card components by themselves, I purchased a bundle which included the die. The die allows to me create as many cards as I would like. One way is to purchase “fun foam” sheets from a craft store. I was able to find some with adhesive on one side, and I purchased mine from Michael’s with a 50% off coupon. You would need to cut approximately three sheets of foam to have enough height to allow the embellishments to move around and shake.
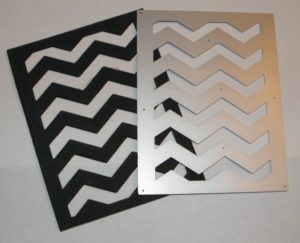
Queen and Co. zig-zag die with black fun foam
Queen and Co. zig-zag die with black fun foam

Queen and Co. shaker card components

Queen and Co. shaker card components

We received during the Mega Make-n-Take some adhesives and rhinestone embellishments. I cannot remember who supplied them, but it was a great freebie.
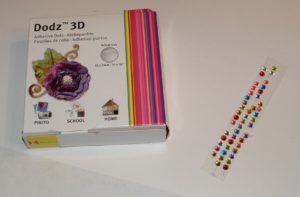
Glue dots, rhinestones, one bottle of adhesive not shown

Glue dots, rhinestones, one bottle of adhesive not shown

It’s Cheaper Than Therapy gave each make-n-take attendee a FREE embossing folder. My folder is Christmas themed.
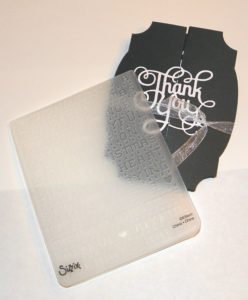
It's Cheaper Than Therapy embosing folder

It’s Cheaper Than Therapy embossing folder

The next two days after the Mega Make-n-Take are designated workshop and shopping days at Scrapbook Expo. Most of the workshops offer free products when you take a vendor’s workshop. Heartfelt Creations offered a free stamp set up to a $19.95 value for each of their workshops. I took two workshops with them; therefore, I received two stamp sets.
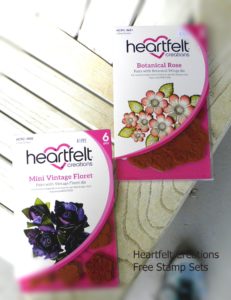
Heartfelt Creation Free Stamps

Heartfelt Creation Free Stamps

There are various vendors in the exhibit hall offering free make-n-takes as well as make-n-takes with a nominal charge. I had been looking forward to Fun Stampers Journey exhibit all year. We had to wait about 30 minutes for a seat to come available, but it was worth it. We made a cute card and received a stamp set for FREE! I have pictured the make-n-take card along with an extra design they offered. I made that card for my make-n-take class.
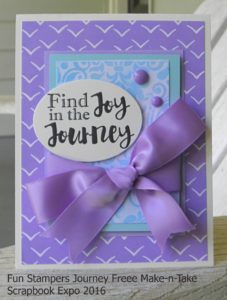
Fun Stampers Journey Card
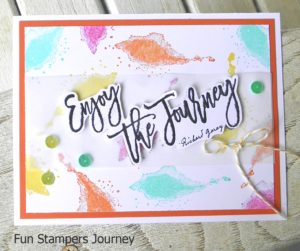
Fun Stampers Journey Card

FSJ Card 2

FSJ Card 2

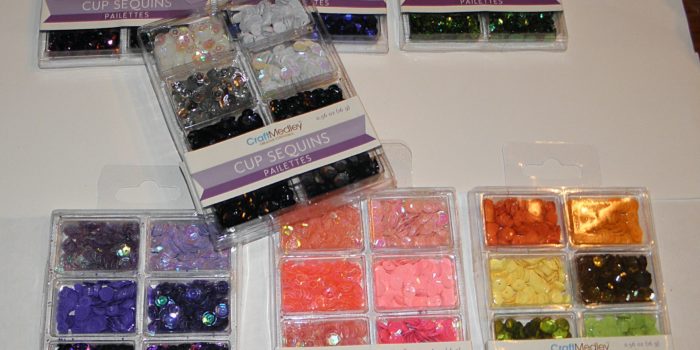
After making the shaker card the night before at the make-n-take, I wanted to purchase some sequins, but I didn’t want to spend a lot of money. I stopped by the Tall Mouse booth www.cre8tiveartz.com and purchased a selection of sequins along with some rhinestones all under $20.00.
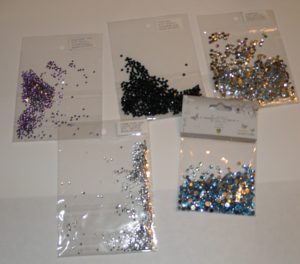
www.cre8tiveartz.com
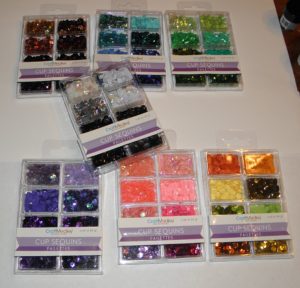
www.cre8tiveartz.com

www.cre8tiveartz.com

www.cre8tiveartz.com

After a wonderful experience with Heartfelt Creations and their flower shaping class, I went by a booth that offers 3D dies for flowering creations. I wanted a hydrangea die and Elizabeth Craft Designs had one. I had my friend, Debbie, go back the next day and purchase the flower shaping tool kit.
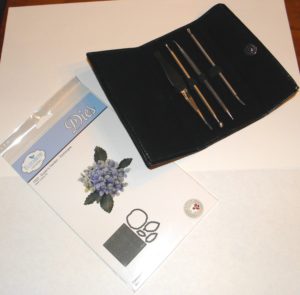
Elizabeth Designs

Elizabeth Craft Designs

Last but not least, Debbie went back to the Heartfelt Creations booth and purchased the Berry Cafe 12×12 paper pack (not pictured). All in all I had a great time and came away with some great products and new papercrafting skills. Next year, I plan on taking more workshops and attending the exhibit hall two days in a row. We didn’t have time to stop at all the booths to compare prices and purchase more crafting supplies. I hope you enjoy this post.
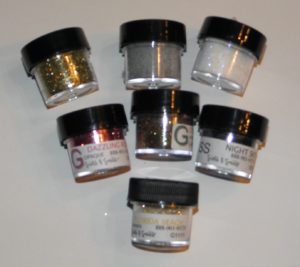
In a previous post I had mentioned posting about my experience at the Scrapbook Expo 2016 in Duluth, GA. It was an awesome time of fun and shopping with some close friends. It all began Thursday afternoon at 3:00 p.m. The doors opened for the Mega Make-n-Take. We were there waiting in line to get in and save some tables for our group. The actual make-n-take didn’t start until 5:00 p.m. The cost was $45.00 and it was well worth the cost. Each attendee chose a free gift just for attending the make-n-take. I chose the glitter.

Mega Make-n_take glitter

My friend, Cheyenne, chose the glitter as well, but she received bold and bright colored glitter.

The friends at my table, Cheyenne Luken, Debbie Kissel, and Kevin Kesler got settled in to begin the make-n-take. The following pictures and descriptions are not in order of when they were made.

JustRite Stamps started off the night with a scrapbook page. I thought it turned out well even though these are not my favorite colors.

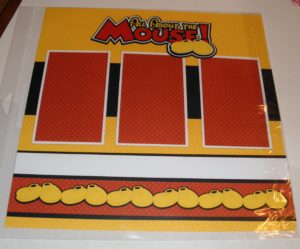
We made a laser cut All About the Mouse by Paper Wizard, Inc. It is adorable.

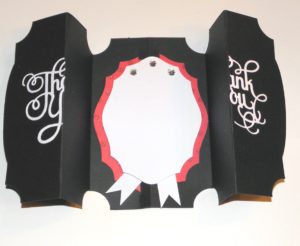
The next item is a fancy Fold-A-Long Thank you card by It’s Cheaper Than Therapy. This company sells Sizzix dies, machines, and anything Sizzix. I put my Thank You in the wrong place and when it opens up, it looks a little odd. We, also, received an embossing folder. My folder was Christmas themed.

We made another card from Scrap That! It came with a free chalk marker and a selection of sequins.

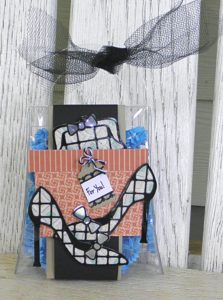
Krazy Kreations had a really cute gift purse with shoes accenting the front. Love it!

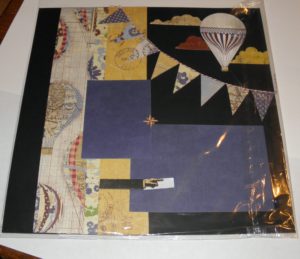
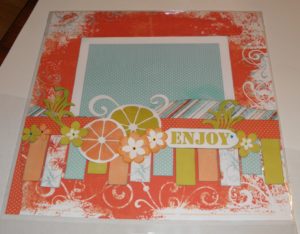
Last year Cheyenne, Kevin, and I attended the A to Z Scrapbook workshop and really loved their products. They were at the make-n-take and we created a scrapbook page entitled Enjoy. I ended up giving this page to a friend for her birthday along with one of the pages I made last year since the pages were from the same kit.

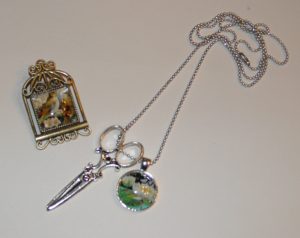
Craft Fantastic was here again this year. We made a pendant and a necklace. These are so easy to make and look so elegant.

I can’t show the Doo Dilly Design scrapbook page embellishment, because I messed mine up and then threw it away. Boo Hoo! It was really cute!

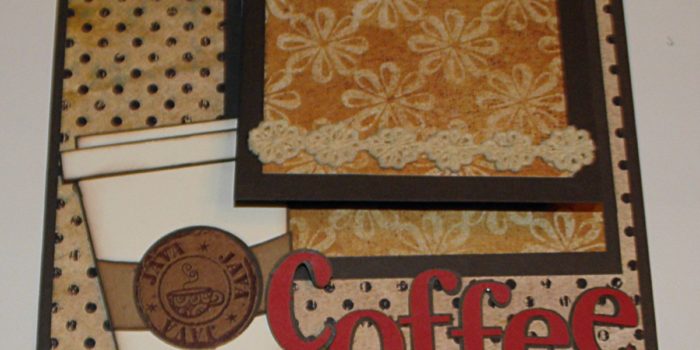
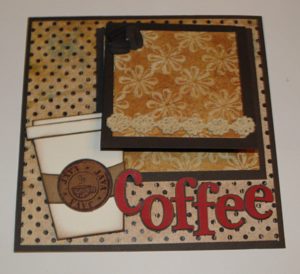
Shoestring Productions had a 6×6 coffee layout. This company has incredible laser cut page kits at a reasonable price.

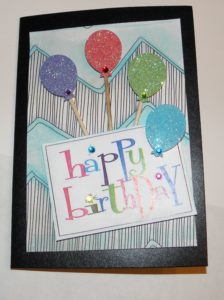
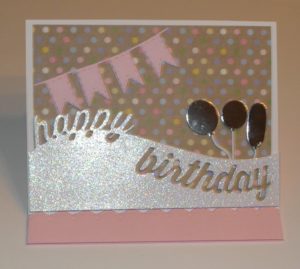
Loved, Loved, Loved this Happy Birthday Easel Card by Craft Fancy.

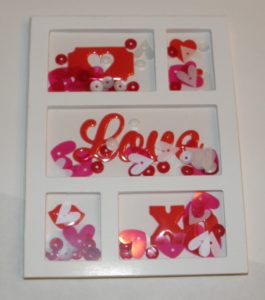
Queen and Co. had a fantastic shaker card to make and we walked away with extra sequins and epoxy embellishments.

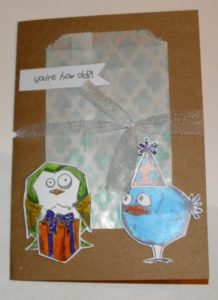
We did a Crazy Bird Birthday Card by Bee Creative. Everyone received a Spectrum Noir glitter/sparkle pen. My pen was purple!

All of this fun ended at 11:30 p.m. I didn’t get home until 12:00 midnight!

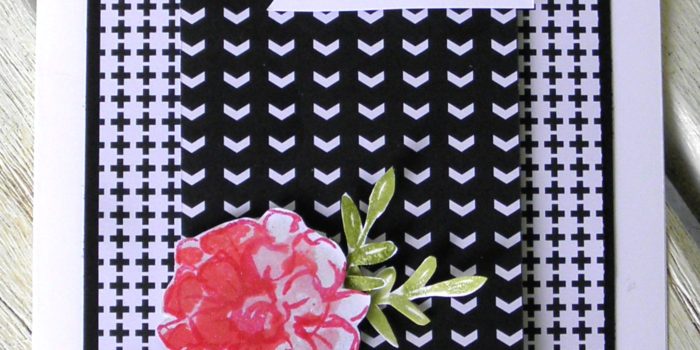
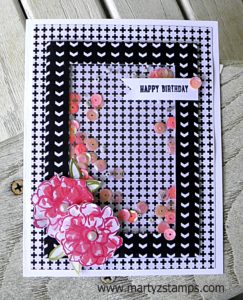
As I was browsing through the card challenge websites, I was inspired to create a black and white card with a pop of color from SUO Challenges website. Since I have a TON of SU! Stacked with Love paper, and most of the paper is black and white, I thought what a great way to use up some designer series paper and make a really cute card in the process.

The card started out to be a regular two mat card with a couple of flowers (the pop) accenting the lower left corner. I had yet to use the Sale-a-bration set “What I Love” from Stampin’ Up! and I thought this flower would work really well for this design. I stamped and cut out the flowers along with some petals and began to place them on the mats (nothing was adhered) trying to find the perfect spot for them to “pop”. Then, it occured to me I could make a shaker card. I made a really, really cute shaker card. I used some sequins from my Scrapbook Expo haul this past July. The picture does not do them justice.


Sentiment and pearls

Sentiment and pearls


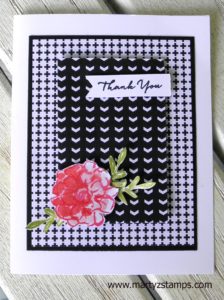
I had an extra flower and leaves along with the center portion of paper from the shaker card. So, I pulled out some more of the cross hatched paper for the first mat, placed the center of the cut out paper from the shaker card onto it using dimensionals. Then matted the first mat in black to make it stand out from the white cardstock. I added a sentiment banner to the top of the center mat and the extra flower to the bottom left corner (both are raised using dimensionals). I finished the card by brushing some clear Wink of Stella onto the flower and leaves.

Here is card number two:

SUO Challenge #153

Enjoy!!!

PAGE TOP
[dealsbar preview] Amazing Deals: !!toolbar-deal-title!! - !!toolbar-deal-merchant!!