Yes, I’m on a Spectrum Noir coloring jag! And, my cohort in this coloring jag is Cheyenne Luken. We work very well together when creating papercrafting projects. We disagree with placement, with color choices, with everything, but in the end we love the other ones creation sometimes a little more than our own. In other words, we have a lot of fun! On these cards, we were making use of Cheyenne’s limited supply of Spectrum Noir alcohol markers. We did use some Copics for the skin tones and the faint shadow around the images, and Cheyenne used more Copic markers on her card. I tried to stick solely to the Spectrum Noir’s, and we lamented the whole time we wished our orders were already here! We will receive our orders this week (Tuesday and Wednesday)!!!! AND, I was looking at Consumer Crafts this morning and the two 24 sets (the Darks and the Pastels) which were out-of-stock for many weeks are now in stock. We really need (o.k. want) the Pastels because most of the skin tones needed for lighter shading are in that set. I’m still on the fence about the Darks. I think I can hold off on ordering them until they have another huge sale. . . . . or, maybe not!
Anyway, Saturday Cheyenne gave me a call and asked if she could come over and make some more cards. She asked me, do you want to work on your make-n-take cards, do another Heartfelt Creation card, make a “shakey butt” card from Art Impressions, or go to the Stamp Store (Impressive Ideas) in Norcross? I immediately said, I want to go to the stamp store in Norcross. Who wouldn’t want to say that???? Really, like I needed to spend anymore money, but I have been wanting a die to use to make a stitching affect around the exact size of an A2 sized card (5 1/2 x 4 1/4). So, off we went . . . . . to the store that is – not crazy. I had forgotten Sandy Allnock was going to be in-house teaching classes but, I remembered Impressives Ideas’ newsletter with the dates for these classes once we walked through the store’s doors due to several tables set up with papercrafters creating some amazing projects. We were not hampered in the least by these tables as we made our way through the store. In fact we navigated around them like the shopping professionals we are. As we wandered around ooooooing and aaaahhhing at all the gorgeous card samples, Jenny Gropp, one of the owners, helped us find everything we needed to purchase (yes, I did find the die I wanted) and some more items to add to our ever-growing wish list.
One of Cheyenne’s purchases was Piper from Saturated Canary by Krista Smith (her stamps can be purchased from Impressive Ideas’ store in Norcross). When we got back to my house after being at the store for 2 hours, we didn’t have time to make a card. I had to serve in our church’s cafe and I didn’t have any time to spare. So, she came back over on Sunday afternoon. And, we got started.
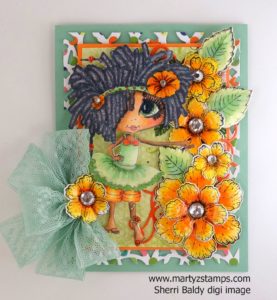
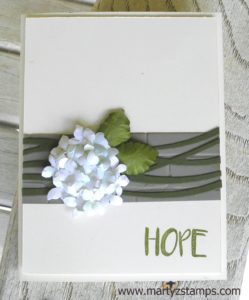
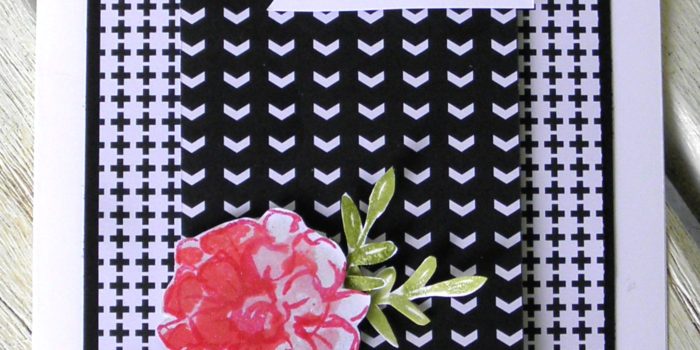
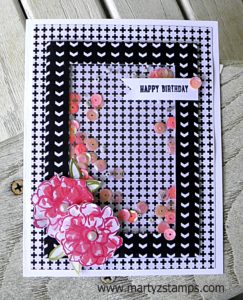
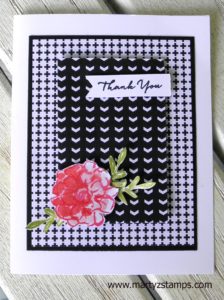
We stamped the images with Memento black ink on SU! Whisper White cardstock. Once we were finished coloring our stamped images, we cut them out using a Simon Says stitched oval die. The paper frame and mats came from Penny Black’s Painted Blooms paper stack. The frame was cut using a Simon Says stitched frame die. I do not have a name for the flower bunches we used as embellishments on the cards, but we bought them at Impressive Ideas (I threw away the packaging).
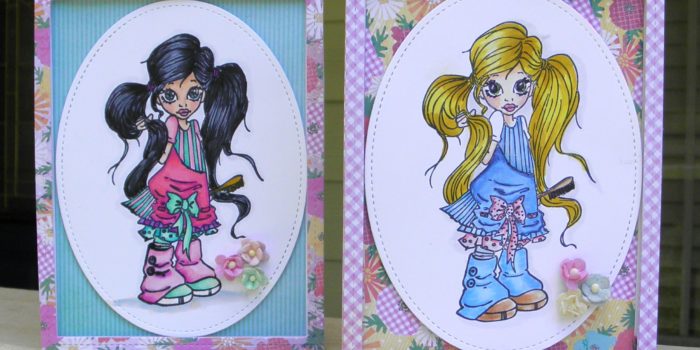
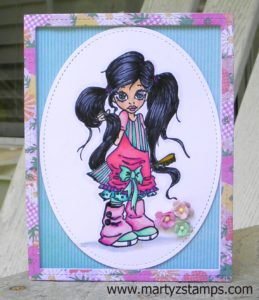
Once the image was stamped, we were ready to color them. I wanted to have black hair on my Piper because black hair is a challenge to color and I always like a challenge. Cheyenne chose blond hair because her children are blond-headed. This time I did remembered to write down the colors I used for the black-haired girl.
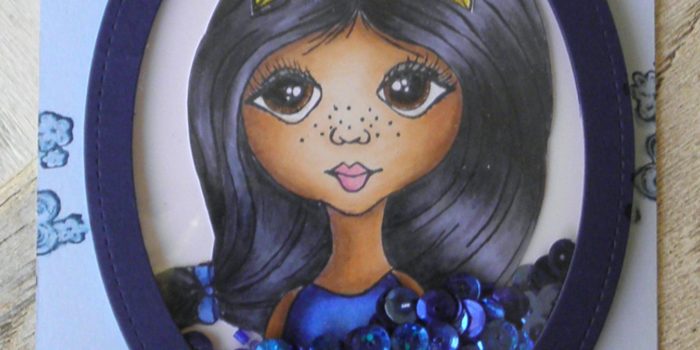
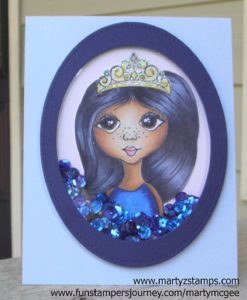
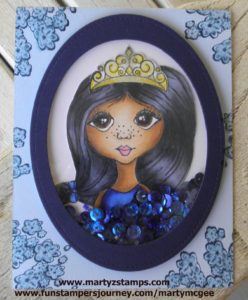
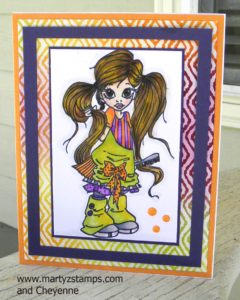
On my Piper, I used Copic markers for the skin E00, YR00, RV11, RV14 and N0 to outline the stamped image. For her hair I used Spectrum Noir BGR1, BGR3, and True Black; her shirt, apron, and leggings are Spectrum Noir PP3, PP5, and BP6; her jumper, petticoat, leggings, and shoes are Spectrum Noir PP3, PP5, BP6, BT2, BT4, BT5, BGR3 and oops, I didn’t write down the brush color. There is definitely room for improvement on her hair highlight positions, but for a first go at black hair coloring, I’m happy. Here is my Piper:
Cheyenne did use some Spectrum Noir markers on her Piper’s hair. They were CT2, CT4, and one of SU! Blendabilities yellow markers (the medium tone out of the 3 pack). I’m pretty sure she used Copic markers for her girl’s outfit. Here is Cheyenne’s Piper:
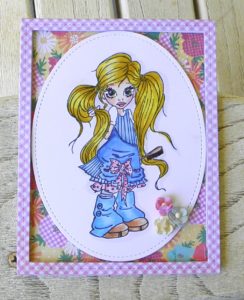
Cheyenne’s Piper
Here they are together, they make such good friends:
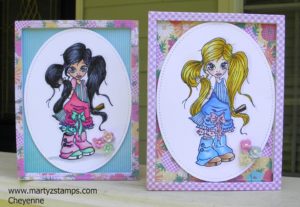
Marty’s Piper (left) Cheyenne’s Piper (right)
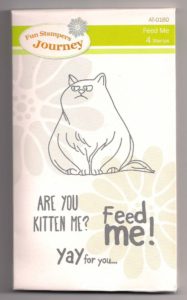
Saturated Canary stamps
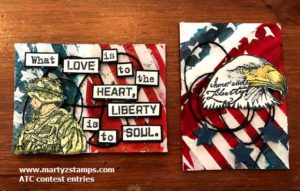
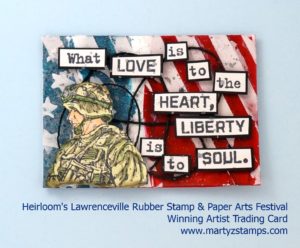
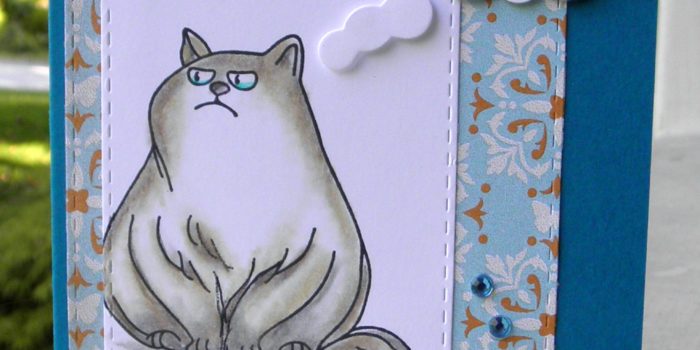
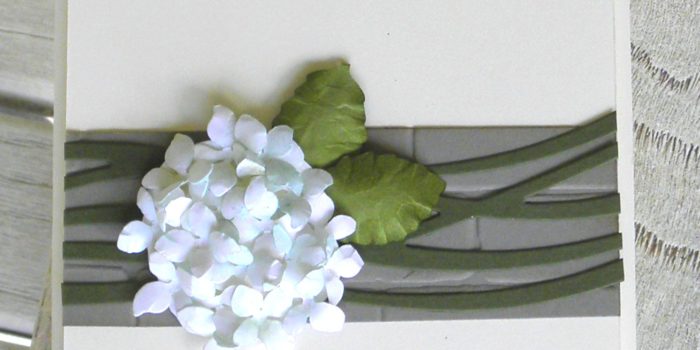
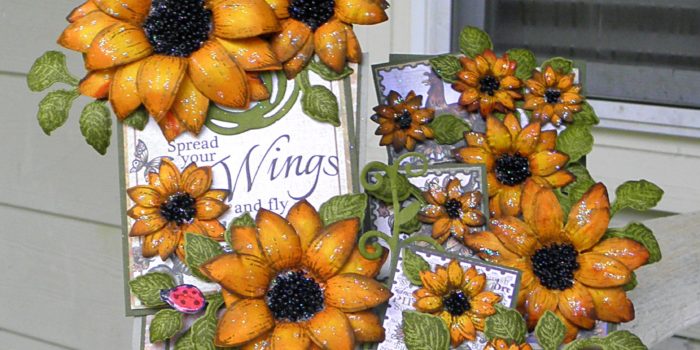
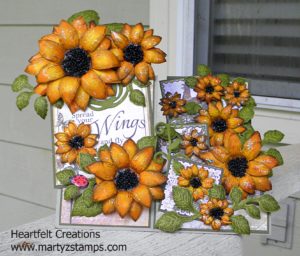
And, . . . . . we collaborated on this next Piper. She was abandoned at first because her hair was looking too muddy and muddled. Cheyenne took another look at her when we finished the first two and noticed her hair looked pretty good once the markers had time to saturate the paper and dry out. So, Cheyenne takes credit for the hair color. She handed her off to me for coloring the clothes. Once the clothes were colored, Cheyenne dug through my stash of paper and found the Glitter Cardstock Matstack I purchased from Hobby Lobby many years ago and had never used along with the Recollections Resist Paper Pad I purchased from Michael’s on a 70% off clearance rack. I used Tim Holtz distressed inks Spiced Marmalade and Mustard Seed along with SU! Lucky Limeade and SU! Rich Razzleberry to ink the resist paper mat. For the orange glitter mat and the SU! Elegant Eggplant frame we used Simon Says stitched frames. I accented the bottom right of the card with SU! Halloween Nights Enamel Dots. Here is our Piper:
Don’t forget local ladies, I will be having Spectrum Noir technique classes to learn the basics and more complicated techniques. You will have to bring your own markers. The best price for them is through Consumer Crafts.