Category : Fusion Inks

34 posts

One of my favorite subscription kits is Scrapping for Less Flavor of the Month. I love that it includes 5 kits in one. This post features a card from the May 2019 FOTM Banana Split kit.

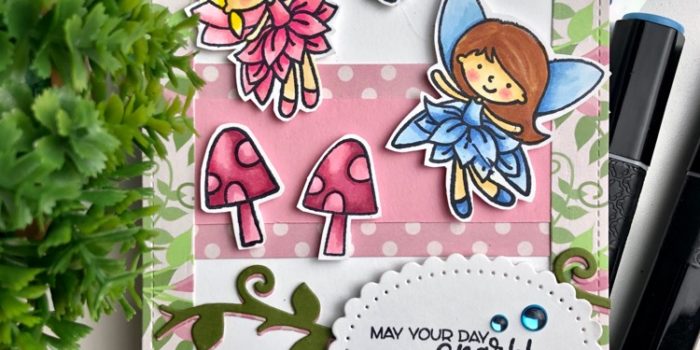
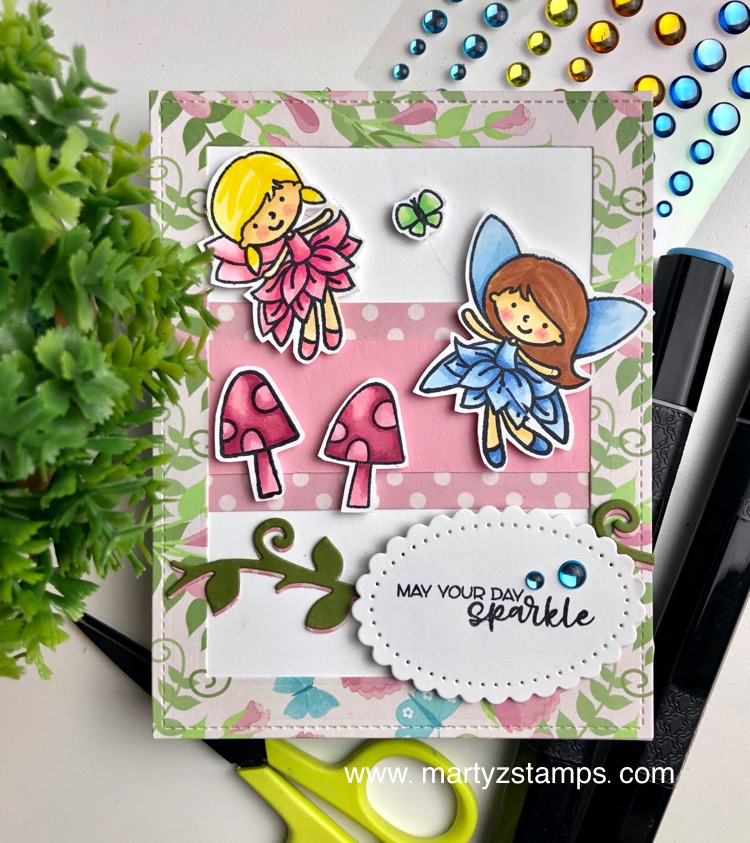
I created a sweet birthday card featuring two fairies. One dressed in pink and the other in blue with a tiny green butterfly floating above a bed of mushrooms. All images are colored with Spectrum Noir alcohol markers. The vine is a Fun Stamper Journey die and the oval is a Spellbinders die (see product list below).

Marker List:

Facebook Link for Coloring How-To (click here):

Pink Fairy – Dress: CR5, FS8, FS2 (Illustrator) Hair: LY1, LY2, CT4
Blue Fairy – Dress: TB1, TB2, TB3, TB4 Hair: TN2, RB2, RB1, TN5
Skin – FS9 Illustrator, FS4, TN2, FS8 or CR3 (cheeks)
Mushrooms – CR1, CR2, AP3, AP1
Butterfly – AG1, BT1

I sent this card to my niece for her birthday which is today! Happy Birthday, Cherie!

Products:

Pink and Main: Glossy Dots

Consumer Crafts: Spectrum Noir Alcohol Markers

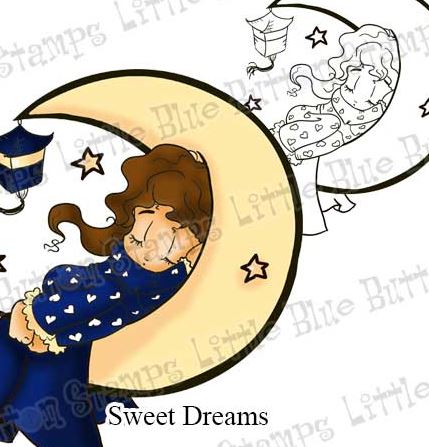
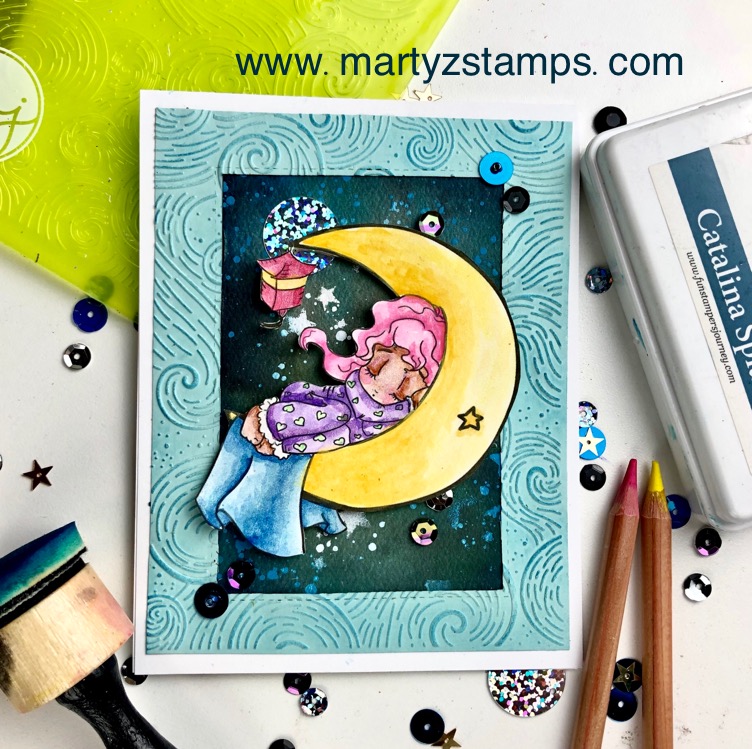
Hello! I’m sharing a card today made with the so cute Sweet Dreams digital image from Little Blue Button Stamps.

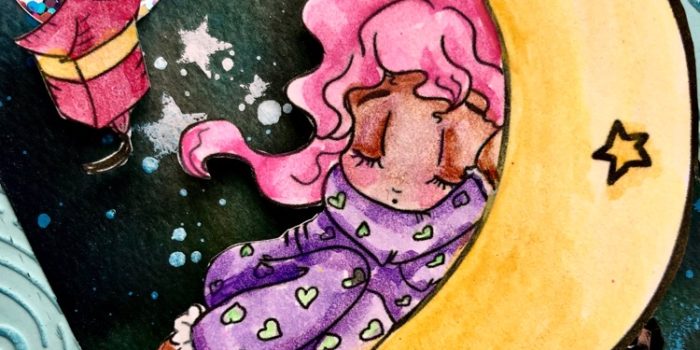
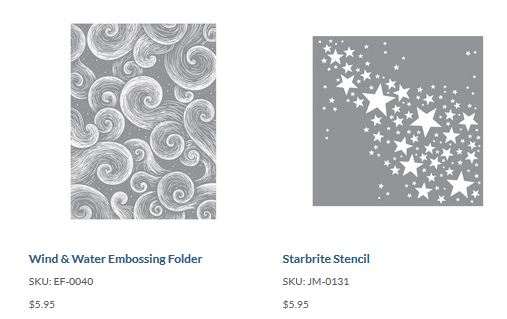
To create a soft dreamy effect, I pulled out my FSJ Color Splash pencils and watercolored the Sweet Dreams image. The background was created using FSJ silks onto watercolor paper and the stars by applying acrylic paint with a sponge using the FSJ Starbrite Stencil. The frame was embossed with the FSJ Wind & Water Embossing Folder and Catalina ink applied to the embossed areas. The final touch were the Splash Zone Sequins adding a little glitz and glam to the night sky.

I hope you sleep well with sweet dreams!

Supplies:

Little Blue Button Stamps

Spellbinders + FSJ:

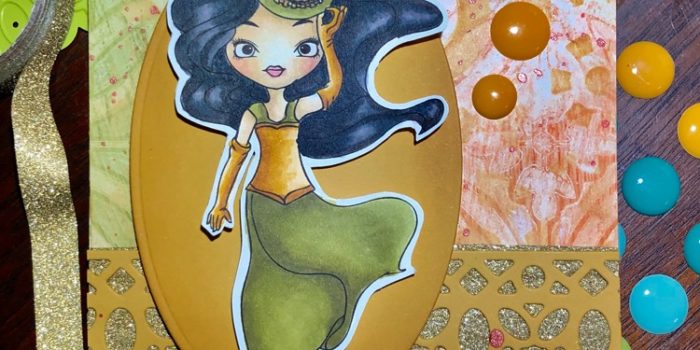
Hello! I have just created my first post to the Little Blue Button Blog. I am so excited to share with you the card I created using Steam Punk Jessica

I colored Jessica using Spectrum Noir Alcohol Markers. Once she was colored and cut out, I collected two Gel Press pieces of cardstock from my stash to use in making the card.

Next, I gathered other supplies for this creation.

I wanted to incorporate gears onto the Gel Press pieces of cardstock and used a FSJ stencil to apply Pumpkin Bread and Haystack inks to the stencil leaving a faint impression of gears.

Gold glitter washi tape from the discount aisle at Tuesday Morning was placed under the die cut border. The final touch was a sprinkling of FSJ Bronze silk.

To complete the card, I placed Jessica on a Haystack cardstock oval mat. The card is finally accented with Candy Drops. This card turned out so beautiful. I hope you like it.

If you would like to watch the video where I colored Jessica (click here).

Supplies:

Spectrum Noir Alcohol Markers

Spellbinders + Fun Stampers Journey

It is time for another Creative Design Team Blog Hop. I am so excited to feature products found in the new Easter Blessings catalog. So many possibilities for creating incredible cards, gifts and just plain adorable projects. Grab a cuppa coffee, sit back, relax and hop along on a journey of inspiration. Here we go!

The Design Team was blessed to receive some exciting new products from FSJ + Spellbinders to inspire your creativity. I received the Carrot Treat Box Die DI-0521, Pretty Plaid Embossing Folder EF-0041 and samples of the Create and Bloom Prints PP-0067 and the Easter Blessings Tags PP-0069. We also received the mini-catalog and all the inspiration in the catalog is soooo cute!

I’m going to let you in on a little surprise. All of my featured products involve NO Stamping! So, for those of you that don’t have a huge selection of inks and stamps, these projects are for you.

Carrot Treat Box

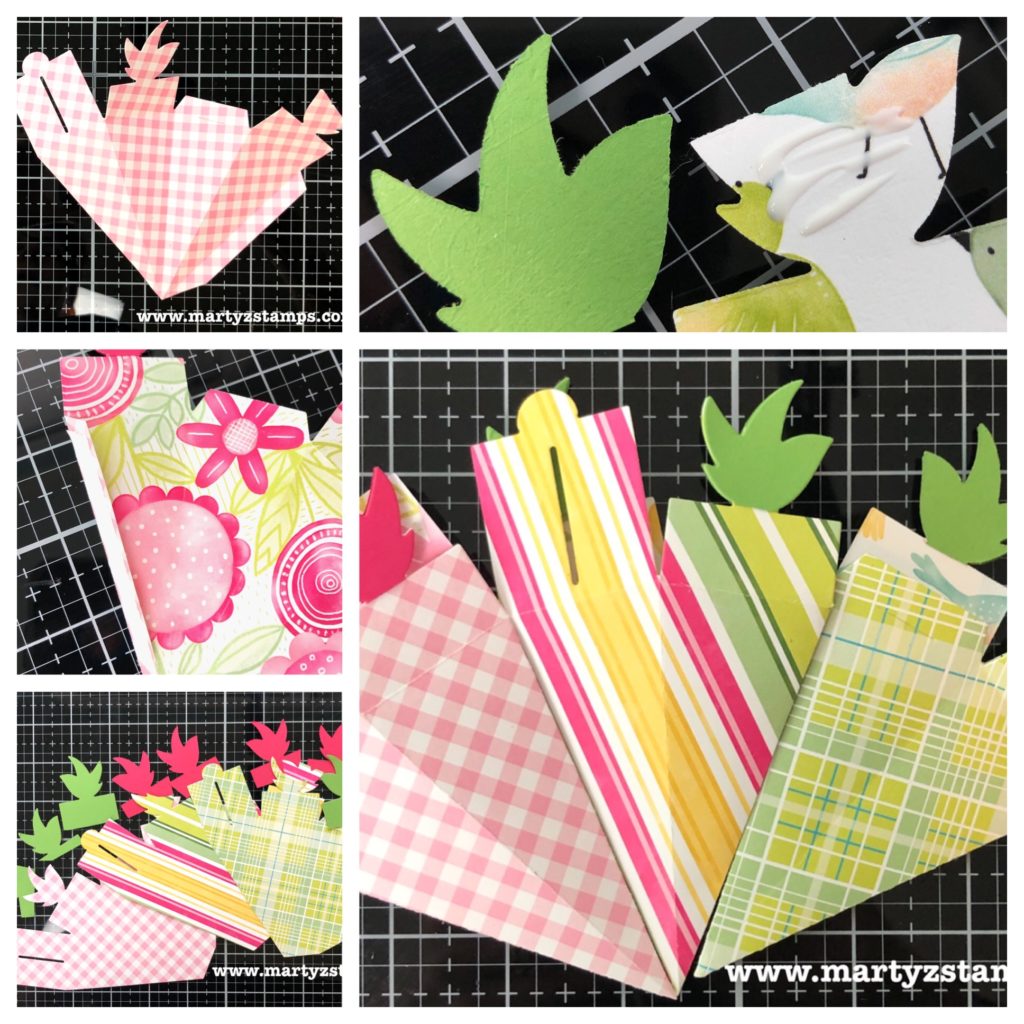
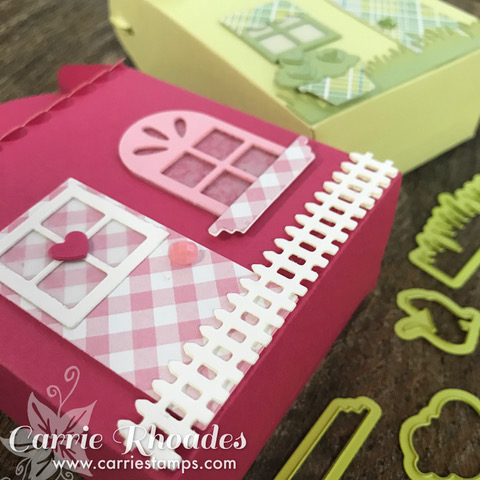
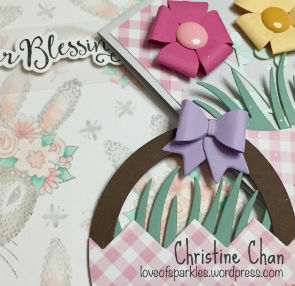
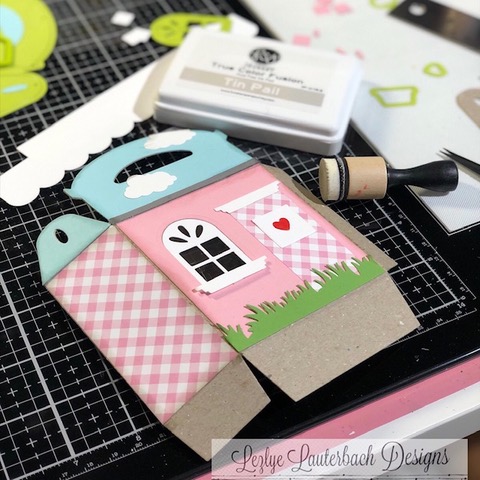
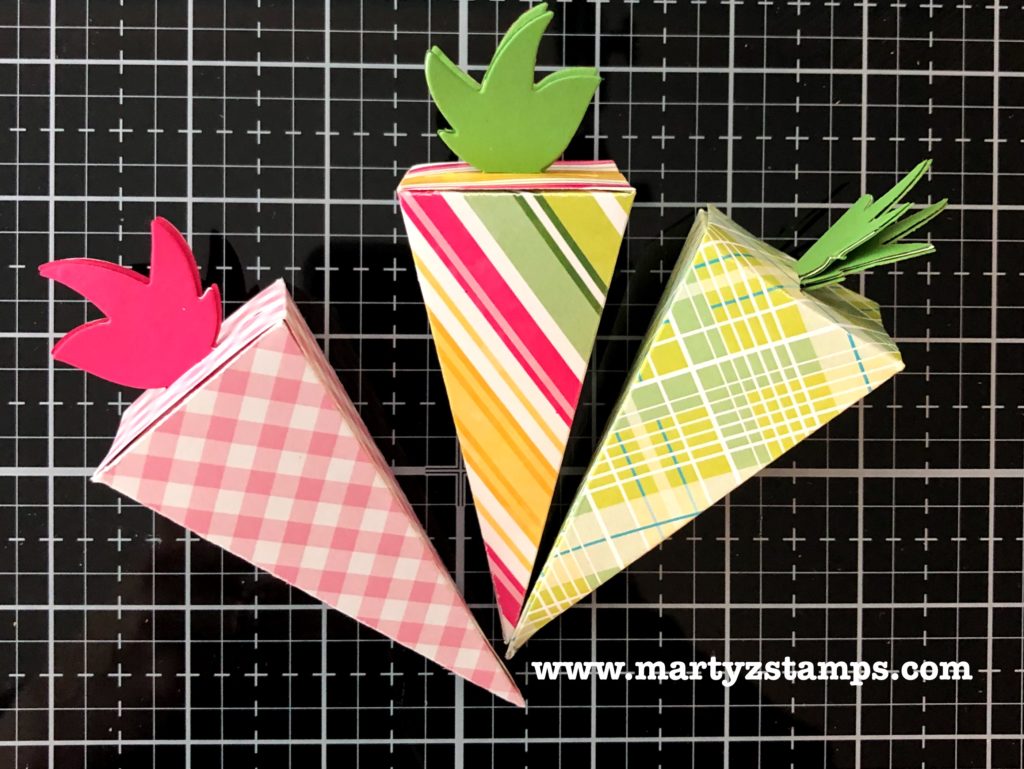
First up are some adorable Carrot Treat Boxes DI-0521. I used a variety of Create and Bloom Prints PP-0067 to inspire you to think outside the box. These carrot treat boxes are so uniquely cute they are sure to make someone you know hoppy. Check out the picture tutorial for how to create your own treat boxes.

Step 1 (top left hand corner) – Crease all score lines on of the die-cut carrot. Step 2 – Place adhesive on the side flap. Step 3 – Die-cut cardstock for the “green” portion of the carrot. Step 4 – Adhere the die-cut “green” portion to both sides of the carrot top. Step 5 – Adhere sides together.

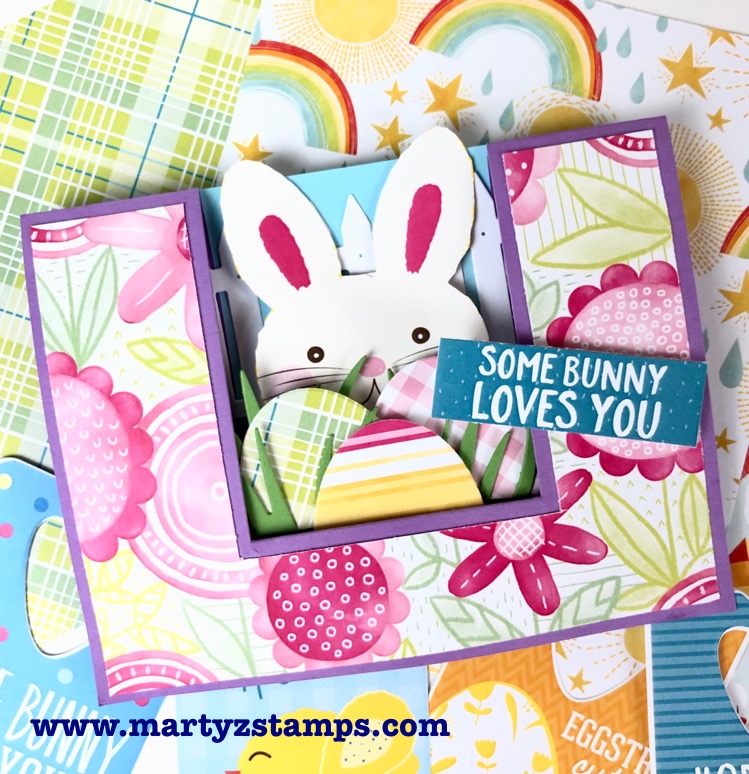
Fancy Fold Some Bunny Loves You Card

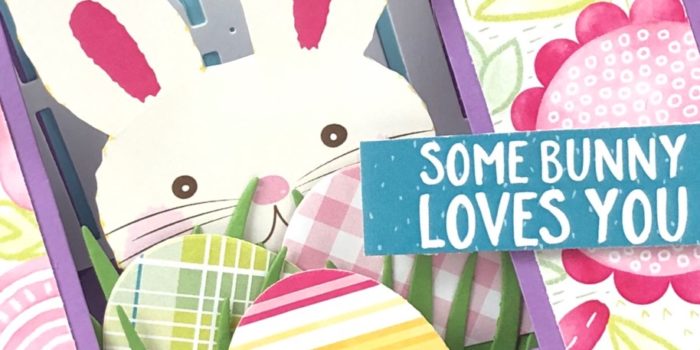
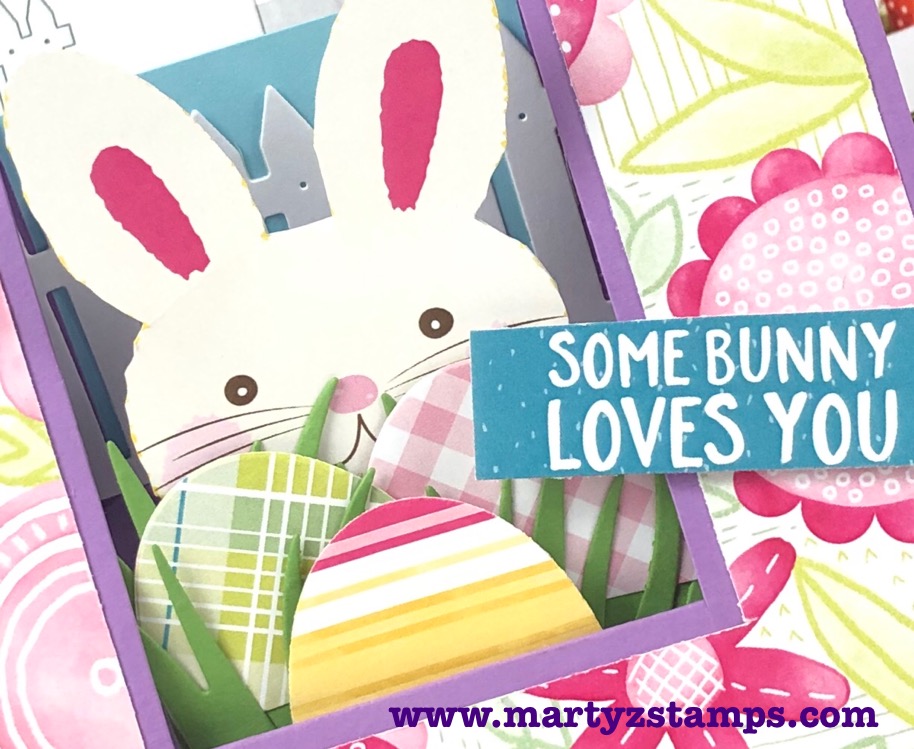
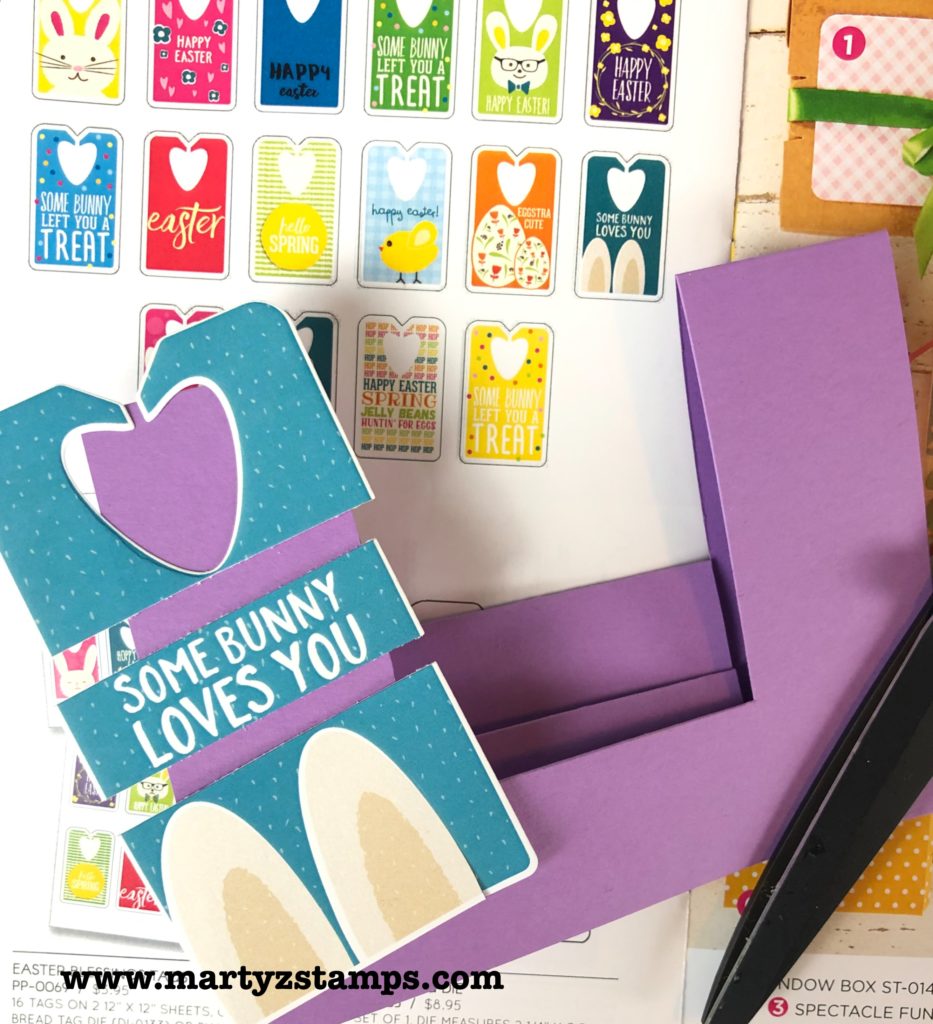
Ya’ll know fancy fold cards have a sweet spot in my creative heart. This one came together just like a rabbit hops, hops, hops.

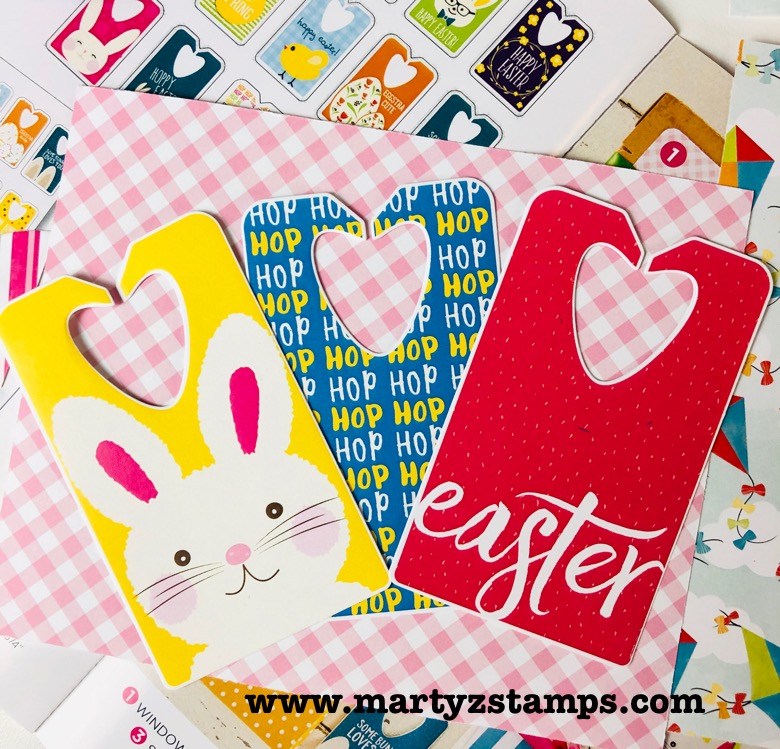
Begin with an Inner Stair Step Card. Choose a couple of Easter Blessing Gift Tags to use on your card project. I chose the Some Bunny Loves You for the sentiment and cut it down.

I took the bunny on the yellow background tag (see below) and cut him out.

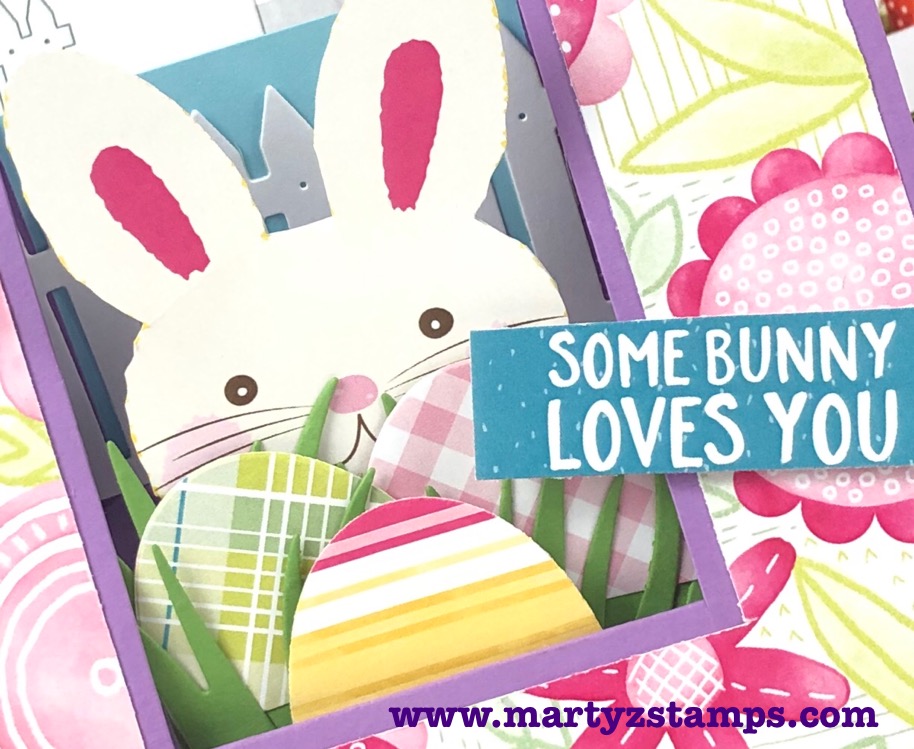
Here he is peeking out from stash of candy eggs! He’s so cute.

I placed a full 5 1/2″ x 4 1/4″ piece of Pool Play cardstock on the back of the main card for the sky. I adhered onto the back piece a Whip Cream Garden Fence DI-0485. The bunny is adhered to the back side of the middle panel. Tip: I had to add a piece of cardstock to the back of the bunny to give him height. I die-cut grass from the Border Details die set DI-0144 and the eggs from the Fancy Eggs Die DI-0512. To create the print paper mat. I laid the printed paper on top of the base and marked my cut lines with a pencil. I trimmed the printed paper on my trimmer and adhered to the base.

Easter Blessing Gift Card Holder

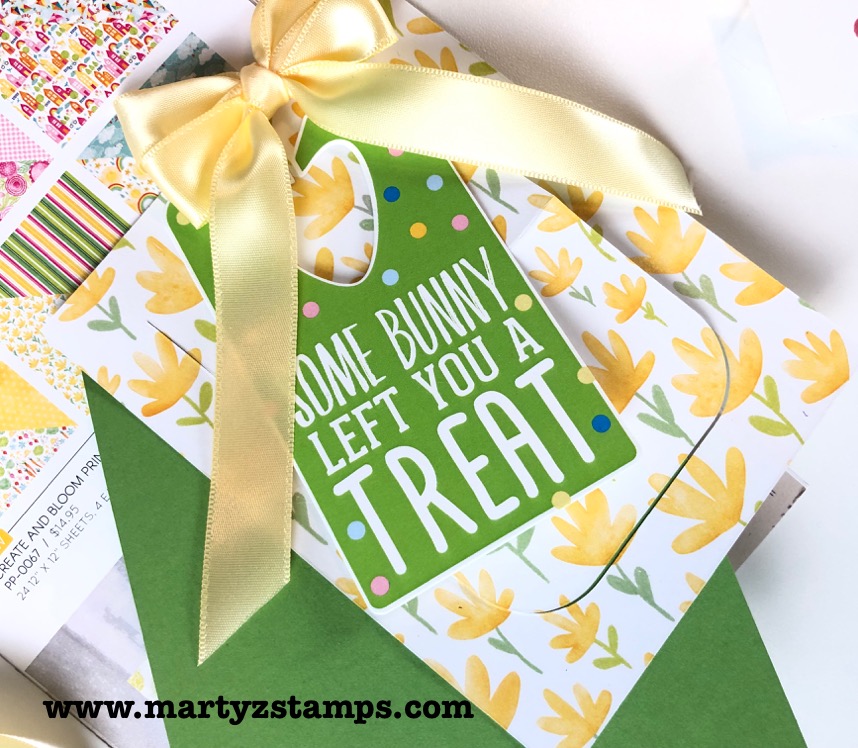
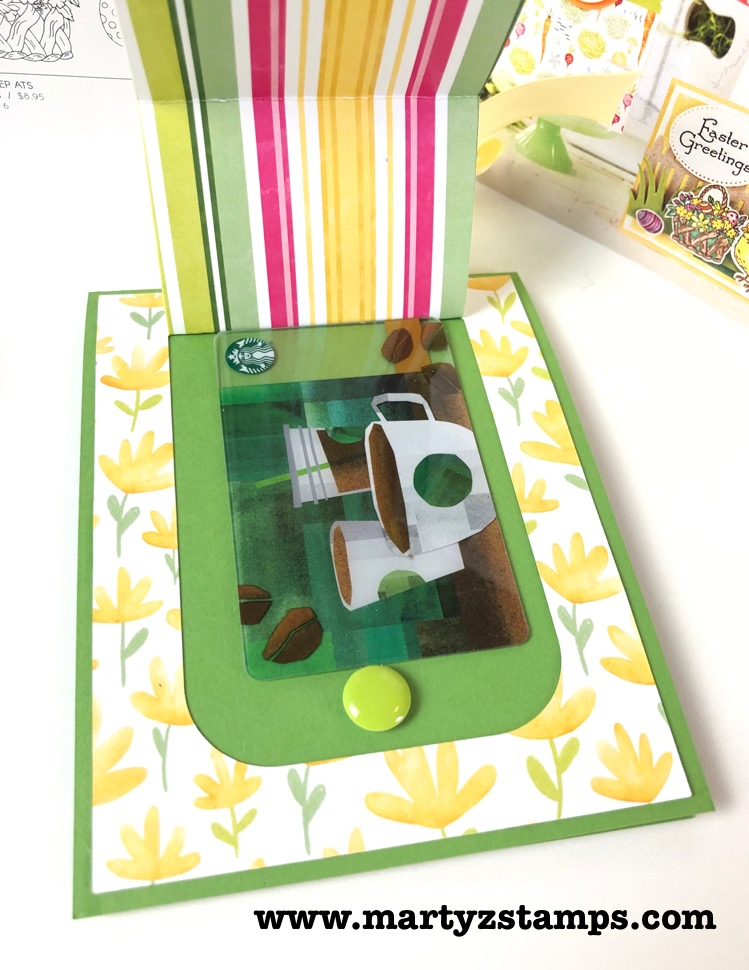
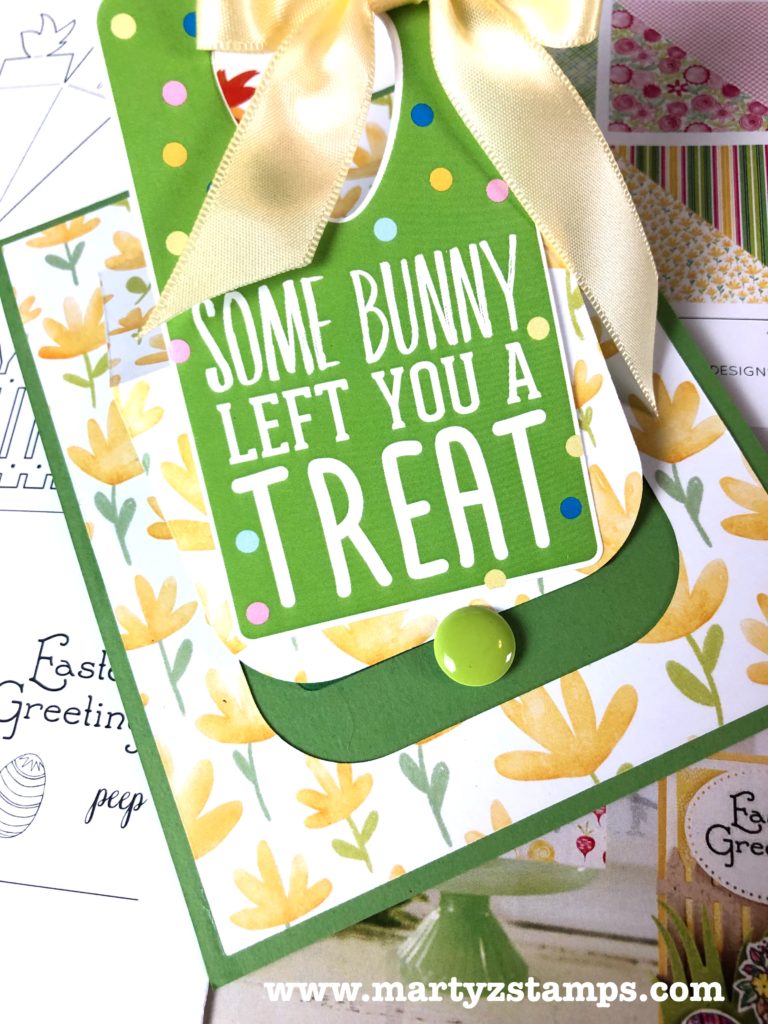
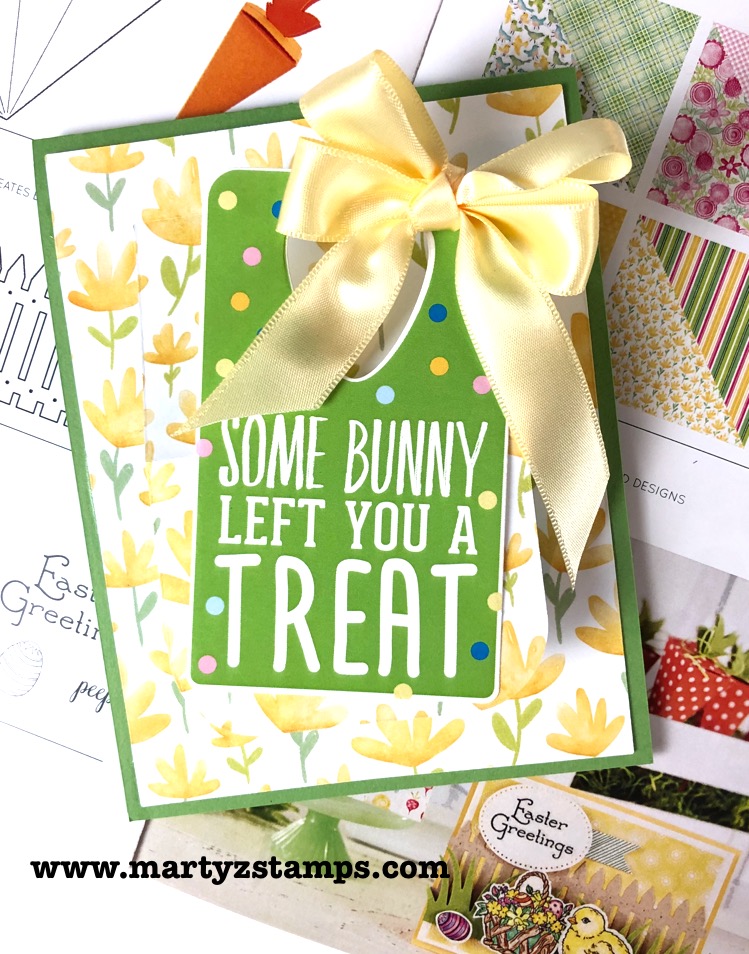
Many of you enjoy giving gift cards. This card is perfect for holding a gift card with a sweet Easter Blessings Tag.

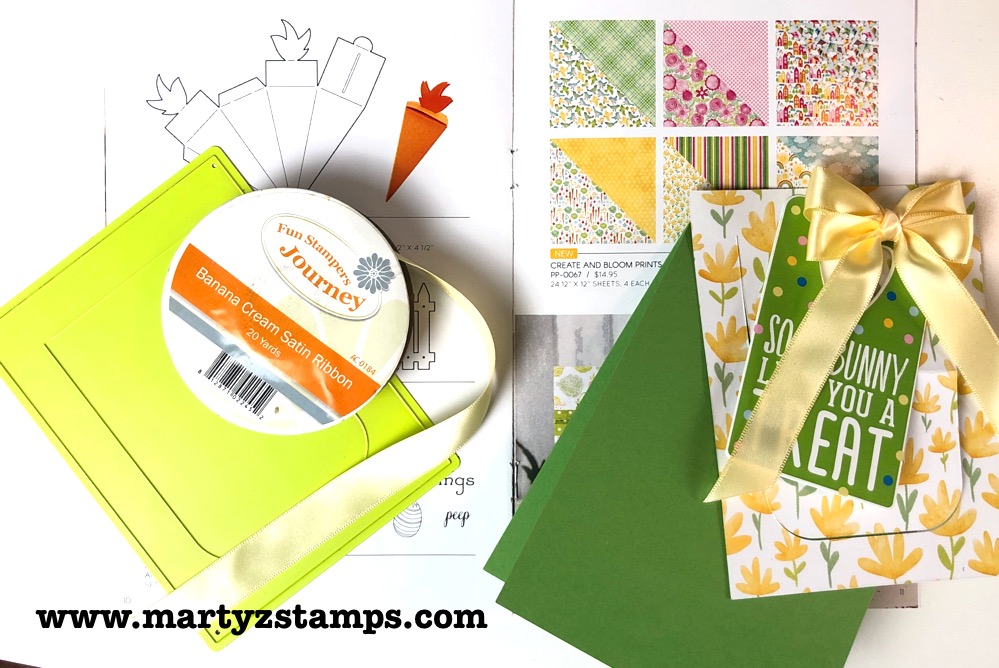
I used the following for this project: Window Pop die DI-0389, Banana Cream Satin Ribbon AC-0184, Easter Blessings Gift Tags PP-0069, Create and Bloom Prints PP-0067, Lemongrass cardstock CS-2019 and Sweet Candy Drops AC-0275.

Die cut the printed paper using the Window Pop die. Create a double bow from the satin ribbon and choose a tag sentiment.

Adhere the die cut paper to the card base and fold the flap in half (this will create an easel effect for display purposes). Adhere the gift card to the card base and apply a Sweet Candy Drop on the bottom portion of the card base under the flap.

Adhere the tag to the bottom portion of the folded flap.

Adhere the bow to the card. It is just that simple!

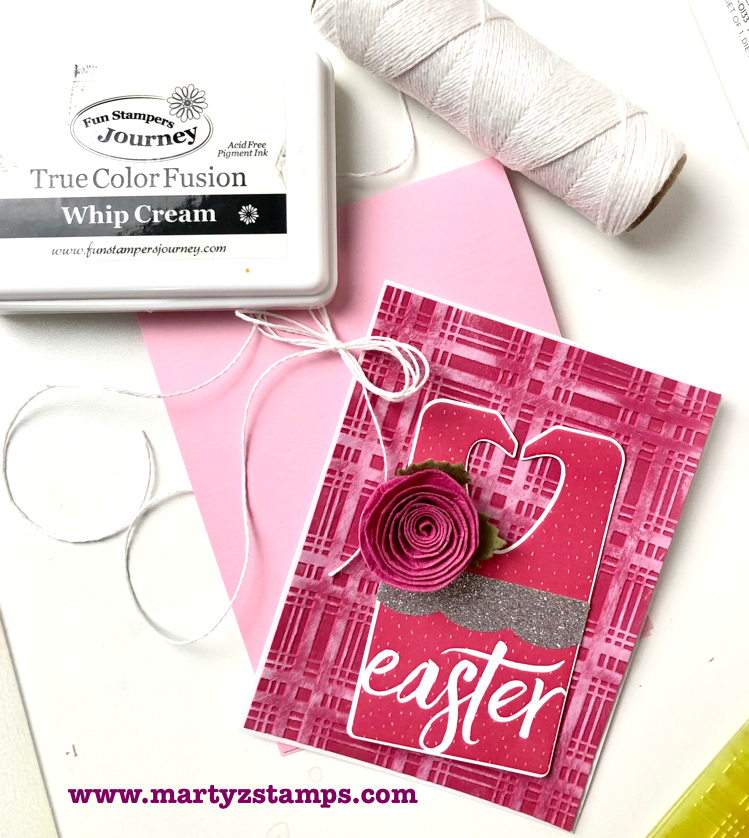
Elegant Easter Card

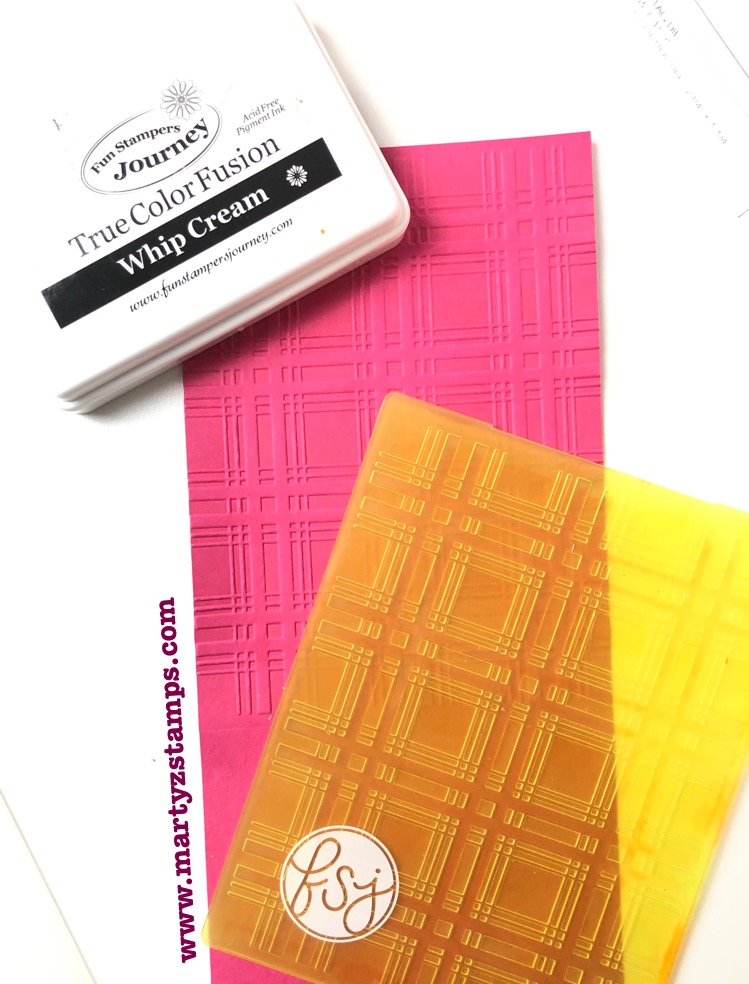
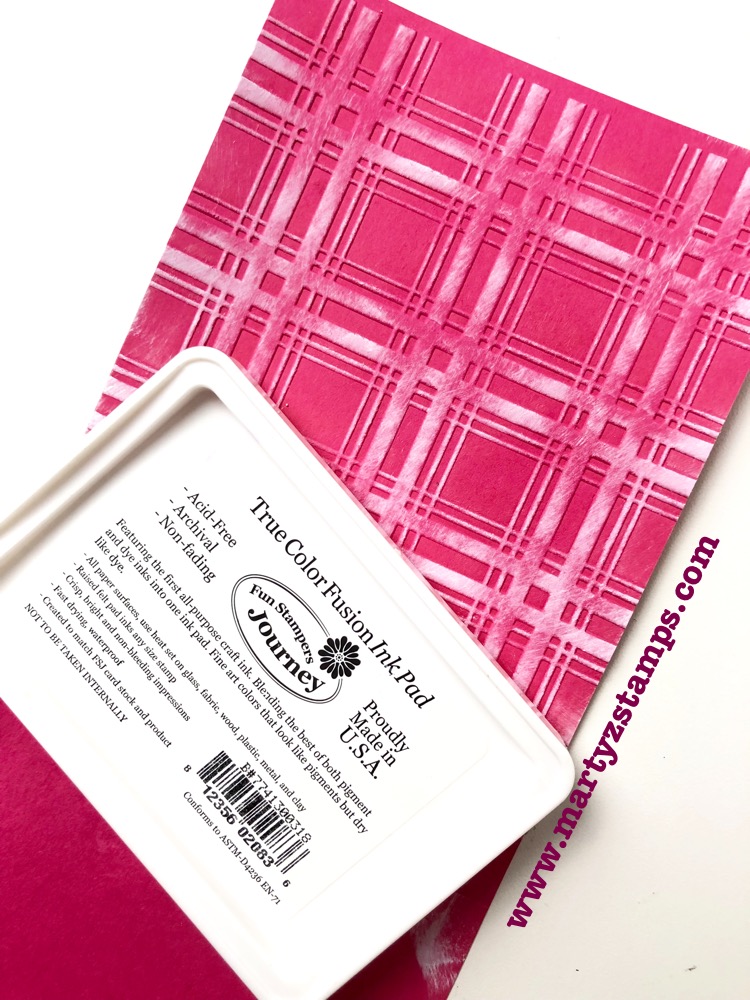
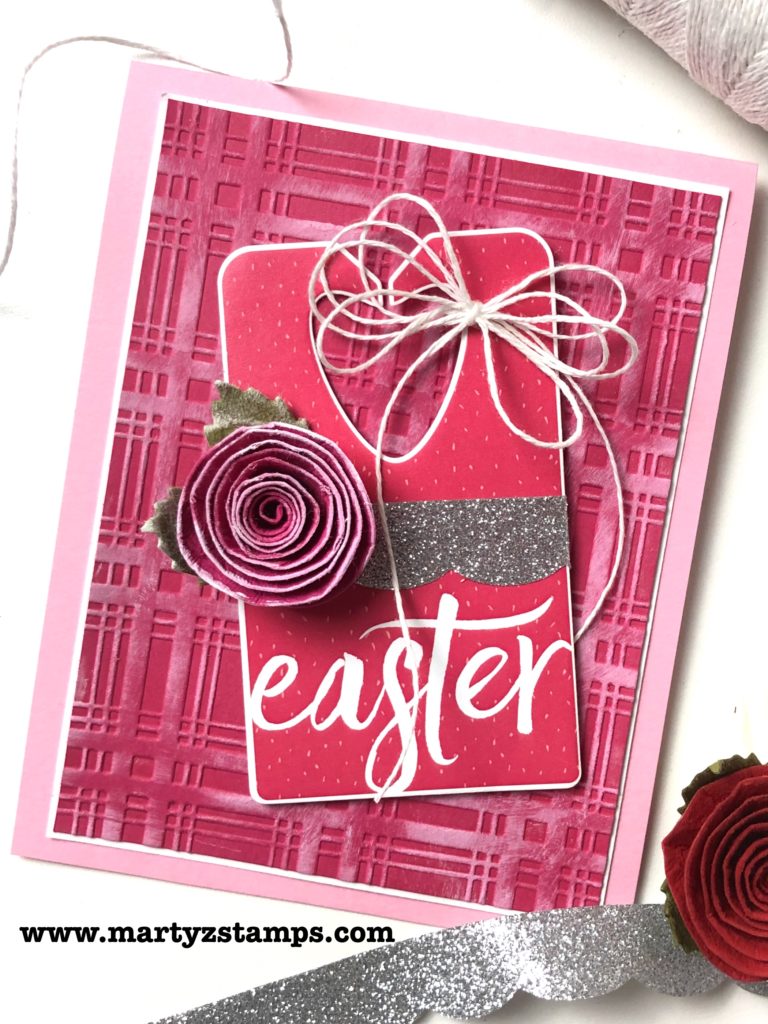
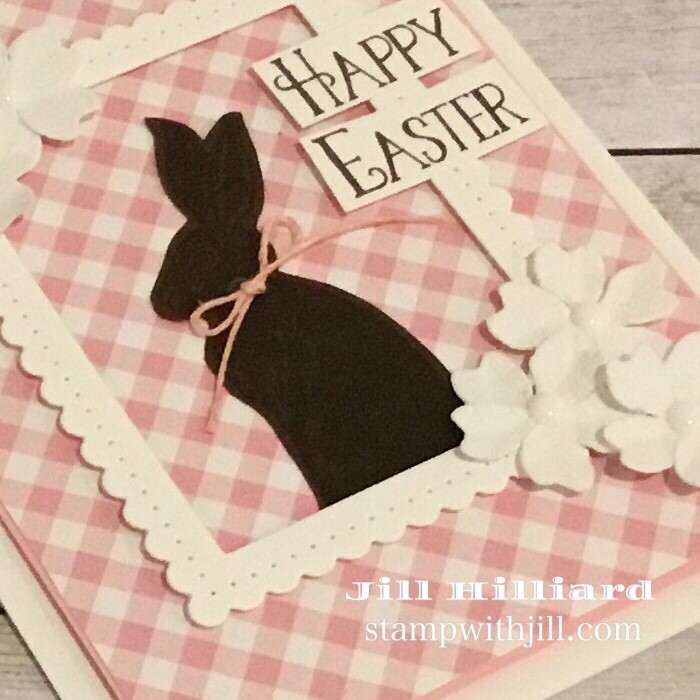
Last but not least, I used the Pretty Plaid Embossing Folder to create a background for this card project and placed another Easter Blessings Tag onto the card for the sentiment.

I applied Whip Cream Fusion Ink IP-0009 to the raised portion of the embossed Sweet Berry cardstock CS-0034.

I pulled from my FSJ stash the following to create this card project: Love Buds AC-0177, Whip Cream Thread AC-0128 and Silver Sparkle Tape AC-0259.

I applied the Whip Cream Fusion ink to the petal edges of a medium Love Bud, wrapped a piece of the Silver Sparkle Tape around one of the Easter Blessing Tags and created a quadruple bow from the Whip Cream Thread. I adhered everything to the card mat and base with the tag sentiment raised with Medium Foam Squares AD-0085.

What a WOW card that was quick and simple to make!

If you hop off the trail, hop right back on by clicking one of the Design Team names below or click on the FSJ banner to check out the official FSJ blog.

Marty McGee (You Are Here!)

Carrie Rhoades

Christine Chan

Jill Hillard

Lezlye Lauterbach

Kazan Clark

Alissa Hall

Supplies:

Note: For new release product, click on product name in blog to shop.
Y’all it’s time again for the FSJ + SB Creative Design Team Blog Hop and I have a surprise for you. I am stepping out of my comfort zone and creating some quick and simple cards that can be used for Valentine’s Day, Anniversary or just to say you care about someone special.

One of my favorite sets is in the spotlight, Perfect Atoms Stamp Set and Dies (SS-0457 and DI-0315), along with, You and Me die (DI-0159). There are endless possibilities with these sets. Where the fun of creating never stops!

The first card is all about lighting up someone’s world. I pulled out a scrap of Whip Cream cardstock, rubbed a little Lemon Drop Fusion ink onto two areas. I die cut one of the colored pieces with SB Nestabilities Fancy Edged Rectangles Dies (S4-905) and stamped the light bulb image onto the other using Black Licorice Fusion ink and die-cut it out with the coordinating die. Of course, the bulb had to have a little Journey Glaze to give it that sleek shiny look of glass. The base is Whip Cream with the die cut mat adhered directly to the base. The light bulb is popped out with FSJ Medium Foam Squares. I stamped the sentiment in the bottom right hand corner and highlighted the would light with a FSJ Color Burst pencil (any yellow will do).

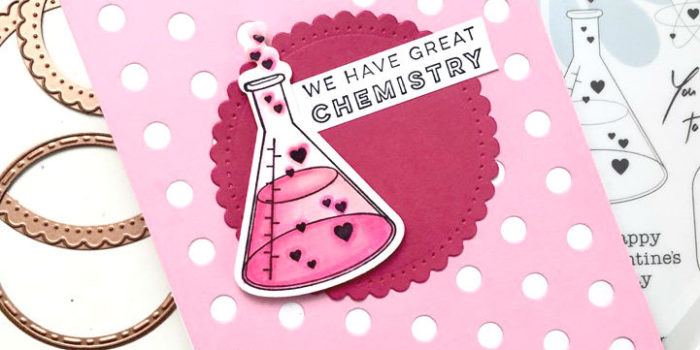
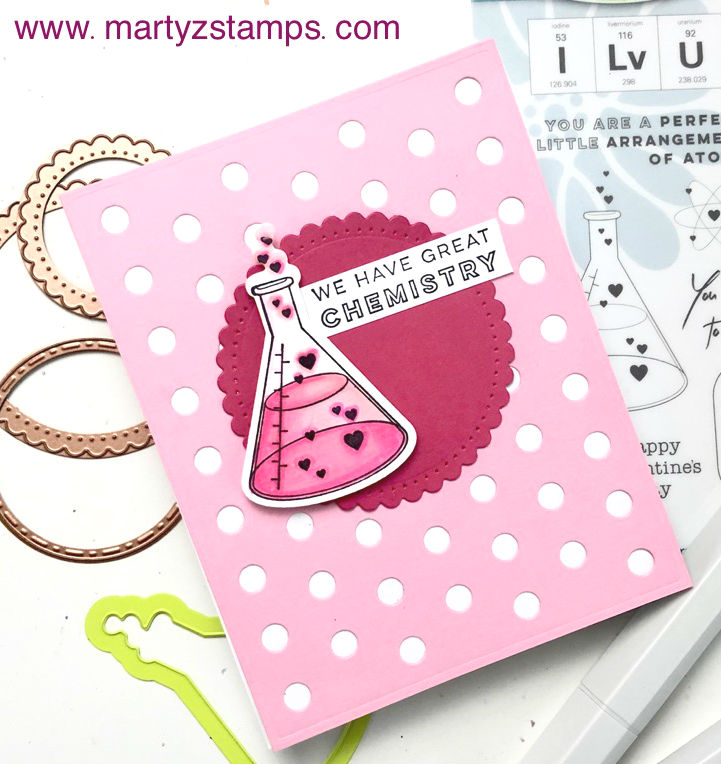
The next card is all pink. The base is Whip Cream with a Bubble Gum cardstock mat die-cut from Lots of Dots Die Set (DI-0424) and adhered directly to the base mat. The scalloped circle is die cut from Sweet Berry cardstock with the Nestabilities Fancy Edge Circle Dies (S4-903). The flask and sentiments were stamped with Black Fusion ink onto Whip Cream cardstock and the flask is colored with Spectrum Noir alcohol markers.

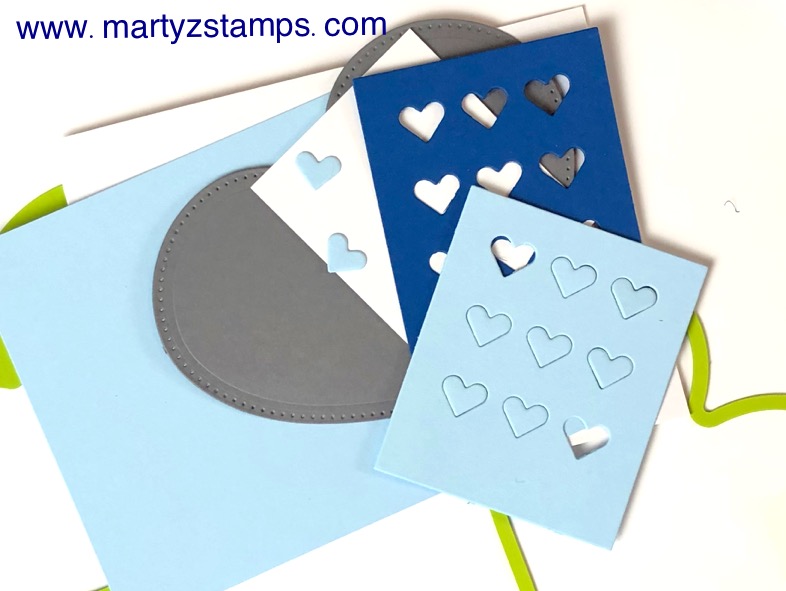
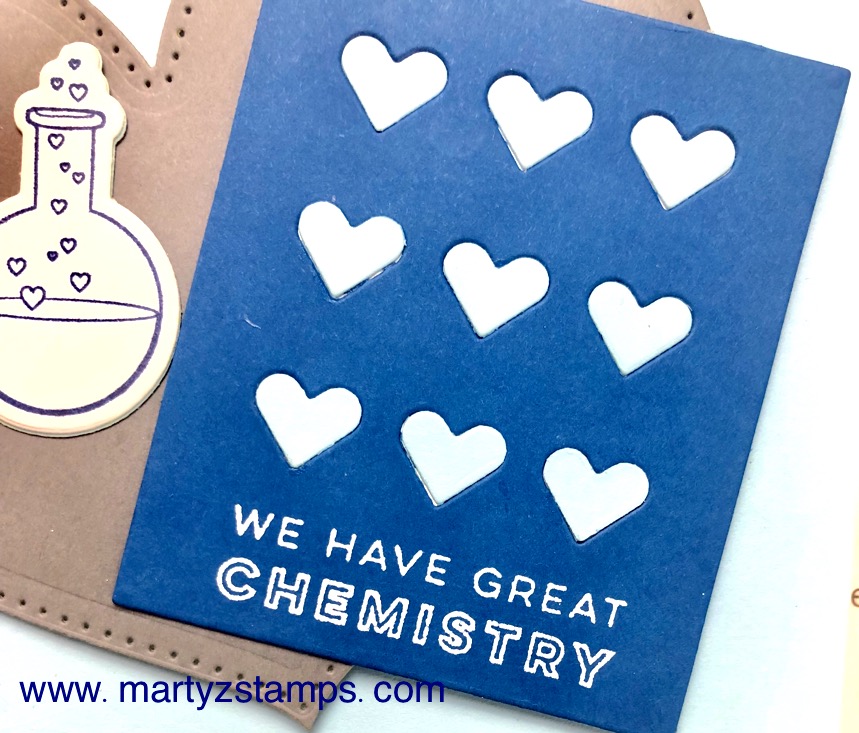
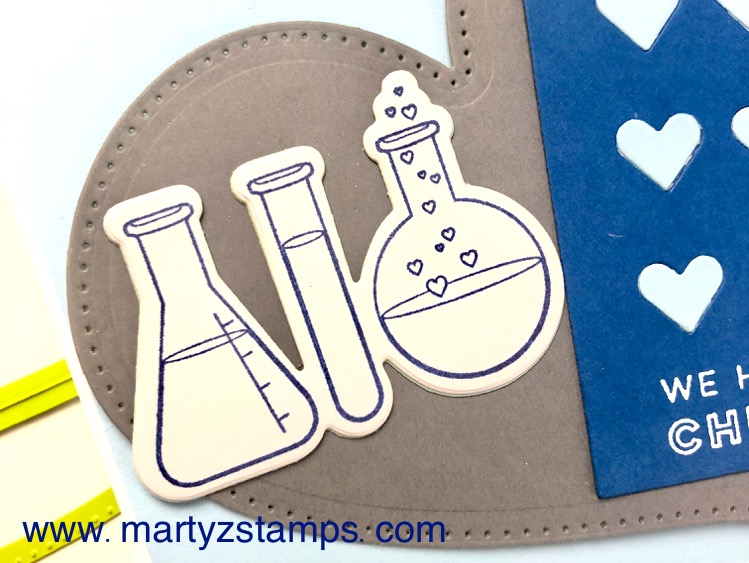
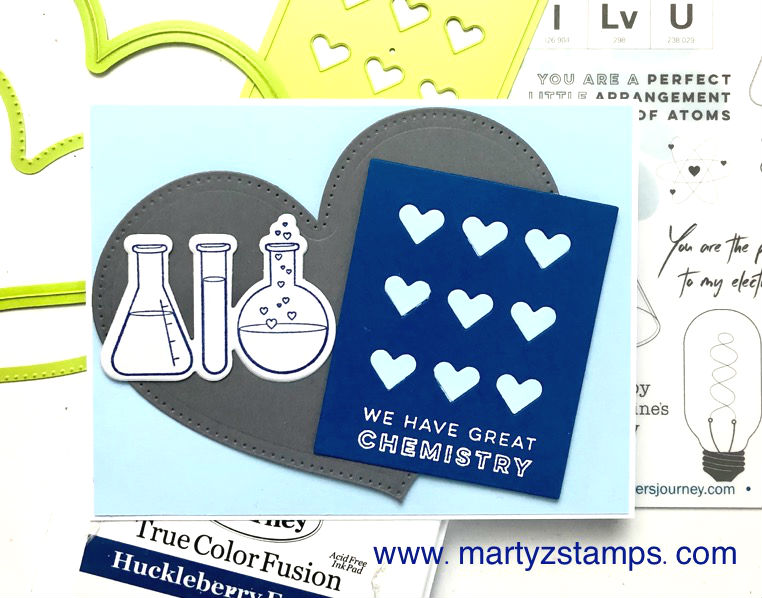
Now, we can’t have a pink card without a blue one, can we? This card is on a Whip Cream base with a Pool Play mat. The heart is die-cut with the Heart Felt Die and Piercing Elements Sets (DI-0033 and DI-0096) from Riverstone cardstock. The accent piece is die cut from Huckleberry Fusion cardstock using the Bunch of Hearts Die Plate (DI-0501). I adhered a piece of scrap white paper behind this die-cut piece and cut a second panel from Pool Play cardstock. I took the hearts from the second cut and enlaid them into the cut out hearts portion of the Huckleberry Fusion panel. The sentiment was stamped with Whip Cream ink and embossed with white embossing powder. The flasks were stamped using Huckleberry Fusion ink onto Tin Pail cardstock. The heart and panel are popped out with medium foam squares.

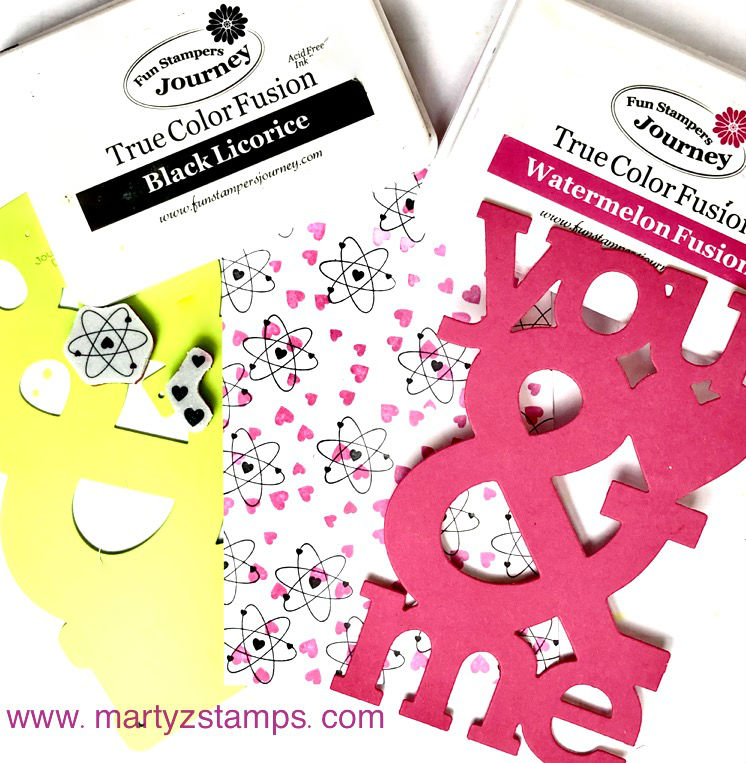
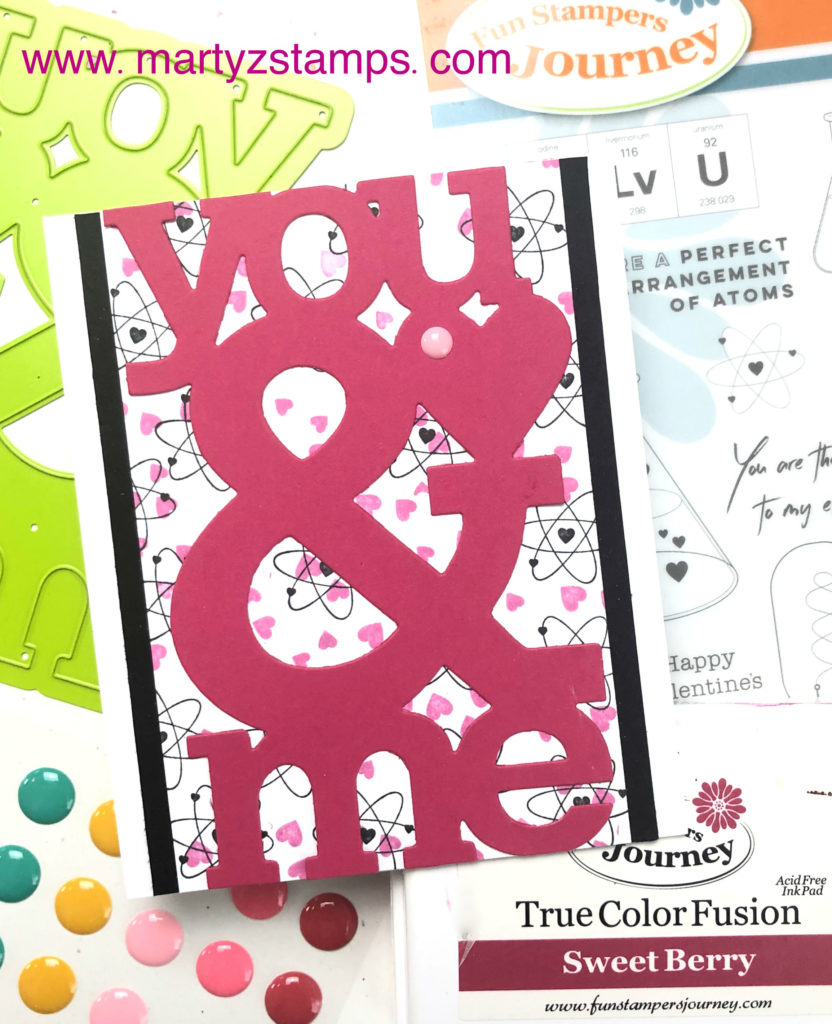
Last but not least is the adorable You and Me card. The base is Whip Cream cardstock with a Black Licorice Panel. To create the stamped background, I stamped the atom image onto Whip Cream cardstock using Black Licorice ink. I took the small cluster of hearts and stamped them all over using Sweet Berry ink. The You and Me sentiment is die cut from Sweet Berry Cardstock with a Bubble Gum pink Candy dot accenting the heart. All pieces are adhered directly to each other. No foam squares on this one! I can’t believe it, either. Note: This card is slightly shorter. I wanted the die cut sentiment to touch the top and bottom of the card. The finished dimensions of the card 5 1/8″ x 4 1/4″.

Let me know in the comments if this has inspired you to create some quick, simple and clean follow your heart cards for those special someones in your life.

If for some reason you get lost while hopping down the FSJ Creative Team Blog Hop trail, just click here and you will be directed to the FSJ blog.

Marty McGee (You are here!)

Carrie Rhoades

Christine Chan

Jill Hillard

Alissa Hall

Kazan Clark

Lezlye Lauterbach

Supplies:

  • Perfect Atoms Stamp Set
  • Price: $20.95
  • Sku:SS-0457
  • Price: $18.95
  • Sku:DI-0315
  • Price: $19.99
  • Sku:S4-911
  • Price: $19.99
  • Sku:S4-905
  • Price: $18.95
  • Sku:DI-0424
  • Price: $24.95
  • Sku:DI-0033
  • Heart-Felt Piercing Dies
  • Price: $19.95
  • Sku:DI-0096
  • Price: $12.95
  • Sku:DI-0159
  • Price: $6.95
  • Sku:CS-0040
  • Price: $6.95
  • Sku:CS-0003
  • Price: $6.95
  • Sku:CS-0099
  • Price: $6.95
  • Sku:CS-0034
  • Price: $6.95
  • Sku:CS-0092
  • Price: $6.95
  • Sku:CS-0015
  • Price: $6.95
  • Sku:CS-0094
  • Price: $6.95
  • Sku:CS-0147
  • Price: $7.95
  • Sku:IP-0043
  • Price: $7.95
  • Sku:IP-0041
  • Price: $7.95
  • Sku:IP-0035
  • Price: $7.95
  • Sku:IP-0009
  • Price: $7.95
  • Sku:IP-0029
  • Price: $79.95
  • Sku:JM-0077
  • Price: $7.95
  • Sku:TO-0138
  • Price: $5.95
  • Sku:IP-0098
  • Price: $5.95
  • Sku:AC-0275
  • Price: $9.95
  • Sku:AD-0002
  • Price: $2.95
  • Sku:AD-0085
  • Price: $6.95
  • Sku:AD-0001


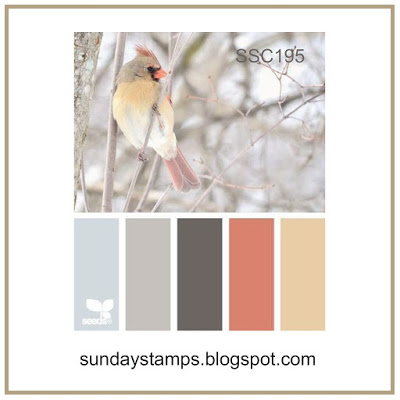
My goal for this year is to find new card challenges to enter. As I started making this goal happen, I stumbled across the Sunday Stamps blog. The sketch for this challenge is a color combo.

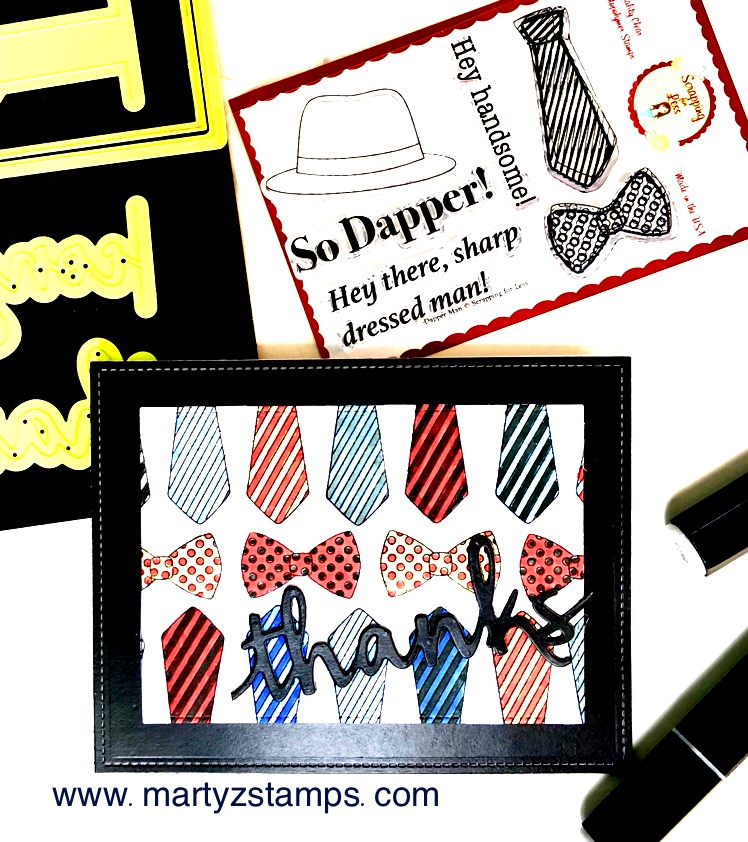
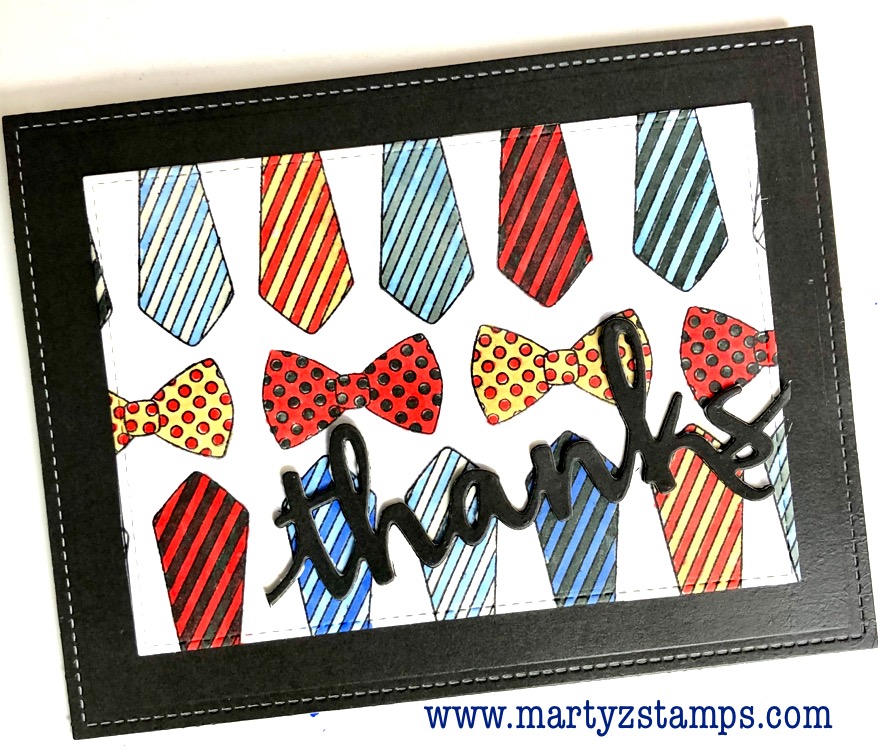
I love these colors and as it happened, I had the November 2018 Scrapping for Less Kit that had some stamps crying out to be used. I took one of the kits and created a thank you card with a masculine theme. Here’s a view of the tools I used.

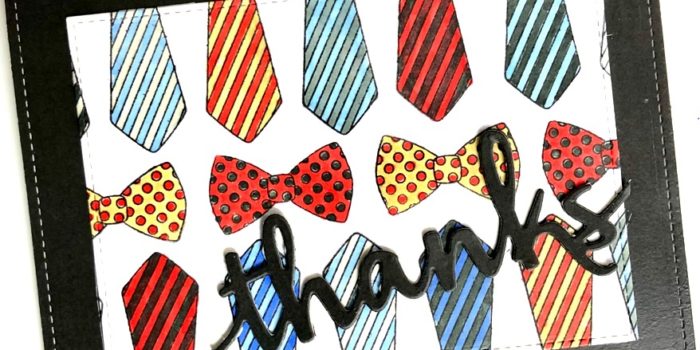
This card is clean and simple (not so quick due to the coloring). I took the “Dapper Man” kit with its coordinating paper to create a fun thank you card. The colored images began by stamping the neck ties and bow ties onto Neenah Solar White cardstock with FSJ Black Licorice Fusion ink. I colored the ties with Spectrum Noir Markers OR3, EB2, IG5, TB1, TB2 and GG1. The sentiment was die cut from the SFL coordinating cardstock base featured on the card and layered on two more “thanks” die cuts from Black Licorice cardstock to create dimension. Both the base mat and image mat were die cut with stitched rectangle dies from my stash.

I hope this inspires you to create.

Supplies:


Y’all it is Day 4 of the FSJ + Spellbinders Better Together launch. I had a little time to whip up a gift tag project and once the recipient of the gift opens their package, the tag can be re-purposed as a tree ornament.

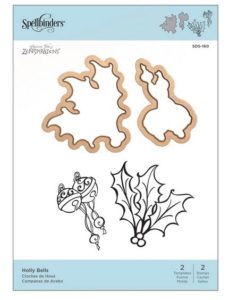
The following stamps and dies were used for the project:

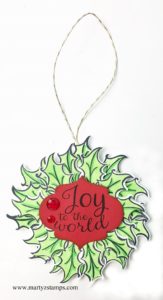
holly bells, gold embossed holly leaves

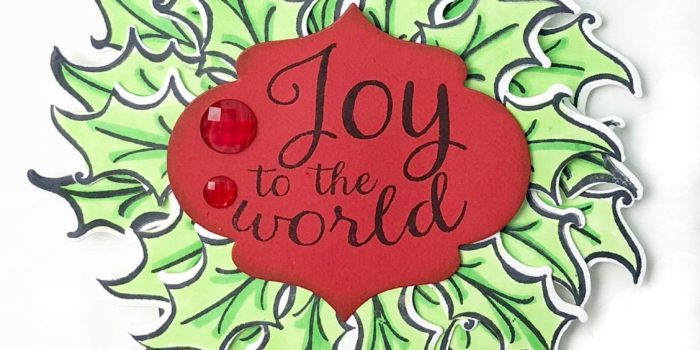
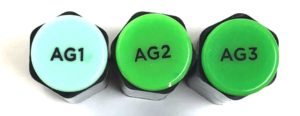
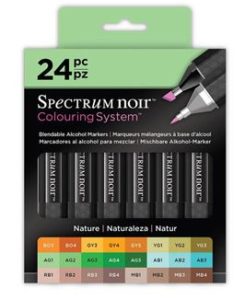
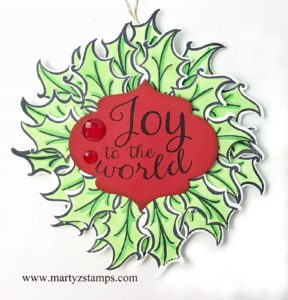
In celebration of the 30 Day Coloring Challenge, I decided to use my Spectrum Noir alcohol markers to color the holly leaves. I stamped them onto Spectrum Noir cardstock using Memento Tuxedo Black ink. Markers AG1, AG2, AG3 were used to color the leaves. Once colored, they were die cut with the Holly Bells coordinating die. I glued the leaves to a round scrap of cardstock creating multiple layers with medium foam squares.

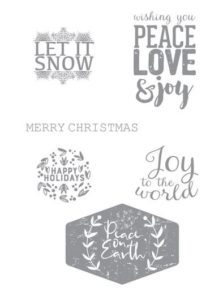
The center sentiment was stamped onto Candy Apple cardstock with Memento Tuxedo Black ink and cut with Holiday Joy’s coordinating die set Special Day Tags Die Set. Two red Rainbow Drops were added to the sentiment for a touch of bling.

The final step was to create a twine loop to hang the ornament on a tree using Gold Thread. It was adhered to the wreath and a Candy Apple cardstock circle adhered to the back to give a finished look.

If you like coloring, this is definitely the project for you.

I hope this inspires you to create some Christmas Tags for those special gifts for family and friends.

Click on images below to order:

Holly Bells Wreath Gift Tag-2

It is Day 3 of the FSJ + Spellbinders launch. So many awesome products and so many ways to bring paper to life!
I decided to do something a little different than a regular A2 size card.

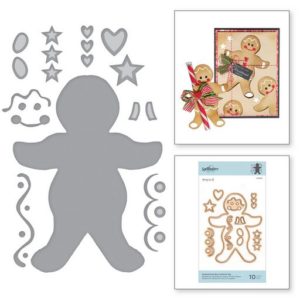
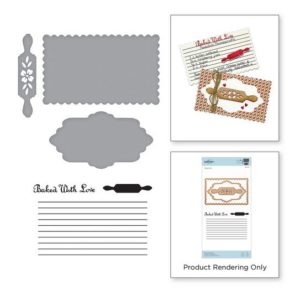
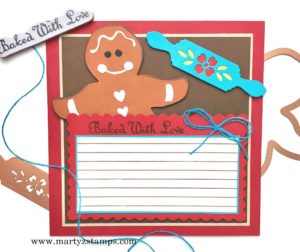
Today’s inspiration showcases Spellbinders Gingerbread Boy Garland Tag and Recipe Card set by Sharyn Sowell.
I featured a 6 x 6 recipe card because they hold a special place in my heart. For over 10 years, I held a Christmas In The Woods Stamp Camp, each participant created a 6 x 6 recipe card swap and made the dish featured on the swap. So many wonderful dishes were enjoyed over the years. I still have every swap safely stored in 6 x 6 scrapbook albums.
Here are the stamps and dies I used on this project:

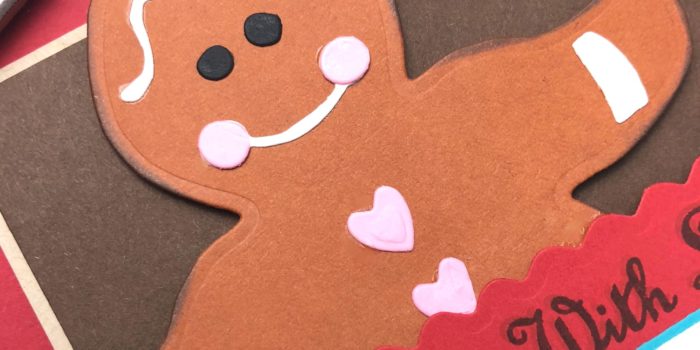
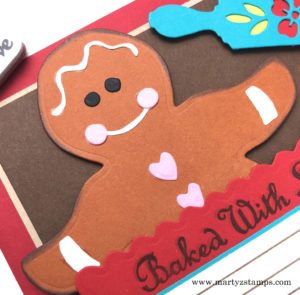
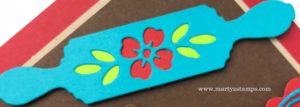
There are no special techniques used to create this project, just die cutting and a little stamping. Cardstock used on the Gingerbread Boy are Pumpkin Bread, Whip Cream, Bubble Gum and Black Licorice with the edges of the “boy” sponged with Pumpkin Bread Fusion adding depth to the die cut figure. The Candy Apple rick-a-rack mat has a Butter Cream mat with Hazelnut Blend stamped lines. The sentiment “Baked With Love” is stamped first with Pumpkin Bread Fusion Ink and then offset slightly and stamped with Hazelnut Blend Ink. The absolutely adorable rolling pin is cut from Turbo Teal cardstock with a Candy Apple red flower and Electric Lime leaves. I adhered a double bow from the Beach Breeze Twine onto the rick-a-rack mat. All die cuts are popped out with medium Foam Squares. The mat dimensions are 5″ x 5″ Hazelnut Blend mat, 5 1/8″ x 5 1/8″ Oatmeal Cookie mat and a
5 7/8″ x 5 7/8″ Candy Apple base mat.

I hope this inspires you to create recipe cards to give to family and friends or to start your own recipe album.

Click on the images below to order:

Gingerbread Boy Recipe Card

PJs and Papercrafting is OPEN for registration featuring the Gnome For The Holidays stamp set!

Grab your favorite PJs or comfy clothing, put them on, gather your supplies, prepare to wind down, relax and get ready to craft; because, YOU are invited to join me on November 11th, 7:00 p.m. EST for a Facebook Live to create  3 beautiful fancy fold card projects using the Gnome for the Holidays stamp set.

When you place your order, you will receive an invitation to my private Facebook group, PJs and Papercrafting. There you will have access to a printable PDF for the class projects and access to the Facebook Live video class.

You will need:

Basic supplies on hand to make these projects, such as adhesive, scissors, trimmer with scoring blade, foam squares, crease tool, coloring tools (pencils, watercolors, markers) and a multi-purpose tool. I have shared below what I will be using. I have listed several ink pad colors. For example, Candy Apple or Cranberry Bliss will work for these projects as well as two of the green inks. Use what you have or click on the images to purchase exactly what I am using (note: all pieces will be embossed or die cut).

Product List


PJs and Papercrafting will be held LIVE on the PJs and Papercrafting Facebook group, Sunday, November 11th at 7:00 p.m. EST. If you cannot make the LIVE event, the video will be available for viewing after the event in this group. You will be added to the group about one week prior to the LIVE class. If we are not currently friends on Facebook, send me a friend request when you sign up.

Registration Options

NOW through October 29th, Friday, 11:59 p.m. EST for Option 1 or 2 Class

NOW through November 2nd, Friday, 11:59 p.m. EST for Option 3 Class.

Included in the Gnome for the Holidays Nov./Dec. 2018 Kit:

Option 1: Full Kit (Bundle) – $65.00
Includes the Gnome for the Holidays (Bundle) stamp and coordinating die along with all supplies (excluding basic supplies), PDF and online content.


Option 2: Full Kit (Stamp set only) – $47.00
Includes the Gnome for the Holidays stamp set only along with all supplies (excluding basic supplies), PDF and online content. 


Option 3: Materials Only – $23.00
3 fancy fold card project kit ONLY (does not include the stamp or die), PDF and online content. This is a great option if you already own the Gnome for the Holidays stamp set and/or dies. Coaches are welcome to participate with this option.


All products for the kits will be ordered and prepared by me after the registration deadline of October 29th for product orders and November 2nd for class only orders, 11:59 p.m. EST. If for some reason during the transition from FSJ to Spellbinders + FSJ the stamp set/bundle are backordered, I will stamp your images and send them with the kit so you will be able to partake in the FB Live event. Your order will be shipped to you at a later date.  Class kits can only be mailed within the United States (additional charge may apply for Hawaii and Alaska).

Expected shipping date of all kits is November 4th.

Can’t wait to create with you!

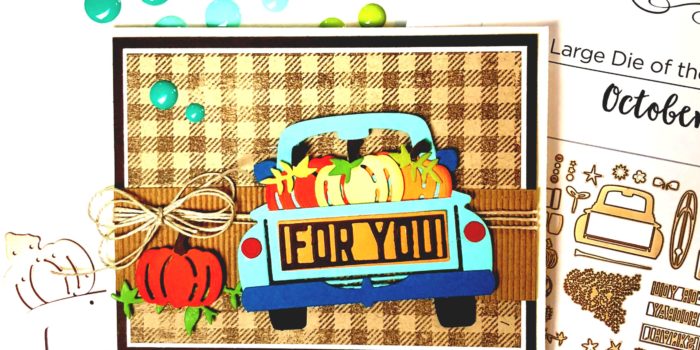
Do you love dies as much as I do? I confess I am a die addict and if you love dies like I do, then you are one too. When FSJ partnered with Spellbinders, I couldn’t get enough viewing time of their die selections. One of Spellbinders biggest Wow products, to me, is their Die of the month club. This month’s Large Die Club features an adorable truck with a truck load of accessories.

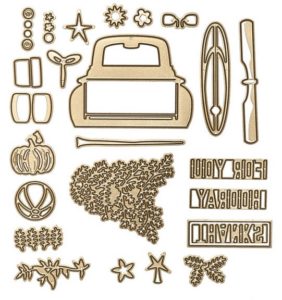
Here is a look at all the dies:

There are endless possibilities as to what you can make with with this set. My friend, Debbie Kissel, joined the Large and Small Die Cutting Club (a much better price point) and she was so gracious to bring both sets over for us to create a card project (we had no more than two hours of creating time; therefore, one card). She thought pumpkins would be good and I agreed.

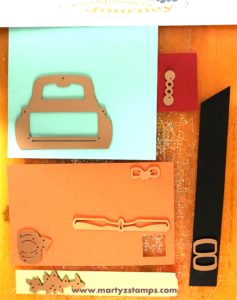
The process began with me choosing the color combinations and cutting out the pieces on my Platinum die cutting machine.

Such a great use of scraps and it saved on cutting time as well.
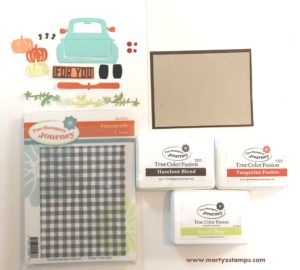


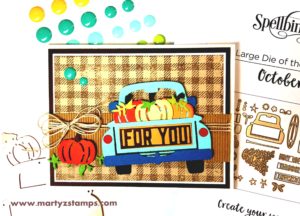
As you can see in the picture below, I have a base of Butter Cream CS, a Hazelnut Blend base mat, a Buttercream mat (not shown) and an Oatmeal Cookie mat. The truck is Cool Pool with a fender and side view mirrors cut from Blue Lagoon CS (photo shows Tangerine Fusion, but as we put the truck together the side view mirrors blended in with the pumpkins – time to rethink those colors). The pumpkins are Sweet Pear, Tangerine Fusion, Citrus Cooler with Hazelnut Blend stems. The sentiment “For You” is cut from Hazelnut Blend and matted on Citrus Cooler. Of course, there are red tail lights and black tires. Last but not least is the greenery, it is Limeade Splash, Sweet Pear and Green Olive cardstocks. The stamp set is Flannel Life and the inks are Hazelnut Blend, Tangerine Fusion and Sweet Pear.

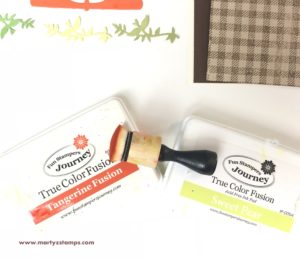
Before I began the assembly process, I sponged the edges of the pumpkins with their coordinating ink and I stamped the Flannel Life onto the Oatmeal Cookie with Hazelnut Blend.

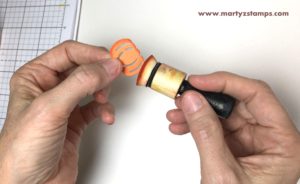
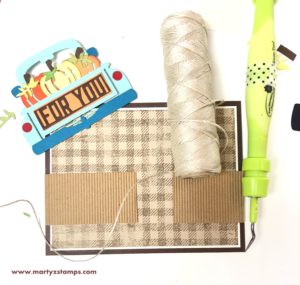
Now comes the fun part, putting the truck together! Once the truck is assembled, it is time to bring the card together. I wanted to keep this rustic and “fallish”; so, I grabbed a piece of Corrugated cardstock and trimmed it. As you can see it wasn’t wide enough, but no problem, I just cut it in half and glued it down knowing the truck would cover up the gap. Some loops of Natural Twin with a triple ribbon with tie everything together.

Last but not least is a final accent piece. I placed a couple of Candy Drops in the upper left hand corner.

It is just too cute! Such a fun and relaxing project.


As we move toward November and the final transition to the new Spellbinders + FSJ team, I hope this inspires you to check out Spellbinders today. The FSJ products will not be available on the Spellbinders website until November 1st. I have those supplies below the Spellbinders Banner. Click on a product from there and you will be taken to my FSJ website where you can order.

In this new transition of partnering with Spellbinders, I have become a part of the Spellbinders + FSJ affiliate program.  If you would like to purchase a Spellbinders product, please click on the banner below. It will take you to their site. I will receive a commission on anything you purchase at NO ADDITIONAL cost to you. This helps me to continue creating inspiring products for you.

Spellbinders NEW Monthly Die Cutting Clubs

Product List

PAGE TOP
[dealsbar preview] Amazing Deals: !!toolbar-deal-title!! - !!toolbar-deal-merchant!!