Tag : fun

5 posts

Yes, I have a new craft room, and it’s dedicated to only papercrafting. There is not my computer with paper clutter from bills, office work (I work from home), printers, other computers, etc., etc., etc, . . . .  So refreshing!

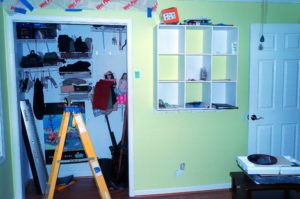
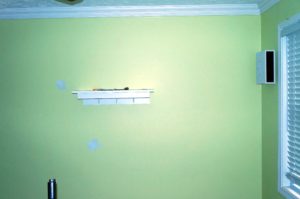
It all began when my son moved out. I had initially wanted his and Ryan’s old room because it has built-in shelves and drawers (my husband made them – he’s sooo talented at woodworking), and I thought this would be perfect to store all my crafting supplies, but the room is the smallest room in our house and I wanted a little stretching room; so, I took over my daughter’s old room, which had become my son’s room when she married and moved out; therefore, the Electric Lime walls you will see in the before pictures below (Josiah never cared about repainting – such a guy thing).
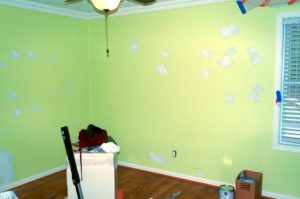
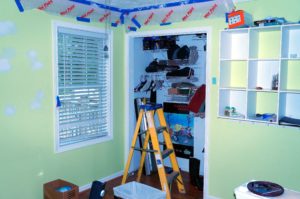
As you can see in the closet photos, it was still full of his things and he has been moved out for several months.

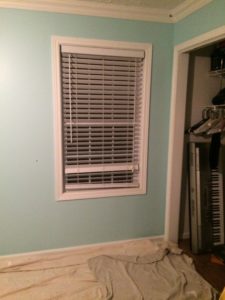
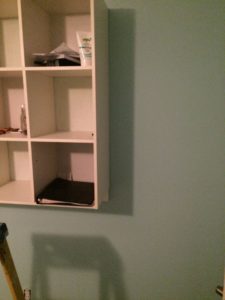
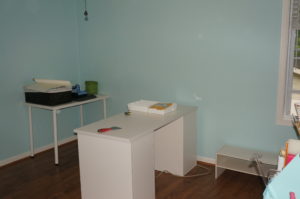
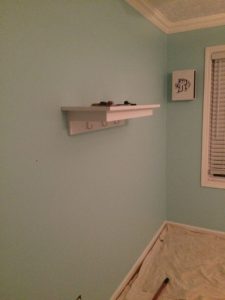
Josiah, my son, has been painting as a side job for the last year; so, I paid him to repaint my walls a nice light blue/green color. In real life it looks more light blue (FSJ Pool Party). I was aiming more for FSJ Cool Pool, but I am definitely not good at determining what pain chip colors will look like on a wall and in different lighting. Even though, it’s not the color I thought I was choosing, I really like it. It is light and bright and invites you to come in and create.

He painted the room while I was on vacation so the room could air out before I got back.

Here are the pictures of right after Josiah painted.
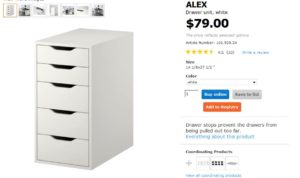
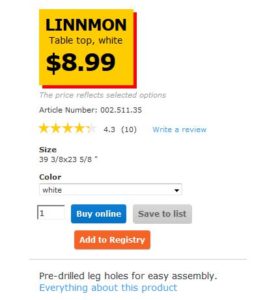
Once the room was painted. I got my son, Josiah, to go with me to The Container Store to purchase the desk tops. I chose these because the comparable ones at Ikea were a little too wide and when two desks are back to back you cannot easily pass supplies to the person across from you. Then, we went to Ikea to purchase the file cabinets, legs and small desktop. Here are the items I purchased:

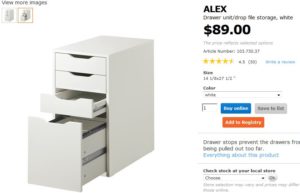
Ikea has a corner desktop for $49.00 I may purchase in the future, and I will probably purchase another desk top from The Container Store as well. Note: If you have any chemical sensitivities, the Ikea table top and file cabinets give off a chemical smell that could trigger an asthma attack or cause bronchial issues. I had to have my husband seal the underside of the Ikea table top and as many of the desk drawer bottoms as he could – he had already put together one whole file unit before I asked him to seal any exposed areas.

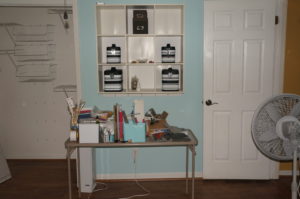
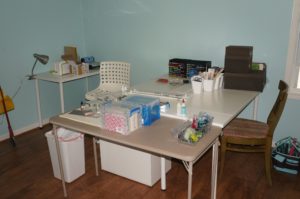
Once my husband put everything together for me, the process of moving crafting supplies began. Here are some moving into the room pictures.
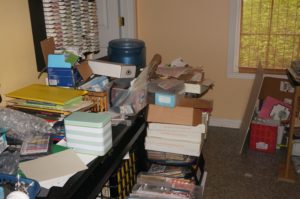
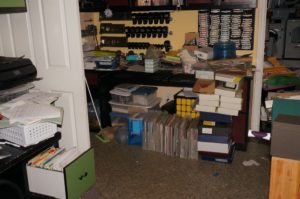
 

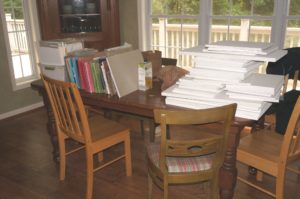
The stacks of paper, trimmers, shelves, die-cutters, etc., is a result of my friend, Cheyenne, deciding I needed my bookshelf my husband had made for me years ago in the closet of the craft room. I told her it could not be placed in the room because we have a right angle turn and the shelves are ceiling height. That did not deter her. Before I knew it, she had taken everything off; thus, the stacks of supplies, and had Kenneth helping her to move it to the room. Here is the picture where they decided it couldn’t fit through the hallway into the room.
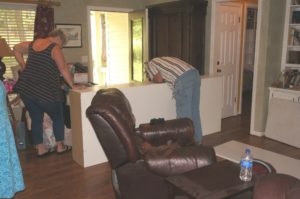
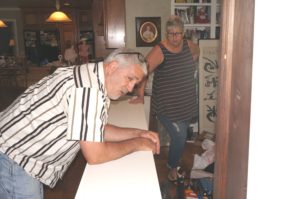
Well, never to be hampered by any obstacles, Cheyenne asked Kenneth to cut the shelves in half and then we could stack them on top of each other in the Craft Room closet. Bless his heart, this was one of the few and rare days he had off and there he was sweating to death in the blazing heat cutting the shelves in half. He is the best!

I did not get a picture of Kenneth in the process of re-imagining the shelves, but here is a picture of them in the closet.
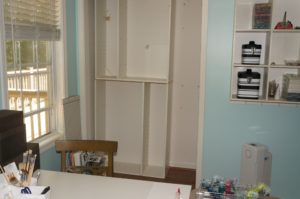
I took the top one and flipped it upside down to add a little interest to unit.

I will be taking more pictures of the room in a more finished version. I still need to have either my daughter or husband spray paint my stamp pad holder white and I want to purchase some pvc gutter pipe and make a few ribbon holders. I am very pleased with how the room has developed. If you look at the closet picture above and to the right of the bookshelf is un-used wall space. I need to spackle the holes in the wall (where the previous shelves were hung) and paint the wall white; then, I’ll have my husband make a few more shelves. My goal is to have nothing on the floors; everything on a shelf.

Make sure to keep an eye out for New Craft Room – Part Two.


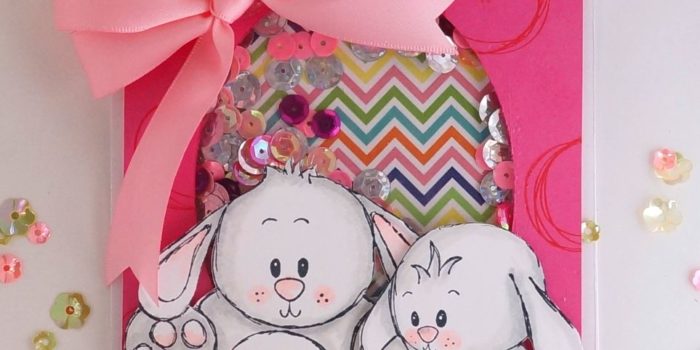
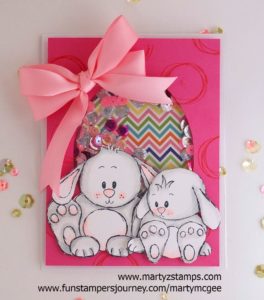
Here in Georgia, the weather is fine, the trees are blooming, the birds are building their nests, and wouldn’t you know the most adorable bunnies showed up in my craft room wanting to make a grand entrance as well. They hopped right over and posed for a Pretty in Pink Bunny Delight portrait.

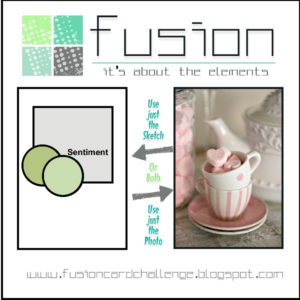
This was perfect timing for the Fusion Card Challenge – Pretty in Pink. Fusion Card Challenges allow three variations to a crafter’s designs. First choice, you can choose just the template layout; second choice, you can choose the color theme; or, you can combine both into one design. I decided to stick with the color theme of PINK.

Once the bunnies were settled down and ready for me to create, I stamped their images onto Spectrum Noir cardstock using Fun Stampers Journey Spring Fling stamp set. I then colored them with the following Sprectrum Noir Alcohol Markers: The bunnies heads and bodies IG1 and IG2; their ears, feet, bellies, cheeks, and noses PP1. This was a very simple and easy coloring project. Great for beginners. They are just too cute.

The base of the card is Fun Stampers Journey Whip Cream cardstock, and the mat with a large oval cut out of it is FSJ Watermelon Fusion cardstock.  I stamped circles with FSJ Watermelon Fusion ink from the FSJ Planner Sketch stamp set. An acetate sheet was placed behind the Watermelon Fusion mat. The zig-zag accent mat is from Pink and Main Spring Fling 6×6 paper stack. The Watermelon Fusion mat is raised using a double layer of foam tape. The bunnies are popped-out using FSJ Foam Squares Medium. The sequins in the oval are assorted sequins from my stash (Note: a horizontal strip foam tape about a 1/2″ up from the bottom of the oval to keep the sequins from “disappearing” when the card is upright). The final touch is a double bow created from SU! pink ribbon.

Such a cute card.

Supplies:
Fun Stampers Journey supplies can be ordered through me – click here

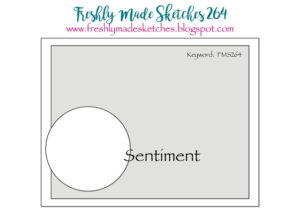
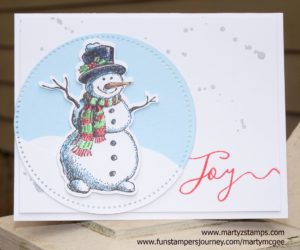
Thanksgiving is over, and I’m on track this week to posting some card challenges. The first one of the week is Freshly Made Sketches #264.

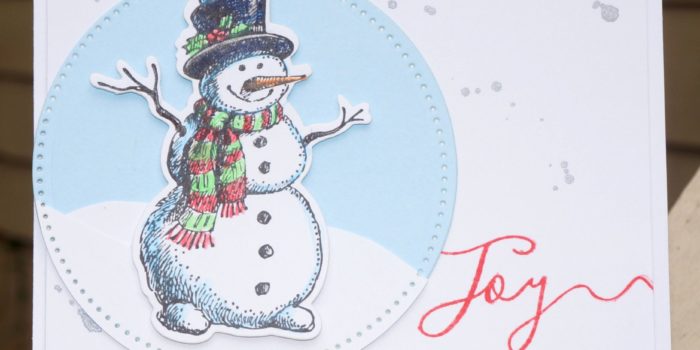
I have the perfect stamp to make a super cute and simple card. It is Fun Stampers Journey (FSJ) ATS (Artist Trading Stamp) Frosty Fun and its coordinating die.  I stamped Frosty in FSJ Black Licorice ink onto Whipped Cream cardstock. I colored him with FSJ Color Burst pencils. Once I finished coloring him, I cut him out with his coordinating die. The circle is cut out with the FSJ pierced Circle Dies using FSJ cardstocks Pool Play and Whipped Cream. Frosty is attached using FSJ Foam Squares (medium). I accented the background with FSJ Silver Splash and added a sentiment in FSJ Candy Apple ink using the word “Joy” from the Holiday Script stamp set. Here is the main attraction:


All supplies used are from Fun Stampers Journey. If you would like to create this card for yourself, please feel free to check-out my FSJ website to place an on-line order (click here).

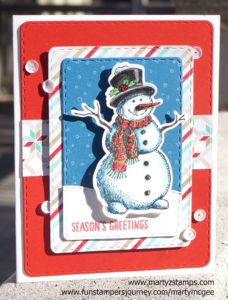
Every year I host an opportunity for my stampers to make Christmas cards to give to friends and family. This year was no different. I chose three Fun Stampers Journey stamps to highlight for this Make-It opportunity. The first card was featured in a previous card challenge post. I chose the Frosty Fun ATS (Artist Trading Stamp) and coordinating die set for this card. I used a card layout I saw on YouTube by Christy Gets Crafty 2015 card tutorial. There is one difference between the previous post and this card. The blue mat to which Frosty is adhered. My FSJ Catalina Splash cardstock came in and I changed the blue mat to the Catalina Splash cardstock mat.


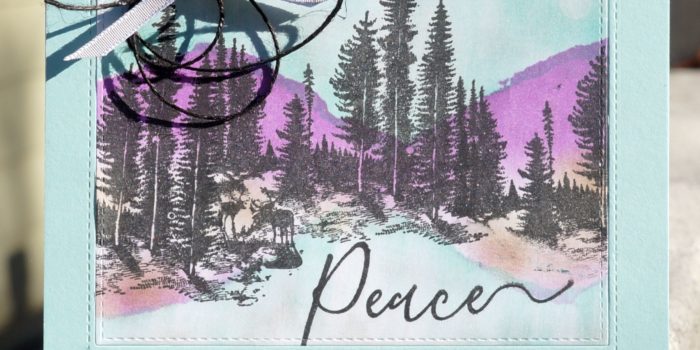
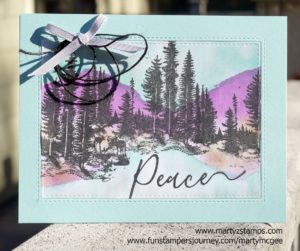
The second card features the Stay Wild ATS. The inspiration for this card came from another FSJ Coach, Sara Hoogendoorn. She took the Stay Wild ATS and stamped it multiple times across her neutral cardstock to create a stunning wooded landscape making sure the deer are not stamped with the second and third generation of the image. I used torn paper along with sponge daubers using FSJ inks – Cool Pool, Lavender Fusion, and Hazelnut Blend. The water and sky are lightly accented with the Silver Pan Pastel. Black Licorice twine and a silver bow are adhered in the top left corner of the card. The sentiment comes from the FSJ stamp set Holiday Script. Love This CARD!


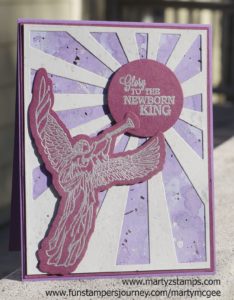
The last card was created using the FSJ Angel Herald stamp set with the Sun Rays Die. This card is a mixture of FSJ cardstock and other cardstock I had on hand. Yes, I’m working on filling my FSJ paper gaps. The angel and words are embossed using silver embossing powder. The mat behind the die cut cardstock was created by blending Blue Lagoon and Sweet Berry Splashes with water onto an acetate sheet; then, Silver and Dark Roast silks were added to accent the mat. Love this technique!


My stampers created 15 cards with these designs (5 cards of each design). These are quick, simple cards to create. It took them on average about 3 1/2 hours to complete these projects. I hope this inspires you to Create and Share your own cards.

Fun Stampers Journey provides a monthly card kit called the Bloom Box. Since I am new to the Fun Stampers Journey (FSJ) products, I decided to sign up for their Bloom Box card kit. I knew it was a six-month commitment, but after looking at the past Bloom Boxes, I knew this would be a commitment I wouldn’t regret (click here to see past Bloom Boxes). I had one other friend sign-up for this kit. We received our Bloom Boxes on the same day, and we scheduled a day to get together to complete our cards. You might be asking what is the cost and what is included in the Bloom Box. It includes a full stamp set valued at $16-18, pre-cut cardstock and accessories to complete four cards. You use your own ink, scissors, and adhesives. If you live close to Buford, GA, my Bloom Box crafters get together to complete our kits and I provide the ink and other tools you might need. You bring scissors and adhesives.

If any of you know me well, I can’t just follow directions, I have to make my cards unique to my style. That being said. I will post the Bloom Box card example and I will post what we created beside it. I did not have all the FSJ inks, silks, or color splashes, but we were able to use what we had to make some amazingly cute cards. By the way, I will have some silks and splashes by the time we get together for the next Bloom Box.

Here is card number one:

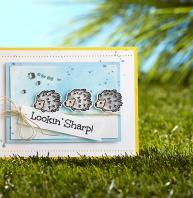
FSJ Sept Bloom Box Card 1

FSJ Sept Bloom Box Card 1

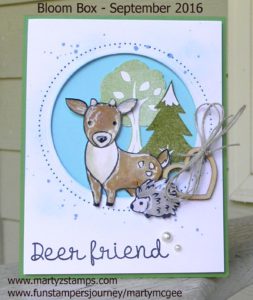
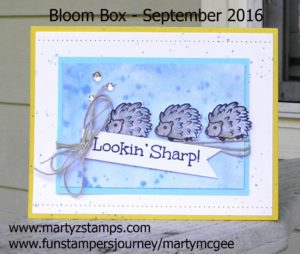
On our card, we kept the sentiment on one line, and we added Journey Glaze to the deer and hedgehog/porcupine. We watercolored the deer and hedgehog using re-inkers.

Bloom Box Card 1 - Marty

Bloom Box Card 1 – Marty

Card Two:

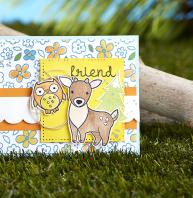
FSJ Sept Bloom Box Card 2

FSJ Sept Bloom Box Card 2

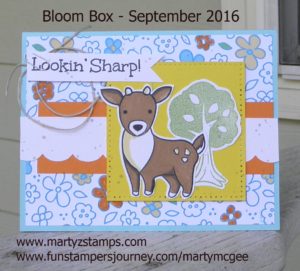
We both wondered why the owl was just hanging in mid-air. It wasn’t like his wings were out indicating flight; so, we took away the owl, added the round-top tree, and changed the sentiment by wording and placing it on a banner tag and clipping to the top left hand corner to balance out the card. We colored the deer using SU! Stampin’ Write markers.

Bloom Box Sept - Marty

Bloom Box Sept – Marty

Card 3:

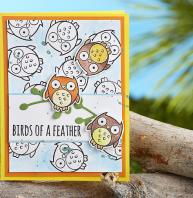
FSJ Sept Bloom Box Card 3

FSJ Sept Bloom Box Card 3

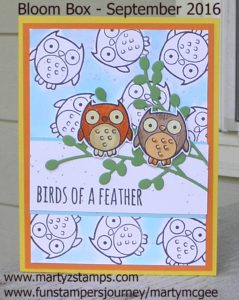
This card we only added two owls sitting together on more green branches. I guess I’m a little OCD about random things and I just kept wondering why the owls would be flipping through the air (o.k. I can be whimsical, but sometimes I just can’t). We colored these with SU! Stampin’ Write markers. Here is our version. My friend thought this would make a great anniversary card.

FSJ Sept Bloom Box - Marty

FSJ Sept Bloom Box – Marty

Card 4:

FSJ Sept Bloom Box

FSJ Sept Bloom Box

This one we didn’t change anything because I had an appointment to be somewhere; therefore, no extra time to change-up the card.

FSJ Sept Bloom Box - Marty

FSJ Sept Bloom Box – Marty

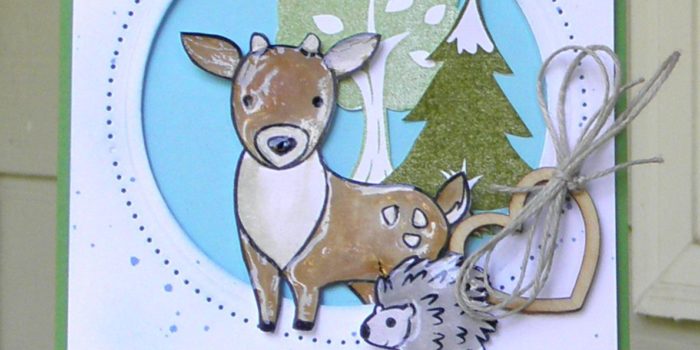
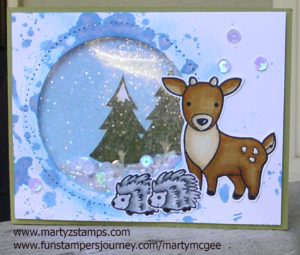
Extra Card: Before I received my Bloom Box, I came up with this design, and we made this card first when we got together. We used our Spectrum Noir markers to color the animals. It turned out great. I will be ordering a word stamp with coordinating die to make this a Christmas card. I will post an updated picture when this comes in and I have added it to the card.

FSJ Bloom Box Additional Card

FSJ Bloom Box Additional Card

We both LOVE the Bloom Box, and we can’t wait for our October Bloom Box to get to us. If anyone is interested in the Bloom Box, please click here to go to my website and sign up to receive a Bloom Box kit for the next six months. If you are local, we will get together to make the cards. For an additional $3, I will provide two additional designs with prepared cardstock for you to create two more amazing cards. If you are out-of-town, you will love putting this kit together. The kit includes step-by-step instructions with colored pictures. I can mail you the additional pre-cut cards and email you pictures and directions to put it together for $6.00 this includes additional instructions and postage.

PAGE TOP
[dealsbar preview] Amazing Deals: !!toolbar-deal-title!! - !!toolbar-deal-merchant!!