Tag : coloring

8 posts

If you are like me, there are times a little encouragement from friends or family can help to carry you through a rough time. One way to encourage someone is sending them a card.

Join me and hop along for Courtney Kreeber, Mary Polanco and Jenn from Scrapbena Creations Encourgement Hop. I know you will be inspired to create your own cards of encouragement.

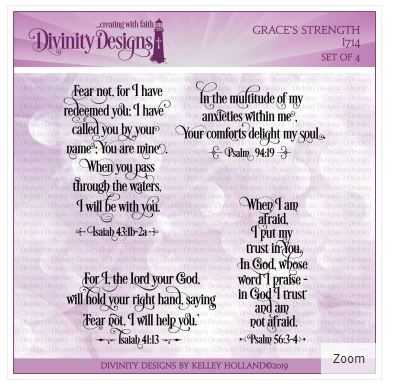
Encouragement comes to many of us through God’s Word. I chose Divinity Designs’ Grace’s Strength for the scripture encouragement (click here to check out their website).

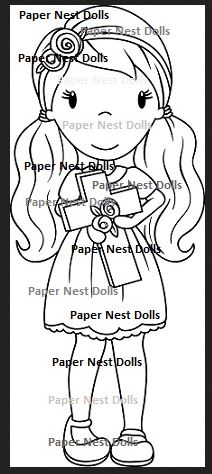
Paper Nest Dolls’, Avery with Cross added the cuteness factor. (click here to see their adorable stamps).

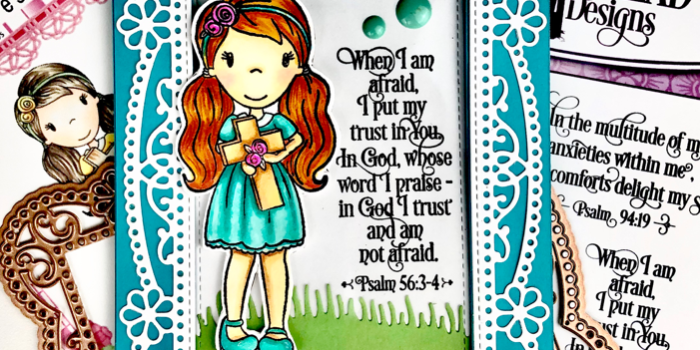
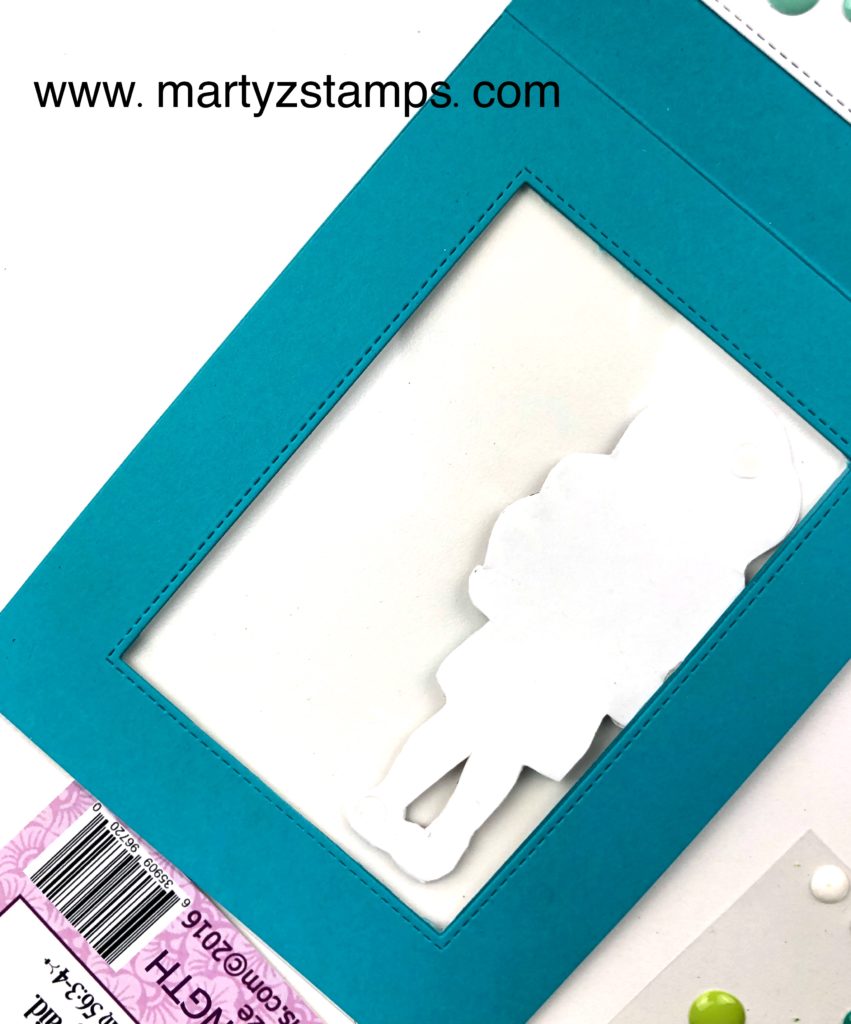
I chose FSJ Turbo Teal for the card base. I die cut a rectangle out of the front panel of the card base and a rectangle out of a piece of 5 1/2″ x 4 1/4″ Turbo Teal cardstock. I layered a 5 1/2″ x 4 1/4″ piece of acetate between the front panel and the additional piece of Turbo Teal cardstock and glued the panels together. This created a finished look on the backside.

This is the view from the backside of the panel. The extra pieces of cardstock as a frame and the extra white pieces of cardstock on the back of the colored image give the card a clean and finished look.

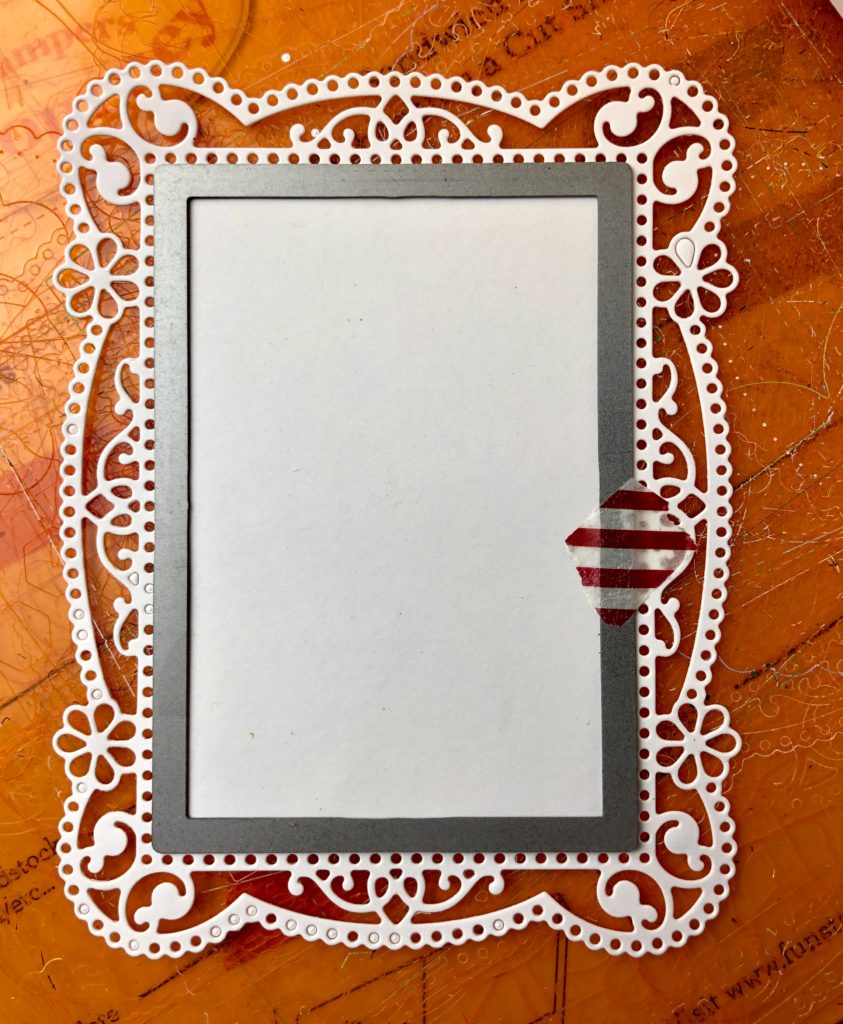
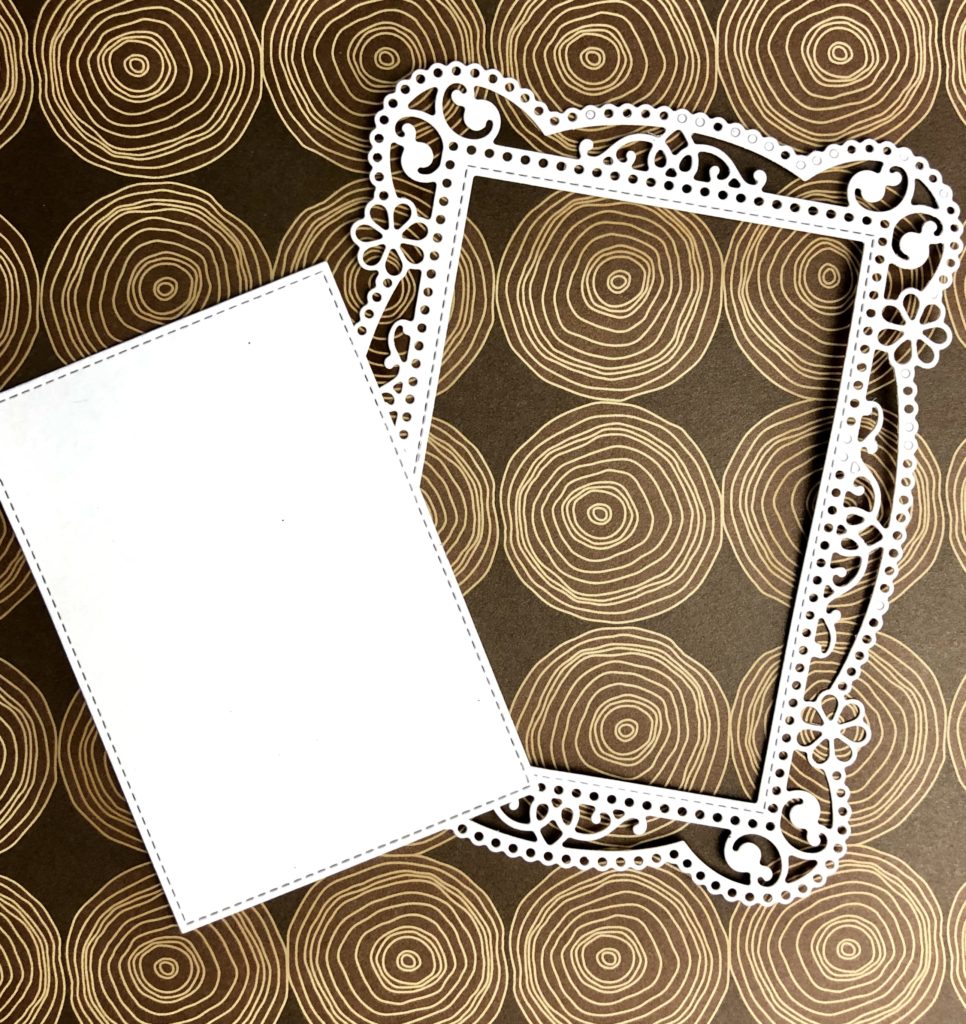
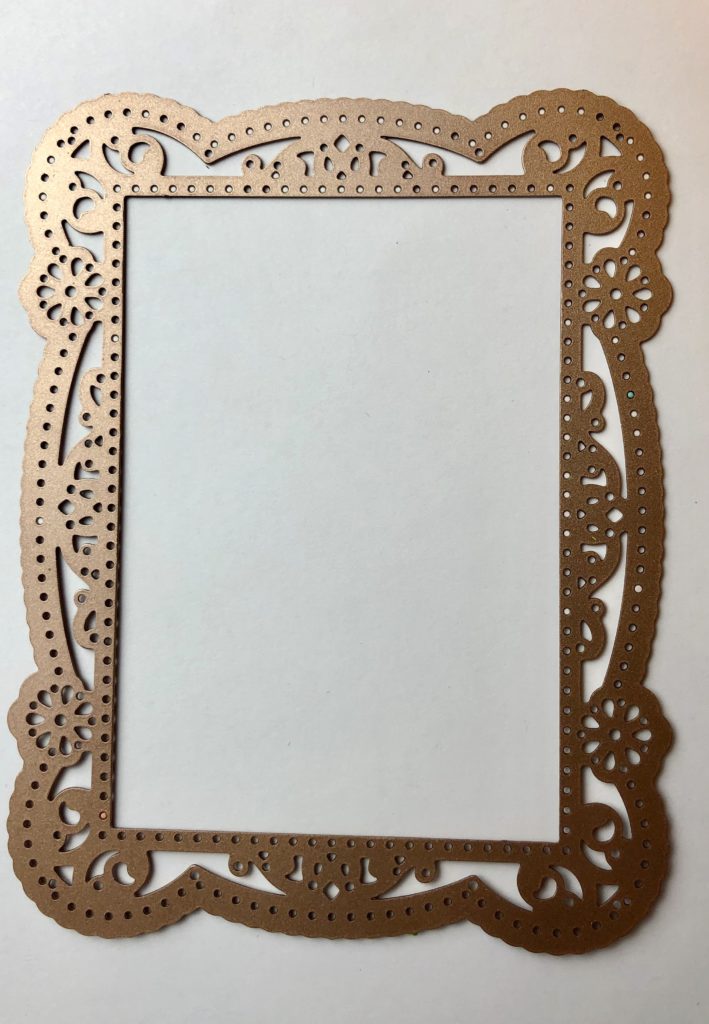
Next, I die-cut a frilly rectangle frame out of Whip Cream cardstock with Spellbinder’s Shapeabilities Tallulah Frill Layering Frame Small Etched Rectangle die (that’s a long name, wouldn’t you say?). I used the same stitched rectangle die to cut out the middle portion of the frilly frame.

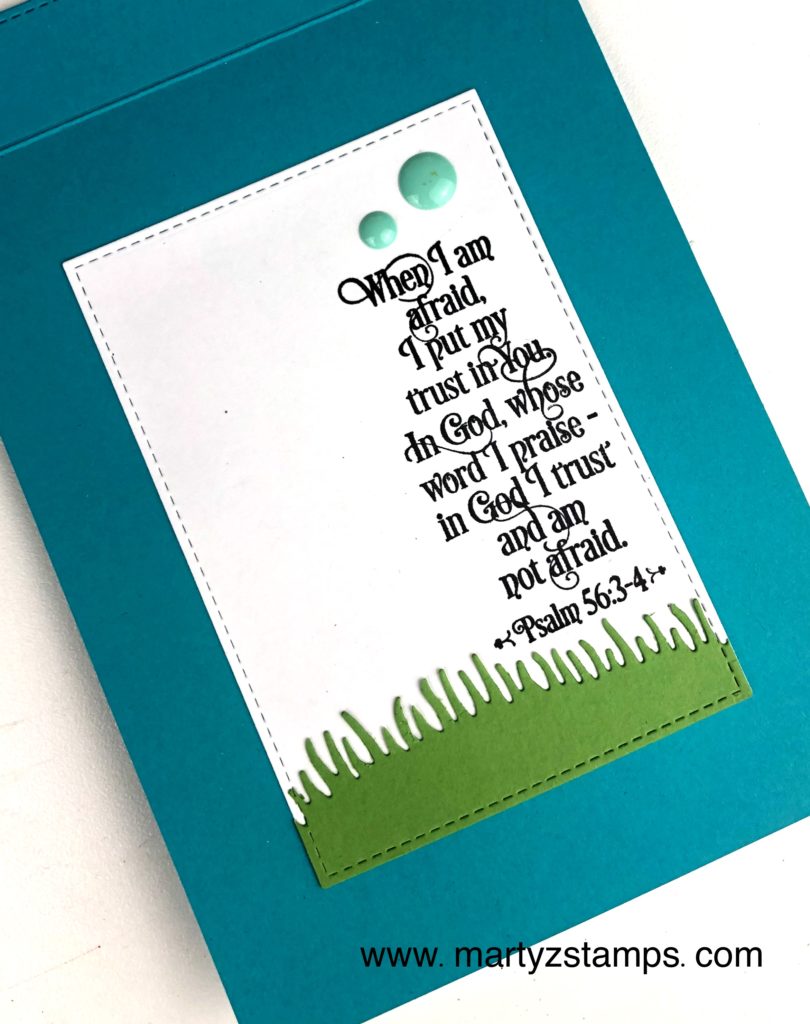
I stamped the sentiment on the right-hand side of the cut-out piece of cardstock. The grassy hill was die cut with a Divinity Designs grass border die and the bottom and sides were die-cut with the stitched rectangle die I used earlier.

I added two candy dots to the top portion and adhered the rectangle onto the inside back flap.

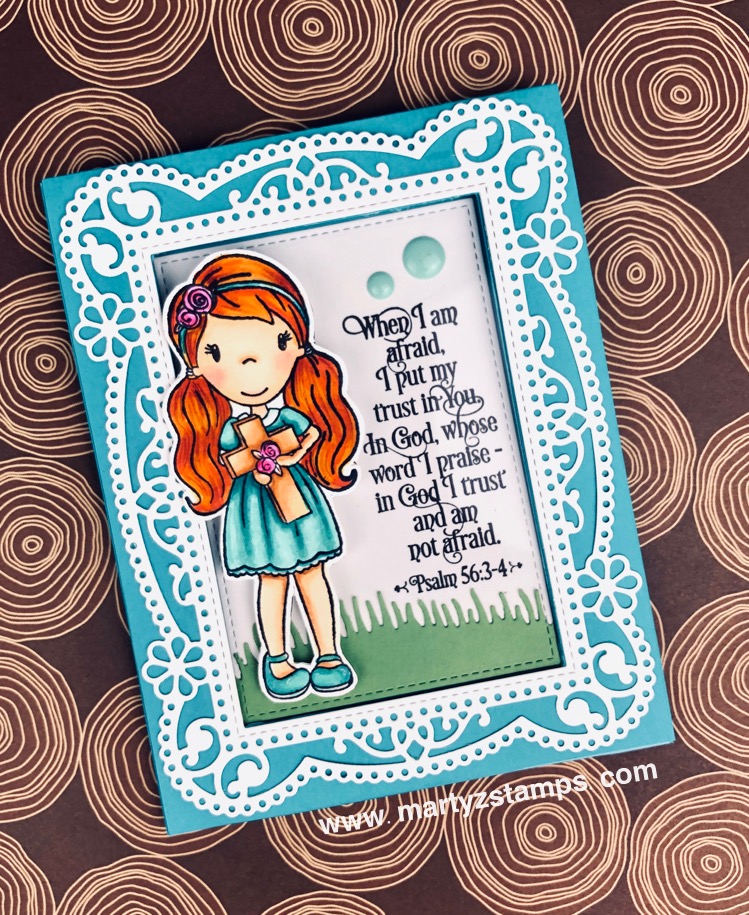
I die cut a adhered the frilly frame to the front panel. Now, to color Avery. It was so much fun to pull out my Spectrum Noir markers and color this sweet girl.

Skin: FS2, FS3, FS4 SN Illustrator FS9 and FS2 (cheeks) and a touch of TN4
Hair: TN2, TN4, TN5, BO2, BO3
Roses: BP1, BP2, BP3
Cross: TN1, TN2, TN3, TN4
Dress: AB1, AB2, AB3
Hair and Dress Shading: FSJ Color Burst Pencils

I fussy-cut Avery leaving a small white border. To create a finished back (it can be seen when the front of the card is opened), I traced around her and cut out two more outlines of her using scrap white cardstock. I glued all the layers together and then adhered her to the front acetate panel using glue dots (you can see them but it’s not too noticeable).

Here is the finished card.

Next on the Hop is Christine Marino.

FSJ + Spellbinders:

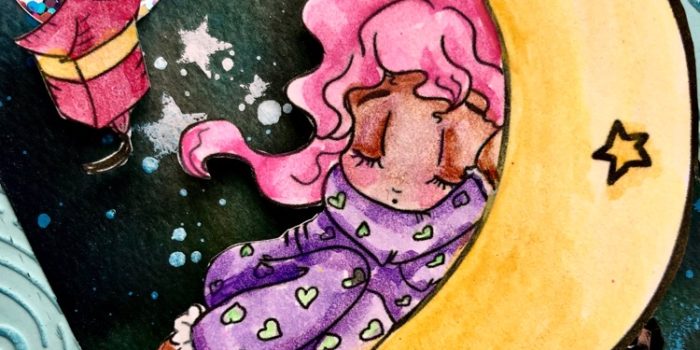
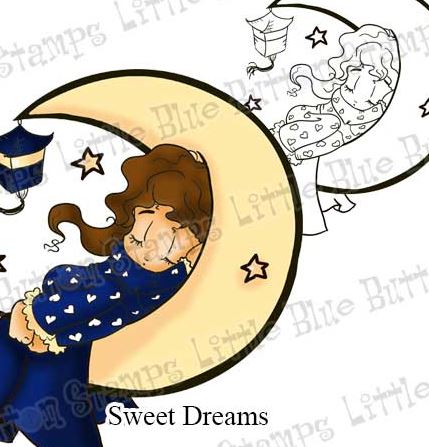
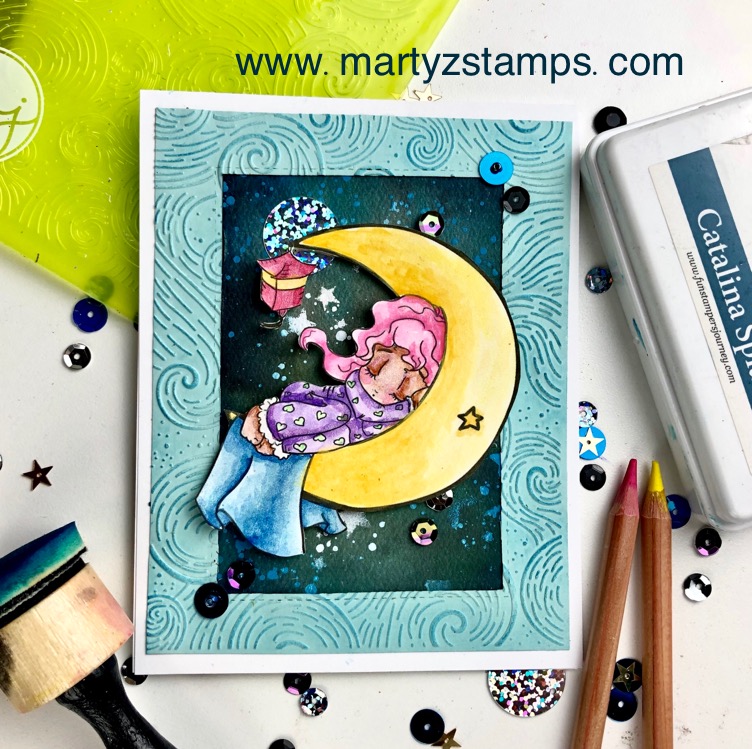
Hello! I’m sharing a card today made with the so cute Sweet Dreams digital image from Little Blue Button Stamps.

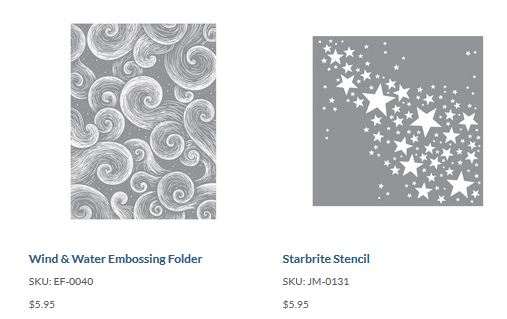
To create a soft dreamy effect, I pulled out my FSJ Color Splash pencils and watercolored the Sweet Dreams image. The background was created using FSJ silks onto watercolor paper and the stars by applying acrylic paint with a sponge using the FSJ Starbrite Stencil. The frame was embossed with the FSJ Wind & Water Embossing Folder and Catalina ink applied to the embossed areas. The final touch were the Splash Zone Sequins adding a little glitz and glam to the night sky.

I hope you sleep well with sweet dreams!

Supplies:

Little Blue Button Stamps

Spellbinders + FSJ:

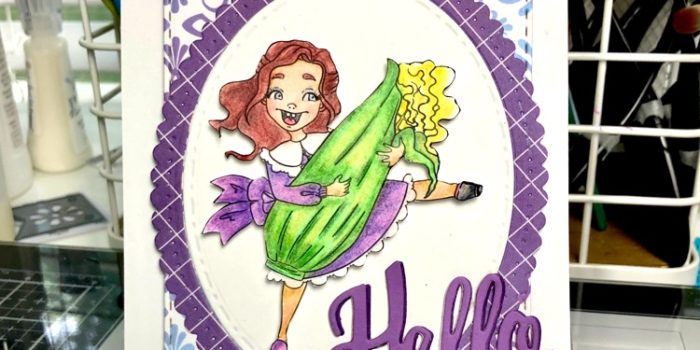
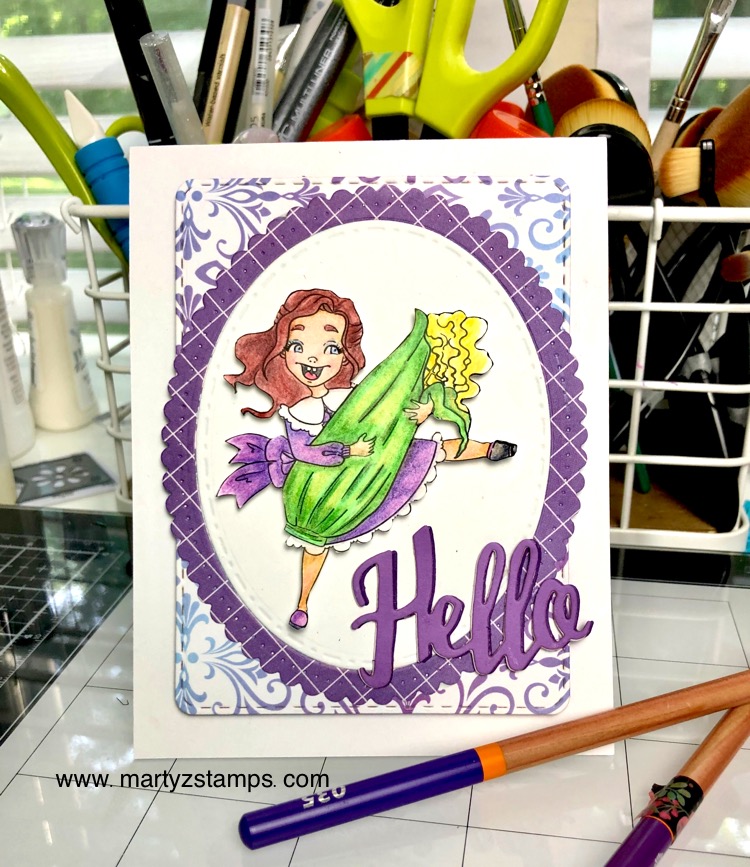
Here in Georgia, the temperature has been in the 90’s. What!!??? I guess we had better say, “Hello, Summer!”

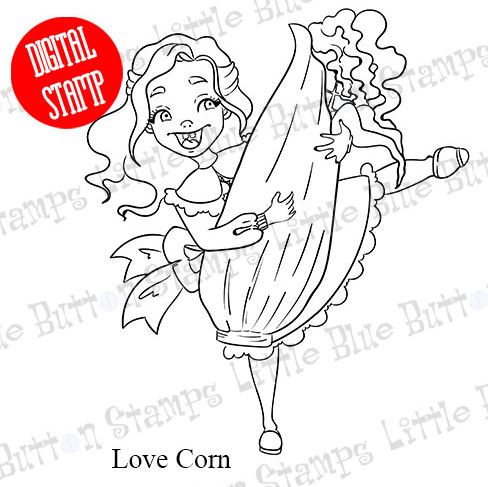
To celebrate summer, I am featuring Little Blue Button Stamps June release – Love Corn. Like many of you, I love corn and if I could get me a big ear of corn, I would dance with it too!

Love Corn is a great digi-stamp to bring in the summer and all the fresh corn which will be in abundant supply.

I chose to color my image with a combination of FSJ Color Burst pencils and Faber-Castell Polychromos. Shades of purple combine well with the green corn husk and yummy yellow corn.

United States Trivia – Many states in the U.S.A. have Corn Festivals. Click here to see if there is one near you.

Supplies:

Little Blue Button Stamps:

Spellbinders:

Pink and Main:

Consumer Crafts:

Scrapping for Less - patterned paper

Hello, card challenge community and blog followers. It’s been a while since I have submitted a project for a card challenge and I think I might have three this week! Here is the first submission.

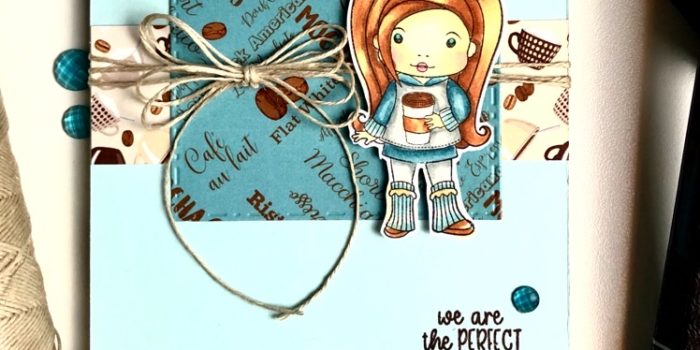
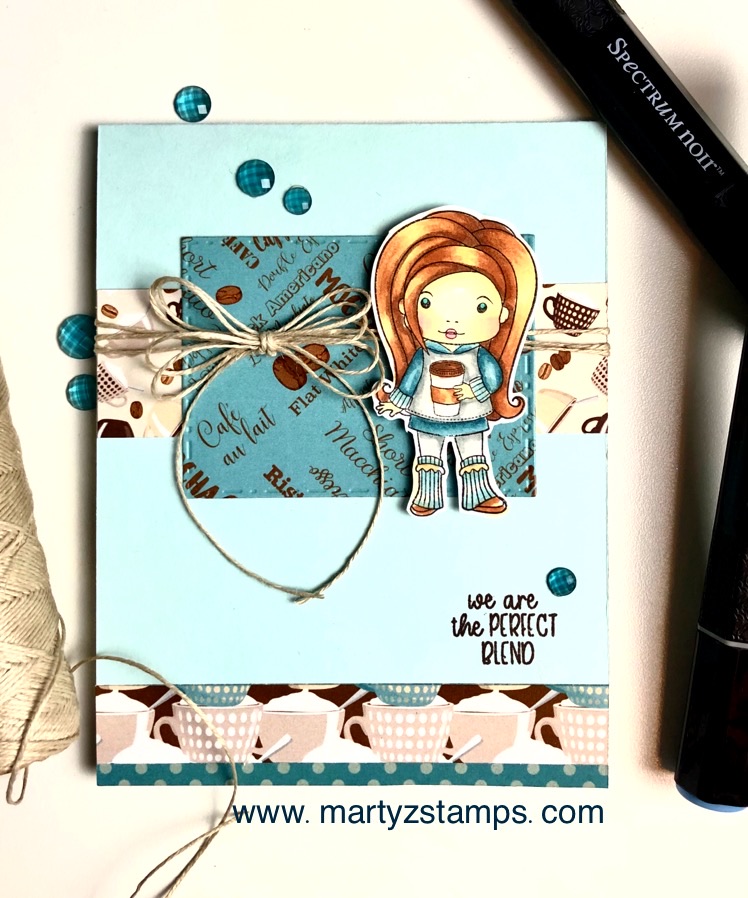
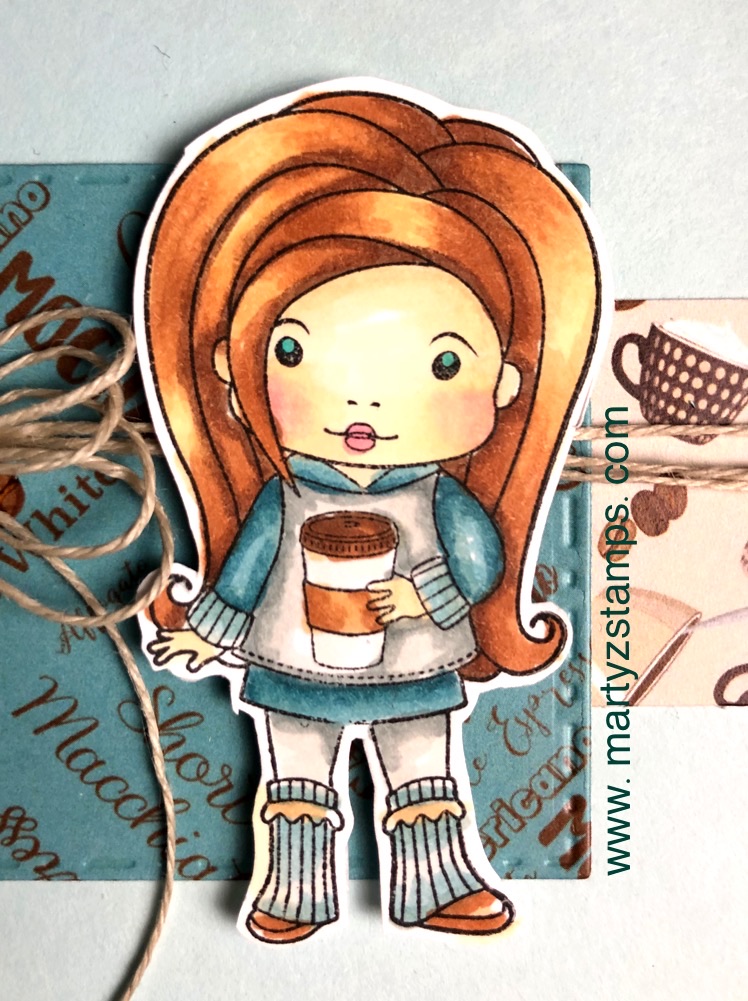
I created the Marcie with Coffee card project for the Fusion Card Challenge. I chose to follow the card sketch and not the photo. Here’s the card sketch.

I have a video showing the coloring and construction of the card on my FB page, martyzstamps. This was the first project of a marathon crafting session this past Sunday.

The FB Live video will let you know how many mistakes can be made creating a project even when you think you are prepared!! It was just a little too funny. Let me know, in the comments, your crafting mistakes and how you made everything look awesome with the fixes.

All cardstock and images are from Scrapping for Less Flavor of the Month January 2019 kit featuring Lala Land Crafts’ “Little Marcie with Coffee”. The twine and Rainbow drops are from FSJ + Spellbinders and Spectrum Noir alcohol markers were used to color Marcie.

Hope you love this card as much as I do!

Supplies:

Spectrum Noir Markers purchased from Consumer Crafts:

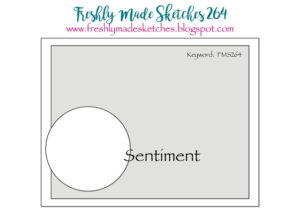
Thanksgiving is over, and I’m on track this week to posting some card challenges. The first one of the week is Freshly Made Sketches #264.

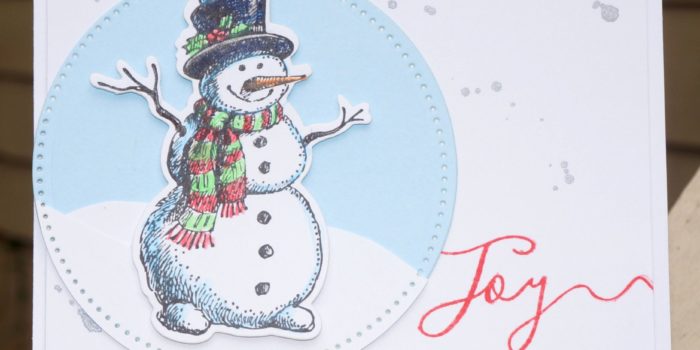
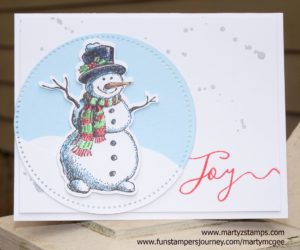
I have the perfect stamp to make a super cute and simple card. It is Fun Stampers Journey (FSJ) ATS (Artist Trading Stamp) Frosty Fun and its coordinating die.  I stamped Frosty in FSJ Black Licorice ink onto Whipped Cream cardstock. I colored him with FSJ Color Burst pencils. Once I finished coloring him, I cut him out with his coordinating die. The circle is cut out with the FSJ pierced Circle Dies using FSJ cardstocks Pool Play and Whipped Cream. Frosty is attached using FSJ Foam Squares (medium). I accented the background with FSJ Silver Splash and added a sentiment in FSJ Candy Apple ink using the word “Joy” from the Holiday Script stamp set. Here is the main attraction:


All supplies used are from Fun Stampers Journey. If you would like to create this card for yourself, please feel free to check-out my FSJ website to place an on-line order (click here).

If you have been keeping up with my posts, you will know I have been offering classes on how to color with alcohol markers; specifically, Spectrum Noir alcohol markers. We have learned the basics, moved on to skin coloring, and most recently, worked with hair coloring. This, so far, would be the most challenging technique to learn. After coloring about ten samples, I finally came up with a way that creates some gorgeous highlight effects on hair. If you go back and look at the Spectrum Noir – Skin Coloring post and look at the completed skin coloring class sample showing the range of skin tones we learned, you will see each girl’s hair is colored. The images looked so stark when we finished, I hurriedly added some color to their hair to even out the stamped images without taking the time to account for in-depth lighting and shading. Now, take the time to compare these previous images to the actual class images and you will see a huge difference in technique. The Spectrum Noir – Hair Coloring technique took two to three times the amount of time to create stunning highlight effects versus slapping on some color.

Before I show you the first sample, I want to detail the technique I used on all the stamped images. First, I consulted my Spectrum Noir hex chart and determined which colors I wanted to use for each sample used in the hair coloring class (light blonde, platinum, golden blonde, brunette, bright red, and black). Next, I lay out my color choices with the darkest color first, the lightest color next, the second lightest color beside the lightest color; then, a medium color (note: some choices only included three colors and sometimes certain hair tones might require more, but I think you get the jist). Contrary to how we started coloring in the basic and skin tone class, I start with the darkest shade first, adding the lightest highlight areas next making sure to leave white space (do not color all white space); then, moving from color choice to color choice as mentioned previously in how I set up the order of my markers. This order also helps to keep me from grabbing the wrong color and messing up my whole project by accident. I am working on making video tutorials for hair coloring.

Note: For both the skin and hair coloring classes, the student’s purchased Fun Stampers Journey – Media Artist stamp set. This is a larger stamp and great for learning how to manipulate the Spectrum Noir alcohol markers using shading and highlighting effects.

Sample #1:

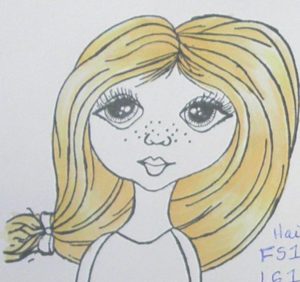
Light Blonde –  Blonde hair is the easiest hair coloring effect. This is due to the makers having a high content of blending solution in them. The effects are more subtle and not so easy to create a hot mess):

Light Blond Hair


Sample #2:

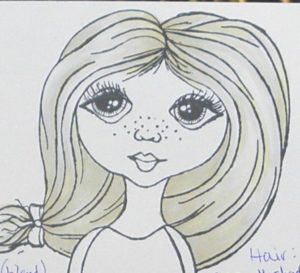
Platinum Blonde – One of my friend’s has platinum blonde hair. This is a very hard color to recreate, because the shading can be minimal; but yet, you need shading to create depth and interest to your image. This hair color will be a project in the works requiring more experimentation until I get the color combination down to my liking.


Sample #3:

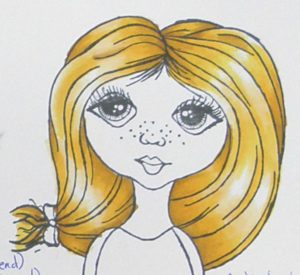
Golden Blonde – A very easy color combination with easy blending. But, yes there is a “but”, beginning with this darker shade and with all the darker shades, you do not want to pull or blend the darkest color(s) using your lightest color(s). You will want to make sure to blend out the darker colors with your medium tones into the lighter areas; then, use your lightest color(s). If you don’t, the high amount of blending solution in your light colors will act like a blender pen and pull color out of your dark shades. This will make your shading look mottled and blotched (not good).


Sample #4:

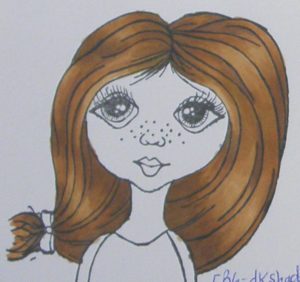
Brunette – Another easy hair color to create.


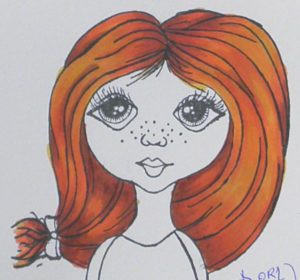
Bright Red – Yes, this is a very bright color, but I LOVE it (hmmm, I wonder why).


Sample #6:

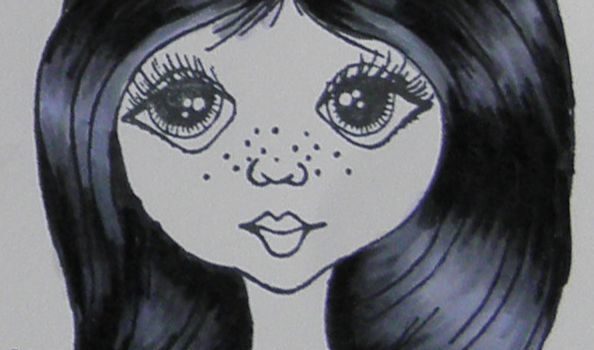
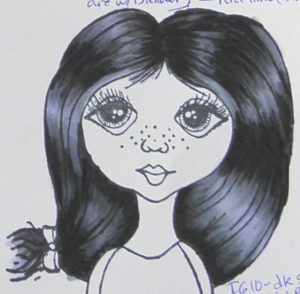
Black Hair – By far the hardest hair color to create. It is important to create appropriate highlights when coloring black hair. This sample image has a lot of light hitting her hair. You will still need appropriate highlights even with minimal light; otherwise, the hair will look like a huge ink blob of black with no definition. Yuk! Several colors can be chosen for black highlights, grays, purples, and blue hues. If you will start to notice highlights on black hair in the real world, there are varying shades of light colors creating these highlight effects. Also, begin to notice where the light falls on on the hair with different hair styles. It took me three tries to come up with a black hair color, I liked. I did like the one before this one, but it had a lot of medium-light purple shading, which made her a great looking goth girl; but, for the class, I wanted to go lighter with the higlights. Also, this hair color takes three to four times as long to create. You HAVE to take your time, begin in small flicking strokes, blending and highlighting, moving on little by little to cover the entire hair area. If you go too fast, your darker areas will begin to look like black blotches. A special note here: I used the True Black almost at the very end of coloring the image. It is too easy to put too much black down and create a mess. It is used sparingly.


I will add more hair colors at a later time along with my coloring bloopers, and I will add some skin tones to my girls as well.

Supplies:

Fun Stampers Journey – Media Girl Stamp Set
Ink: Memento Tuxedo Black
Color: Spectrum Noir Alcohol Markers


When I purchased my Spectrum Noir alcohol markers, I sent out an email letting my group of stampers know I would be providing classes on how to use these wonderful markers. The only requirement was they needed to purchase their own markers to use in class. I had four ladies sign up, and they went ahead and purchased all 168 markers through Consumer Crafts (they have the BEST price on these markers AND they offer 25% site wide regularly – just saying). We have had two classes so far, and I wanted to give a quick update about the progress of our Spectrum Noir alcohol marker colorist group has made as of this past week.

Note: These are NOT Copic markers and quite frankly, some of the YouTube reviews and compairsons do not do the Spectrum Noir Alcohol Markers justice. These markers fit into their own category; they are versatile; produce a great colored image; they are VERY affordable; and if you will watch the Spectrum Noir – Crafter’s Companion tutorials, you will have great success and produce outstanding papercraft projects. That being said, you can find Accreditation Coloring Download at www.spectrumnoir.com .  You can print this off on an inkjet printer and follow along with their YouTube tutorials to learn, to practice, and to turn in to them to receive accreditation as a colorist.

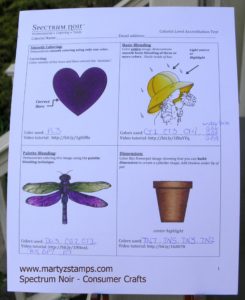
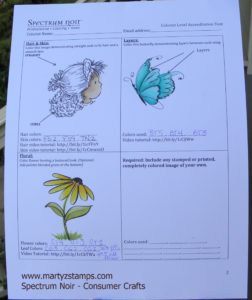
My first class was learning some of the basics. We covered Smooth Coloring, Basic Blending, Palette Blending, Dimension, Layers, and Florals. The class had a GREAT time and came away with a lot of hands-on practice (we colored two images).  Here are the two sheets we have completed so far (note: the second class was skin coloring; therefore, the skin on the girl is colored in on the second sheet):

I found it very hard to get a good picture. The heart on the first sheet is a deep purple color and in “real” life, you can see this clearly.


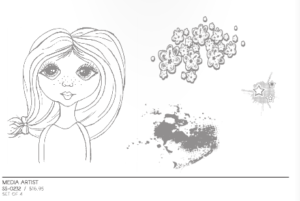
The second class focused on skin tones. I researched Spectrum Noir recipes for skin color on Pinterest and I took those color combinations and either used them, tweaked them, or came up with my own. The cost for classes two and three (skin and hair coloring) included a Fun Stampers Journey stamp called Media Artist (see below).

This image of the girl is a fantastic stamp to practice color combinations for skin and hair. I stamped six images of the girl onto Fun Stamper Journey Whipped Cream cardstock. Note: The quality of paper is important when using any alcohol markers. A lower quality product will increase bleeding of your ink color into areas you don’t want to be colored. Stampin’ Up! Whisper White is a great cardstock to use as well. You can also purchase specialty paper through Consumer Crafts for alcohol marker coloring.

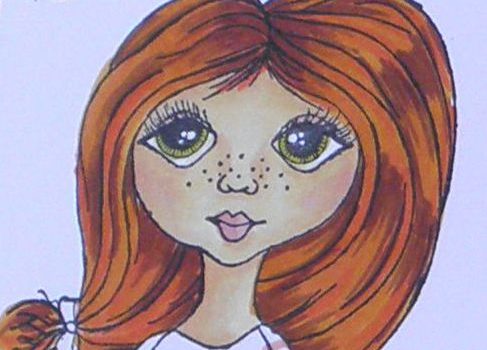
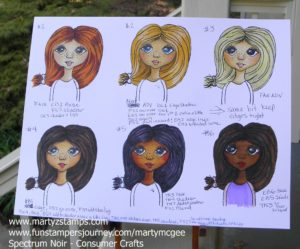
We completed our skin tones, and we all made a few mistakes (that includes me). On my #6 girl, I used the wrong base color (I switched my colors) and she was so dark that her nose couldn’t be seen. I was able to correct this with the blender pen chisel tip and going over and over the image until I pushed some color through the cardstock to lighten up the image. You can tell because the coloring is a little mottled. I found that some of the lighter colors in the combo I chose could pull color out (acting like the blender) instead of creating a smooth blend. You will be able to see this in the next picture. But, that’s o.k. because we are all new to this type of coloring and there is always a learning curve when you learn something new.  I will be gong back and stamping more images and honing my skin coloring techniques to share with my group of colorists. Our next class will feature hair coloring. The image below has the hair colored because I decided to play around after class to see what I could come up with. These are not perfect hair colors, but I just felt the girl’s looked a little naked without hair color. Here is the sheet from class:

Once these classes are finished, our group should be able to scan and upload our accreditation pages to Spectrum Noir and receive their stamp of approval. I will, then, develop YouTube tutorials on how to color with the Spectrum Noir alcohol markers. I hope you decide to look into Spectrum Noir alcohol markers and begin to create outstanding colored papercraft projects.

Yes, I’m on a Spectrum Noir coloring jag! And, my cohort in this coloring jag is Cheyenne Luken. We work very well together when creating papercrafting projects. We disagree with placement, with color choices, with everything, but in the end we love the other ones creation sometimes a little more than our own. In other words, we have a lot of fun! On these cards, we were making use of Cheyenne’s limited supply of Spectrum Noir alcohol markers. We did use some Copics for the skin tones and the faint shadow around the images, and Cheyenne used more Copic markers on her card. I tried to stick solely to the Spectrum Noir’s, and we lamented the whole time we wished our orders were already here! We will receive our orders this week (Tuesday and Wednesday)!!!! AND, I was looking at Consumer Crafts this morning and the two 24 sets (the Darks and the Pastels) which were out-of-stock for many weeks are now in stock. We really need (o.k. want) the Pastels because most of the skin tones needed for lighter shading are in that set. I’m still on the fence about the Darks. I think I can hold off on ordering them until they have another huge sale. . . . . or, maybe not!

Anyway, Saturday Cheyenne gave me a call and asked if she could come over and make some more cards. She asked me, do you want to work on your make-n-take cards, do another Heartfelt Creation card, make a “shakey butt” card from Art Impressions, or go to the Stamp Store (Impressive Ideas) in Norcross? I immediately said, I want to go to the stamp store in Norcross. Who wouldn’t want to say that???? Really, like I needed to spend anymore money, but I have been wanting a die to use to make a stitching affect around the exact size of an A2 sized card (5 1/2 x 4 1/4). So, off we went . . . . . to the store that is – not crazy. I had forgotten Sandy Allnock was going to be in-house teaching classes but, I remembered Impressives Ideas’ newsletter with the dates for these classes once we walked through the store’s doors due to several tables set up with papercrafters creating some amazing projects. We were not hampered in the least by these tables as we made our way through the store. In fact we navigated around them like the shopping professionals we are. As we wandered around ooooooing and aaaahhhing at all the gorgeous card samples, Jenny Gropp, one of the owners, helped us find everything we needed to purchase (yes, I did find the die I wanted) and some more items to add to our ever-growing wish list.

One of Cheyenne’s purchases was Piper from Saturated Canary by Krista Smith (her stamps can be purchased from Impressive Ideas’ store in Norcross). When we got back to my house after being at the store for 2 hours, we didn’t have time to make a card. I had to serve in our church’s cafe and I didn’t have any time to spare. So, she came back over on Sunday afternoon. And, we got started.

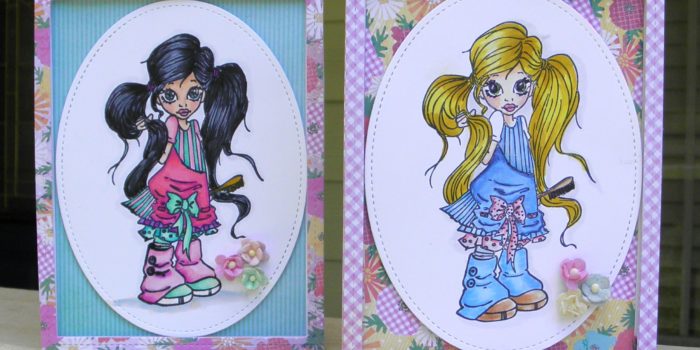
We stamped the images with Memento black ink on SU! Whisper White cardstock. Once we were finished coloring our stamped images, we cut them out using a Simon Says stitched oval die. The paper frame and mats came from Penny Black’s Painted Blooms paper stack. The frame was cut using a Simon Says stitched frame die. I do not have a name for the flower bunches we used as embellishments on the cards, but we bought them at Impressive Ideas (I threw away the packaging).

Once the image was stamped, we were ready to color them. I wanted to have black hair on my Piper because black hair is a challenge to color and I always like a challenge. Cheyenne chose blond hair because her children are blond-headed. This time I did remembered to write down the colors I used for the black-haired girl.

On my Piper, I used Copic markers for the skin E00, YR00, RV11, RV14 and N0 to outline the stamped image. For her hair I used Spectrum Noir BGR1, BGR3, and True Black; her shirt, apron, and leggings are Spectrum Noir PP3, PP5, and BP6; her jumper, petticoat, leggings, and shoes are Spectrum Noir PP3, PP5, BP6, BT2, BT4, BT5, BGR3 and oops, I didn’t write down the brush color. There is definitely room for improvement on her hair highlight positions, but for a first go at black hair coloring, I’m happy. Here is my Piper:
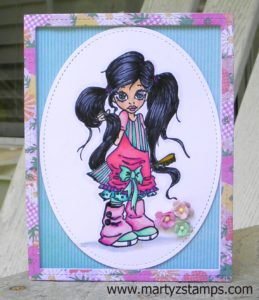
Marty's Piper

Cheyenne did use some Spectrum Noir markers on her Piper’s hair. They were CT2, CT4, and one of SU! Blendabilities yellow markers (the medium tone out of the 3 pack). I’m pretty sure she used Copic markers for her girl’s outfit. Here is Cheyenne’s Piper:
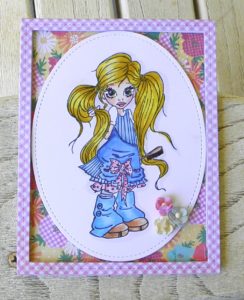
Cheyenne's Piper

Cheyenne’s Piper

Here they are together, they make such good friends:
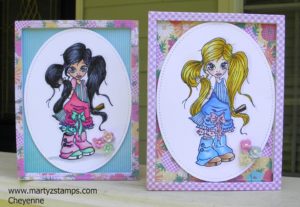
 

Marty's Piper (left) Cheyenne's Piper (right) Saturated Canary stamps

Marty’s Piper (left) Cheyenne’s Piper (right)
Saturated Canary stamps


And, . . . . . we collaborated on this next Piper. She was abandoned at first because her hair was looking too muddy and muddled. Cheyenne took another look at her when we finished the first two and noticed her hair looked pretty good once the markers had time to saturate the paper and dry out. So, Cheyenne takes credit for the hair color. She handed her off to me for coloring the clothes. Once the clothes were colored, Cheyenne dug through my stash of paper and found the Glitter Cardstock Matstack I purchased from Hobby Lobby many years ago and had never used along with the Recollections Resist Paper Pad I purchased from Michael’s on a 70% off clearance rack. I used Tim Holtz distressed inks Spiced Marmalade and Mustard Seed along with SU! Lucky Limeade and SU! Rich Razzleberry to ink the resist paper mat. For the orange glitter mat and the SU! Elegant Eggplant frame we used Simon Says stitched frames. I accented the bottom right of the card with SU! Halloween Nights Enamel Dots.  Here is our Piper:
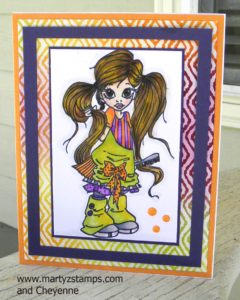
Marty and Cheyenne Piper

Don’t forget local ladies, I will be having Spectrum Noir technique classes to learn the basics and more complicated techniques. You will have to bring your own markers. The best price for them is through Consumer Crafts.
PAGE TOP
[dealsbar preview] Amazing Deals: !!toolbar-deal-title!! - !!toolbar-deal-merchant!!