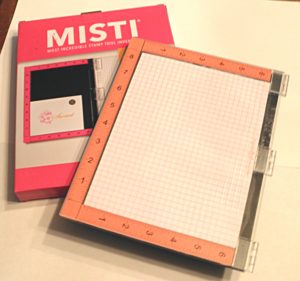
This is the last of my Scrapbook Expo posts. I know I can be addicted to papercraft shopping. O.k., that’s an understatement, but I do have some restraint. So, I planned before I arrived at the Expo to purchase a Misti. I have been watching numerous YouTube channels featuring many papercrafters using the Misti, and I just had to have one. During the Mega Make-n-Take, designated vendors set up shop and offered products at a reduced rate or with a special bundle price. One of the vendors offered such a great deal, I purchased my Misti that night along with the cleaning solution. It is WONDERFUL! You can check out the Mist at www.mysweetpetunia.com.
www.mysweetpetunia.com
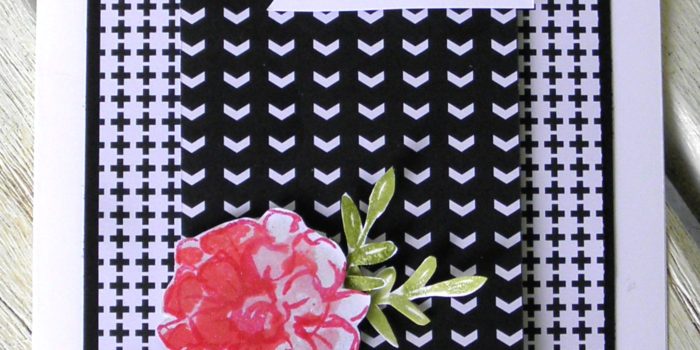
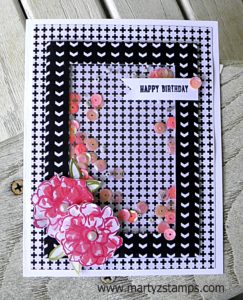
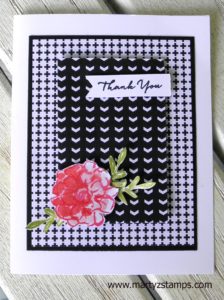
I, also, purchased that night some items from Queen and Company. On a previous post I featured their make-n-take shaker card. Along with making the card, we had extra epoxy and sequin embellishments left over, enough to complete several more card or scrapbook page projects.

Queen and Company embellishments
They offered a special on shaker card component purchases. I chose a zig-zag die which came with two foam shaker pre-cut card components. These are awesome. All you have to do is pull the adhesive off the backside of the shaker component and adhere it to your card. You can add embellishments or if the design allows, you could stamp images on the card stock before placing the foam. Next, you remove the adhesive from the front of the foam and place the window sheet (acetate) on top. Once this is completed, you apply adhesive to a pre-cut piece of thicker than regular cardstock and place it on top of the window sheet to finish the project. The cost for these complete kits minus the embellishments runs around $3.00. Instead of purchasing the shaker card components by themselves, I purchased a bundle which included the die. The die allows to me create as many cards as I would like. One way is to purchase “fun foam” sheets from a craft store. I was able to find some with adhesive on one side, and I purchased mine from Michael’s with a 50% off coupon. You would need to cut approximately three sheets of foam to have enough height to allow the embellishments to move around and shake.
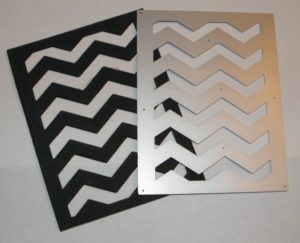
Queen and Co. zig-zag die with black fun foam
Queen and Co. shaker card components
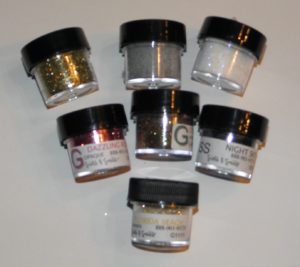
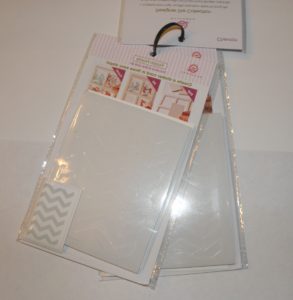
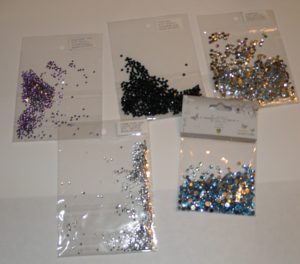
We received during the Mega Make-n-Take some adhesives and rhinestone embellishments. I cannot remember who supplied them, but it was a great freebie.
Glue dots, rhinestones, one bottle of adhesive not shown
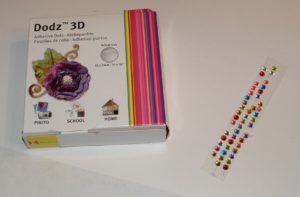
It’s Cheaper Than Therapy gave each make-n-take attendee a FREE embossing folder. My folder is Christmas themed.
It’s Cheaper Than Therapy embossing folder
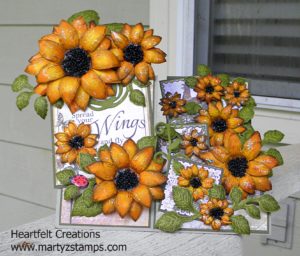
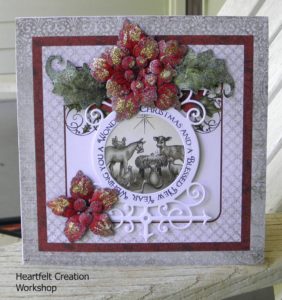
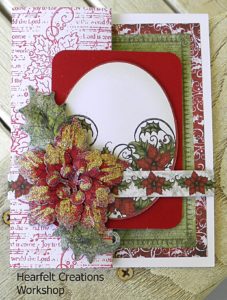
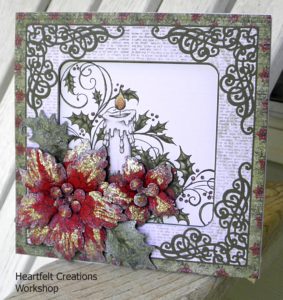
The next two days after the Mega Make-n-Take are designated workshop and shopping days at Scrapbook Expo. Most of the workshops offer free products when you take a vendor’s workshop. Heartfelt Creations offered a free stamp set up to a $19.95 value for each of their workshops. I took two workshops with them; therefore, I received two stamp sets.
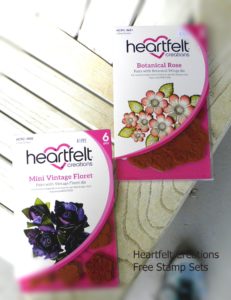
Heartfelt Creation Free Stamps
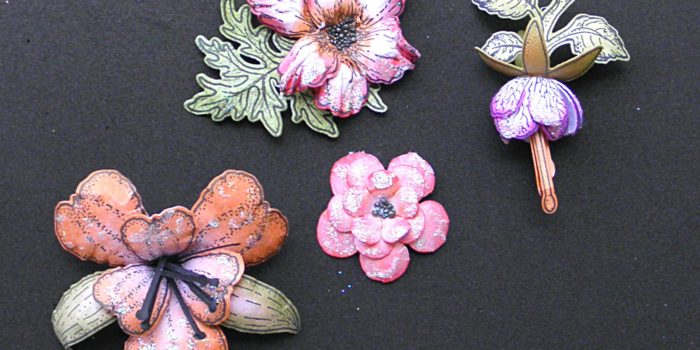
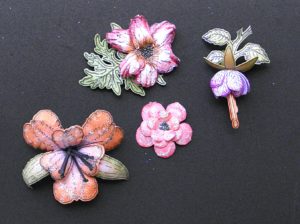
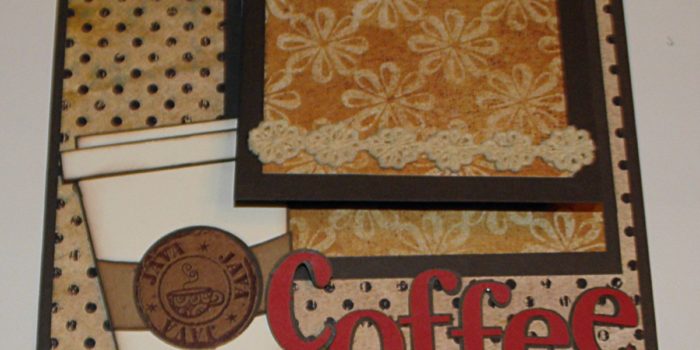
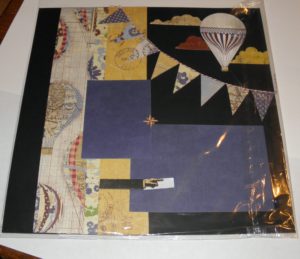
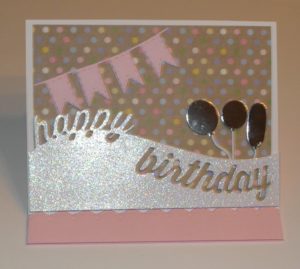
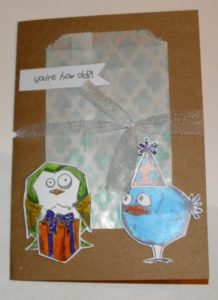
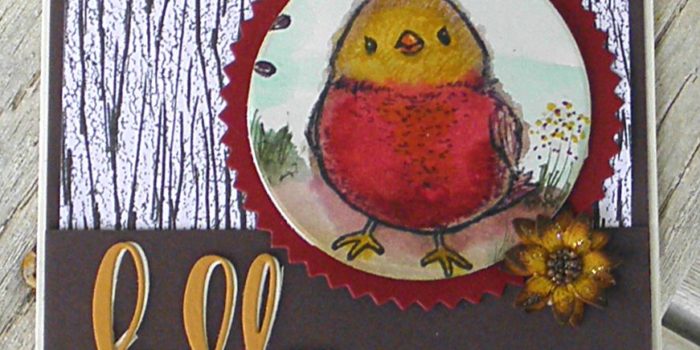
There are various vendors in the exhibit hall offering free make-n-takes as well as make-n-takes with a nominal charge. I had been looking forward to Fun Stampers Journey exhibit all year. We had to wait about 30 minutes for a seat to come available, but it was worth it. We made a cute card and received a stamp set for FREE! I have pictured the make-n-take card along with an extra design they offered. I made that card for my make-n-take class.
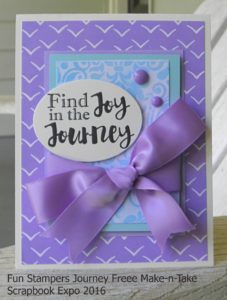
Fun Stampers Journey Card
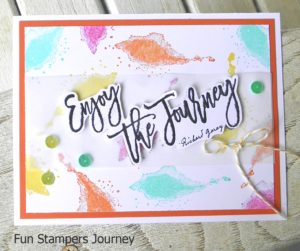
FSJ Card 2
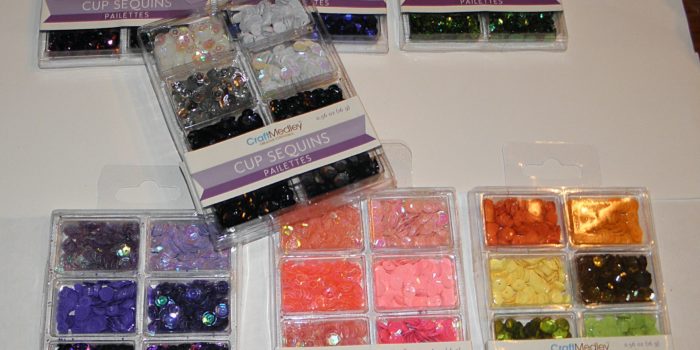
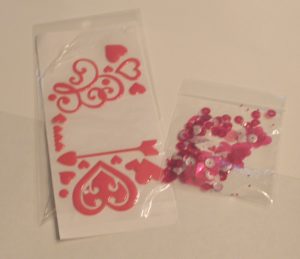
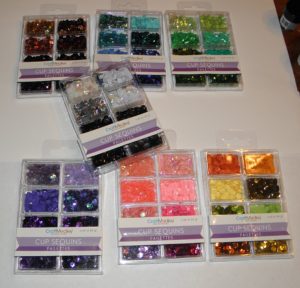
After making the shaker card the night before at the make-n-take, I wanted to purchase some sequins, but I didn’t want to spend a lot of money. I stopped by the Tall Mouse booth www.cre8tiveartz.com and purchased a selection of sequins along with some rhinestones all under $20.00.
www.cre8tiveartz.com
www.cre8tiveartz.com
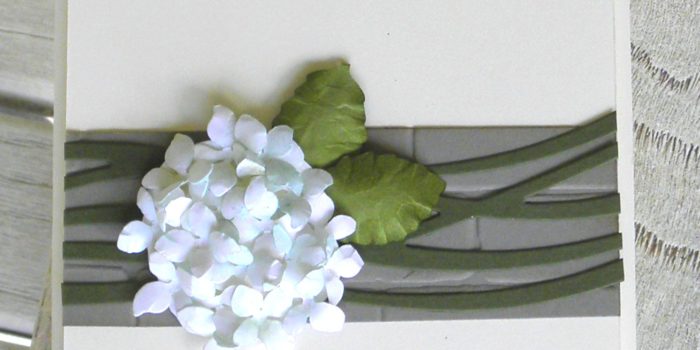
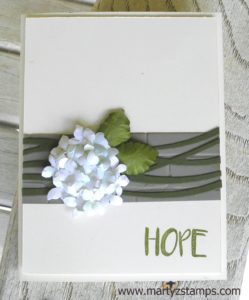
After a wonderful experience with Heartfelt Creations and their flower shaping class, I went by a booth that offers 3D dies for flowering creations. I wanted a hydrangea die and Elizabeth Craft Designs had one. I had my friend, Debbie, go back the next day and purchase the flower shaping tool kit.
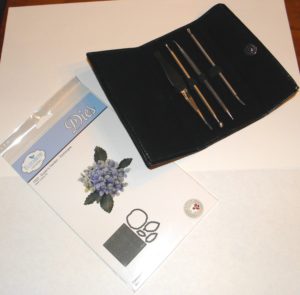
Elizabeth Craft Designs
Last but not least, Debbie went back to the Heartfelt Creations booth and purchased the Berry Cafe 12×12 paper pack (not pictured). All in all I had a great time and came away with some great products and new papercrafting skills. Next year, I plan on taking more workshops and attending the exhibit hall two days in a row. We didn’t have time to stop at all the booths to compare prices and purchase more crafting supplies. I hope you enjoy this post.