Tag : woodgrain

3 posts

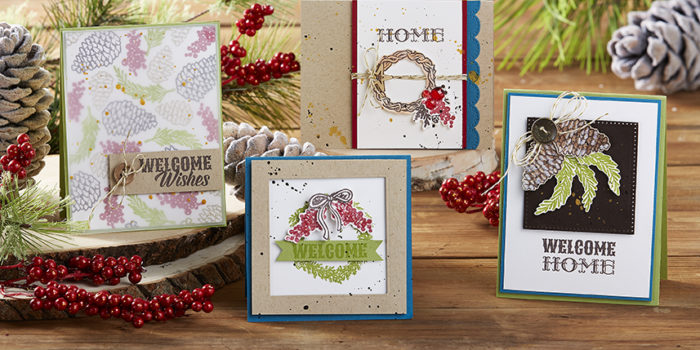
I can’t say this enough, but I really, really love Fun Stampers Journey Bloom Box monthly card kit. I have made a variety of beautiful cards with the December kit. Of course, my group of Bloom Box Girls take the step-by-step instructions and make our own version of the card designs provided in the kit. The official promotion picture of the assembled cards from the December kit is below:

Each kit provides a unique technique, which is a great way to expand your creativity and apply this knowledge to other amazing creations you make.

Here is our first card we made with our December kit:
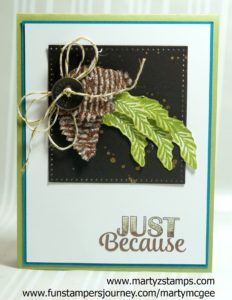
We decided to add another two branches to the bough, and a small pinecone to the this card. We used the Just Because ATS to add a sentiment.

Card #2:
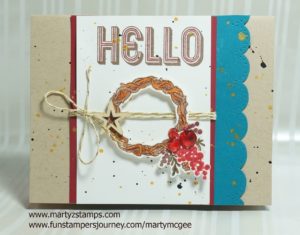
We used our FSJ Color Burst Pencils to color the stamped wreath image. The only change is the sentiment of “Hello” from the FSJ Be Amazing stamp set.

Card #3:
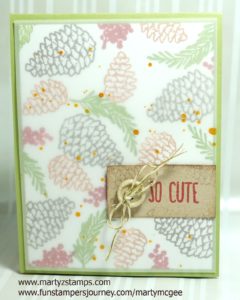
Using vellum over the stamped card images adds a touch of elegance to an already beautiful card. We changed the sentiment and used the “So Cute” from the ATS So Cute stamp.

Card #4:
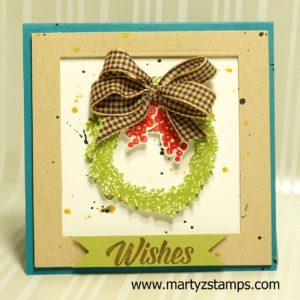
This is such a cute card. We stamped our wreath onto the base and stamped another image onto some FSJ Whip Cream cardstock. We fussy cut it out (the center and the outside), added some Journey Glaze to the berries and made a double bow. Oh yes, by the way, I love the wow factor a double bow gives a card creation.

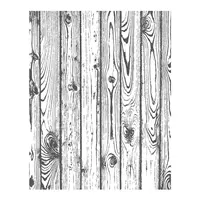
Here are two more cards I made using this set. The wreath on the Oatmeal Cookie and Cranberry Bliss background was a Top 3 pick at Paper Craft Crew website. The other card I made using a SU! woodgrain background stamp and the Christmas sentiment from the FSJ Holiday Script. I did have to use my MISTI to stamp the sentiment about 5 to 6 times to get a good enough impression on the busy background.

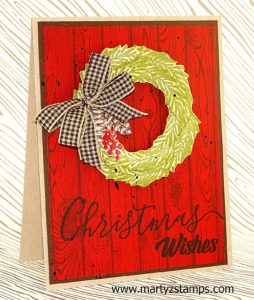
         

It is not too late to sign-up for the December Bloom Box and  5 more months of Bloom Box card making kits.  You can go to my website and order the kit here.

It has been a while since I last posted a card challenge, but that will be changing soon.
I have several cards to enter into challenges and my 2016 Scrapbook Expo make-n-take
projects, workshop projects, and small but satisfying haul to post as well.

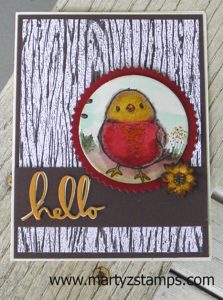
This cute little chick card began as a make-n-take card for one of my classes. I had, originally, used the new SU! square dies and placed it on a piece of Very Vanilla cardstock cut with the hexagon die. It just didn’t pop and I really didn’t like the card. So, when I saw the Freshly Made Sketches challenge #247,the light bulb came on, and I sat down and created this cute card in a matter of minutes.

FMS #247

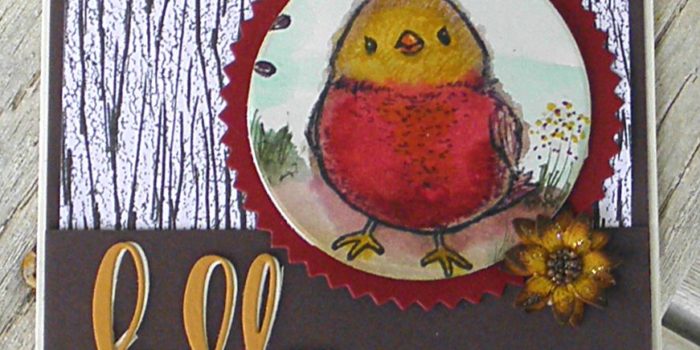
I pulled the bird off of the original card (holding my breath the whole time – you know what I mean. . . . when you don’t want something to be stuck really well to your card, it is, and this was!!!) Whew, I got it off with no damage. I cut it with SU! circle dies and matted it on Cherry Cobbler cut with SU! zig-zag circle dies. I took some retired SU! designer series paper featuring a woodgrain (reminded me of a barn) and matted it on Early Espresso SU! cardstock. I placed a strip of Early Espresso down onto the woodgrain paper and placed the hello die cut on top of it. The white showing beneath is intentional. I wanted a slight shadow behind the Hello Honey paper to make it stand out from the Early Espresson. The last item I wanted to mention was a left over sunflower from a side-step sunflower card a friend and I made (I’ll be posting it soon). It is highlighted with a little dazzling diamonds and prills for the center of the flower.

I almost forgot to mention how I created the chick. It came from the SU! stamp set Honeycomb Happiness. I stamped the chick in Staz-on Jet Black onto 140 lb watercolor paper. I watercolored the chick using re-inkers and my aqua-painter. The colors SU! re-inker colors I used were, Pool Party, Hello Honey, Cherry Cobbler, Mossy Meadow, and Soft Suede. Then I went back with a Chocolate Chip Stampin’ Write Marker and added some dimension to the bird by accenting its check with marks to create a feathery look.

This card went from blah to adorable. I hope you enjoy it!

I haven’t posted anything since before Christmas. A lot has happened between then and now. My sister had a major stroke just before Christmas. She actually died, but thanks to the paramedics who resuscitated her she is doing well with some loss of use to her left arm. She stayed with me while she recuperated and she is now back at her home.

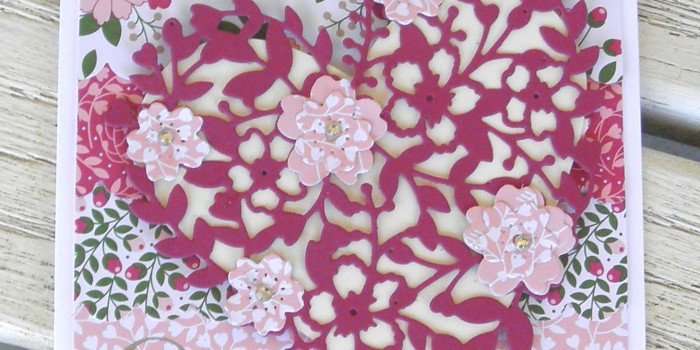
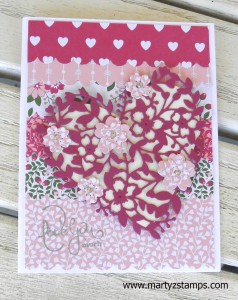
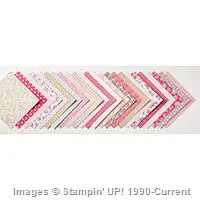
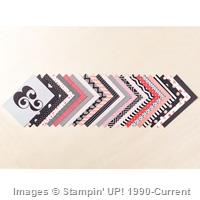
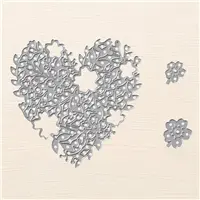
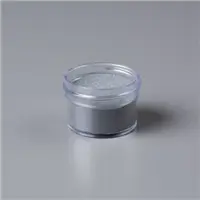
I did keep up with my make-n-take classes during January and the most recent class was a Valentine’s make-n-take class last week. The first class sample card I completed was inspired from Connie Collins’ Global Design card challenge entry (see here. . . .). I had the new SU! Love Blossoms paper pack but I had used a lot of it for a technique class (I’ll post that card next) and knew I didn’t have enough full sheets for a background left. This use of scraps from the Love Blossoms paper pack worked well. I took the coordinating Bloomin’ Hearts thinlit die and cut a lacey heart out of Rose Red card stock and placed a Very Vanilla cut out heart behind it to make the heart stand out from the rest of the busy background.  I used retired SU! Well Scripted set for the word phrase “Love You Much”, which was embossed using silver embossing powder. The flower blossoms were die cut out of the Love Blossoms paper and accented with clear rhinestones.
 

LoveYouMuch 2016


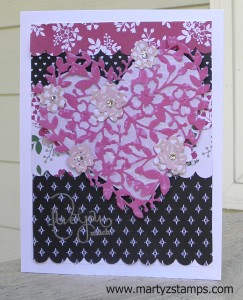
I made another card using some scraps from SU! Stacked With Love paper pack along with the Love Blossoms paper pack and I think it turned out well too.

Valentine 2016


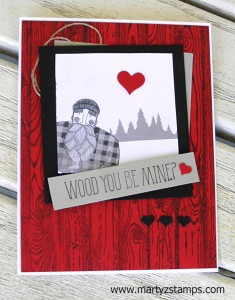
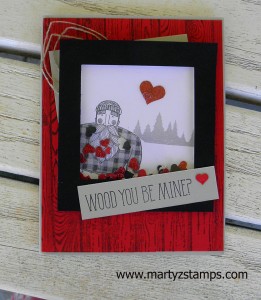
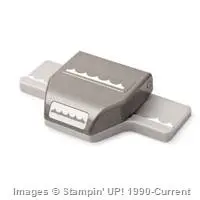
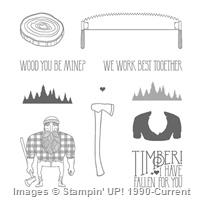
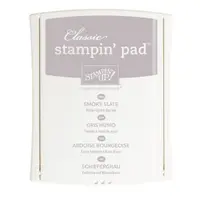
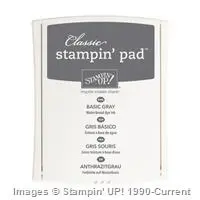
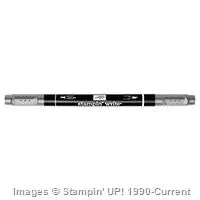
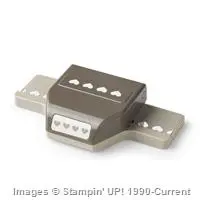
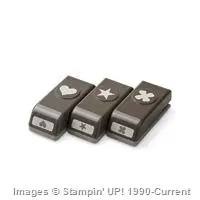
The other card I’m featuring uses last year’s featured SU! stamp set Wood You Be Mine (it was inspired by Cindy Shuster’s card – see here. . . )? I LOVE the lumberjack from this stamp set. I used the Hardwood background stamp with Basic Gray on Real Red card stock. I then layered a Basic Black mat with the stamped image with a hint of Sahara Sand showing from behind accented with some linen thread. I wanted to make the card look like a balck and white photo with the red heart signifying “love.” I used Smoky Slate for the shirt and Smoky Slate and Basic Gray Stampin’ Write markers to accent the lumberjack. The Wood You Be Mine? tag was stamped on Sahara Sand using Basic Gray. And, some tiny Basic Black hearts were placed at the bottom to balance the card using the Confetti Hearts border punch. Love this Card!
 

Wood You Be Mine 2016


I made another card very similar to this one, but as a shaker card.

WoodYouBeMineShaker 2016

Supplies Used for Bloomin Hearts cards: retired SU! Well Scripted (not pictured)


Supply List

Built for Free Using:My Stampin Blog

Supplies for Wood You Be Mine Cards: basic gray stampin’ write marker, acetate and foam tape (not pictured)

Supply List

Built for Free Using: My Stampin Blog

PAGE TOP
[dealsbar preview] Amazing Deals: !!toolbar-deal-title!! - !!toolbar-deal-merchant!!