Tag : hearts

4 posts

This past weekend I held a class to learn the basic “how-to’s” of creating simple backgrounds with the Fun Stamper’s Journey Gel Press. The class was full, and we had a funtastic time playing and creating some awesome backgrounds for cards.

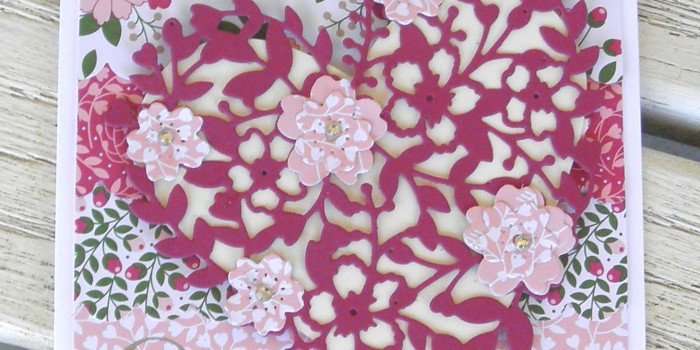
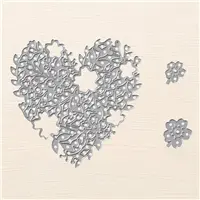
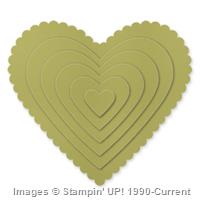
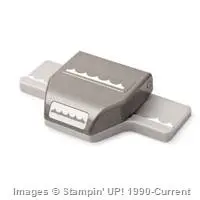
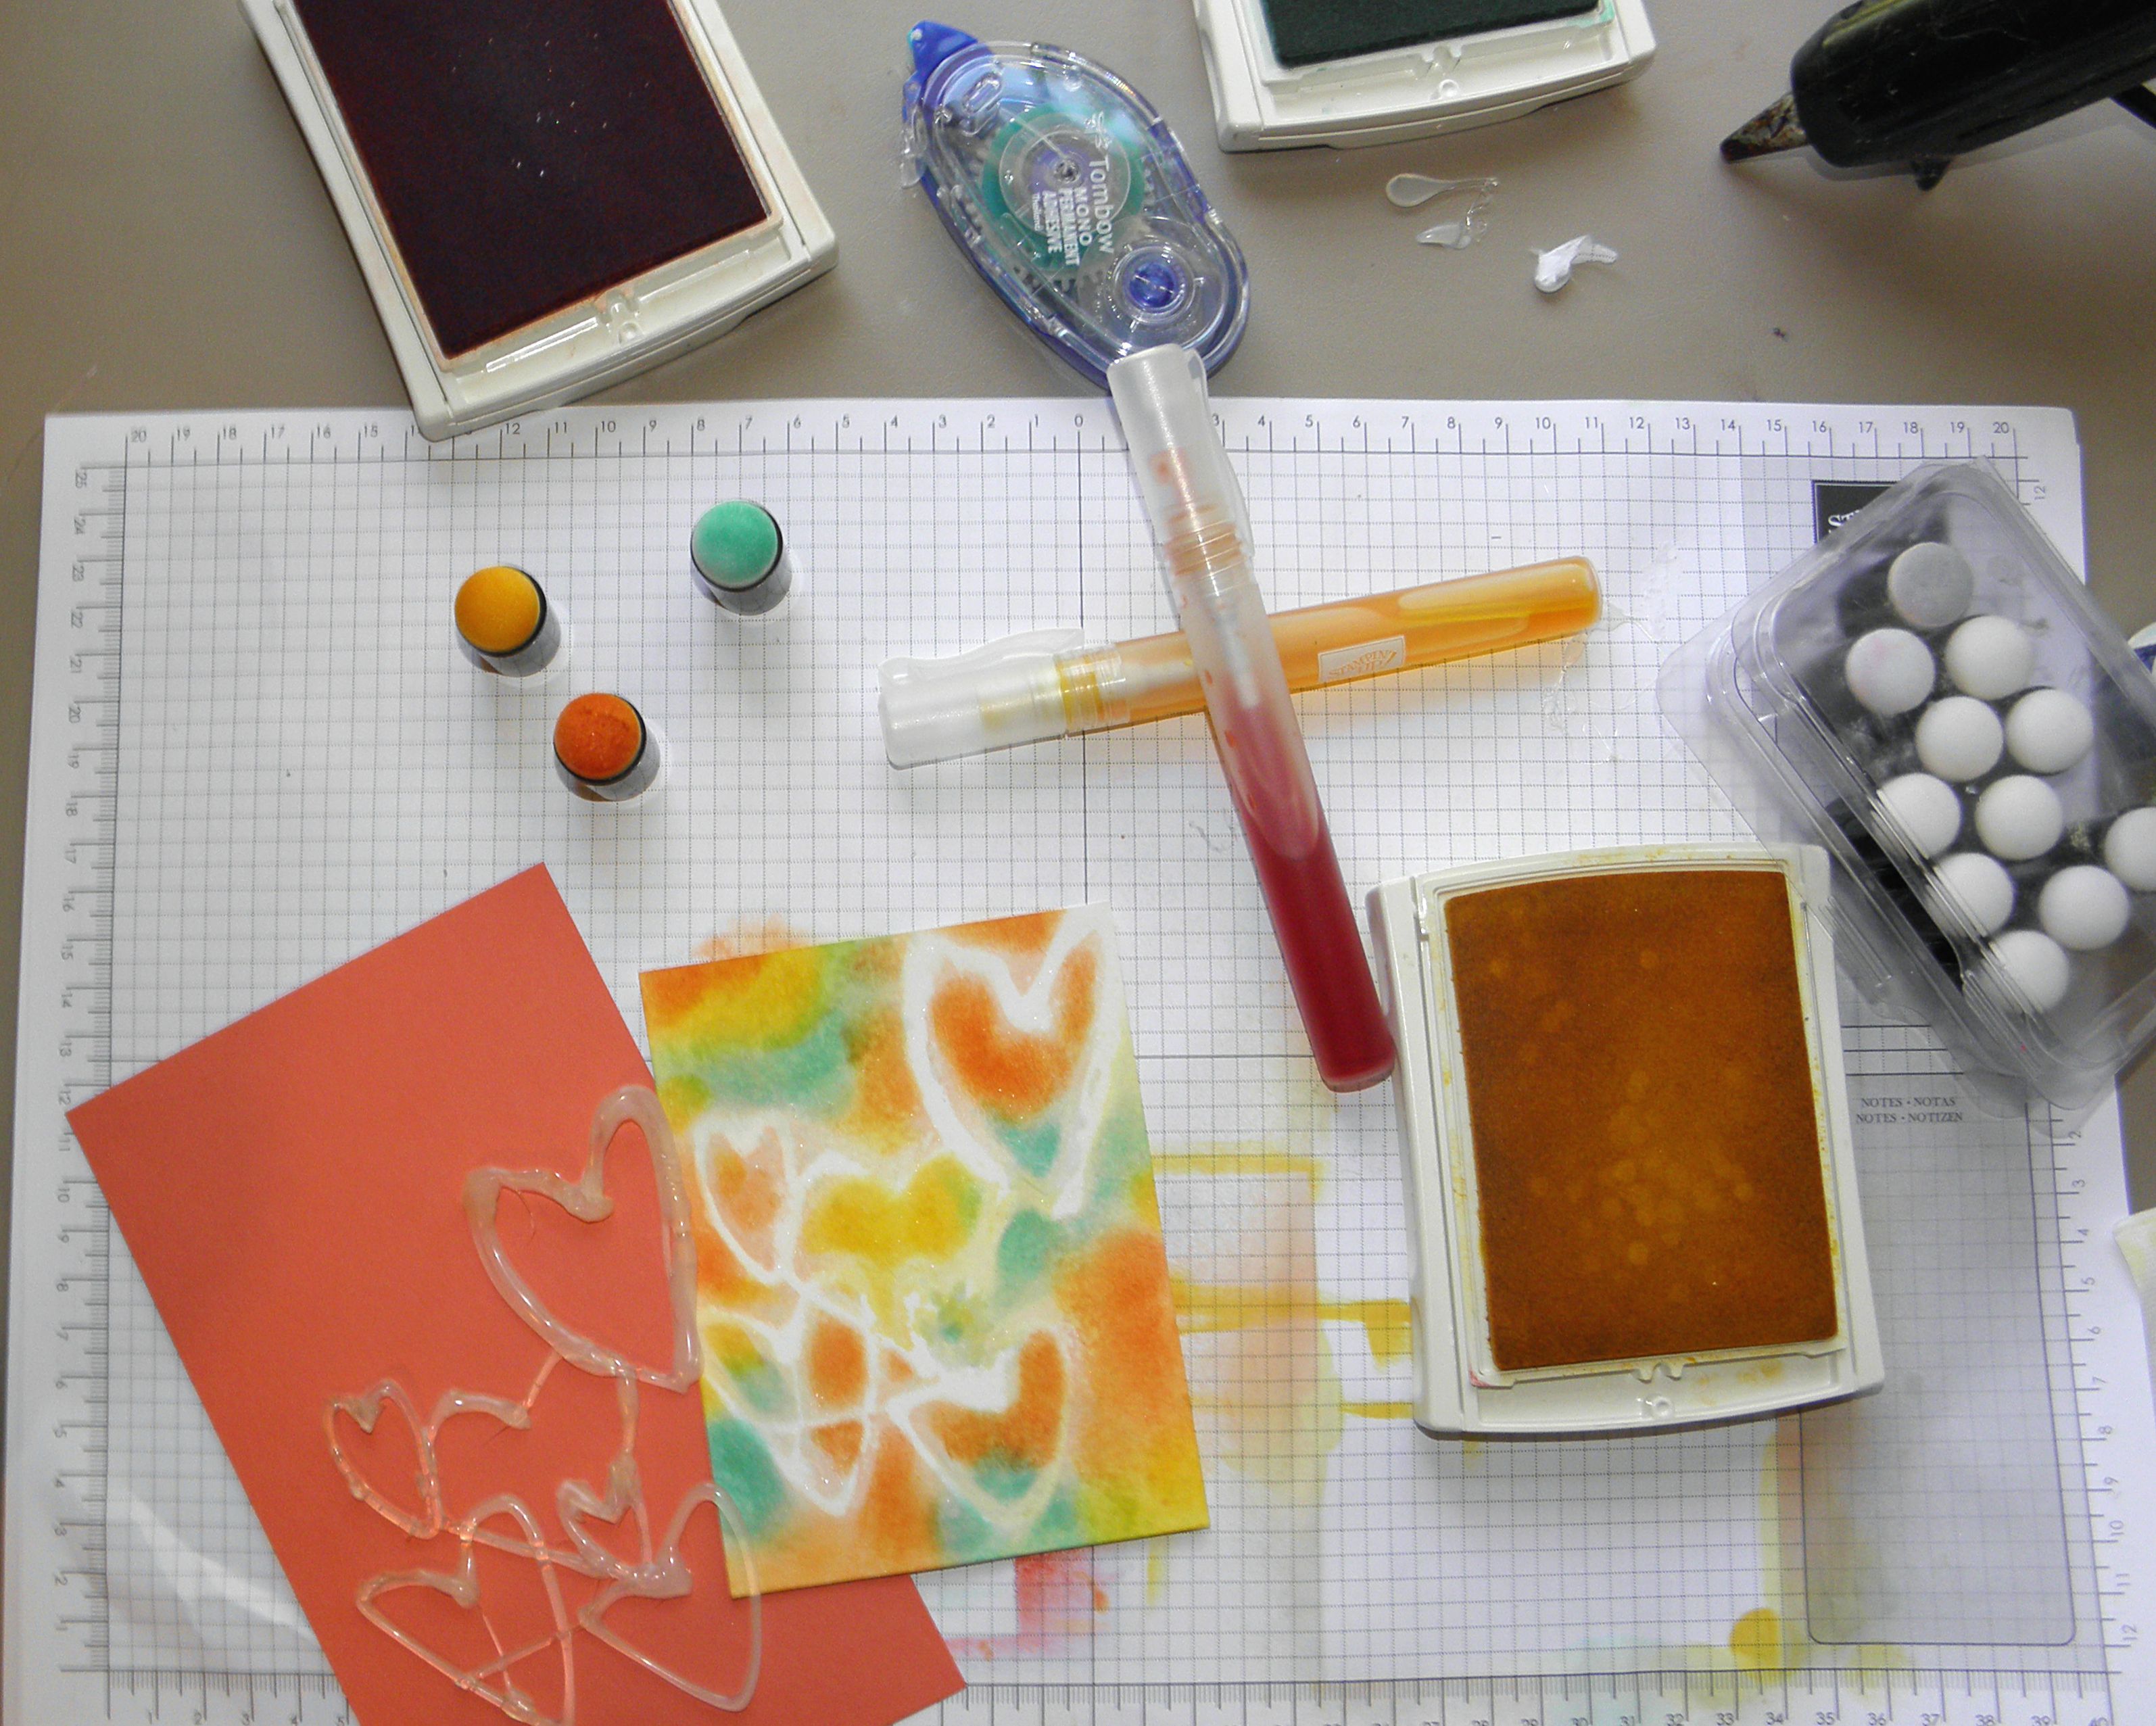
Since this was a Keep It Sweet and Simple class, I did not feature any stencils or mixed media products. The main focus of our Gel Press fun was using Fun Stampers Journey’s fusion inks, acrylic paints, and liquid colors. In keeping with the simple theme, I chose to create interest in the backgrounds using common craft tools and items found in a papercrafter’s stash. This included paper cut with heart dies, a balloon die, a fern die, and a leaf die. We used the bottom of the Journey Glaze to create circles on the Gel Press (remember don’t use anything sharp, it will pierce the gel). Creativity is unlimited with this amazing product.

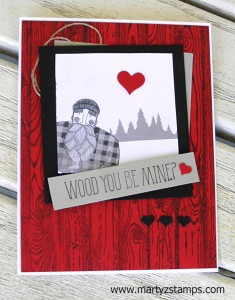
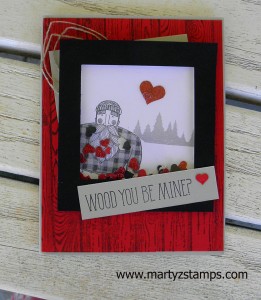
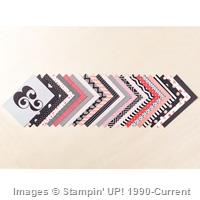
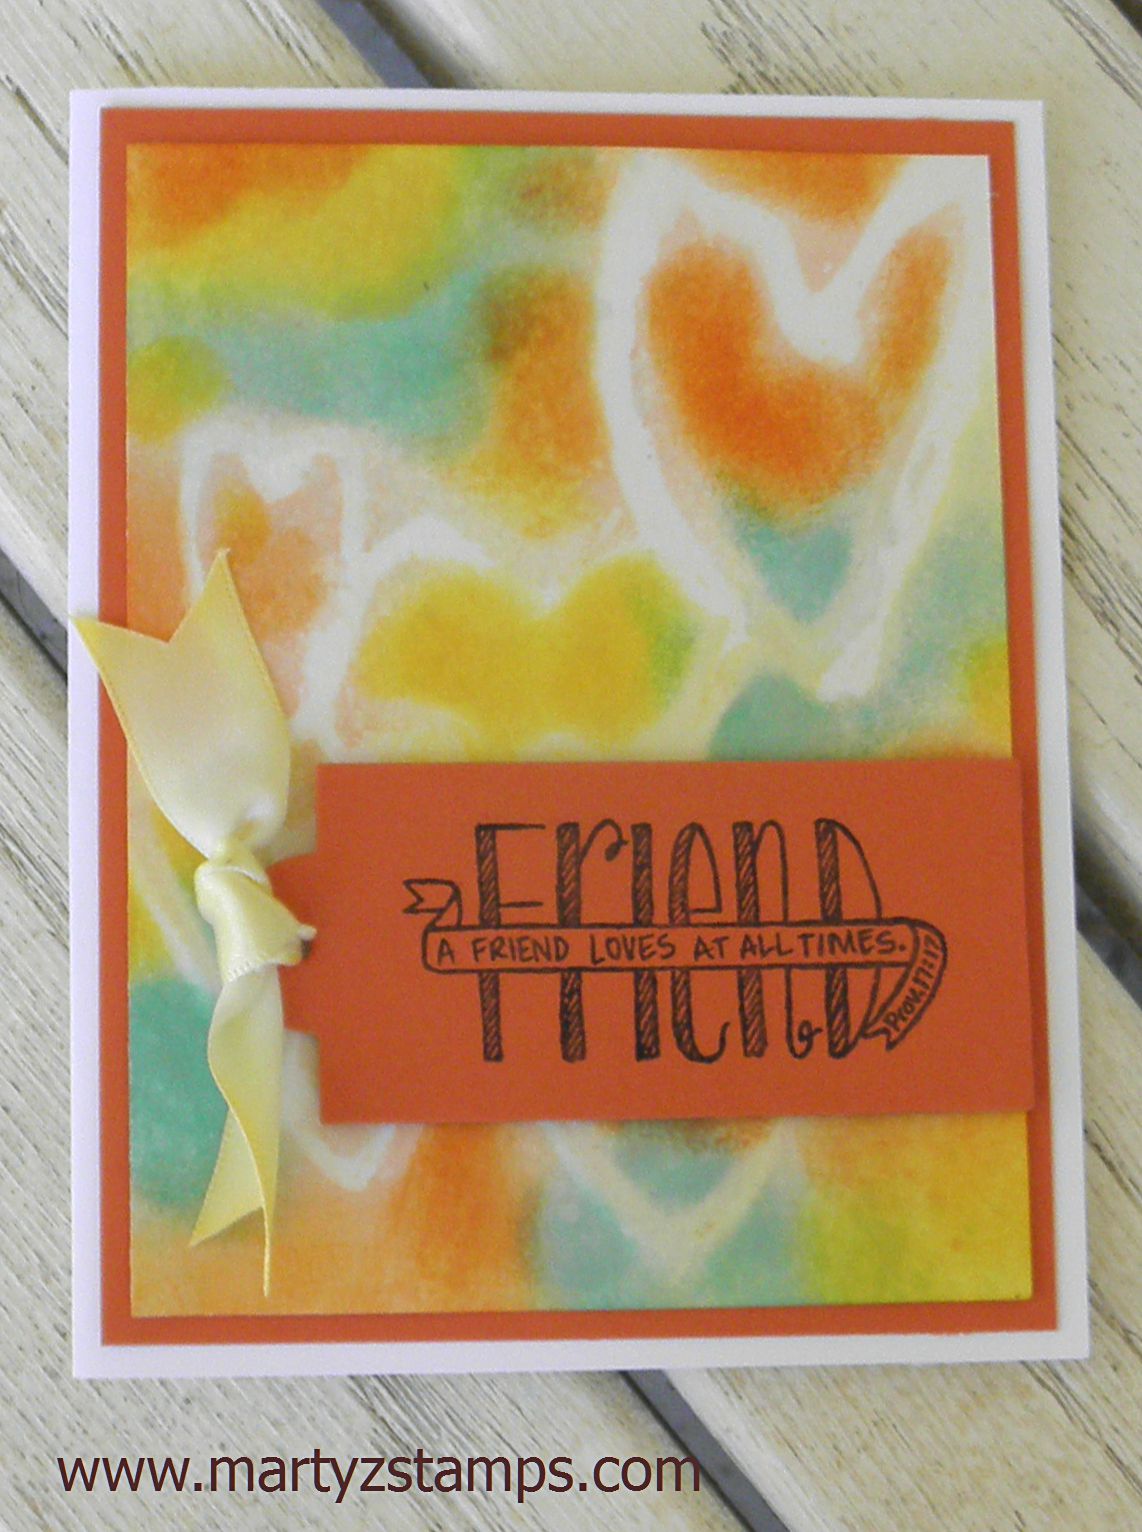
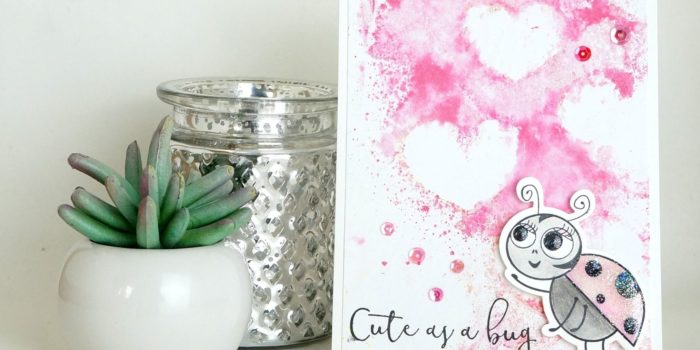
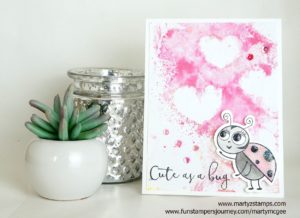
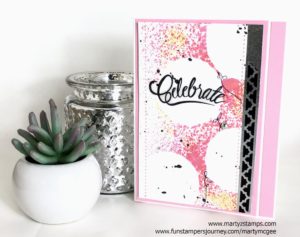
As you know Valentine’s Day is just around the corner, and the FSJ Bloom This Way trend catalog has the most adorable Host Exclusive stamp set with coordinating die called Bug Love (SS-0535 and DI-0393); therefore, the featured background for this class was hearts.  I couldn’t help but make a card using this set with the third background pull I created from the Gel Press. I used the FSJ Sweet Berry Splash in a Media Mister along with a Media Mister filled with water, some die cut hearts, FSJ Gel Medium, FSJ sequins, and several pieces of white cardstock cut down to 4 1/4″ x 5 1/2″ (if you would like to purchase any of the supplies featured in this post, go to www.funstampersjourney.com/martymcgee).

Here is my “Cute As A Bug” card:

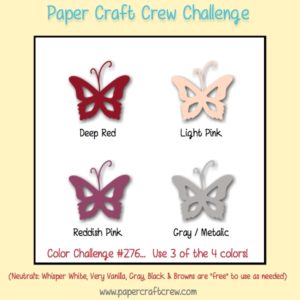
It’s so darn cute, I decided to enter it into the Paper Craft Crew Challenge #276. This week’s challenge is a color challenge:

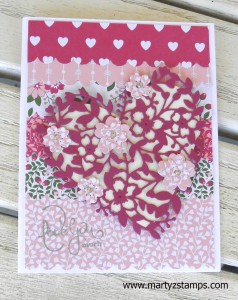
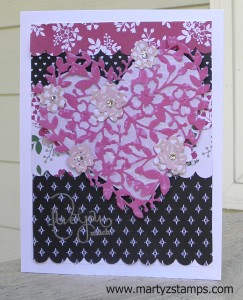
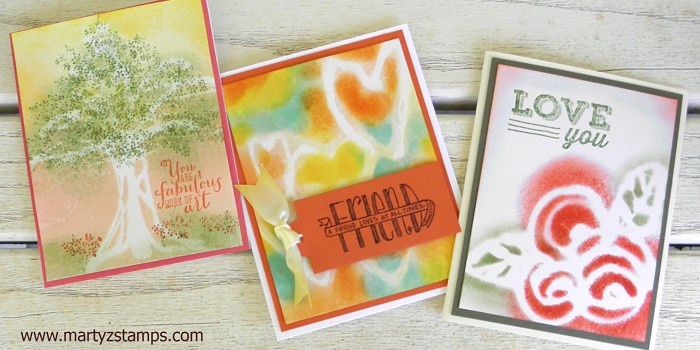
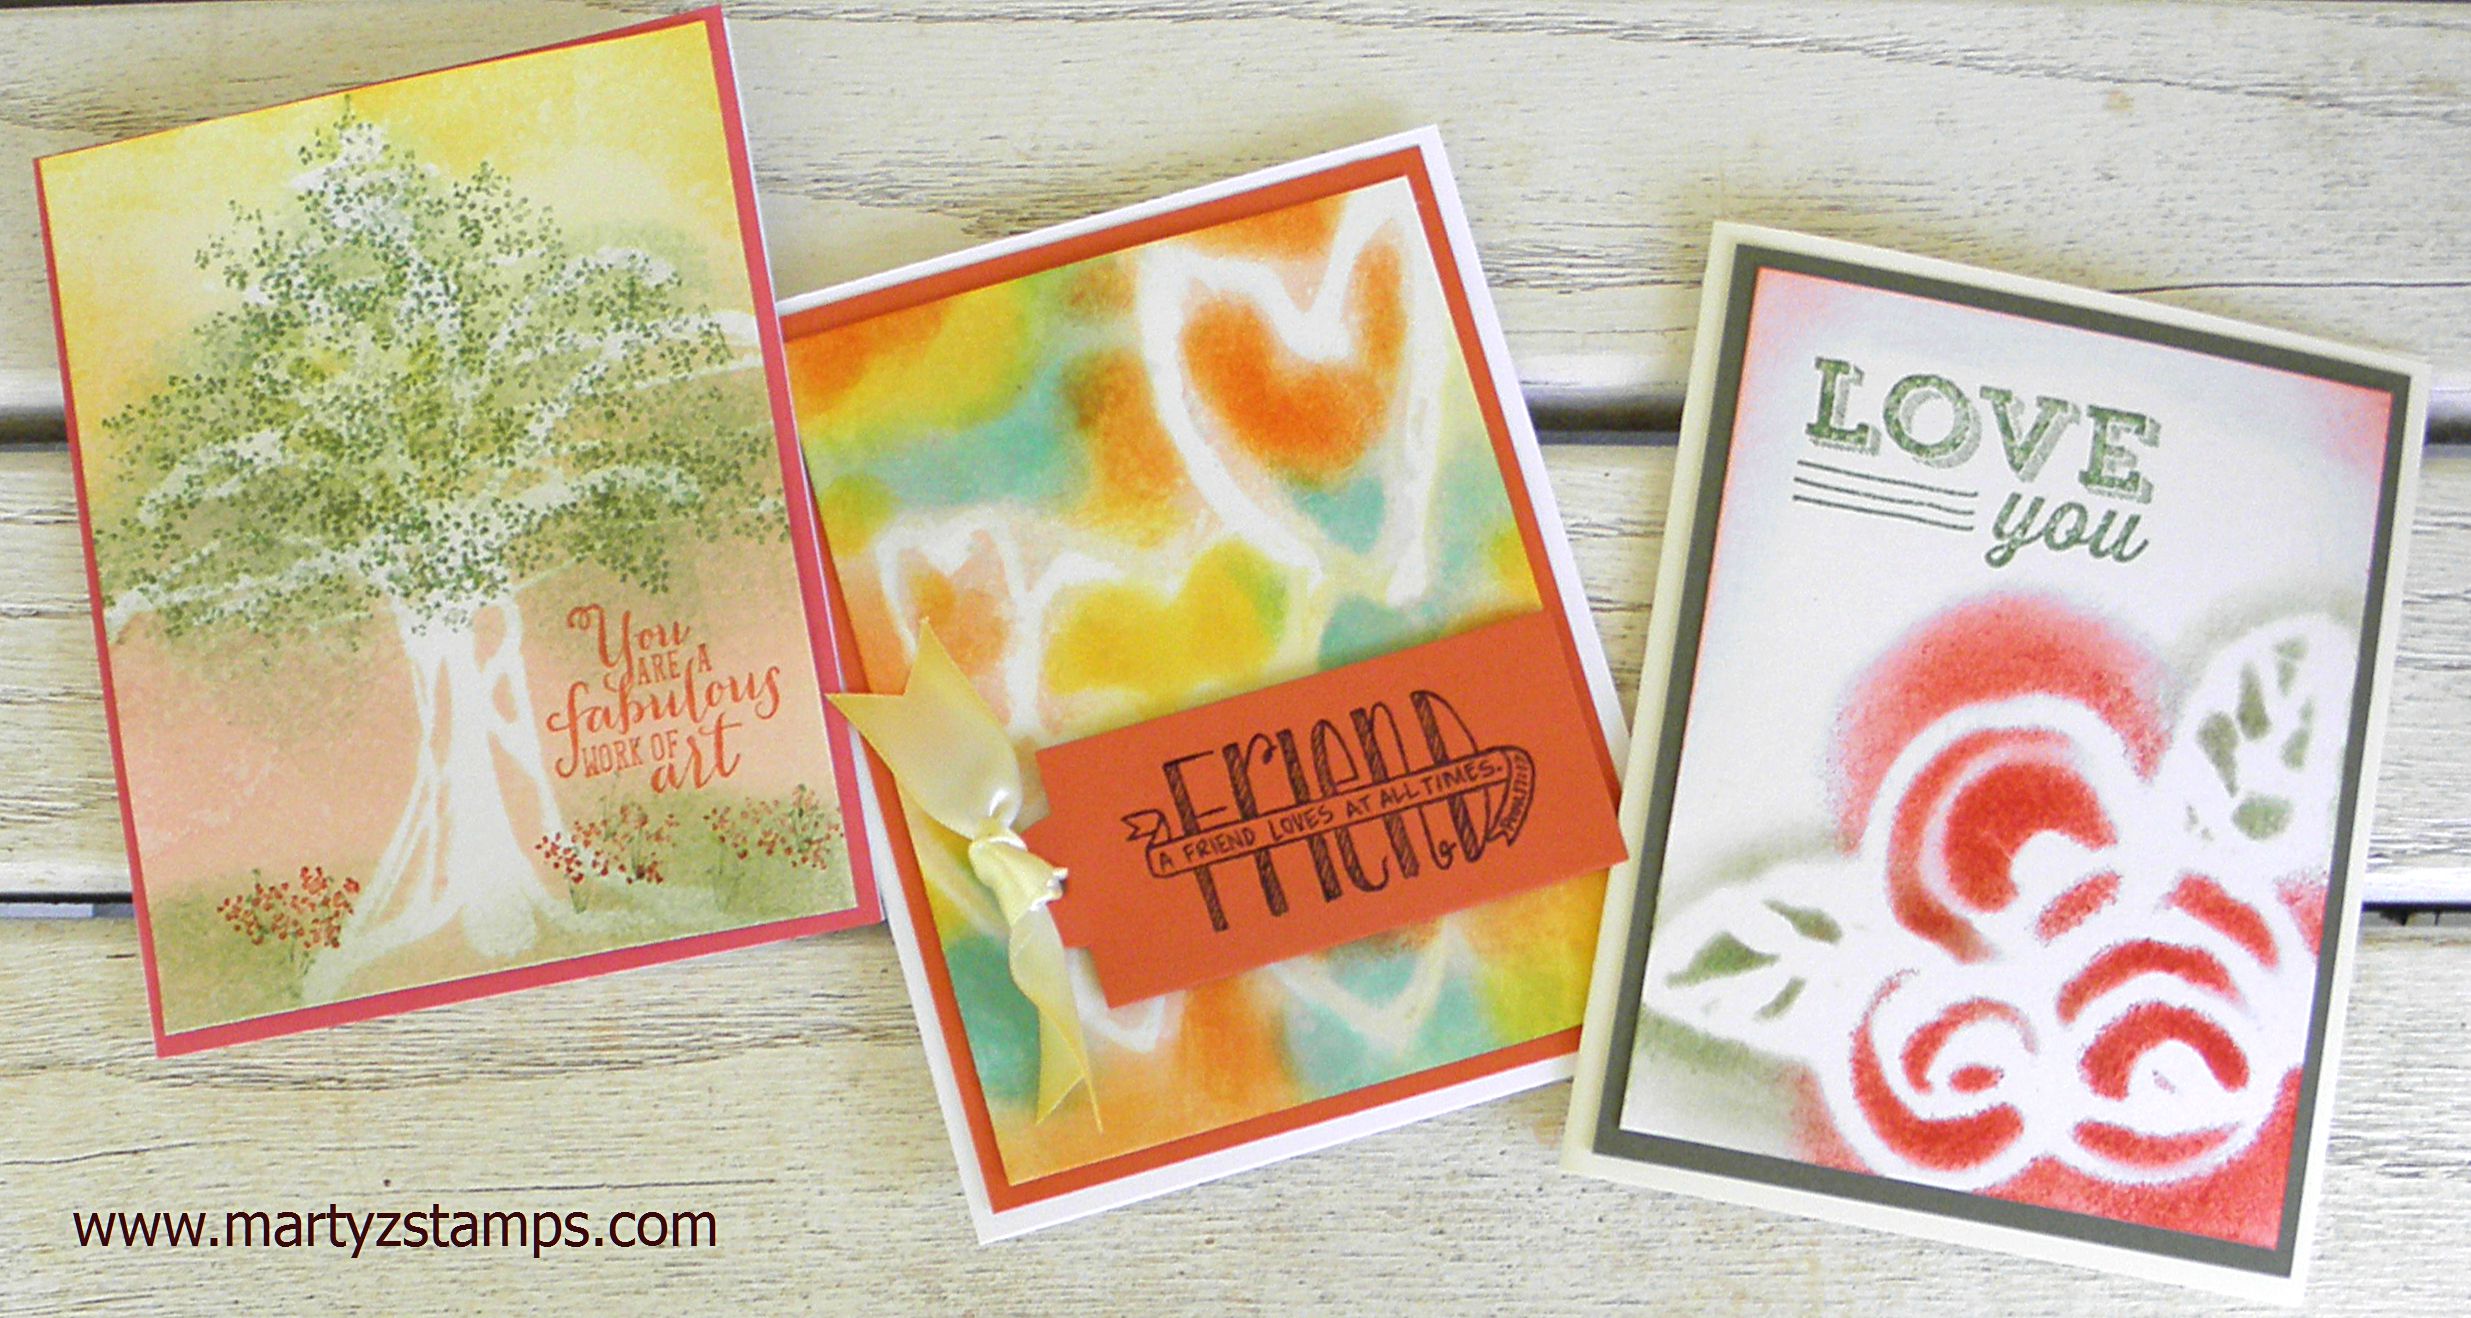
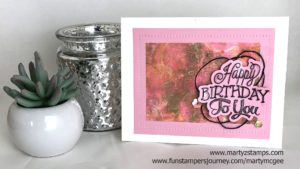
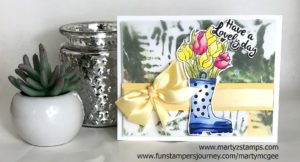
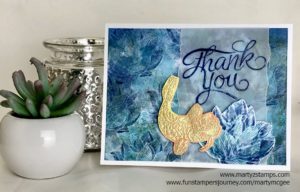
Prior to the Gel Press class, I had created some background pulls to make samples for the class showing the versatility and uniqueness of backgrounds created using the Gel Press. Some of the pulls were just plain ugly; but, my number one rule of using the Gel Press is . . . . . Keep your mind open to making beautiful from the impossible.

Here are the cards I created with the various Gel Press backgrounds:

I hope this post inspires you to play, create and bring paper to life!

SUO Challenges Blog’s challenge is a card created with weddings in mind. This was the perfect timing for a card I created to a friend’s son’s engagement party.  They are both missionaries in Hong Kong. She is here preparing for their June wedding, but he is still in Hong Kong and will travel here closer to the wedding date. My friend told me her future daughter-in-law LOVED elephants. So, when I could pre-purchase the new Love You Lots SU! hostess stamp set, I didn’t hesitate to purchase it just for the elephant.

There is only one elephant in the stamp set, but I wanted two elephants kissing each other with their trunks; so, I looked up a couple of techniques on YouTube for stamping reverse images. I found one where you turn a large enough polymer stamp upside down on a block and then stamp your image onto it and then quickly stamp it onto the card stock – no successful – in fact, epic failure. I, then, saw a Jennifer McGuire tutorial where she stamped onto a sheet of acetate and then restamped onto the card stock. I tried it and I got a good enough image to work with. I did have to take a fine tip sharpie and fill in some of the outline.

I then took Basic Grey and Smokey Slate and added some shading onto the elephants. I gave a wash of color onto the elephants using an aqua painter with some Smokey Slate. I stamped the heart in Real Red from the SU! stamp set Wood You Be Mine? Then as an accent to the bottom of the page, I used a stamp from the new SU! stamp set Swirly Bird. I stamped off using Basic Grey ink. The sentiment stamp is from a SU! card kit Watercolor Wishes. The stamped portion of the card is raised with Stampin’ Dimensionals.

I think this is the perfect engagement card for elephant lovers:

SUO Challenge #149

Update to Initial Post: Last night 5/27/16, I had an email Pinterest alert for the cutest card ever. It was like mine but different. Here is the link: http://swathicrafts.co.uk/love-you-lots/pinkies-blog-hop-card-featuring-affectionately-yours-speciality-designer-series-paper/  Why didn’t I think of making the other elephant PINK!!!!! And, on top of that, she had great instructions on how to transfer the image from the acetate to the card stock. She used a bone folder to press down on the acetate to make a crisper, fuller image. I wish I had ran across this tip when I was doing my card!

Supplies:

Stamp Sets (All SU!): Love You Lots, Wood You Be Mine?, Watercolor Wishes
Inks: Basic Black, Basic Grey, Real Red, Smokey Slate
Card Stock: Whisper White
Accessories: SU! dimensionals, black Sharpie fine tip marker, SU! blocks, SU! paper trimmer

I haven’t posted anything since before Christmas. A lot has happened between then and now. My sister had a major stroke just before Christmas. She actually died, but thanks to the paramedics who resuscitated her she is doing well with some loss of use to her left arm. She stayed with me while she recuperated and she is now back at her home.

I did keep up with my make-n-take classes during January and the most recent class was a Valentine’s make-n-take class last week. The first class sample card I completed was inspired from Connie Collins’ Global Design card challenge entry (see here. . . .). I had the new SU! Love Blossoms paper pack but I had used a lot of it for a technique class (I’ll post that card next) and knew I didn’t have enough full sheets for a background left. This use of scraps from the Love Blossoms paper pack worked well. I took the coordinating Bloomin’ Hearts thinlit die and cut a lacey heart out of Rose Red card stock and placed a Very Vanilla cut out heart behind it to make the heart stand out from the rest of the busy background.  I used retired SU! Well Scripted set for the word phrase “Love You Much”, which was embossed using silver embossing powder. The flower blossoms were die cut out of the Love Blossoms paper and accented with clear rhinestones.


LoveYouMuch 2016


I made another card using some scraps from SU! Stacked With Love paper pack along with the Love Blossoms paper pack and I think it turned out well too.

Valentine 2016


The other card I’m featuring uses last year’s featured SU! stamp set Wood You Be Mine (it was inspired by Cindy Shuster’s card – see here. . . )? I LOVE the lumberjack from this stamp set. I used the Hardwood background stamp with Basic Gray on Real Red card stock. I then layered a Basic Black mat with the stamped image with a hint of Sahara Sand showing from behind accented with some linen thread. I wanted to make the card look like a balck and white photo with the red heart signifying “love.” I used Smoky Slate for the shirt and Smoky Slate and Basic Gray Stampin’ Write markers to accent the lumberjack. The Wood You Be Mine? tag was stamped on Sahara Sand using Basic Gray. And, some tiny Basic Black hearts were placed at the bottom to balance the card using the Confetti Hearts border punch. Love this Card!


Wood You Be Mine 2016


I made another card very similar to this one, but as a shaker card.

WoodYouBeMineShaker 2016

Supplies Used for Bloomin Hearts cards: retired SU! Well Scripted (not pictured)


Supply List

Built for Free Using:My Stampin Blog

Supplies for Wood You Be Mine Cards: basic gray stampin’ write marker, acetate and foam tape (not pictured)

Supply List

Built for Free Using: My Stampin Blog

September’s Technique Class is August’s Technique Class rescheduled due to me having a nasty cold last month. This technique is all about making a negative image stencil using a hot glue gun. This is an awesome technique and I know everyone that tries this won’t be able to stop making hot glue gun stencils (see the YouTube video).

I had to go and purchase more glue sticks and decided to try the All Temperature sticks. I think they are easier to manipulate into the shape(s) you desire. I had previously posted a tree card using this technique, but I needed two more samples for my class this week,and I decided to make some hearts and flowers.

The heart/friend card turned out really well after I decided the spritzed color wasn’t brilliant enough and I went back and sponge daubed color onto the watercolor paper straight from the ink pads, The spritzed color did give it a nice light background as a base. I think I need to go back and start over with my color mix by putting more ink and less water and alcohol. Anyway, the heart/friend card is below my picture of card in progress showing the heart stencil.

PPA267


The next card featured is the flower card. When I first made the stencil, some of the flower lines were very thin. It was easy to go back and add more hot glue to make the lines thicker. Also, on the area where the flowers meet, there was a very large blank space; so, I took my rubber cutting scissors and cut some of the hot glue away so the ink could get to the paper. I used a sponge to apply the color straight from the ink pads. The stencil and card pictures are below.

The last card is the tree card, which I had completed last month. You can go back to its original post to get the supply list and details on making this card.

Hot Glue CardSupplies:

(not pictured) hot glue gun, retired label thinlits, watercolor garden SU! retired stamp set, stamp-a-ma-jig

Price: $110.00

Supply List

Built for Free Using: My Stampin Blog

PAGE TOP
[dealsbar preview] Amazing Deals: !!toolbar-deal-title!! - !!toolbar-deal-merchant!!