Tag : stencil

4 posts

Can you create a one layer card? For those who like clean and simple this might be an easy task, but for me, it is a challenge. I love to create a lot of depth and dimension on my papercrafting projects. This means layer upon layer of mats and the stamped images are often raised using FSJ foam squares, not to mention embellishments such as Rainbow Drops, ribbon, twine, clips, etc. . .

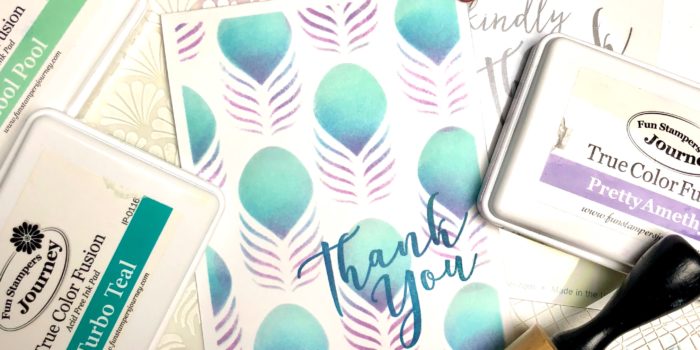
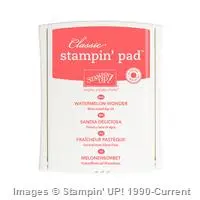
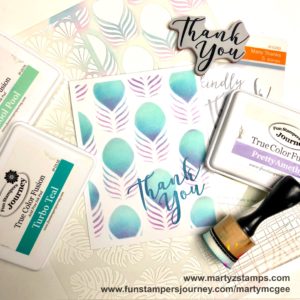
When Christine Pennington called her Bloomin’ Buddies to take part in a one layer card challenge, I jumped on board. I needed a quick and simple thank you card to place in the envelope with my Ebay sales of retired stamps and dies. I immediately knew our NEW Wallpaper stencil from our NEW Inspiration Book and Catalog would make a beautiful card (click here to order). To begin the project, I chose fusion inks which would blend together nicely. They are Cool Pool, Turbo Teal, and Pretty Amethyst (if you want a darker shade of purple, you can choose Lavender Fusion).

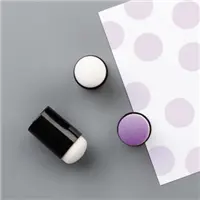
I began by cutting my Whip Cream cardstock into 5 1/2″ x 4 1/4″ rectangles.  I placed the stencil onto the cardstock and using my large dowels I began applying color.

TIP: To keep the cardstock and stencil from moving, place a rolled piece of washi tape on the backside of the cardstock and place onto your stamping surface, add washi tape onto the stencil to hold it in place.

TIP: Use the small dowels for better application management; otherwise, tilt the large dowel back towards you to apply a small amount of color at a time.

Apply the Pretty Amethyst with the sponge dowel starting from the bottom of the image and going up about a third of the way. Using a different sponge, apply the Turbo Teal from the top of the Pretty Amethyst and to a little above the mid-point of the image. Finish sponging the image with Cool Pool (use a different sponge). Go over the entire image with Cool Pool to help blend all colors seamlessly.

TIP: Since Turbo Teal is a deep, rich ink, dab off some of the ink before apply.

Once all the color has been applied, add a sentiment of your choice. That’s all there is to it. I was able to create approximately 20 cards in an hour. Here is the finished project.
 

Product List

For this week’s Freshly Made Sketches #278 challenge, I made a variation of this month’s Make It Class card to meet the sketch challenge (I will post this month’s Make It cards on another post). Here is the FMS #278 sketch:

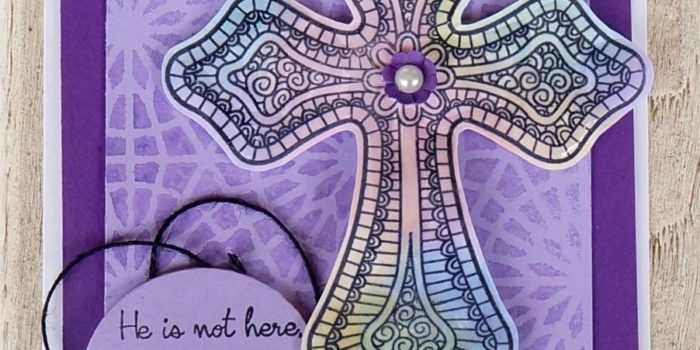
I had created a cross card from a video/demo Richard Garay had for FSJ coaches using a special technique to create a stained glass effect. I began by stamping the cross from FSJ Color Cross stamp set onto FSJ Whip Cream cardstock using Black Licorice ink. After I stamped the image, I took the solid flower stamp from FSJ Be Happy stamp set (note: any solid shape would work) and stamped it into various colors of ink (one at a time) then stamping onto the cross (you can go out of the lines because the cross will be cut out). I used the following Fun Stampers Journey inks to create this stained glass effect (Bubble Gum, Sweet Pear, Banana Cream, Pool Party, and Pretty Amethyst). Note: If you try this technique, make sure to clean your stamp off after each inking because the black ink sometimes comes off onto the stamp. This will help eliminate any frustration if colors bleed and become muddy/murky). Once I finished stamping, I cut the cross out and applied Journey Glaze to give it a little shine. Set the cross aside to dry.

I created the patterned mat by placing the FSJ Starburst stencil on top of the piece of FSJ Pretty Amethyst cardstock. In a FSJ Media Mister, I combined one squirt of FSJ Sweet Berry Splash and one squirt of FSJ Blue Lagoon Splash and filled with water to create the purple mist. I spritzed the paper with the purple mist and immediately applied a paper towel to the stencil to soak up any excess liquid. This created another stained glass effect for the card.

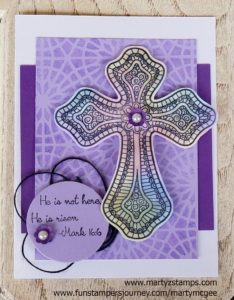
I used FSJ Deep Lilac for the back mat. I layered the patterned mat on top. I adhered the cross with FSJ Foam Squares (medium). I stamped the sentiment onto FSJ Pretty Amethyst cardstock and die cut a circle from the stamped cardstock. I placed a loose loop of black twine behind the circle sentiment and adhered the sentiment with FSJ Foam Squares (medium) as well. For the final touch, I punched two small flowers from the FSJ Summer Pretties punch. I curled the edges and applied a peal accent to the middle. They were adhered to the card project with FSJ liquid glue.

Here is the final project.

Supplies:

Fun Stampers Journey (click here to order)

Stamps: Color Cross Bundle, Be Happy
Cardstock: Whip Cream, Pretty Amethyst, Deep Lilac
Inks: Black Licorice, Bubble Gum, Pool Party, Pretty Amethyst, Banana Cream, Sweet Pear
Accessories: Black Twine, Journey Glaze, Pearl Accents, Circle Die, Starburst Stencil, Media Mister, Sweet Berry Splash, Blue Lagoon Splash

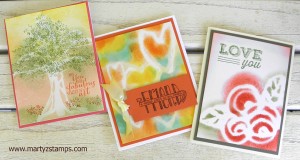
September’s Technique Class is August’s Technique Class rescheduled due to me having a nasty cold last month. This technique is all about making a negative image stencil using a hot glue gun. This is an awesome technique and I know everyone that tries this won’t be able to stop making hot glue gun stencils (see the YouTube video).

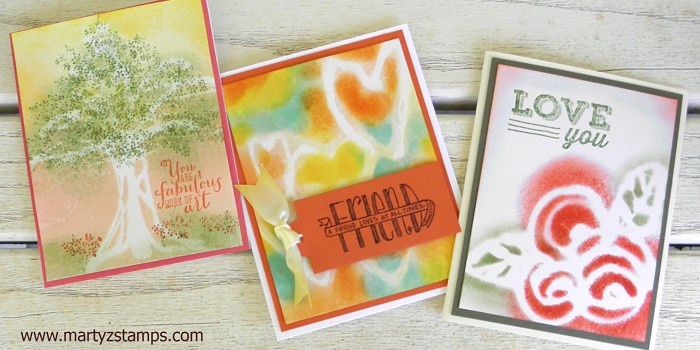
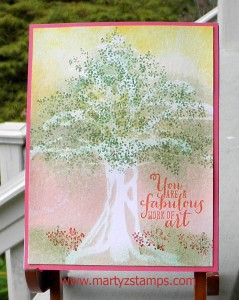
I had to go and purchase more glue sticks and decided to try the All Temperature sticks. I think they are easier to manipulate into the shape(s) you desire. I had previously posted a tree card using this technique, but I needed two more samples for my class this week,and I decided to make some hearts and flowers.

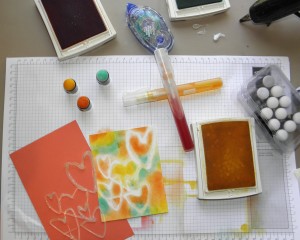
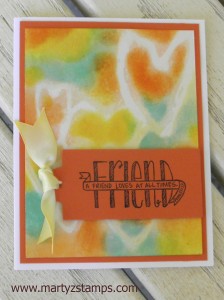
The heart/friend card turned out really well after I decided the spritzed color wasn’t brilliant enough and I went back and sponge daubed color onto the watercolor paper straight from the ink pads, The spritzed color did give it a nice light background as a base. I think I need to go back and start over with my color mix by putting more ink and less water and alcohol. Anyway, the heart/friend card is below my picture of card in progress showing the heart stencil.

PPA267


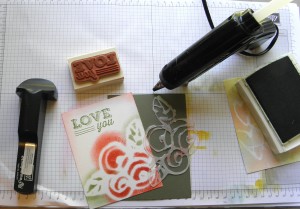
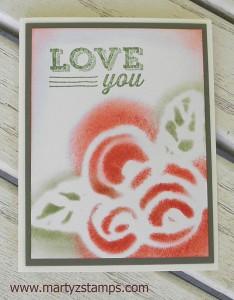
The next card featured is the flower card. When I first made the stencil, some of the flower lines were very thin. It was easy to go back and add more hot glue to make the lines thicker. Also, on the area where the flowers meet, there was a very large blank space; so, I took my rubber cutting scissors and cut some of the hot glue away so the ink could get to the paper. I used a sponge to apply the color straight from the ink pads. The stencil and card pictures are below.

The last card is the tree card, which I had completed last month. You can go back to its original post to get the supply list and details on making this card.

Hot Glue CardSupplies:

(not pictured) hot glue gun, retired label thinlits, watercolor garden SU! retired stamp set, stamp-a-ma-jig

Price: $110.00

Supply List
Built for Free Using: My Stampin Blog

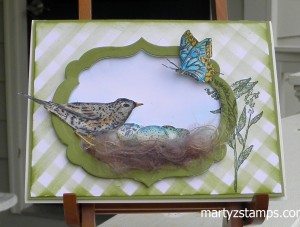
I am really on a roll. I received an update from http://livelovecards.com and went to explore what was new and came across the March card challenge using a stencil. My first thought was making a gingham type background using the stripe stencil from Stampin’ UP! I placed it on the diagonal and sponged using Wild Wasabi and Old Olive inks. I tapered the amount of ink on one side of the card as a highlight effect.
The next step was going through my framelits to determine what type of mat I wanted; then, on to finding the right stamp set. I was inspired by a couple of bird nests on our front porch, and it is really warm here in Georgia, and Spring is right around the corner, and. . . . . .  So, I chose Nature Walk utilizing the bird with its nest popping off the page.

Here is the challenge card I made for Live-Love-Cards:

OLYMPUS DIGITAL CAMERA


Stamp Set: Nature’s Walk (discontinued)
Stampin’ Write Marker (discontinued): More Mustard (Crushed Curry would work as well)
Nest: Pulled apart the ribbons and then glued to card


Built for Free Using: My Stampin Blog

PAGE TOP
[dealsbar preview] Amazing Deals: !!toolbar-deal-title!! - !!toolbar-deal-merchant!!