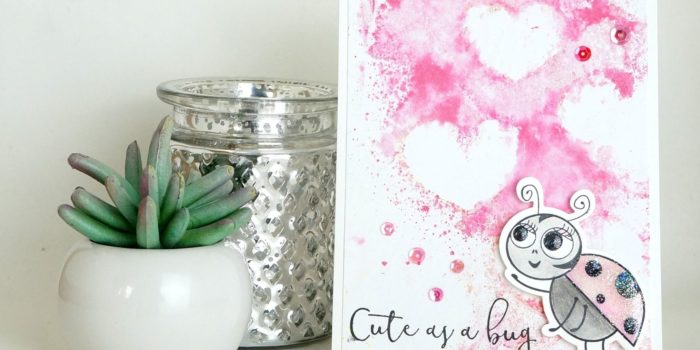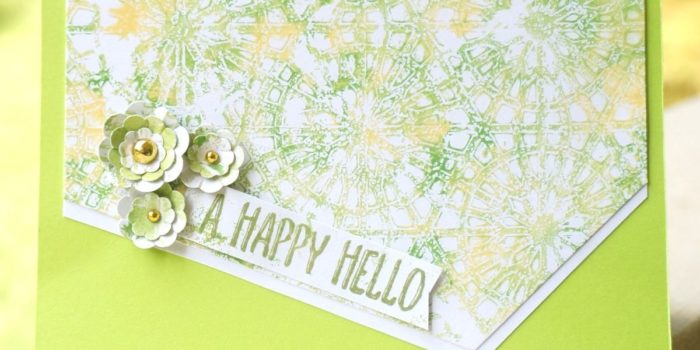
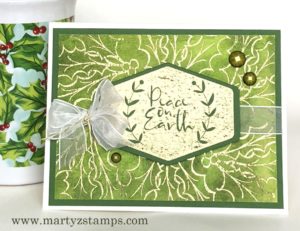
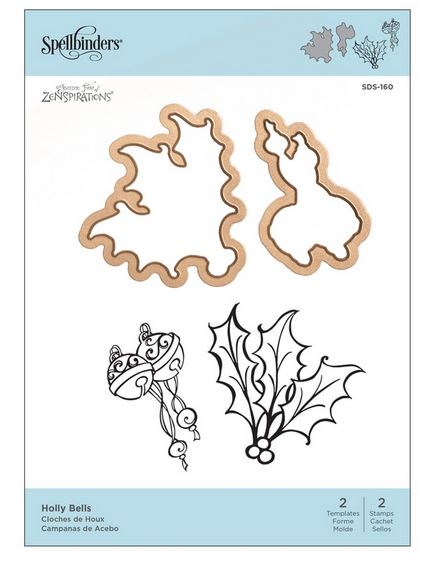
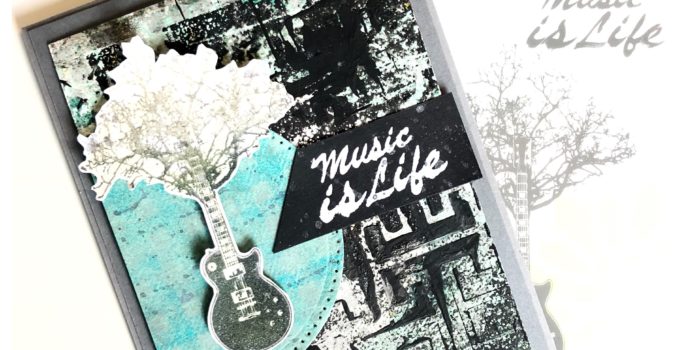
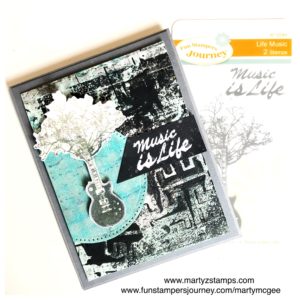
The FSJ + Spellbinders partnership launch is today! To celebrate this day, I created a Christmas card using the Zenspired Holidays, Holly Bells stamp and die set by Joanne Fink.

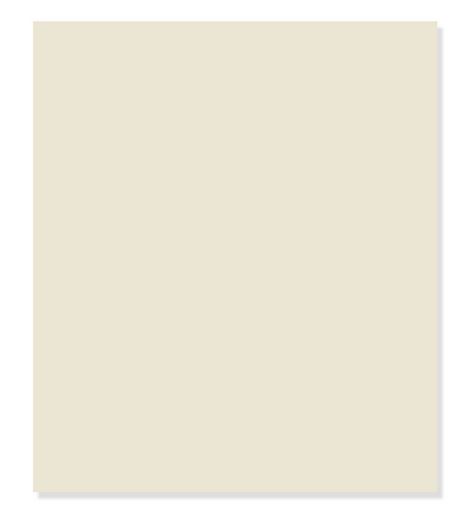
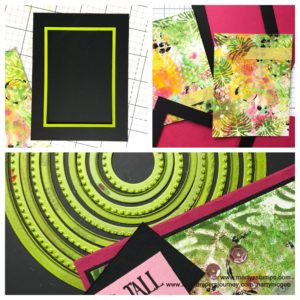
I began with a FSJ Butter Cream base and added a 5 1/4″ x 4″ FSJ Kiwi Slice mat to the base.
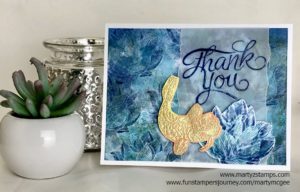
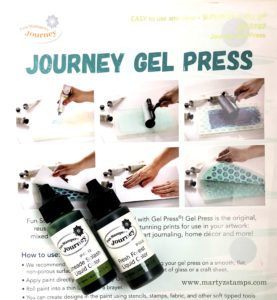
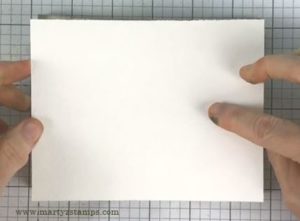
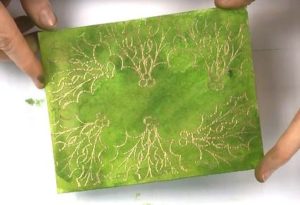
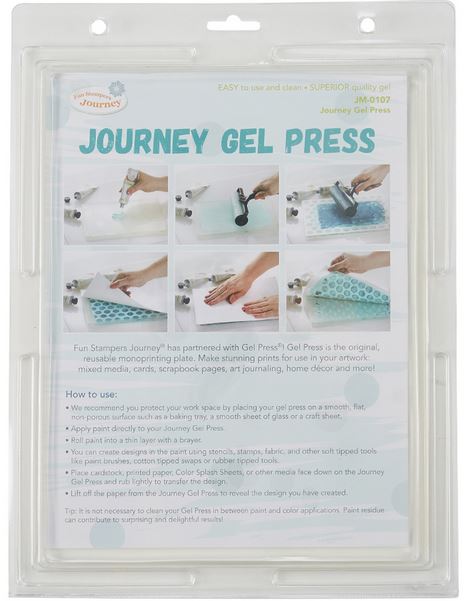
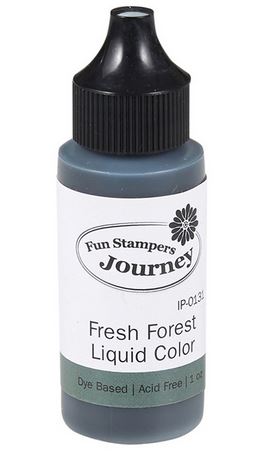
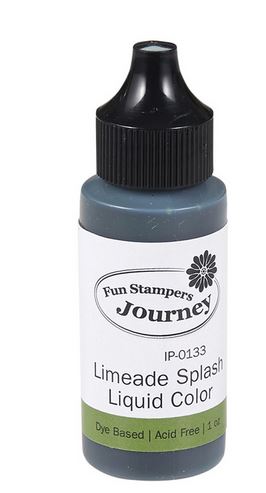
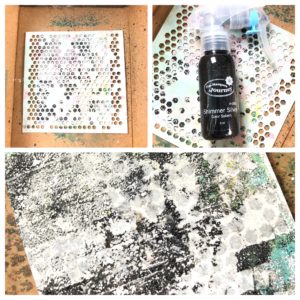
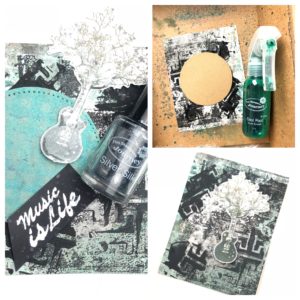
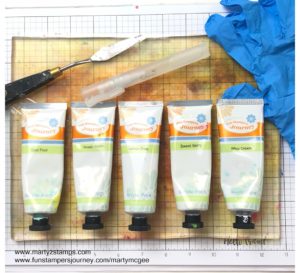
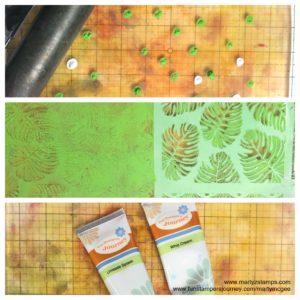
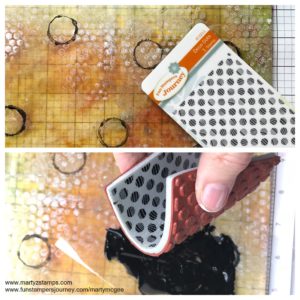
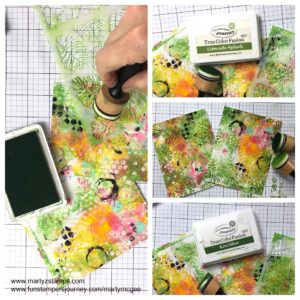
The gold embossed holly leaves mat took several steps. First, I cut a 5 1/2″ x 4 1/4″ watercolor paper mat and set it aside. Next, I placed my Gel Press onto my desk and applied FSJ Fresh Forest and Limeade Splash Liquid Colors to it. Tip: Apply more Limeade Splash for a more Christmas green color. Note: The pictured Gel Press with liquid color was created by cutting a full 8 1/2″ x 11″ Gel Press into fourths.
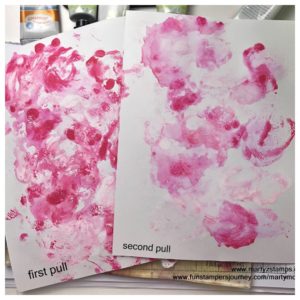
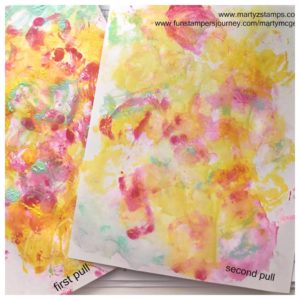
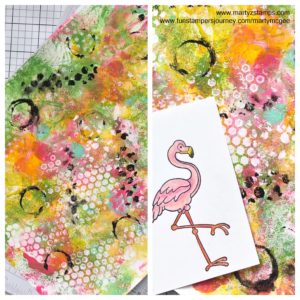
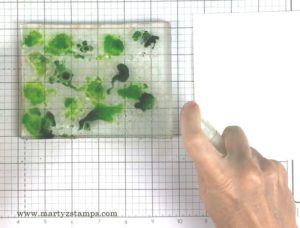 After spritzing the Gel Press and the watercolor mat generously with water from my media mister, I pressed the watercolor paper mat onto the Gel Press, lifting and reapplying until the entire mat was covered with color.
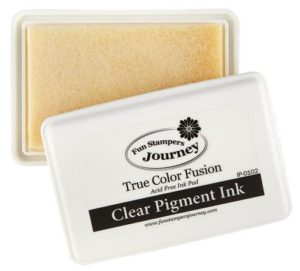
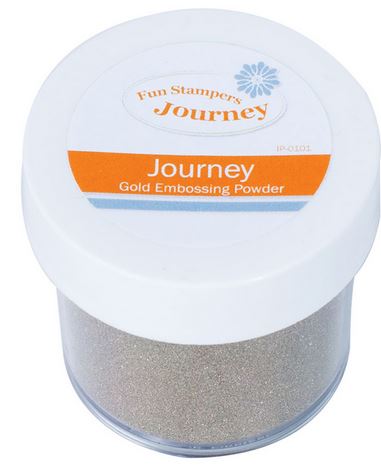
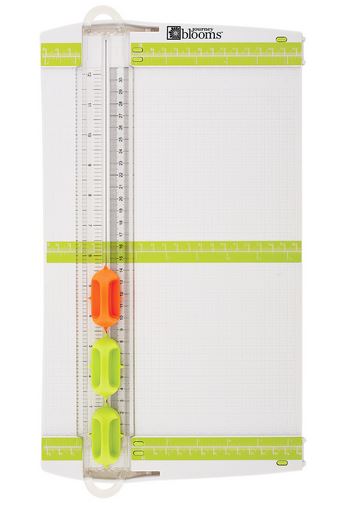
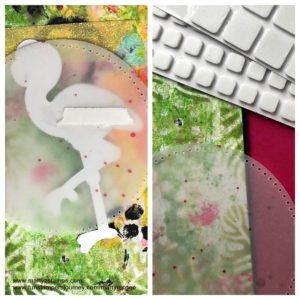
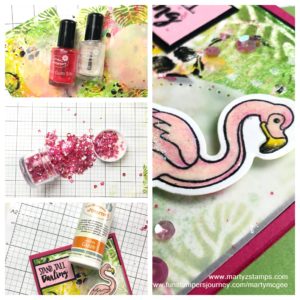
Before embossing with gold embossing powder, I made sure the colored mat was completely dry. To make sure the powder only stayed on the inked image, I applied anti-static powder over the entire mat and then stamped the holly leaves using FSJ Clear Pigment ink. Once I finished stamping, I applied the gold embossing powder and using my heat tool melted the powder creating shiny, gold holly leaves. The last step for this portion of the project was to cut the mat down to 5″ x 3 3/4″ using FSJ Trimmer.
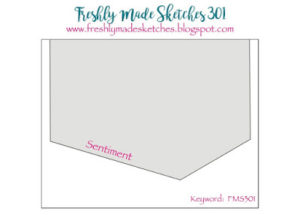
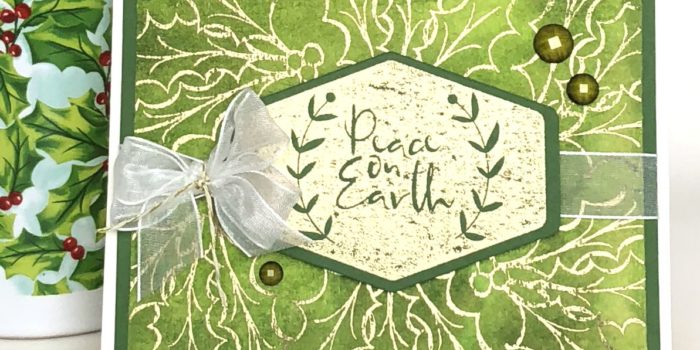
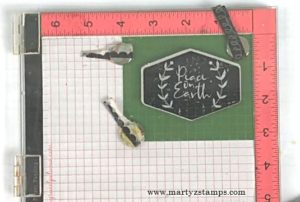
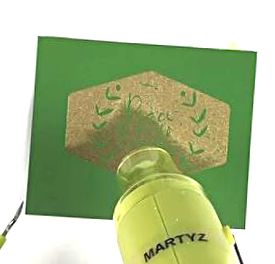
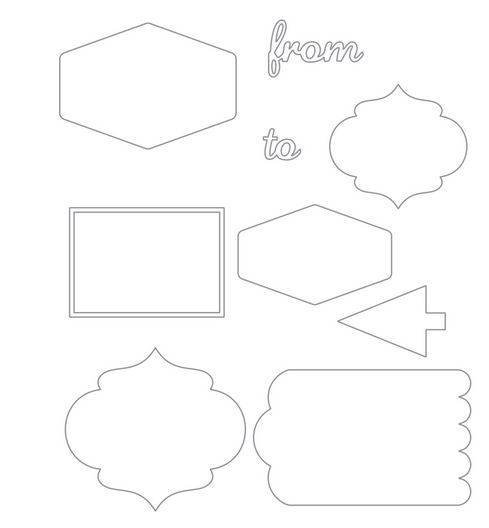
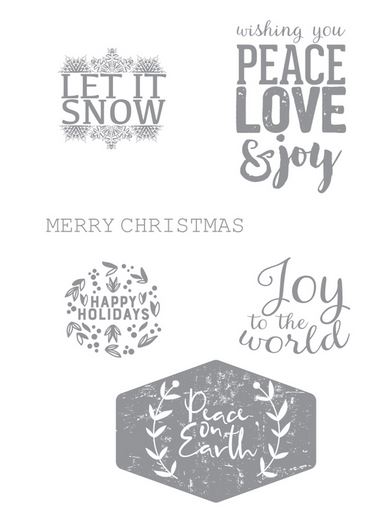
For the sentiment, I gold embossed “Peace on Earth” stamped image from the Holiday Joy stamp set and die cut it with the coordinating Special Day Tags Die Set.
Tip: I used my MISTI to stamp the image four or five times to get a good inked impression.
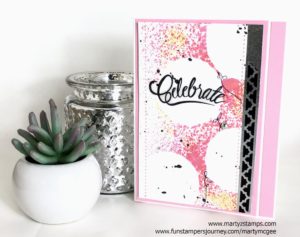
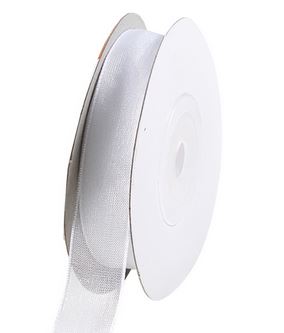
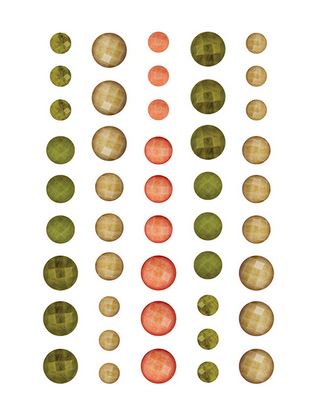
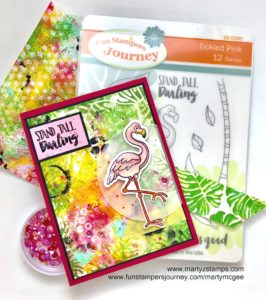
This card definitely needed some ribbon. A 5 1/2″ length of Special Day White Organza Ribbon was placed across the mat and adhered to the back. The die cut sentiment was centered and adhered on top of the ribbon with medium foam squares. A double bow created from the ribbon is attached with a piece of gold thread and the finishing touch are the Sea Stones embellishments. And, of course, they sparkle just a little bit.
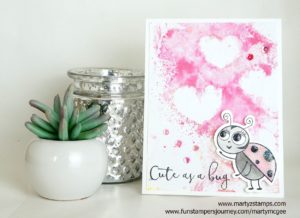
Here is the finished project. I hope this inspires you to create your own holly themed Christmas card.
 Supplies Used For This Project (click on the banner above to order):
-
Holly Bells
-
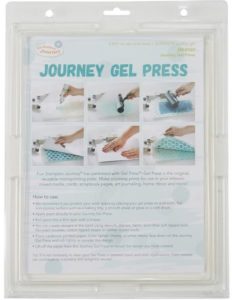
8 1/2 x 11 Gel Press
-

Special Day Tag Die Set
-
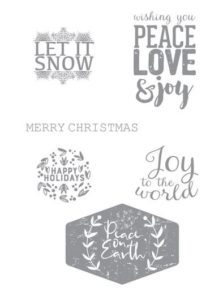
Holiday Joy
-

-

-
-
Fresh Forest Liquid Color
-
Limeade Splash Liquid Color
-

Gold Embossing Powder
-

Special Day Organza
-
Gold Thread
-
Sea Stones
-
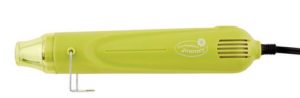
Heat Tool
-

Medium Foam Squares
-

Trimmer
-
-


")


")


")