Category : Techniques

88 posts

Last year I had a technique class featuring the Bendi Card fold featuring a birthday card (I guess I didn’t post that card – will do so soon and link up). It was such a fun card technique, I decided to use it for a Valentine’s Day card. I used the Bloomin’ Hearts thinlit dies to create a fun and stunning Valentine’s Day card.

Bendi Valentine's Day Card

This card will unhook and lay flat for easy mailing. The dimensions I used on this card would not allow it to fit into a 5 1/2 x 5 1/2 envelope, but I adjusted the measurements for the one we did in class and it fit quite well in the envelope. Of course, you would want to put a little padding to keep everything intact during the mailing process.

Supplies: love and you thinlits, x-acto knife (not pictured)


This week’s Paper Craft Crew Card Challenge #165 is featuring the Hearth and Home Thinlit set. I love this set. It is so versatile and just makes the most darn cute cards you have ever seen. The card sketch is below:

PCCCS-161-204-002

I am having a December Christmas Card make-n-take. Each stamper will be making two each of three designs which are detailed and require extra time to complete. I had completed, I thought, one of the cards for this make-n-take, but once I saw this week’s card sketch, I changed a few things.

OLYMPUS DIGITAL CAMERA

This is a 6″ x 6″ shaker card. Yes, it will snow on the sleigh rider if you shake the card up and down. If you shake it sideways you have created a blizzard for the poor horse and rider to endure. This card had initially started off as a regular 5 1/2″ x 4 1/4″ card, but the double window took up the entire card and it just didn’t look “right.” I decided to make it a 6″ x 6″, which allows for a sentiment (card change from sketch).

I cut the sleigh rider out of SU! Whisper White and set it aside to create the evening background. I used a piece of Whisper White card stock for the background. I punched a circle to mask where the moon would be and then, I sponged on retired SU! Midnight Muse (Night of Navy would work) on the outer edges and Coastal Cabana in the center to add some light. I stamped the top portion of the trees from the new Wonderland stamp set in Midnight Muse (there are trees on both sides – the left side is obscured by glitter sticking to the acetate sheet I used for the window panes. I cut a double window out of Sahara Sand (first go-around was Very Vanilla, it really left the card looking washed out). I added a little glitter to the background piece after placing the sled and other hill onto it. Now, here is where things got a little dicey. I tried using the circle dimensionals.  Well, that tended to be a problem, because the dimensionals naturally curved, they are very thin, and don’t close the gaps between them very well. Needless to say, I had “glitter leak”. What a pain!!!! I tried squirting the new clear fine tip glue in the gaps, but I can say that did not work. I, eventually, went to Lowe’s and bout mounting tape, which I will cut in half and double. Oh, the joys of cardmaking snags.

Anywhoo, The top portion of the interior wall is SU! DSP from WAY BACK WHEN I can’t remember. It just look appropriate. Lost Lagoon is the bottom portion and it was embossed with SU! retired stripes embossing folder. I stamped the sentiment in Cherry Cobbler on Very Vanilla and ran it through the Big Shot with a banner die (oops! didn’t put that on the purchase list) and matted it with Cherry Cobbler card stock. I accented the sentiment with Gold Cording Trim. All of this is matted on Early Espresso.

Hope you enjoy!

Price: $110.00

Supply List

Built for Free Using: My Stampin Blog

September’s Technique Class is August’s Technique Class rescheduled due to me having a nasty cold last month. This technique is all about making a negative image stencil using a hot glue gun. This is an awesome technique and I know everyone that tries this won’t be able to stop making hot glue gun stencils (see the YouTube video).

I had to go and purchase more glue sticks and decided to try the All Temperature sticks. I think they are easier to manipulate into the shape(s) you desire. I had previously posted a tree card using this technique, but I needed two more samples for my class this week,and I decided to make some hearts and flowers.

The heart/friend card turned out really well after I decided the spritzed color wasn’t brilliant enough and I went back and sponge daubed color onto the watercolor paper straight from the ink pads, The spritzed color did give it a nice light background as a base. I think I need to go back and start over with my color mix by putting more ink and less water and alcohol. Anyway, the heart/friend card is below my picture of card in progress showing the heart stencil.

PPA267


The next card featured is the flower card. When I first made the stencil, some of the flower lines were very thin. It was easy to go back and add more hot glue to make the lines thicker. Also, on the area where the flowers meet, there was a very large blank space; so, I took my rubber cutting scissors and cut some of the hot glue away so the ink could get to the paper. I used a sponge to apply the color straight from the ink pads. The stencil and card pictures are below.

The last card is the tree card, which I had completed last month. You can go back to its original post to get the supply list and details on making this card.

Hot Glue CardSupplies:

(not pictured) hot glue gun, retired label thinlits, watercolor garden SU! retired stamp set, stamp-a-ma-jig

Price: $110.00

Supply List

Built for Free Using: My Stampin Blog

In August, I am offering a Technique class featuring a hot glue mask/stencil. I found this technique on a YouTube channel with the Frugal Crafter and it looked like such a fun technique, I knew my stampers would love to learn how to do this in a class. Check out the YouTube website.

I found a small silicon mat I had purchased from Stampin’ Up! and forgot all about it until I cleaned out my tool bag. Lo and behold that was one less supply I needed to buy for the class. LOL  I hate to admit but this happens quite often to me; you know, you buy something just because, never use it, and one day you just happen upon it and become quite happy to have found it just in time for a project. Anyway, I broke out the glue gun with one glue stick left and heated it up. I really wanted to make a lot of hearts joined together (see the tutorial) but my glue gun didn’t want to cooperate. It wanted me to make something that would look good with globs of glue. How about a tree??? That worked well. So a tree making I did go.

Once I made my tree and let it cool for a few minutes. I made up the ink mist. I had two spritzer bottles and put 1/3 alcohol, 3 – 4 drops of ink, and filled with water (for lighter inks, you might want to put 5-6 drops of ink). I laid the hot glue tree on some watercolor paper and spritzed the yellow at the top and the orange half way down to the bottom of the card. On my next card, I will take something heavy and put on top of the paper so it doesn’t warp (I still can get the edges to lay flat on the mat).  Once the spritzed ink was dry, I sponged some Wild Wasabi on the branches and down at the bottom of the card for grass. I went back with a really, really old SU! stamp set Watercolor Minis and stamped leaves and grass with some flowers. Since the card had a modern/abstract feel to it, I stamped “You are a fabulous work of art” as the sentiment. Here is the card!

Hot Glue Card

Supplies: not pictured (hot glue gun with glue sticks, SU! Watercolor Minis)


One of my friends asked me to make a birthday card for his wife. I asked him what she liked and he responded her favorite colors were white, navy, and gold and she liked geometrical shapes. I began to think how I could incorporate the geometric shapes into the card design. I remembered geometric shapes were a feature of her wedding decorations and they reminded me of diamond, like the jewel, shapes. I did not have a stamp set of geometric diamond shapes, but I knew where I could purchase one . . . at the Duluth Scrapbook Expo.

My friends Cheyenne, Kevin (she is a female with a guy’s name), Robbi, and her friend Cindy attended the expo somewhat together, meaning Cheyenne and I were together and briefly encountered Robbi and Cindy. Kevin attended the Thursday night Make-n-Take (well worth the $$ spent), and she took a scrapbook class with us on Friday.

Anyway, back to the stamp set. I found only TWO out of a center full of stamps, glitter, ribbon, embellishments, dies, etc., etc., etc. . . . . . I went with Pink and Mains geometric stamp set. Here’s a picture and link to Pink and Main website:

www.pinkandmain.com

www.pinkandmain.com

I got busy and made a blinged out card for his wife incorporating all of her favorite colors and shapes. I used Whisper White as a base, I used SU! Brushed Gold paper, along with Night of Navy, and glimmer paper while embossing the birthday stamped image and the geometric bling shapes with gold embossing powder. I accented the geometric shapes with diamond rhinestones. I posted two different photos but neither one captures the “bling” effect of the gold paper, gold embossing, and rhinestones. Personally, I was very excited to give the card to my friend. I really think this card turned out awesomely well.


Anisha Bday

Anisha Bday

Supplies: (not pictured – Pink and Main stamp set “Bling”

I wanted to complete a Center Step fold technique card this month. I began with a card stock choice of Cucumber Crush and Watermelon Wonder.  I, then, made my cuts and scores and suddenly thought maybe one of the card challenges this week incorporates some of what I was including in the card. I began to browse through the sites of the card challenges I like to submit and low and behold there are my colors with the addition of Night of Navy on the Pals Paper Arts weekly challenge!  So, now, I feel like I’m killing two birds with one stone!!! Yippee!! 6a00e54f95df92883401b7c7a76b46970b-800wi

I think the Night of Navy really adds a lot of dimension as a mat choice. As you can see in the card pictures below, there is a border on the vertical mat at the bottom of the card. This was a case of being given an opportunity to embellish. Yes, I made a boo boo. I scored ALL the way across when I should have scored only to the cut line. I’m really bad at watching and reading directions. LOL

I thought a bright birthday theme with a yummy cupcake would be just right for this card; and, as I was putting the card together, I realized I didn’t have to keep my banners within the confines of the white mat. How liberating! I really love this card.

PPA258 front

I took a picture of the side view so the cuts and folds would be showcased as well.

PPA258 sideview

Supplies: not pictured (Watermelon Wonder and Night of Navy Stampin’ Write Markers, scallop border punch)

Supply List

Built for Free Using: My Stampin Blog

It has been a while since I have posted anything. I have been quite busy!!!! One of my daughter’s friends from Master’s Commission ATL at Victory World Church is getting married in July. She had asked Rebekah (my daughter) if I could give her a price for making wedding invitations. I said, o.k. But, I said I would do a digital one on MDS (My Digital Studio) for her because making invitations takes a lot of time. So, I worked on a digital version for her and I was never happy with the results; plus, Rebekah and her family moved in with us due to an apartment issue and it was just CRAZY around here! I ultimately suggested to the bride-to-be an online digital company that specializes in wedding invitations, because I just didn’t have enough time to do the project justice. Well, that company wanted to charge a ridiculous fee for postcard type invitations. So, I said let’s do it; we’ll just make them.

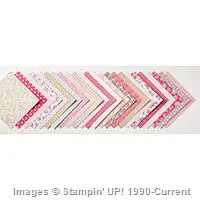
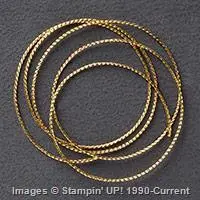
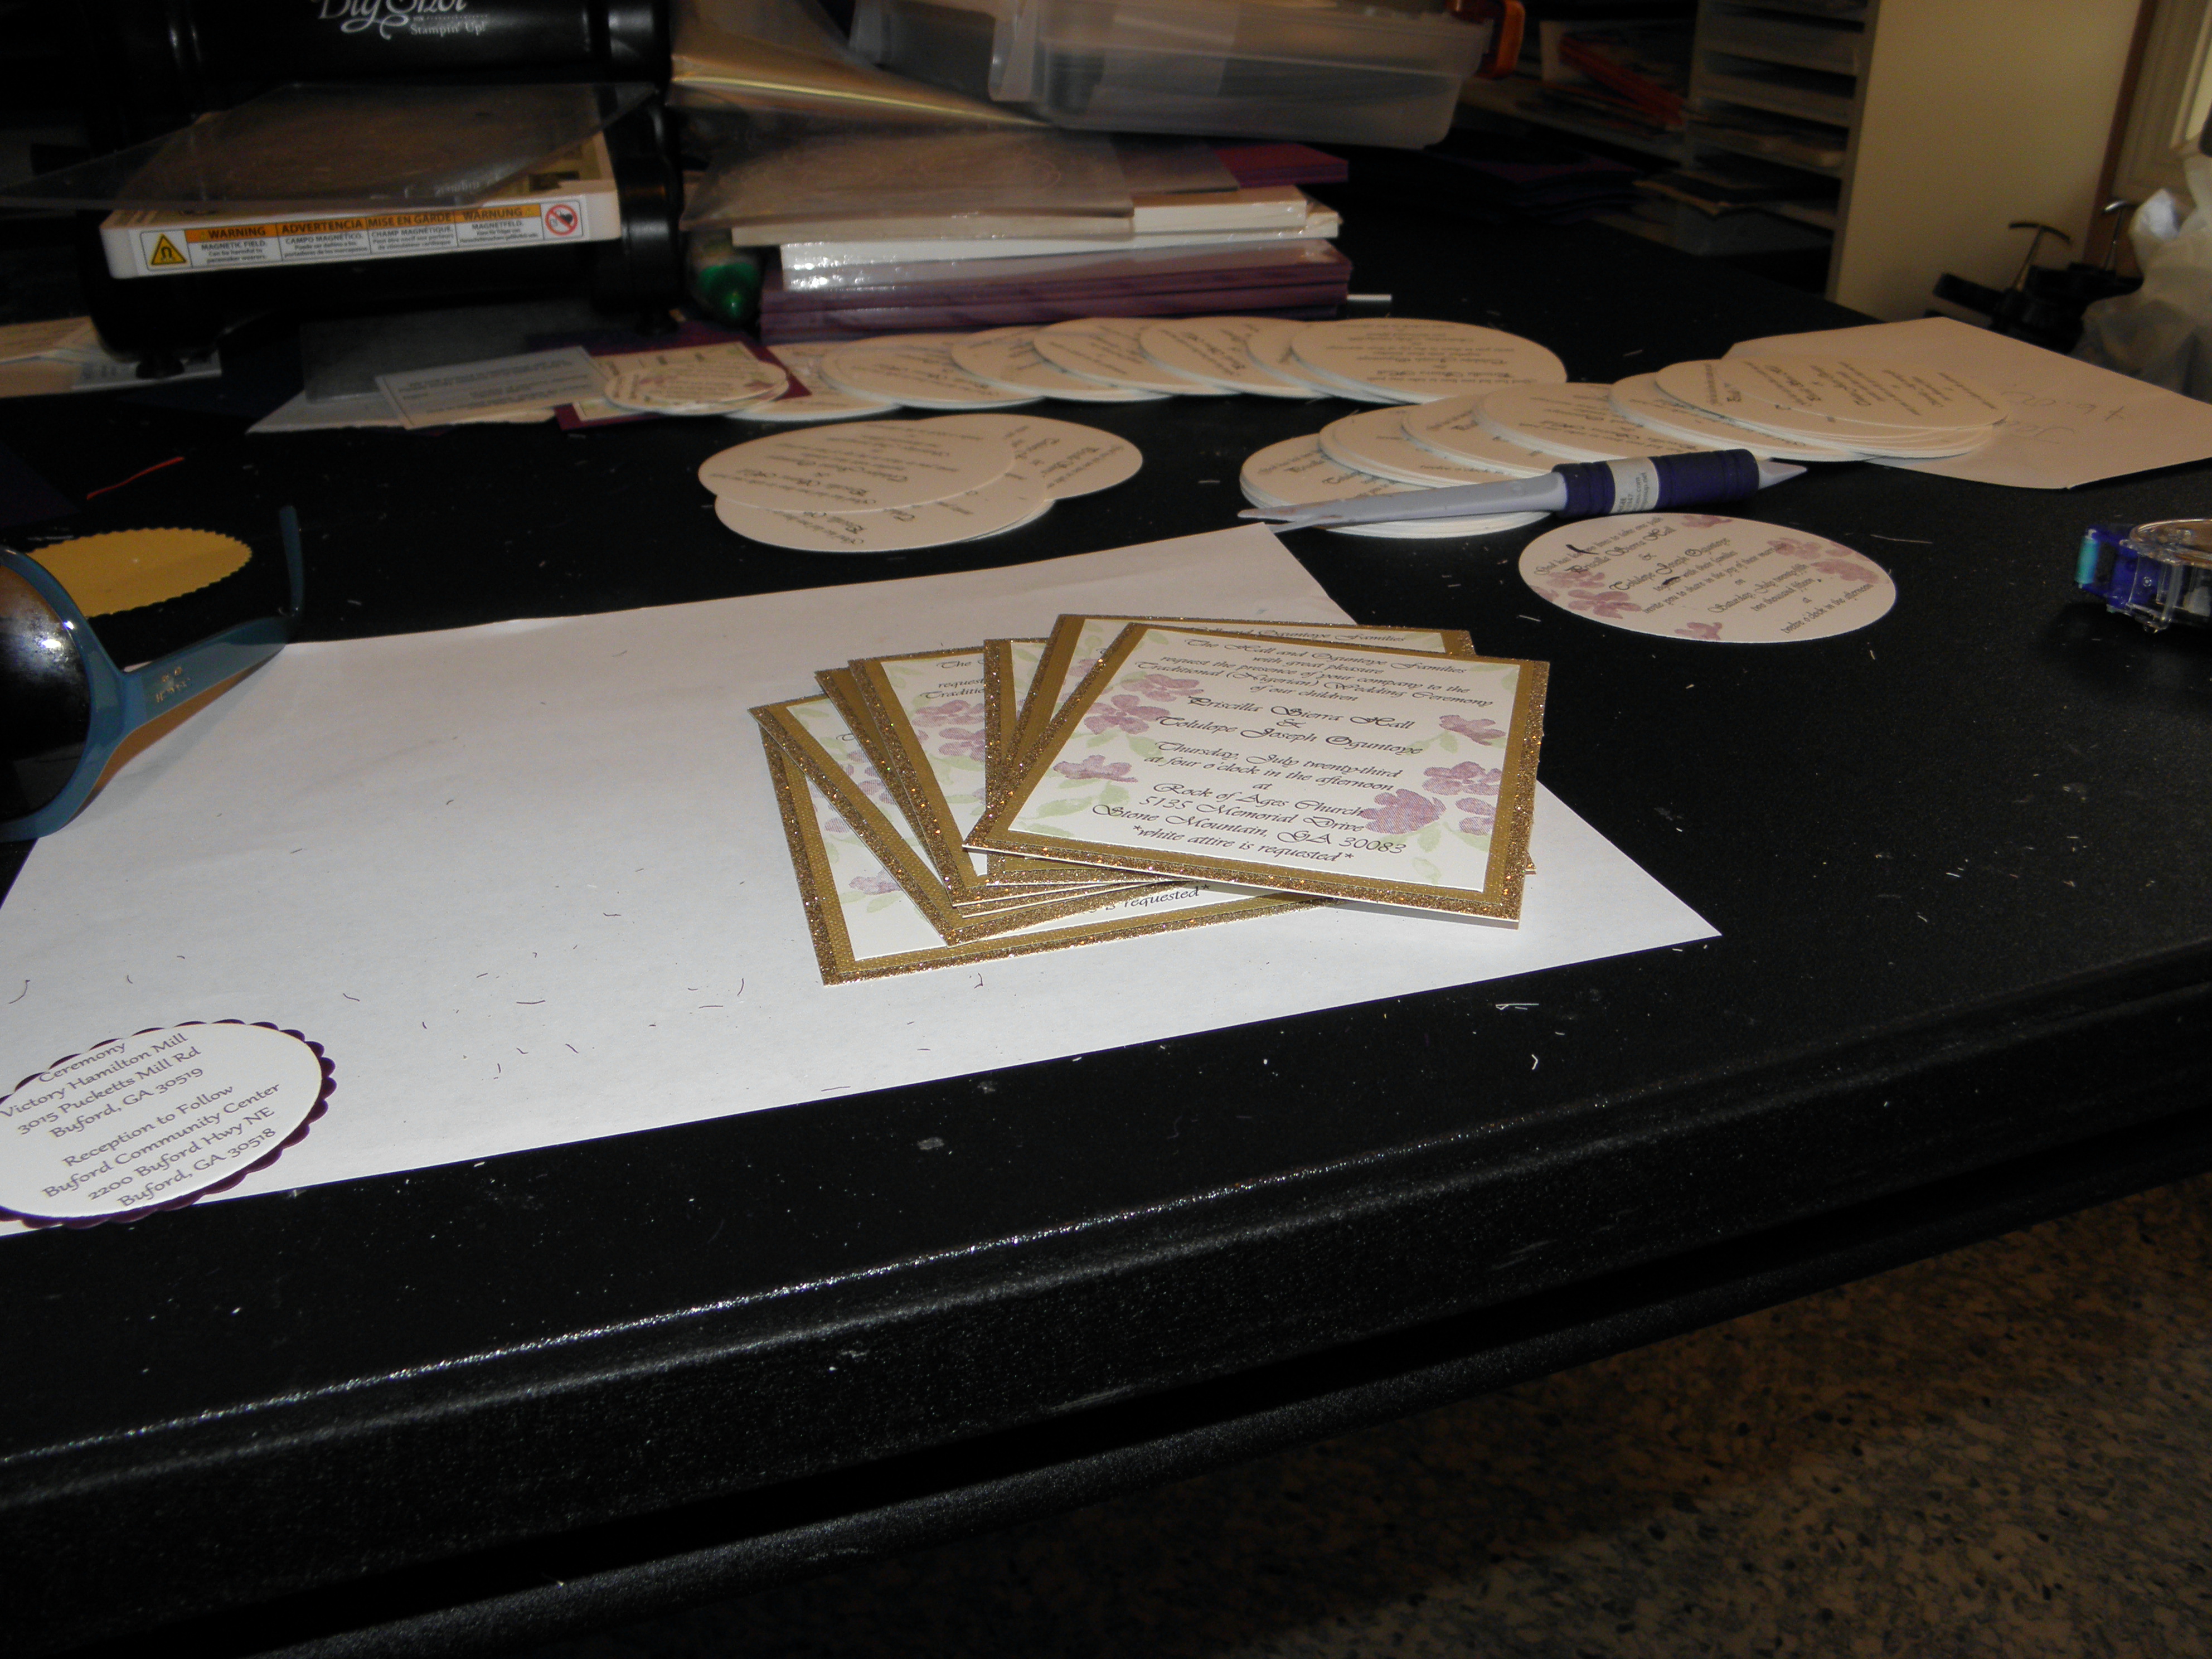
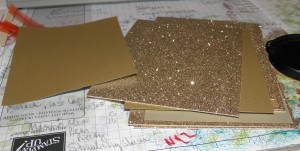
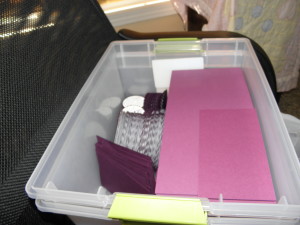
Thus, it started. I ordered the paper for 250 invitations as well as going to Hobby Lobby for specialty paper (SU! is no longer offering the gold matte paper and it was already sold out from the retired list). Once the paper was ordered, I began with printing out the main wedding portion of the invitation along with the reception location since I had Whisper White cardstock on hand. I was able to make a few of the envelope/card portions as well. Needless to say, there were a few revisions along the way.

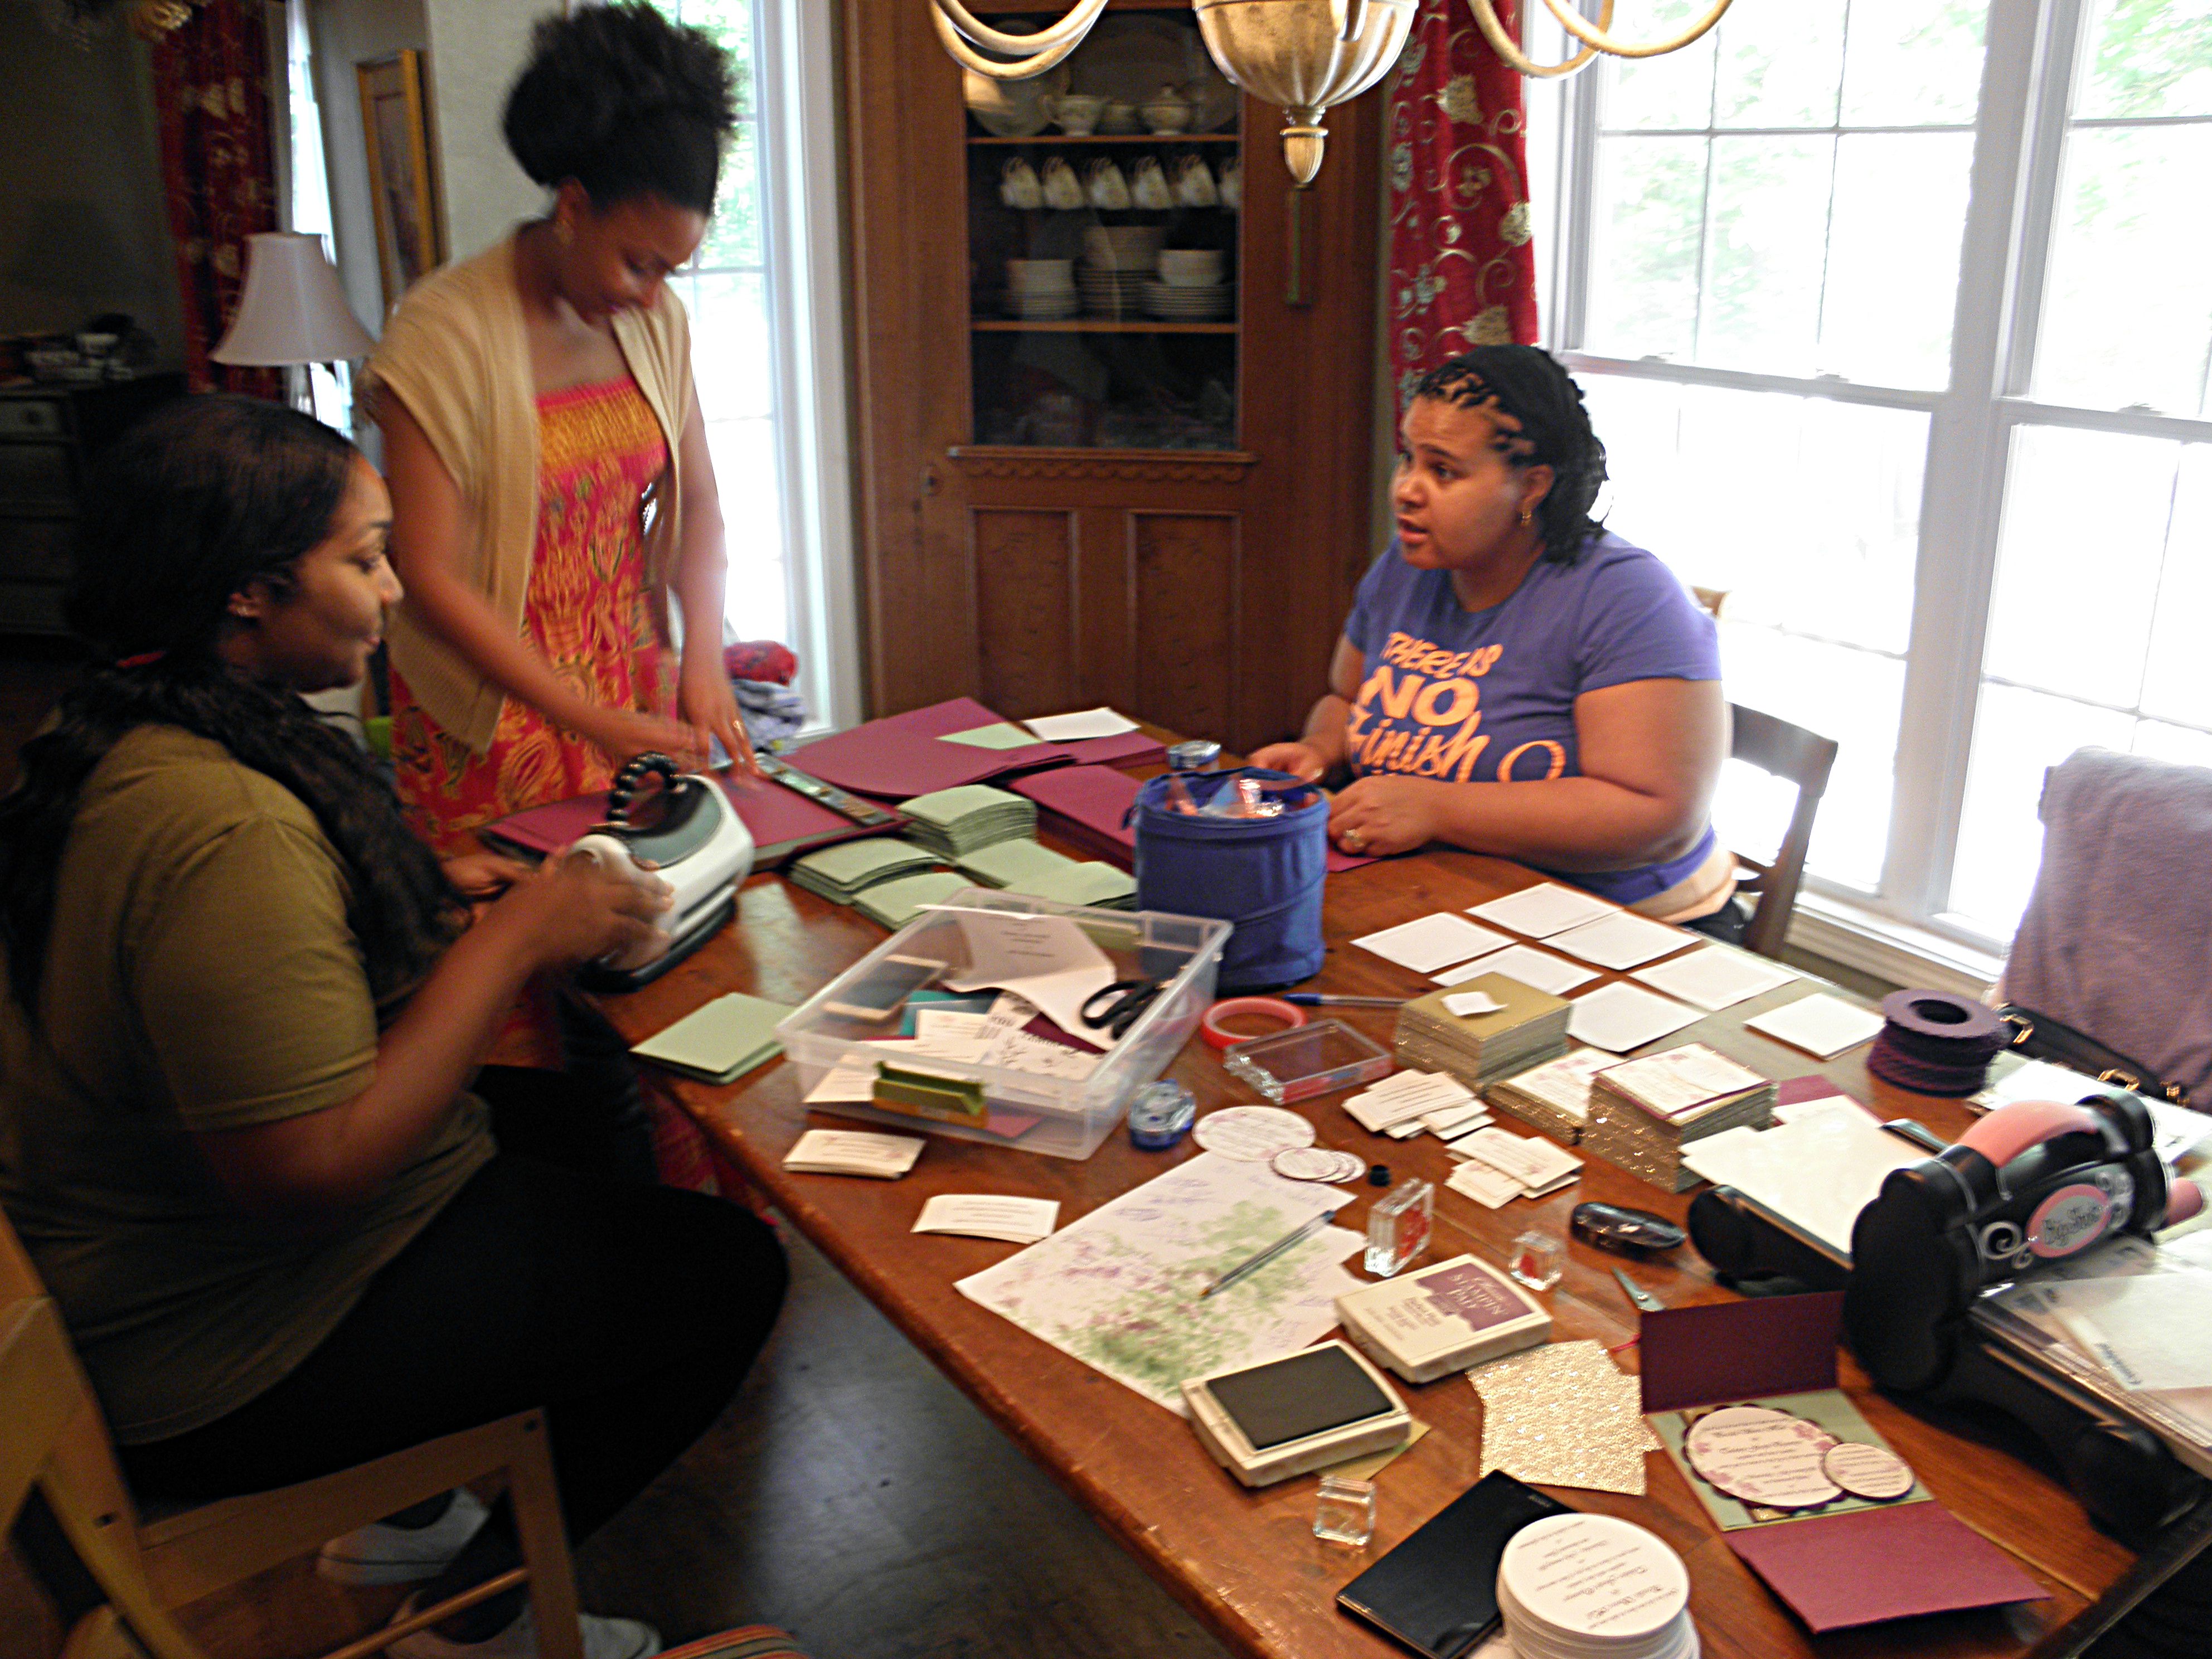
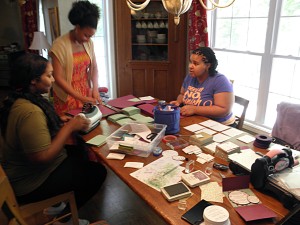
The paper came in on a Wednesday and the bride-to-be came over to help work on the invites all day Tuesday prior to the paper arriving. Wednesday the paper came in and I printed, printed, printed, and cut, cut, cut, and stamped, stamped, stamped. She came over again on Thursday, and we worked ALL day on the invitations. On Friday, we had help from one of the bridesmaids and the bride’s sister. We worked ALL day. Saturday and Sunday we relaxed and worked ALL day again on Monday. The bride came back over on Tuesday and we worked all afternoon pulling it all together.

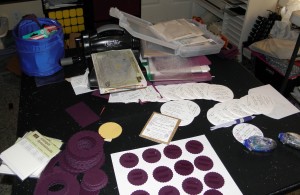
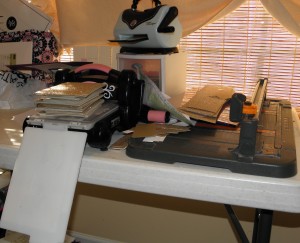
Here are some pictures of the Friday we worked on them:

Wedding Invites


I almost forgot, the bride-to-be and I still worked Wednesday afternoon (if I remember correctly – it’s all a blur). We were all, definitely, exhausted. In fact, I slept pretty much all day and evening Thursday after my hair cut appointment. I was still tired Friday morning and had a lot of errands to run before we leave on vacation.

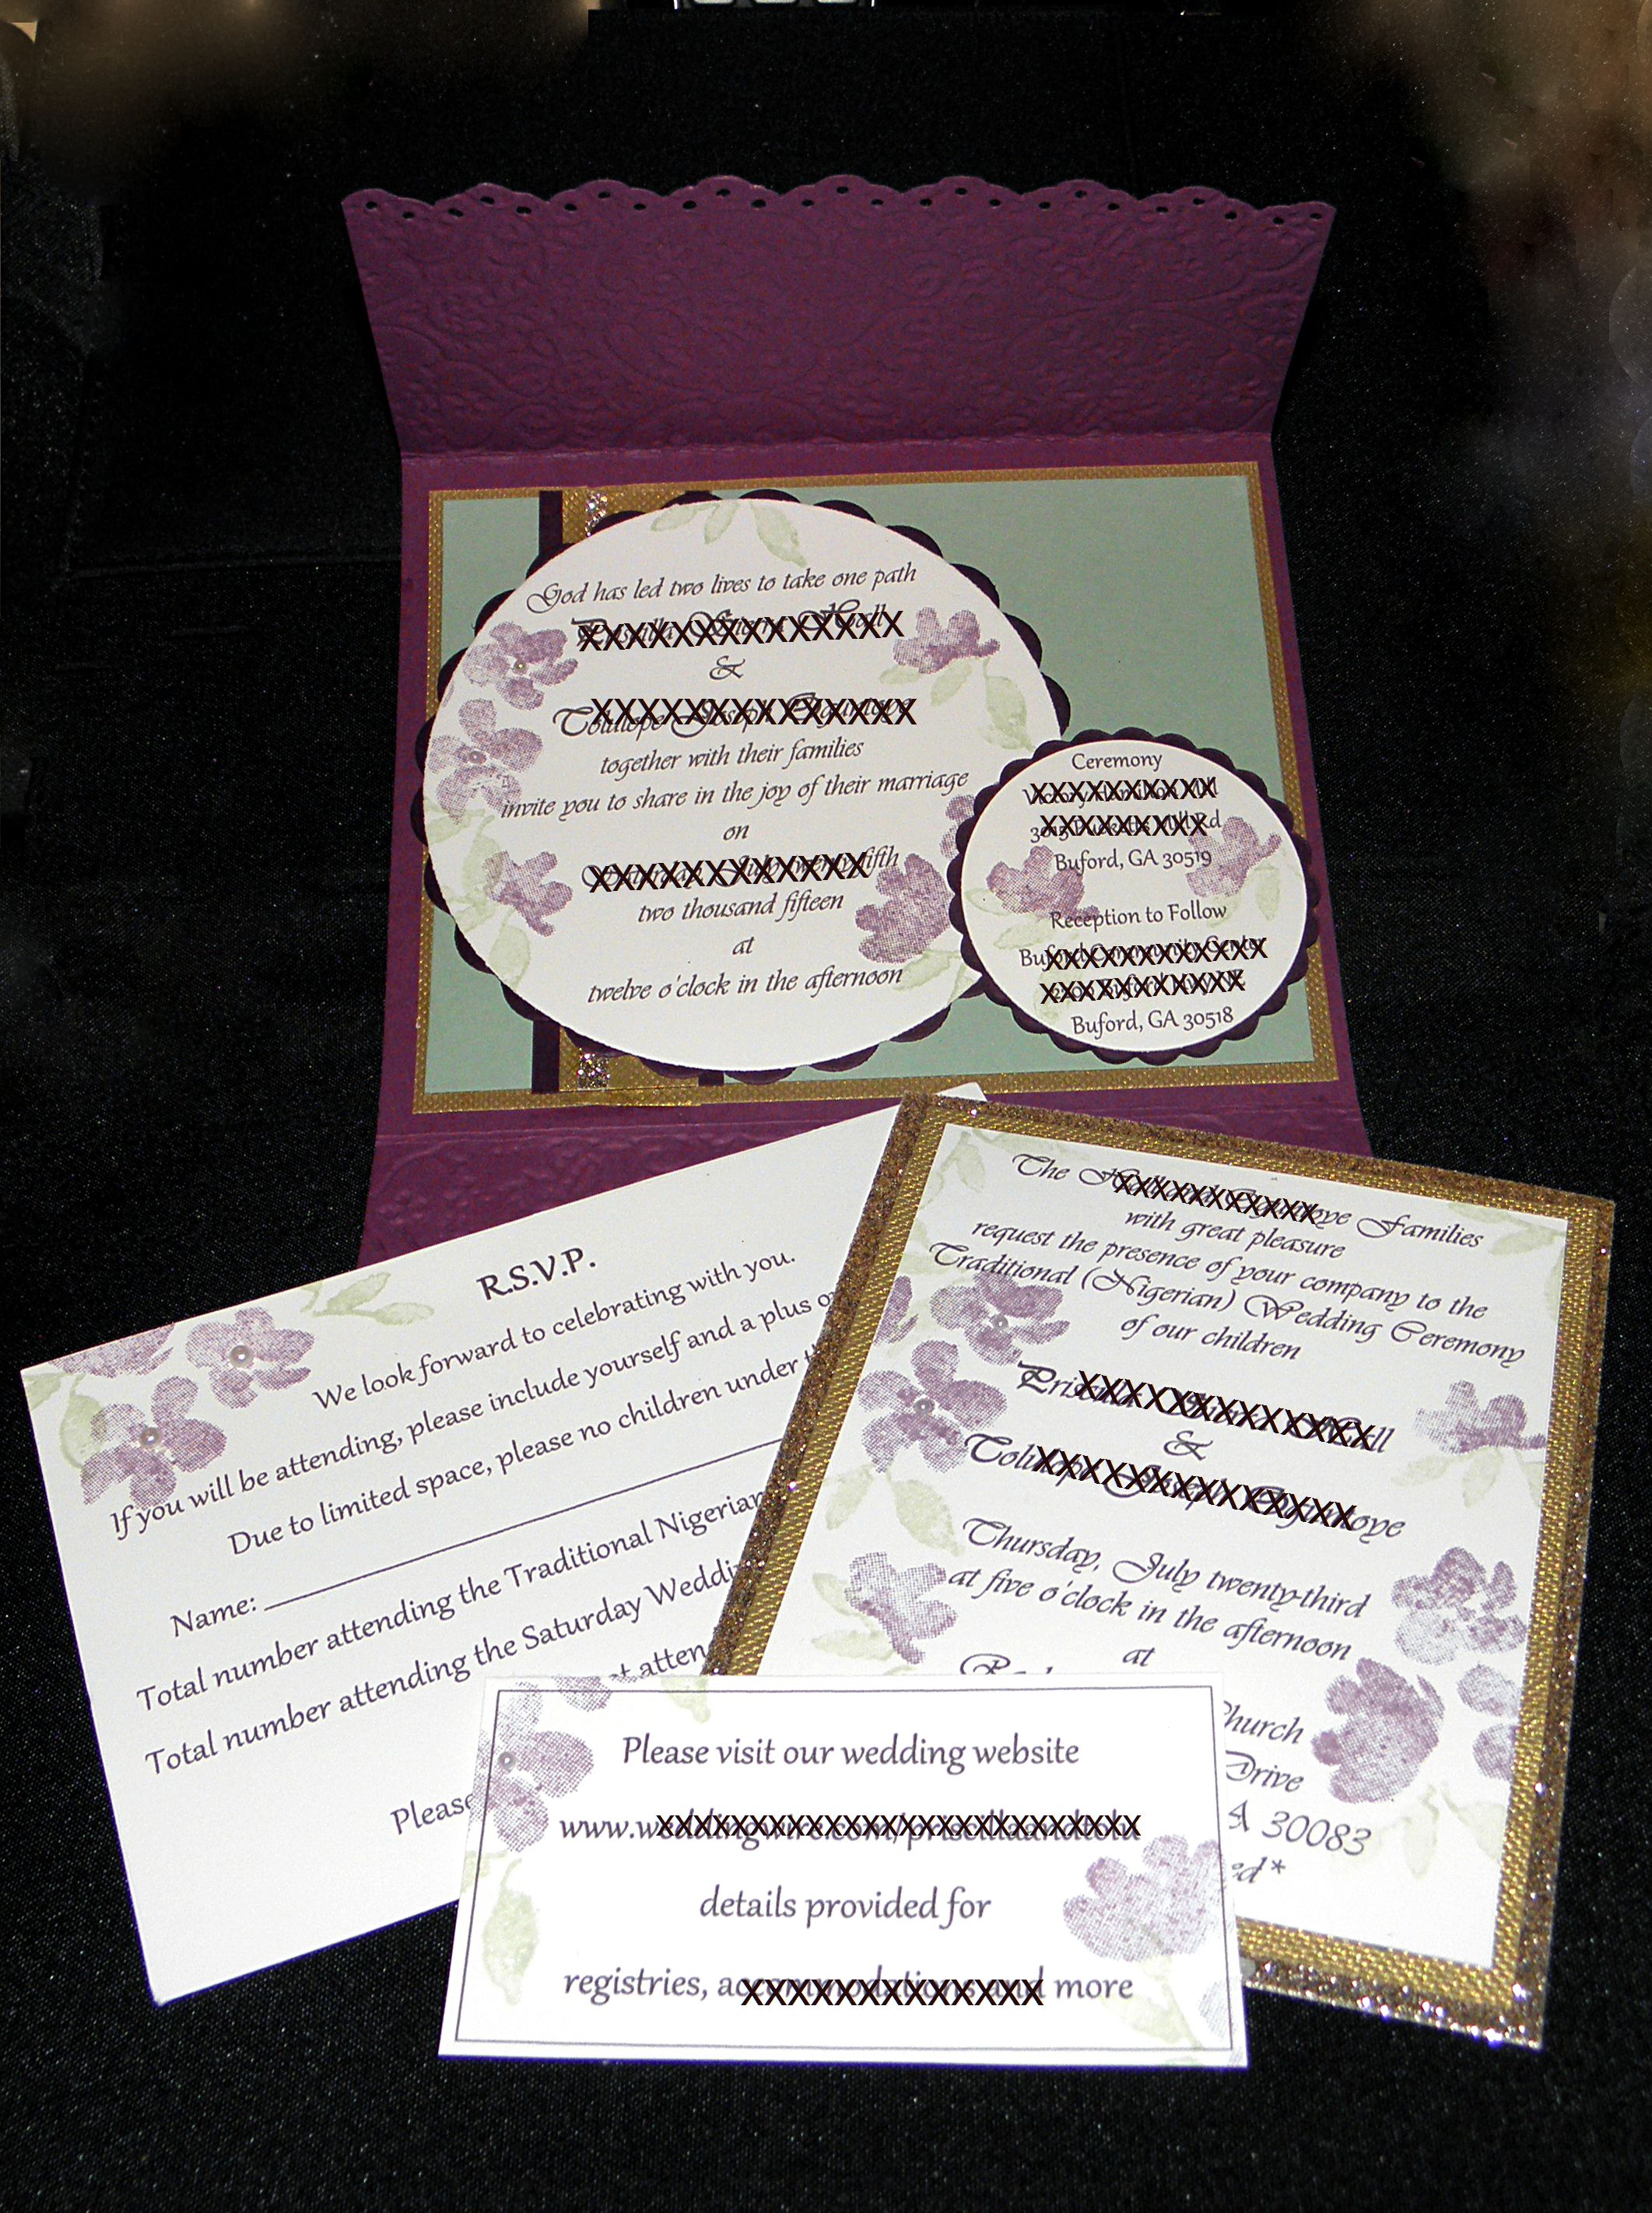
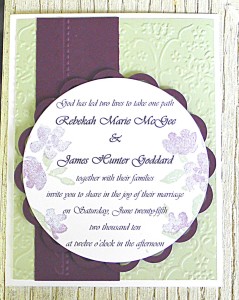
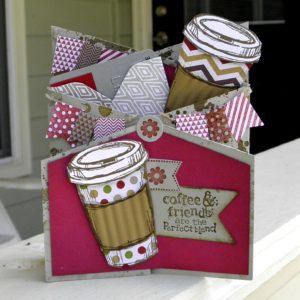
I couldn’t have been happier with the results and here is the Wedding Invitation with the Traditional Nigerian Wedding insert which family and bridal party received.

Wedding Invite

Note: I blocked out the names and locations of the bride, groom, and family for their privacy.

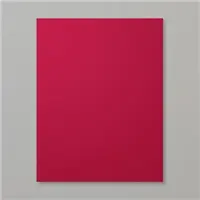
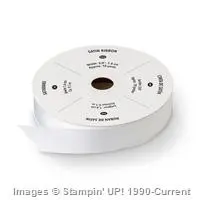
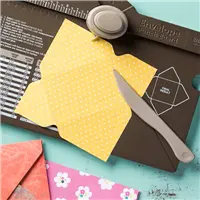
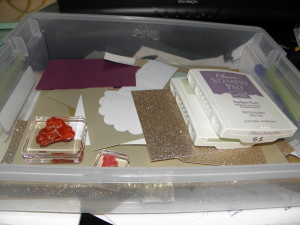
The base of the invitation is the envelope. I cut a piece of Rich Razzleberry to 11″ x 5 1/4″. I took the left over piece of cardstock and cut it to 3.25″ x 5 3/4″. I then took the larger piece and scored it at 2 1/2″ and 7″, and the smaller piece I scored at 1/4″ on three sides to create the pocket at the bottom of the envelope to hold the r.s.v.p. card, the website information card, and the Traditional Nigerian Wedding ceremony information.

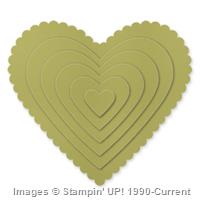
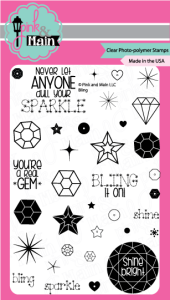
I was able to cut three each of the circles and scallops at a time, but each circle was stamped individually (of course); that’s 250 x 2 sets of circles (500). The same is true for the r.s.v.p. card and the website information card. There were only 175 Traditional Nigerian Wedding invitations. The picture above is for my portfolio and I added some bling to it as well as the bride’s invitation with some pearls. Of course, the picture doesn’t do the invitation set justice. Once the wedding is over, I’ll add some pictures without the blocked information with individual pictures as well of each insert.


Another week has passed and it is time for PPA249: A Sketch Challenge:

6a00e54f95df92883401b7c77db942970b-400wi

One of my daughter’s friend will be married this July. She wanted me to make a wedding invitation using mint and plum as the base color combination. I came up with this design (using different names and a different date) for the invitation.

PPA249 Challenge

I can definitely say this color combo does not photograph well. I probably took eight pictures and I finally got the picture above this afternoon. At least you can tell (somewhat) I used Blackberry Bliss and not Basic Black as the accent color. If you’re wondering, I do have a light box along with lights, but the pictures turn out the best when I take them outside. Of course, my friend’s iPhone 6 takes the best pictures, which I do not own one.

Supplies:

I used an MFT die for the scalloped mat.

I like Pinterest; no, I LOVE Pinterest. There are SO many awesome card examples along with some amazing techniques. Once I settle down for the evening, I begin pinning and pinning and pinning. I especially LOVE pinning card examples and card techniques. I saw the Bokah technique on several boards and was very intrigued with this technique and the soft, subtle look of cards featuring this technique.

I decided about two month’s ago the April’s Technique Class would feature the Bokeh technique. I knew my group of stampers would love to make a few cards using this AWESOME technique. It is a very uncomplicated technique and there is a wide margin for error. In other words, you really can’t create a “Hot Mess” using this technique.

There were three different variations of this technique I found on Pinterest; thus I decided the class would feature three cards using each variation. Below is a picture featuring all three cards.


Bokeh Technique


This is an absolute “go to” technique to use on cards made for friends and family. I included some up close shots as well.


Bokeh chalk Bokeh Chalk Ink Technique


Bokeh WatercolorBokeh Watercolor Technique


Bokeh Standard Bokeh Standard Technique


Supplies:

Retired Word Play Clear Mount Stamp Set

Price: $29.95

Price: $4.95

Built for Free Using: My Stampin Blog


After Cheyenne and I finished the Picture Perfect girl card, we began on the SUO Challenge #119 – Fun Folds card challenge. The challenge was to create a card using a card fold other than the typical rectangle/square card. I am having a make-up class tomorrow featuring the tri-fold cascading card and thought this would be a really great card for a challenge.

I had previously used flowers and a birthday theme on the first set of cards I had created back in February, but I wanted to use SU! Perfect Blend stamp set with a gift card envelope. We made the basic card, which included two cups of coffee matted on Cherry Cobbler with a sentiment stamped on a banner, but the card just needed something else.

I thought of SU! Banner Blast stamp set and added some banners to the card. It was just what the card needed. Here is the Fun Folds SUO Challenge card.

Perfect Blend2

Discontinued Supplies: SU! Banner Blast Stamp Set

Price: $4.95

Supply List

Built for Free Using: My Stampin Blog

PAGE TOP
[dealsbar preview] Amazing Deals: !!toolbar-deal-title!! - !!toolbar-deal-merchant!!