Tag : hot glue

2 posts

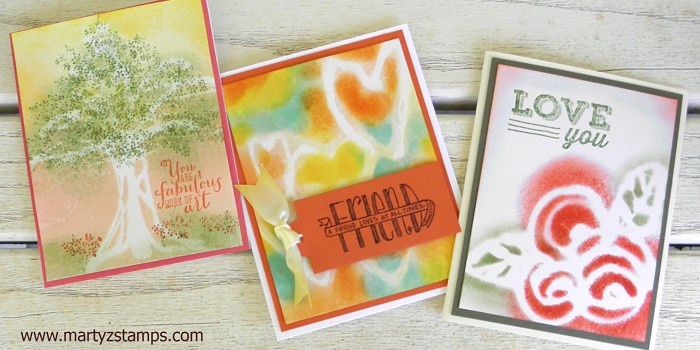
September’s Technique Class is August’s Technique Class rescheduled due to me having a nasty cold last month. This technique is all about making a negative image stencil using a hot glue gun. This is an awesome technique and I know everyone that tries this won’t be able to stop making hot glue gun stencils (see the YouTube video).

I had to go and purchase more glue sticks and decided to try the All Temperature sticks. I think they are easier to manipulate into the shape(s) you desire. I had previously posted a tree card using this technique, but I needed two more samples for my class this week,and I decided to make some hearts and flowers.

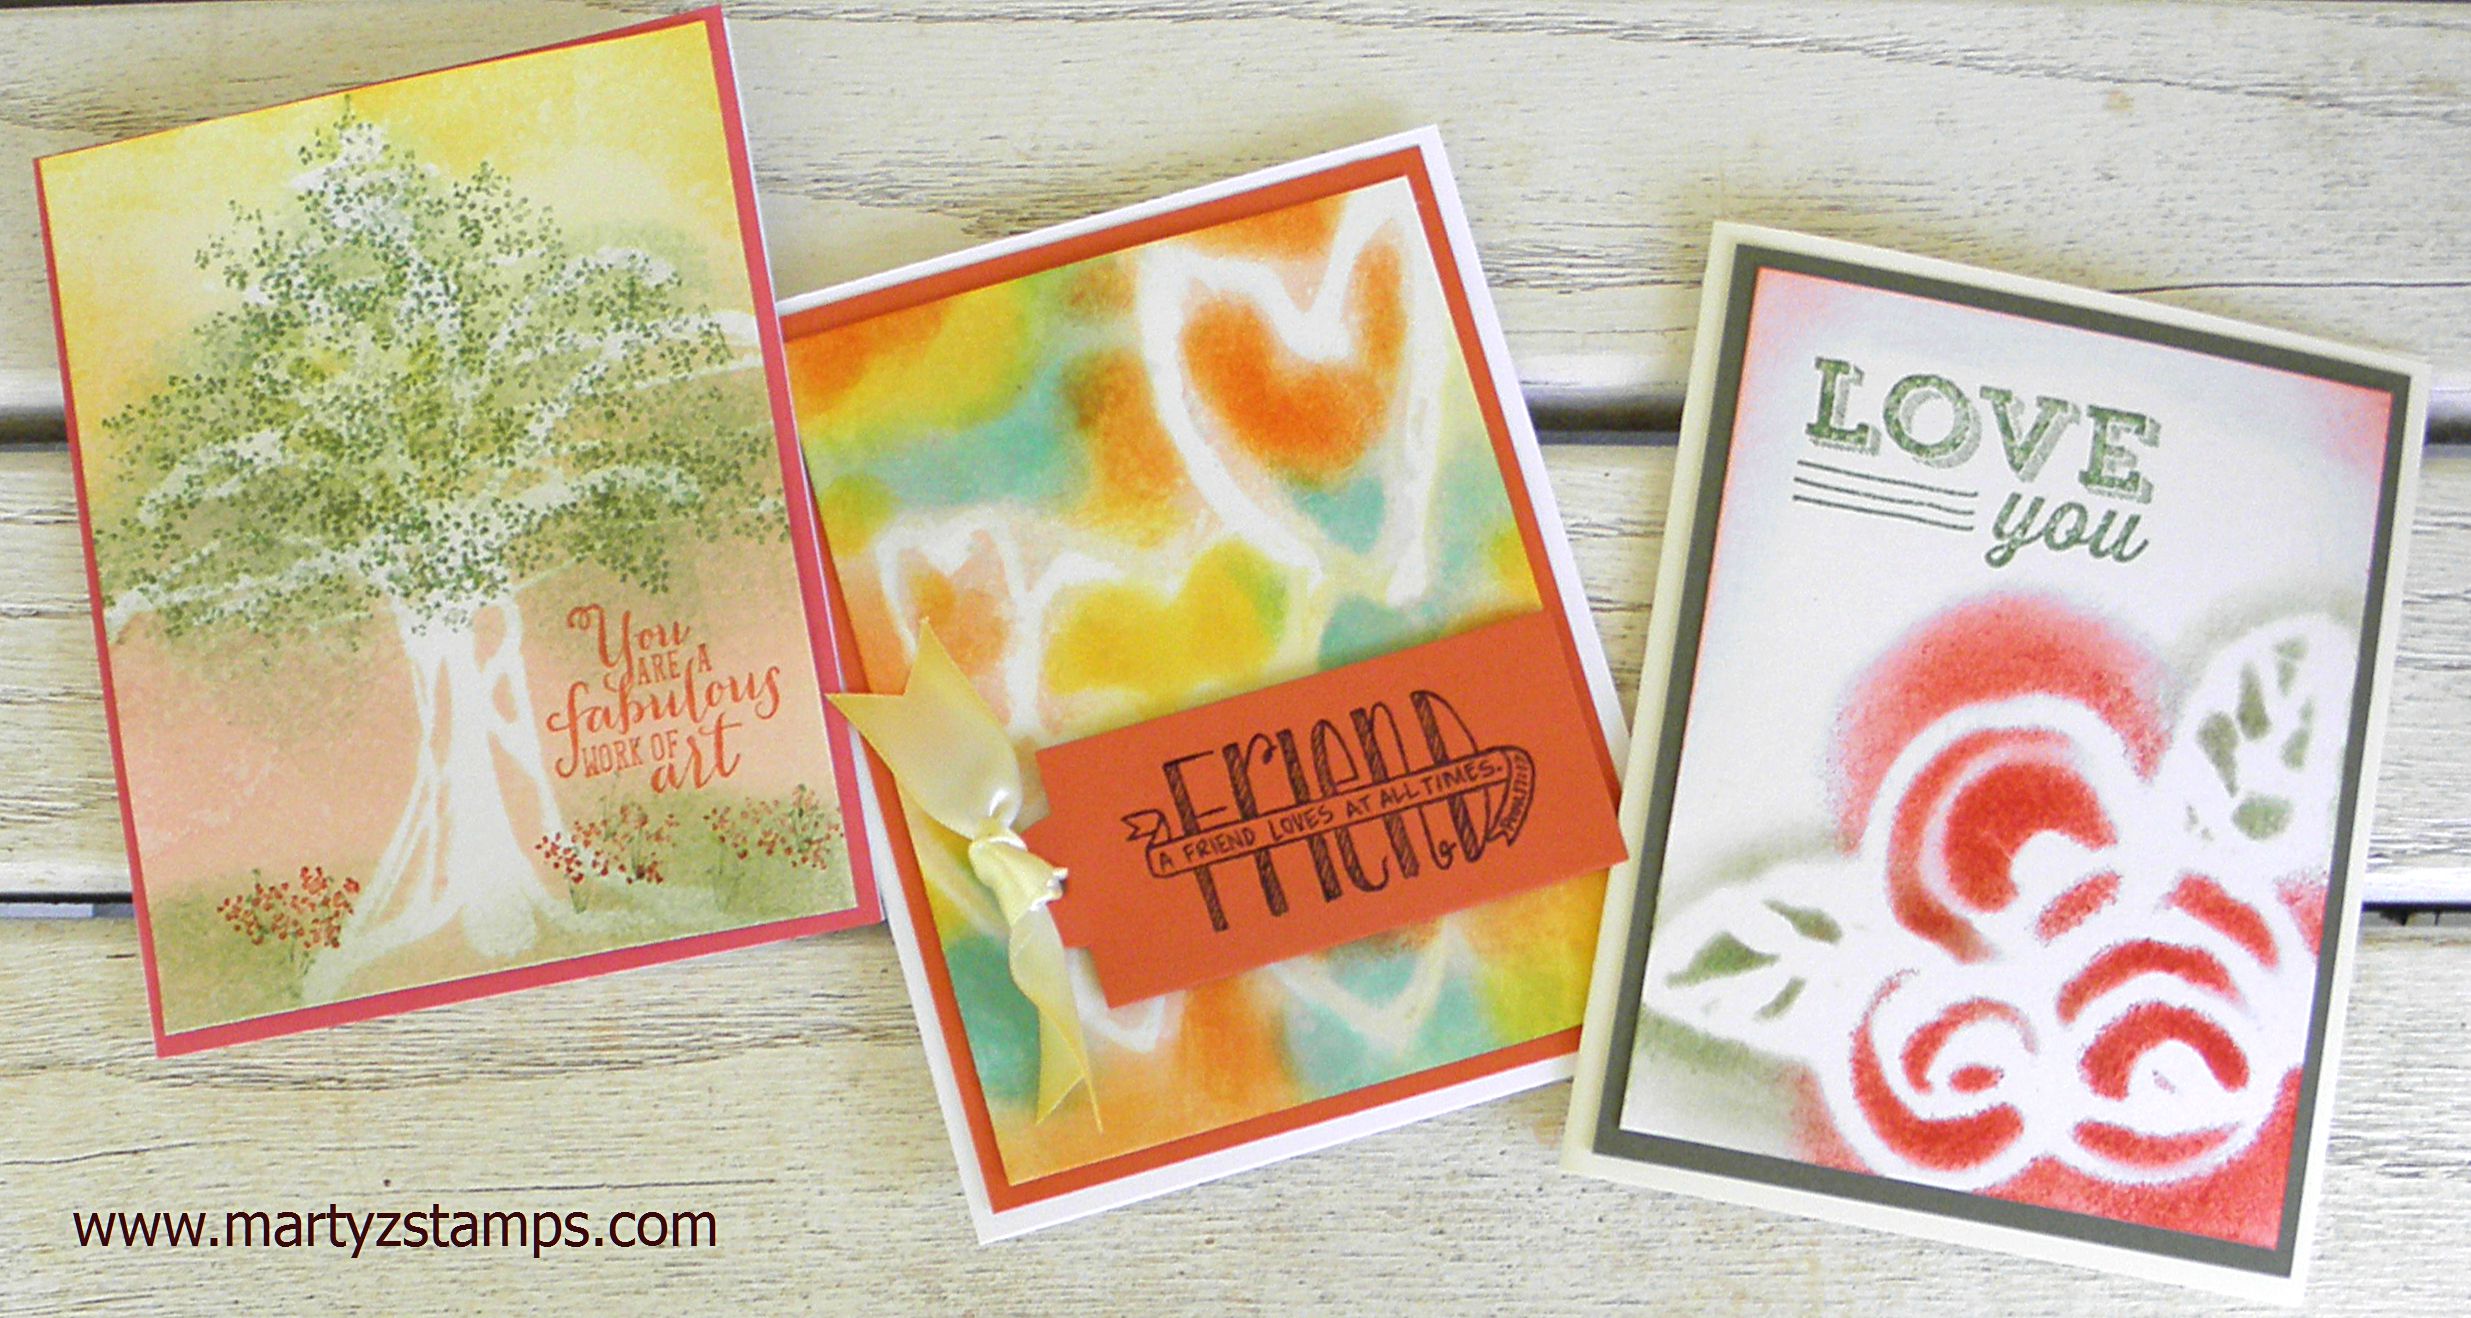
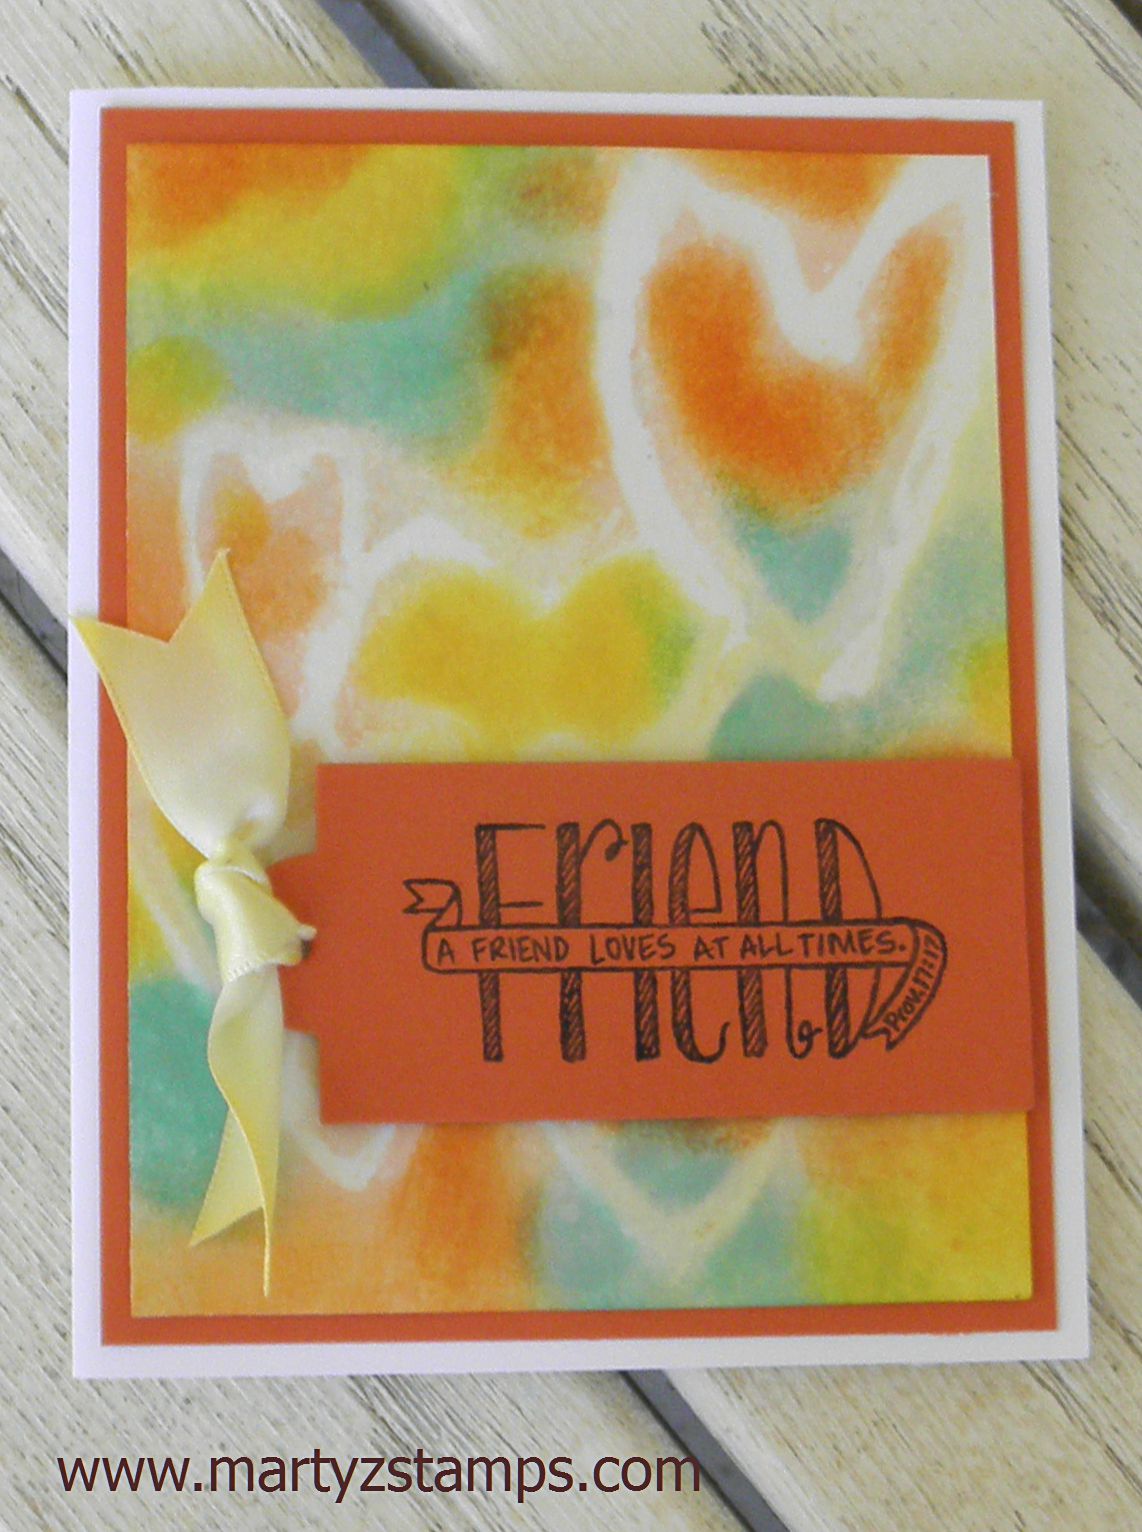
The heart/friend card turned out really well after I decided the spritzed color wasn’t brilliant enough and I went back and sponge daubed color onto the watercolor paper straight from the ink pads, The spritzed color did give it a nice light background as a base. I think I need to go back and start over with my color mix by putting more ink and less water and alcohol. Anyway, the heart/friend card is below my picture of card in progress showing the heart stencil.

PPA267


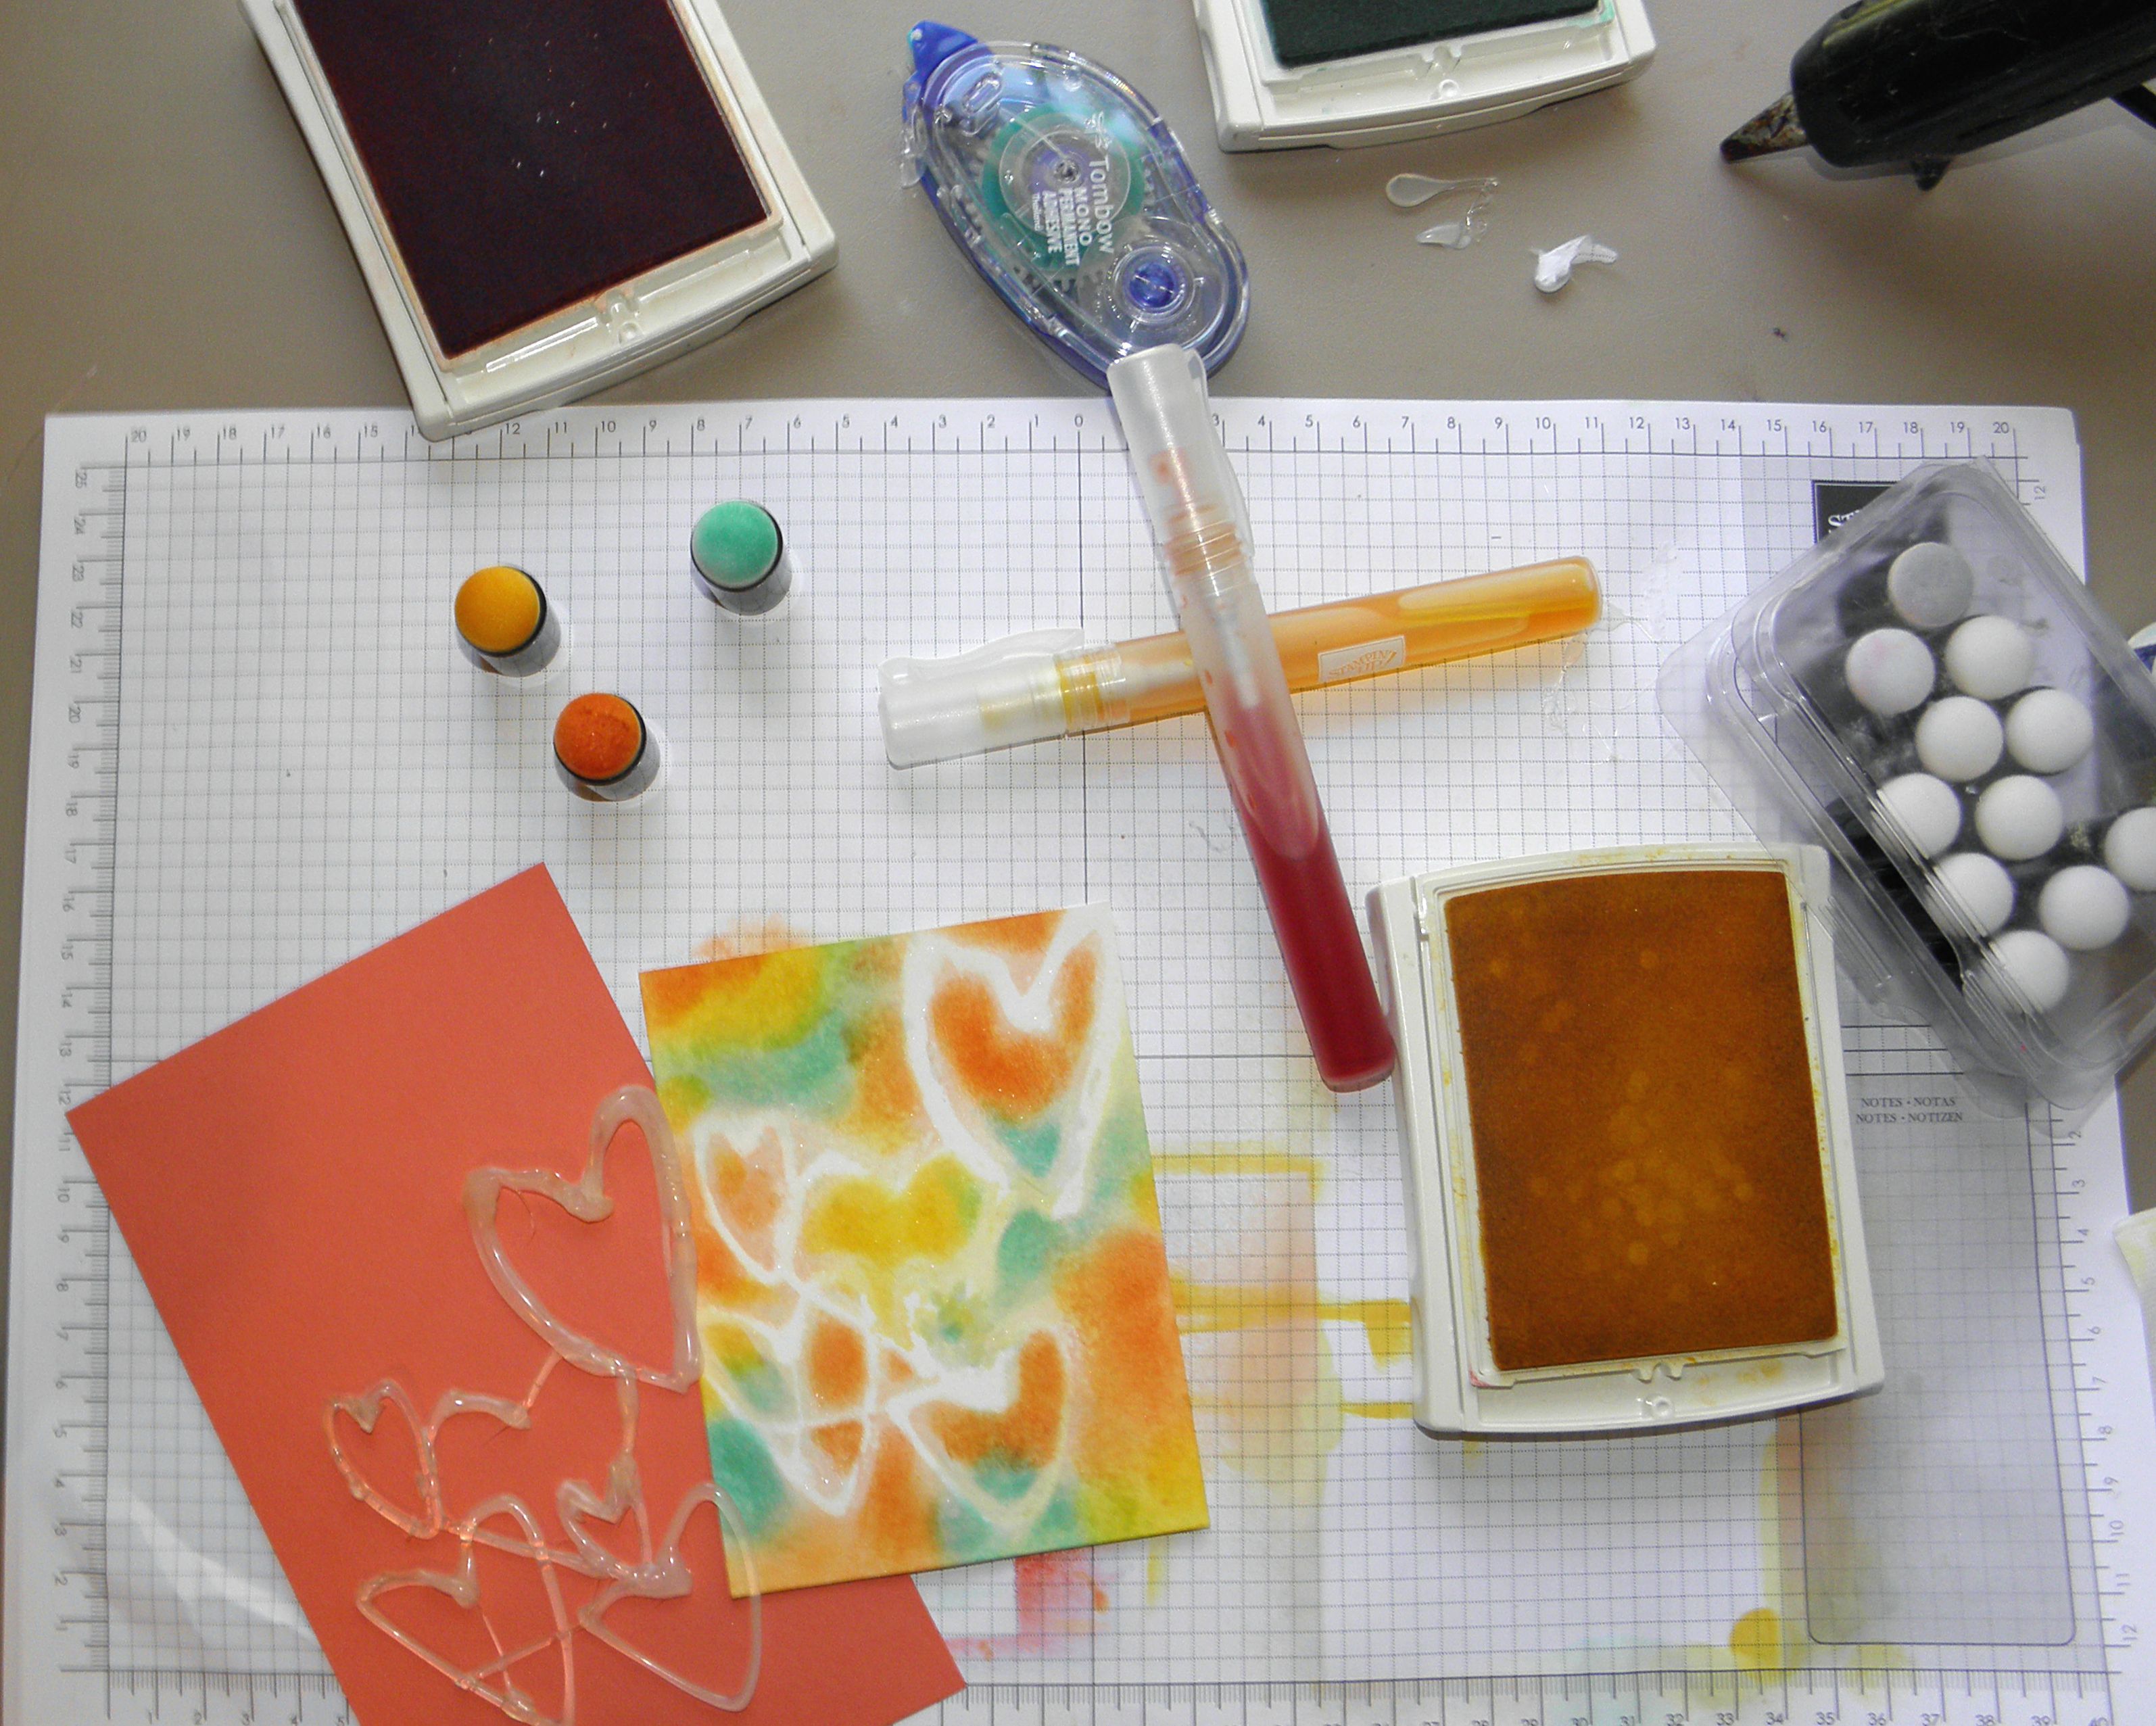
The next card featured is the flower card. When I first made the stencil, some of the flower lines were very thin. It was easy to go back and add more hot glue to make the lines thicker. Also, on the area where the flowers meet, there was a very large blank space; so, I took my rubber cutting scissors and cut some of the hot glue away so the ink could get to the paper. I used a sponge to apply the color straight from the ink pads. The stencil and card pictures are below.

The last card is the tree card, which I had completed last month. You can go back to its original post to get the supply list and details on making this card.

Hot Glue CardSupplies:

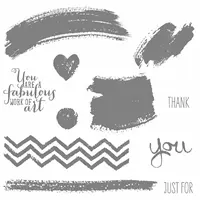
(not pictured) hot glue gun, retired label thinlits, watercolor garden SU! retired stamp set, stamp-a-ma-jig

Price: $110.00

Supply List

Built for Free Using: My Stampin Blog

In August, I am offering a Technique class featuring a hot glue mask/stencil. I found this technique on a YouTube channel with the Frugal Crafter and it looked like such a fun technique, I knew my stampers would love to learn how to do this in a class. Check out the YouTube website.

I found a small silicon mat I had purchased from Stampin’ Up! and forgot all about it until I cleaned out my tool bag. Lo and behold that was one less supply I needed to buy for the class. LOL  I hate to admit but this happens quite often to me; you know, you buy something just because, never use it, and one day you just happen upon it and become quite happy to have found it just in time for a project. Anyway, I broke out the glue gun with one glue stick left and heated it up. I really wanted to make a lot of hearts joined together (see the tutorial) but my glue gun didn’t want to cooperate. It wanted me to make something that would look good with globs of glue. How about a tree??? That worked well. So a tree making I did go.

Once I made my tree and let it cool for a few minutes. I made up the ink mist. I had two spritzer bottles and put 1/3 alcohol, 3 – 4 drops of ink, and filled with water (for lighter inks, you might want to put 5-6 drops of ink). I laid the hot glue tree on some watercolor paper and spritzed the yellow at the top and the orange half way down to the bottom of the card. On my next card, I will take something heavy and put on top of the paper so it doesn’t warp (I still can get the edges to lay flat on the mat).  Once the spritzed ink was dry, I sponged some Wild Wasabi on the branches and down at the bottom of the card for grass. I went back with a really, really old SU! stamp set Watercolor Minis and stamped leaves and grass with some flowers. Since the card had a modern/abstract feel to it, I stamped “You are a fabulous work of art” as the sentiment. Here is the card!

Hot Glue Card

Supplies: not pictured (hot glue gun with glue sticks, SU! Watercolor Minis)


PAGE TOP
[dealsbar preview] Amazing Deals: !!toolbar-deal-title!! - !!toolbar-deal-merchant!!