Category : Techniques

88 posts

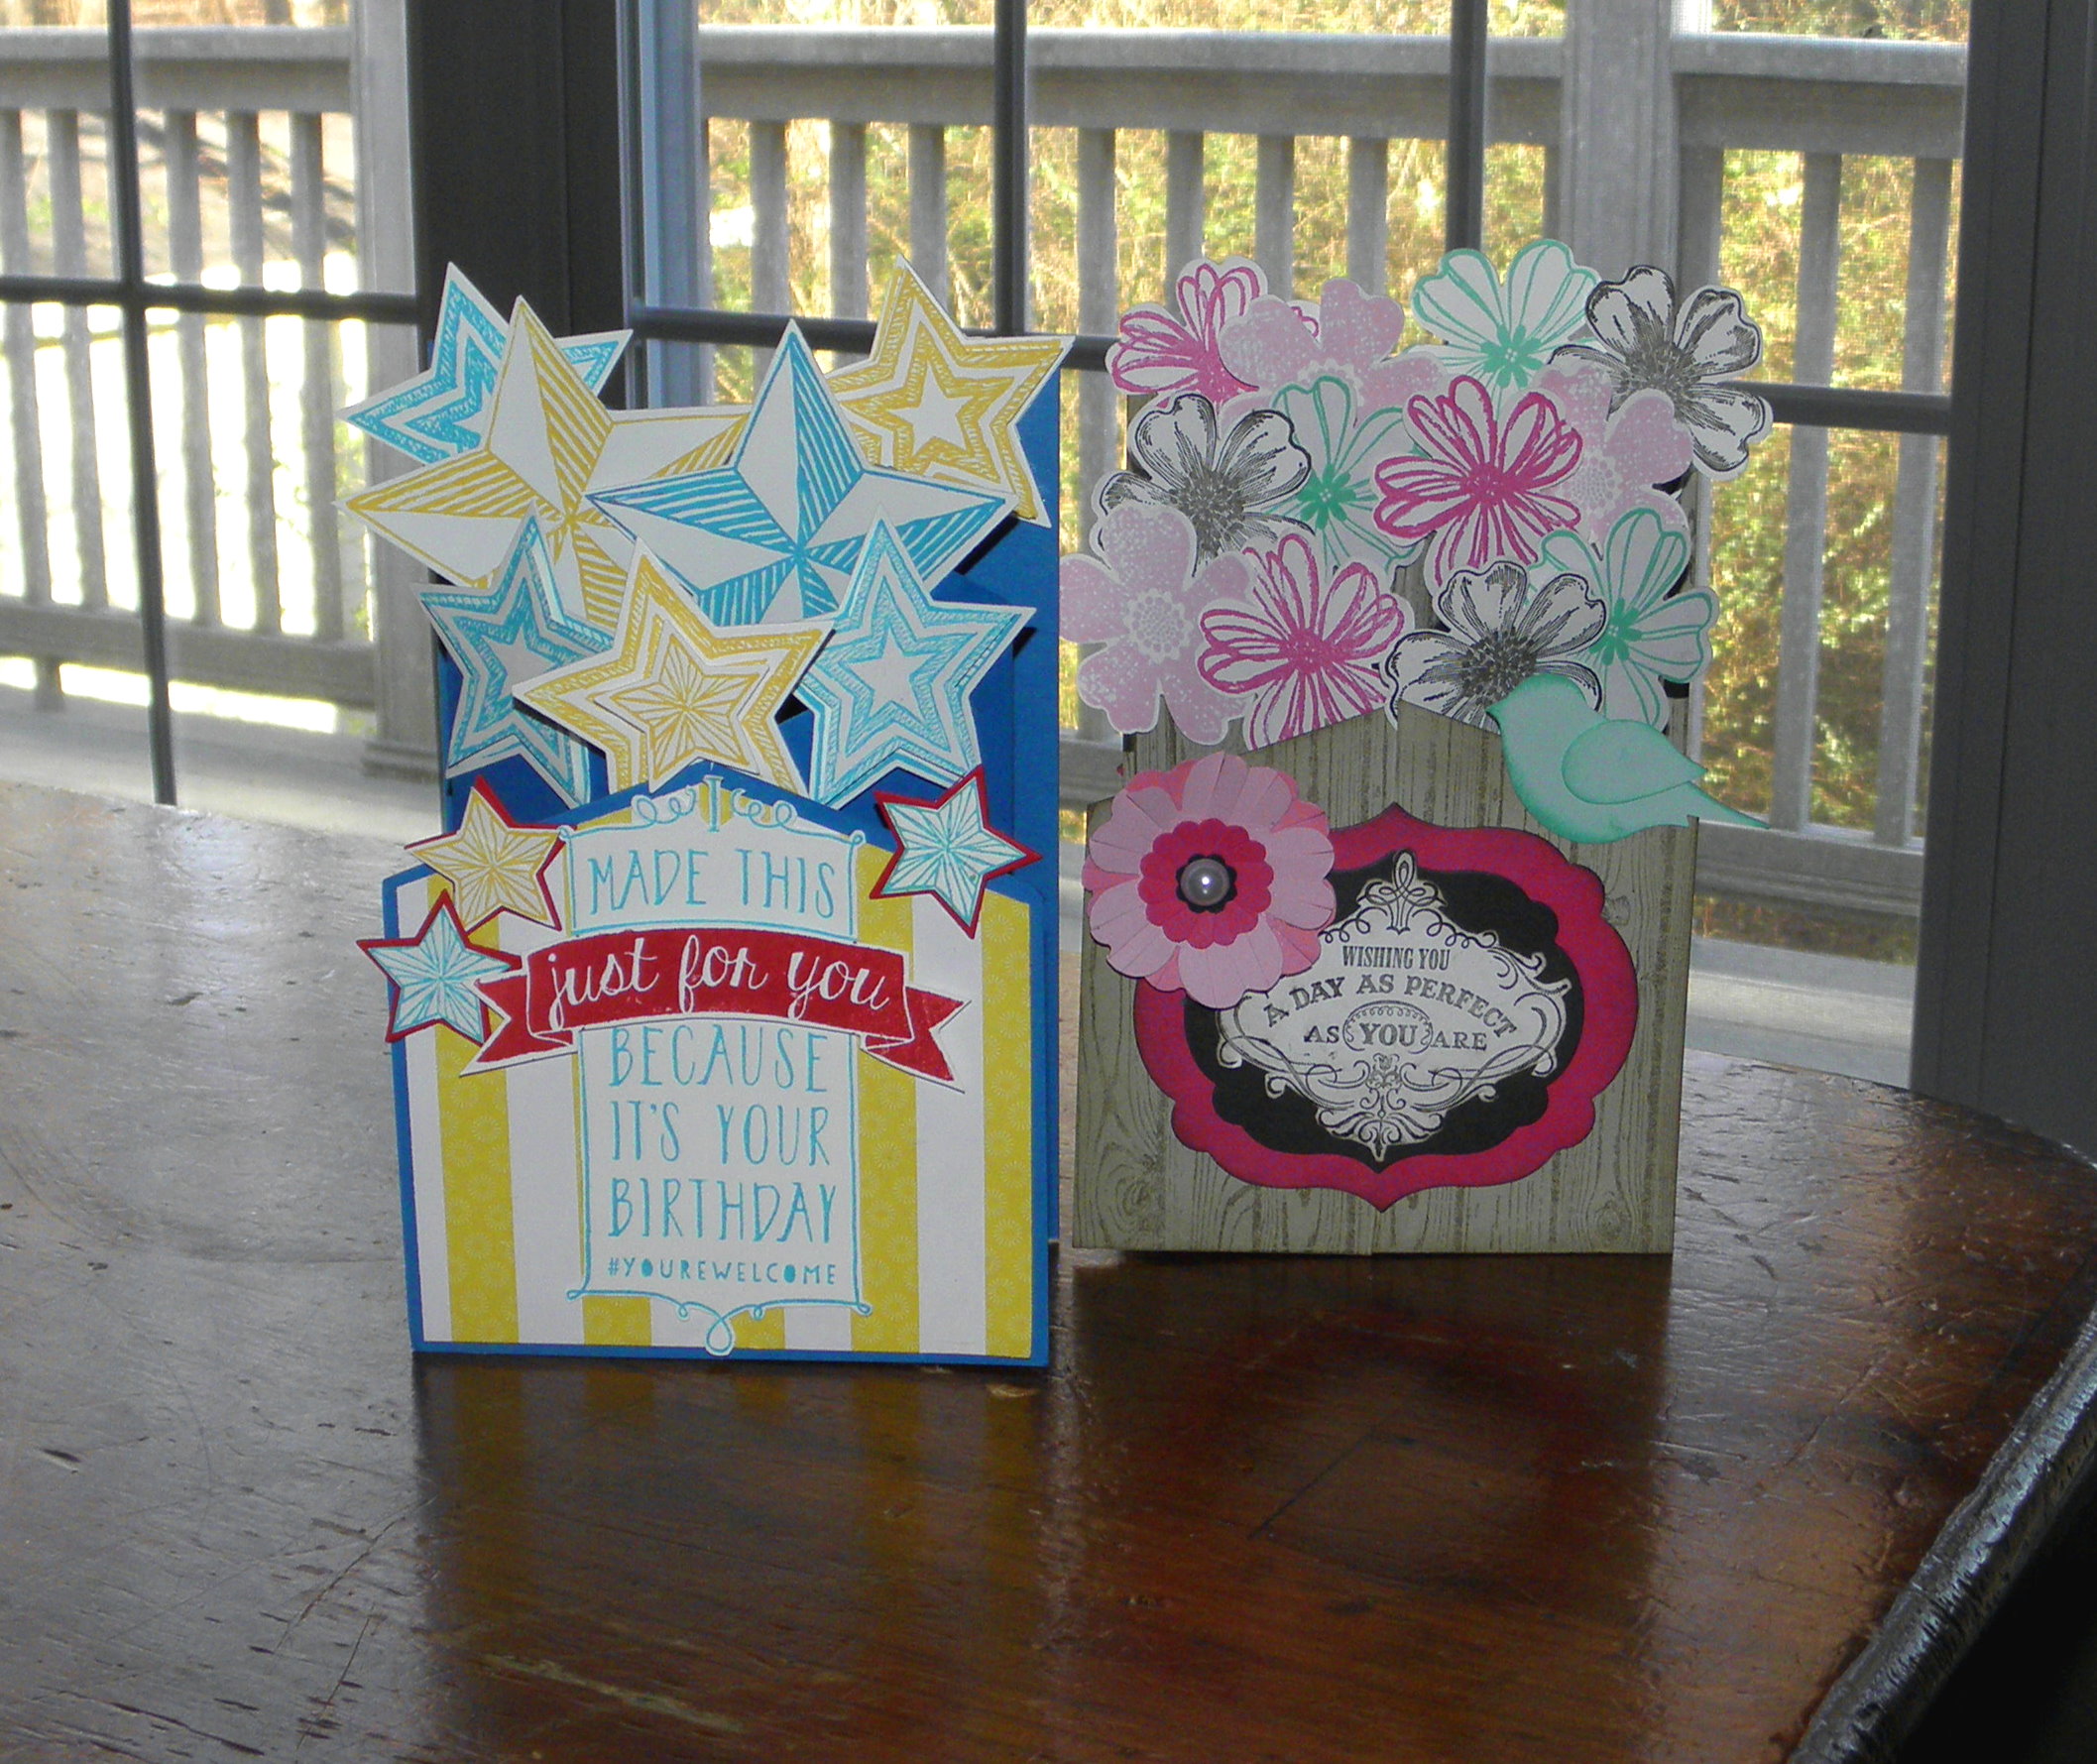
Missed opportunity. Boo Hoo! I missed the deadline for the Paper Pals Card Challenge by a few hours. Oh Well, I LOVE this card. So glad I was inspired by this challenge’s sketch.

6a00e54f95df92883401b8d0efaff4970c-320wi


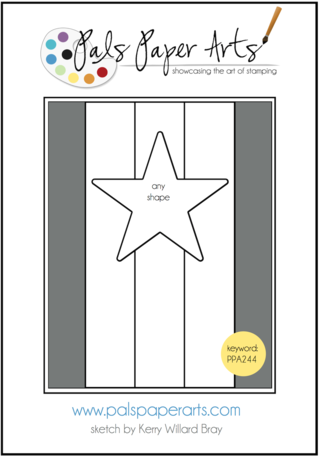
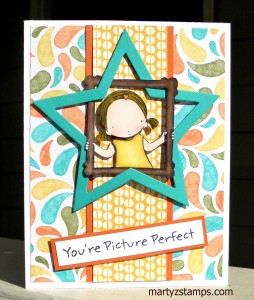
My some times partner in design, Cheyenne Luken, came over this morning to make a card for this sketch challenge. We went right to work. I had already envisioned  how I wanted the cute little girl to pop out of a star showcasing herself within the star and her frame. As always, we are not only challenged by the sketch and/or color layout, but we are in competition with each other to see which one of us will change our card to look like the other one’s card. LOL

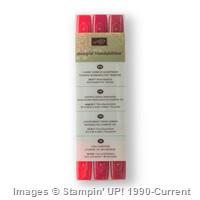
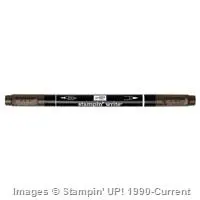
So, it started. I wanted to use the Blendabilities I had purchased on this sweet girl. We pulled out the very few I own and thus began our creation. Since we haven’t used the Blendabilites a lot, our artwork can look a little odd (to say the least). But, with many corrections, we came out with a breathtakingly awesome card.

Just to reflect on the process for a minute; here’s how our cards came to be.

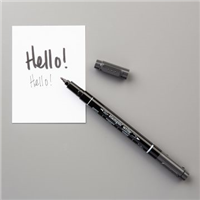
Don’t you know, it seems you make a major mistake when you are almost finished with the card. Well, I was trying to use a brown Blendabilities marker to darken the edges of the paper where I had cut the girl out and the edges were glaringly white. Well, I should have used a regular black marker because the Blendabilities marker leaked onto the arm. Argh! I redid her arm, cut off the old one and adhered the new one. Then, learning from my mistake, I used a Basic Black Stampin’ Write Marker to touch up the edges and made a misstroke and marked a black line on her other arm. Argh, Argh! So, I redid this arm, cut off the old one and adhered a fresh new arm. Thought I was finished, other than placing my star on my paper.

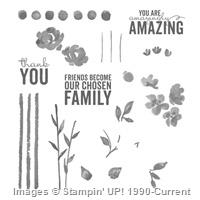
Cheyenne had placed her girl lower on the paper and asked what I thought. I said, I was going to place my girl higher. Cheyenne thought this was a good idea, but upon my earlier instructions had covered the back of her star and girl with Stampin’ Dimensionals and adhered her to her card. She would have torn her paper mats to pieces to try and move it. I think it looks fine just where she put it. I noted the card needed a sentiment, and Cheyenne chose the “You’re Picture Perfect” that came with the stamp set from My Favorite Things.

Cheyenne had considered how to place her girl within the frame; to have part of the frame under the star, all of the frame outside of the star, etc. She placed her girl, but once I had finished mine and placed mine the way you see it. She changed her girl to match mine (she must have done this after I took a picture of her card).

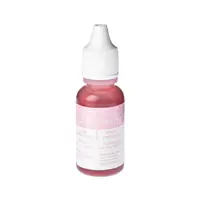
I had also tried several times to add a blush to my girls face with the color lifter and one of the red Blendabilities marker. What a mess! I got most of the “mess” off and was happy with my card . . . . . UNTIL . . . . I walked by and noticed my girl’s face looked very, very pink in comparison to Cheyenne’s peachy skinned girl. So……I redid my girl’s face and her arms (so they would match) and her hair; cut out her head and arms and adhered them to the card. I added the blush to her cheeks with an aqua painter and Regal Rose ink (this is discontinued the supplies show Pink Pirouette, which will work just fine). I added the sentiment and took pictures of both our cards. I came inside and cropped the pictures and noticed, my sentiment was off-centered!!!!!!!!!!!!!! I repositioned the sentiment and retook the picture. So, without further ado, here are our pictures.

Framed SweetheartFramed Sweetheart Luken


non SU! supplies: MFT stamp set: Pure Innocence Picture Perfect

Supply List

Built for Free Using: My Stampin Blog

This was February’s Technique Card Class. This class was canceled twice due to inclement weather.

Tri-fold Cascading Card


Discontinued Supplies: I used a 1/4″ scallop punch from one of the retired itty bitty punch packs for the center part of the flower. A 1/4″ circle would work in place of this punch.  When, I made the sample cards, my Birthday Bash paper had not arrived. On the actual projects Birthday Bash will be used.

Price: $99.95

Supply List

Built for Free Using: My Stampin Blog

I am really on a roll. I received an update from http://livelovecards.com and went to explore what was new and came across the March card challenge using a stencil. My first thought was making a gingham type background using the stripe stencil from Stampin’ UP! I placed it on the diagonal and sponged using Wild Wasabi and Old Olive inks. I tapered the amount of ink on one side of the card as a highlight effect.

The next step was going through my framelits to determine what type of mat I wanted; then, on to finding the right stamp set. I was inspired by a couple of bird nests on our front porch, and it is really warm here in Georgia, and Spring is right around the corner, and. . . . . .  So, I chose Nature Walk utilizing the bird with its nest popping off the page.

Here is the challenge card I made for Live-Love-Cards:

OLYMPUS DIGITAL CAMERA


Stamp Set: Nature’s Walk (discontinued)
Stampin’ Write Marker (discontinued): More Mustard (Crushed Curry would work as well)
Nest: Pulled apart the ribbons and then glued to card


Built for Free Using: My Stampin Blog

This is my FIRST Card Challenge. I found this website http://fusioncardchallenge.blogspot.com and decided to make this my first ever card challenge entry. Here is the challenge:

FusionChallengeMarch24


I took the color challenge and combined it with the sketch challenge to make a fusion of both challenges. One of the cards in my March make-n-take class used a technique where watercolor paper was spritzed with water and the Painted Petals stamps were stamped onto the wet cardstock creating a slight watercolor effect. Without further ado, here is my challenge.

OLYMPUS DIGITAL CAMERA


NOTE: The retired Lace Ribbon Border punch was used.


Built for Free Using: My Stampin Blog

This month’s technique card is the Window Blinds card. It is a quick and simple WOW card.

OLYMPUS DIGITAL CAMERA


The ribbon that is pulled (ends were cropped out of the picture) to raise the blinds to reveal a delightful outdoor garden is located at the top of the blinds.

OLYMPUS DIGITAL CAMERA


OLYMPUS DIGITAL CAMERAThis is the third design for the March Make-n-Take. My stampers have a choice between an Easter card or an alternative card (see below).

OLYMPUS DIGITAL CAMERAMy inspiration came from a technique video featuring the Serene Stamper http://www.serenestamper.com/2015/02/painted-petals-thank-you-cards.html . This is a really, really fun technique. It is super easy and very forgiving. I think this is going to become one of my favorite cards to duplicate.

Tip: I used Regal Rose (retired) ink on my cards, but Strawberry Slush could easily be substituted. The Hello Honey ink can have some dark spots of ink on the flowers, but all I did to correct this problem was slightly wet a paper towel and dab the darker area to pull off excessive ink. When I made the cross card, I had too much water on the watercolor paper and the ink bled excessively. I just took a paper towel and wiped off the ink leaving behind a splash of color and stamped the flowers again. I think it looks like I meant to have a smudged area. LOL – It is very forgiving. I used Staz-on for the words so the ink wouldn’t bleed.

Supply List

Built for Free Using: My Stampin Blog

???????????????????????????????This is the first of three designs for the March Make-n-Take Class. My inspiration came from

paperpiecingmemoriesbybabs.blogspot.com . Since I had to use SU! punches to build my bear, it took several hours of making, remaking, remaking again, and remaking again, the hat, the hat rim, repositioning the ears at least three times, etc.  This little fellow did turn out quite adorable.
The supply list is below excluding some retired items as follows: 1/4″ square punch, SU! Kiss Me stamp set for background, the eyes can be punched from the three heart punch or cut using a Cricut.

Supply List

Built for Free Using: My Stampin Blog

I know we said a sad farewell to the Blendabilities, but many of us have a set or two and will continue to use them. I had a left over scrap piece of cardstock which had been embossed with the Manhattan Floral embossing folder (so sad to say it is retired) and I decided to play around with my Blendabilities markers. I used the Cherry Cobbler (two lightest markers) and the Daffodil Delight (two lightest markers) and started blending. I added a touch of blue to the floral background with Bashful Blue re-inker and an Aqua Painter. The final touch was taking the color lifter and going along the edge of the embossed areas to pull off some ink and add highlights to the flowers to make the POP.

OLYMPUS DIGITAL CAMERA


PAGE TOP
[dealsbar preview] Amazing Deals: !!toolbar-deal-title!! - !!toolbar-deal-merchant!!