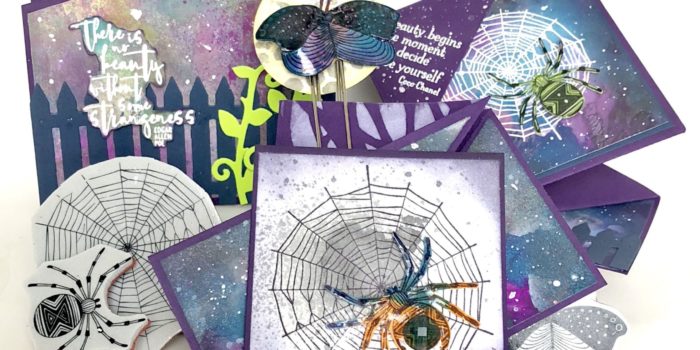
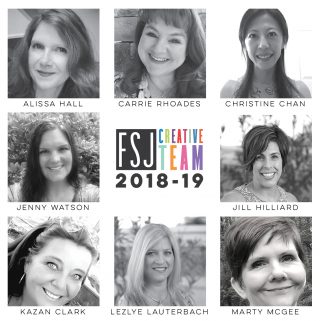
I am thrilled to introduce my FSJ Creative Team members for the 2018-2019 catalog year. We are all FSJ Coaches who love the Fun Stampers Journey product line. We will create and share amazing designs this next year, to inspire you to create your own amazing projects.
Here are the team members:
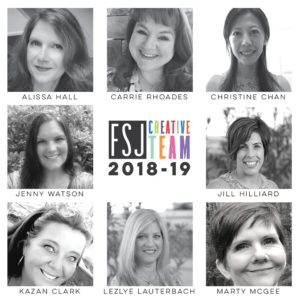
I copied their bio excerpts from the Fun Stampers Journey blog (https://blog.funstampersjourney.com/get-to-know-the-2018-creative-team/).
Alissa Hall
Blog: Paisley Papyrus
I have been a paper crafter for over twenty years now, making everything from scrapbook layouts to cards to treat boxes. It is the encouragement of my family that made me turn my love of paper crafts into a career with Fun Stampers Journey. In fact, my 16 year old daughter is the creator of my business name – Paisley Papyrus! As a married mother of three active teenagers, I appreciate the need to maximize your craft time with straight forward projects that will make your recipient feel special. I like to create projects that make you say, “oh, I want to make that! And I know exactly how she did it.”
Carrie Rhoades
Blog: Carrie Stamps
I have been paper crafting for 20 years. So much has changed, but the magic that is made when an inked stamp meets paper is still the same. I love sharing my creations and inspiring others to get creative with paper. Some of my favorite techniques to use with my paper crafting are making Gel Press backgrounds, altering die cut pieces to make something new and creating shaped cards. I love lots of layers and bright colors. You’ll get to know me as the girl who can’t live without foam squares.
Christine Chan
Blog: Love of Sparkles
I have been crafting since I was a little kid. I love scrapbooking, card marking and party decor. I believe the magic of paper and it is my job to make them shine! Yes, I love sparkles ✨, lot of sequins and add many embellishments on my projects! My style tends to be cute, sweet and fun with lot of layers! I am thrilled to be part of FSJ Creative Team to inspire others and share my love of paper crafting.
Jenny Watson
Blog: Stamping Journey With Jenny
I discovered the joy of stamping and card making 15 years ago when I attended a friend’s workshop. I joined Fun Stampers Journey 3 years ago and I am absolutely thrilled to be a member of the FSJ Creative Team. My crafting style is as a clean and simple card maker. I love sending cards to people so that is always my main focus when I am creating. My goal is to design cards that are easy to reproduce and ‘CASE.’ In addition to stamping, I also enjoy spending time with my husband and ten year old twins.
Jill Hilliard
Blog: Jill’s Card Creations
I have been stamping and paper crafting for for over 13 years and in September of 2017 started with Fun Stampers Journey. Being a part of the creative team is a dream come true. I love to create and share pretty things made with FSJ materials. Especially pretty papers and rubber stamps! Clean, simple and easy to duplicate cards are my style. I strive for a fresh approach to simplicity!
Kazan Clark
Blog: Kazan Clark
I grew up in South Africa in a close-knit family that loved the arts. I have always done art in some shape or form, from illustrating children’s books to painting custom pieces for clients. Through the years I have continued my love of paper crafting at Fun Stampers Journey. This year I am once again so proud to represent FSJ on their Creative Team – it is truly one of my passions to design projects that will inspire others to create too. FSJ has beautiful top quality product and it is with great excitement that I embark on this Creative Team Journey and share my love of design and craft with everyone.
Lezlye Lauterbach
Blog: Lezlye Lauterbach Designs
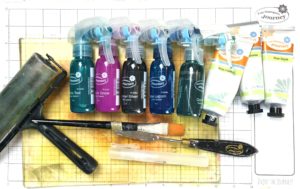
Over thirty years ago my obsession with stamping and paper crafting began and I haven’t looked back. Creating beautiful things has always been a passion of mine. I genuinely love to create, inspire and teach others this craft. My Fun Stampers Journey began in August of 2017, because of the quality and love for the product. My current favorite product has to be the liquid colors; there is so much you can do with them! I NEED every color. My style is very eclectic; I range from clean and streamlined to artistic and funky. Incorporating techniques into my designs, staying fresh and trying new things are at the forefront of my mind. I look forward to sharing them all with you!
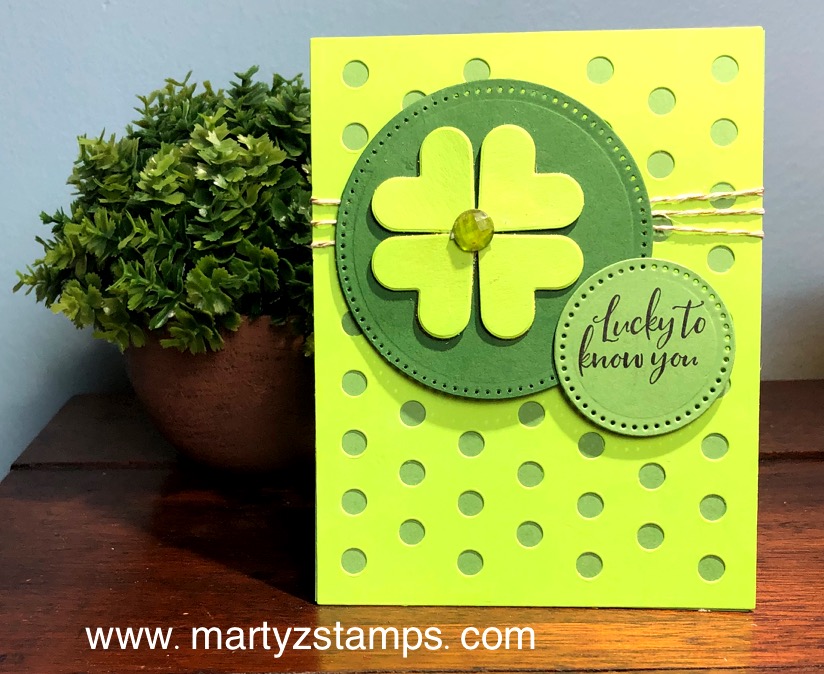
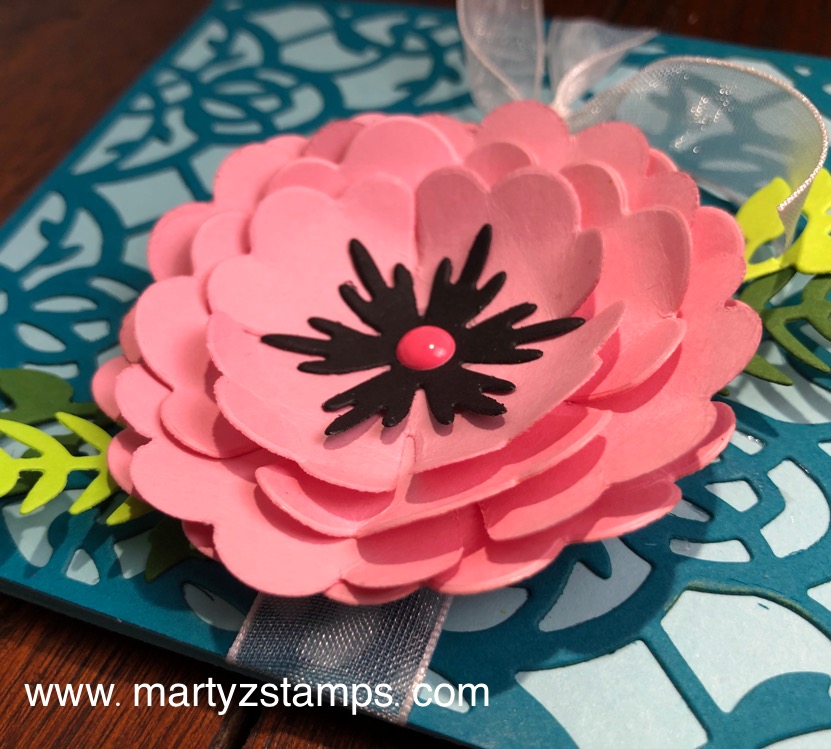
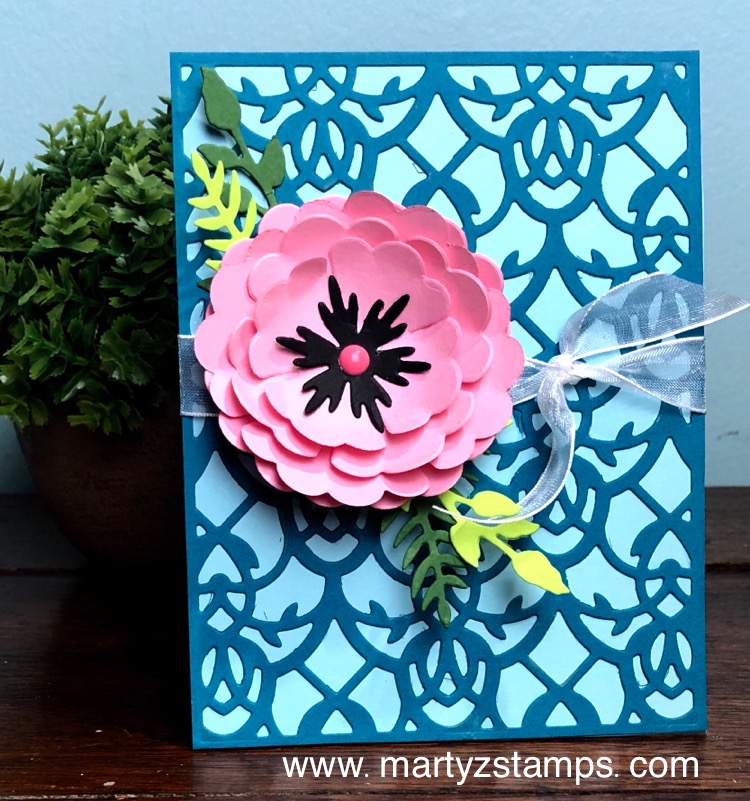
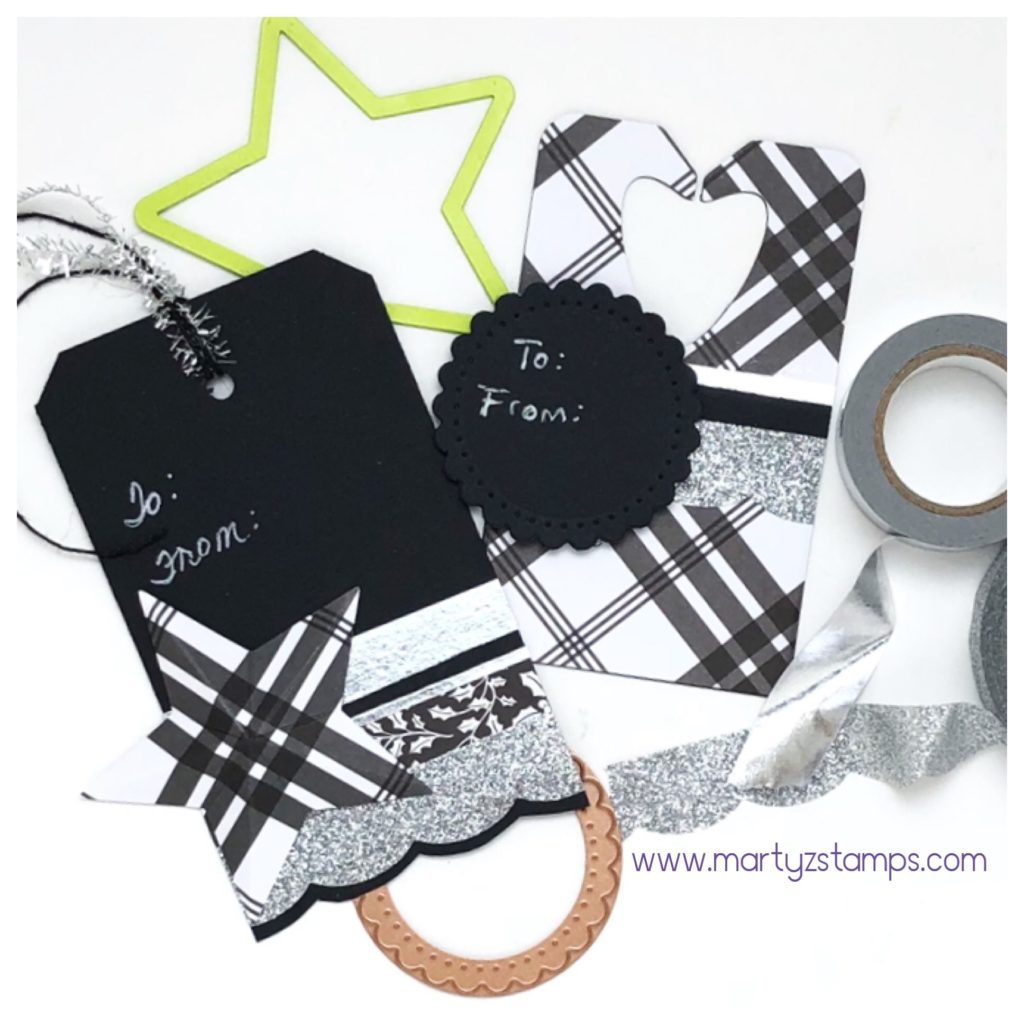
Marty McGee
Blog: Marty Z Stamps
Since I can remember, crafting has been part of my life. My mother loved creating all types of fun projects and encouraged me and my sister to pursue a variety of artistic endeavors. She did this by setting aside time to craft, paying for art lessons and even allowing me to create a geometrical design on my bathroom wall when I was a teenager. In almost 20 years of creating projects from paper, I have never been in love with one company’s products like I am with FSJ. I love the way our products challenge me to think outside the box and expand my knowledge of paper crafting tools, mediums, stamps and inks. I can’t wait to inspire others to feel the freedom of exploration.
Alissa Hall
Blog: Paisley Papyrus
I have been a paper crafter for over twenty years now, making everything from scrapbook layouts to cards to treat boxes. It is the encouragement of my family that made me turn my love of paper crafts into a career with Fun Stampers Journey. In fact, my 16 year old daughter is the creator of my business name – Paisley Papyrus! As a married mother of three active teenagers, I appreciate the need to maximize your craft time with straight forward projects that will make your recipient feel special. I like to create projects that make you say, “oh, I want to make that! And I know exactly how she did it.”
Carrie Rhoades
Blog: Carrie Stamps
I have been paper crafting for 20 years. So much has changed, but the magic that is made when an inked stamp meets paper is still the same. I love sharing my creations and inspiring others to get creative with paper. Some of my favorite techniques to use with my paper crafting are making Gel Press backgrounds, altering die cut pieces to make something new and creating shaped cards. I love lots of layers and bright colors. You’ll get to know me as the girl who can’t live without foam squares.
Christine Chan
Blog: Love of Sparkles
I have been crafting since I was a little kid. I love scrapbooking, card marking and party decor. I believe the magic of paper and it is my job to make them shine! Yes, I love sparkles ✨, lot of sequins and add many embellishments on my projects! My style tends to be cute, sweet and fun with lot of layers! I am thrilled to be part of FSJ Creative Team to inspire others and share my love of paper crafting.
Jenny Watson
Blog: Stamping Journey With Jenny
I discovered the joy of stamping and card making 15 years ago when I attended a friend’s workshop. I joined Fun Stampers Journey 3 years ago and I am absolutely thrilled to be a member of the FSJ Creative Team. My crafting style is as a clean and simple card maker. I love sending cards to people so that is always my main focus when I am creating. My goal is to design cards that are easy to reproduce and ‘CASE.’ In addition to stamping, I also enjoy spending time with my husband and ten year old twins.
Jill Hilliard
Blog: Jill’s Card Creations
I have been stamping and paper crafting for for over 13 years and in September of 2017 started with Fun Stampers Journey. Being a part of the creative team is a dream come true. I love to create and share pretty things made with FSJ materials. Especially pretty papers and rubber stamps! Clean, simple and easy to duplicate cards are my style. I strive for a fresh approach to simplicity!
Kazan Clark
Blog: Kazan Clark
I grew up in South Africa in a close-knit family that loved the arts. I have always done art in some shape or form, from illustrating children’s books to painting custom pieces for clients. Through the years I have continued my love of paper crafting at Fun Stampers Journey. This year I am once again so proud to represent FSJ on their Creative Team – it is truly one of my passions to design projects that will inspire others to create too. FSJ has beautiful top quality product and it is with great excitement that I embark on this Creative Team Journey and share my love of design and craft with everyone.
Lezlye Lauterbach
Blog: Lezlye Lauterbach Designs
Over thirty years ago my obsession with stamping and paper crafting began and I haven’t looked back. Creating beautiful things has always been a passion of mine. I genuinely love to create, inspire and teach others this craft. My Fun Stampers Journey began in August of 2017, because of the quality and love for the product. My current favorite product has to be the liquid colors; there is so much you can do with them! I NEED every color. My style is very eclectic; I range from clean and streamlined to artistic and funky. Incorporating techniques into my designs, staying fresh and trying new things are at the forefront of my mind. I look forward to sharing them all with you!
Marty McGee
Blog: Marty Z Stamps
Since I can remember, crafting has been part of my life. My mother loved creating all types of fun projects and encouraged me and my sister to pursue a variety of artistic endeavors. She did this by setting aside time to craft, paying for art lessons and even allowing me to create a geometrical design on my bathroom wall when I was a teenager. In almost 20 years of creating projects from paper, I have never been in love with one company’s products like I am with FSJ. I love the way our products challenge me to think outside the box and expand my knowledge of paper crafting tools, mediums, stamps and inks. I can’t wait to inspire others to feel the freedom of exploration.


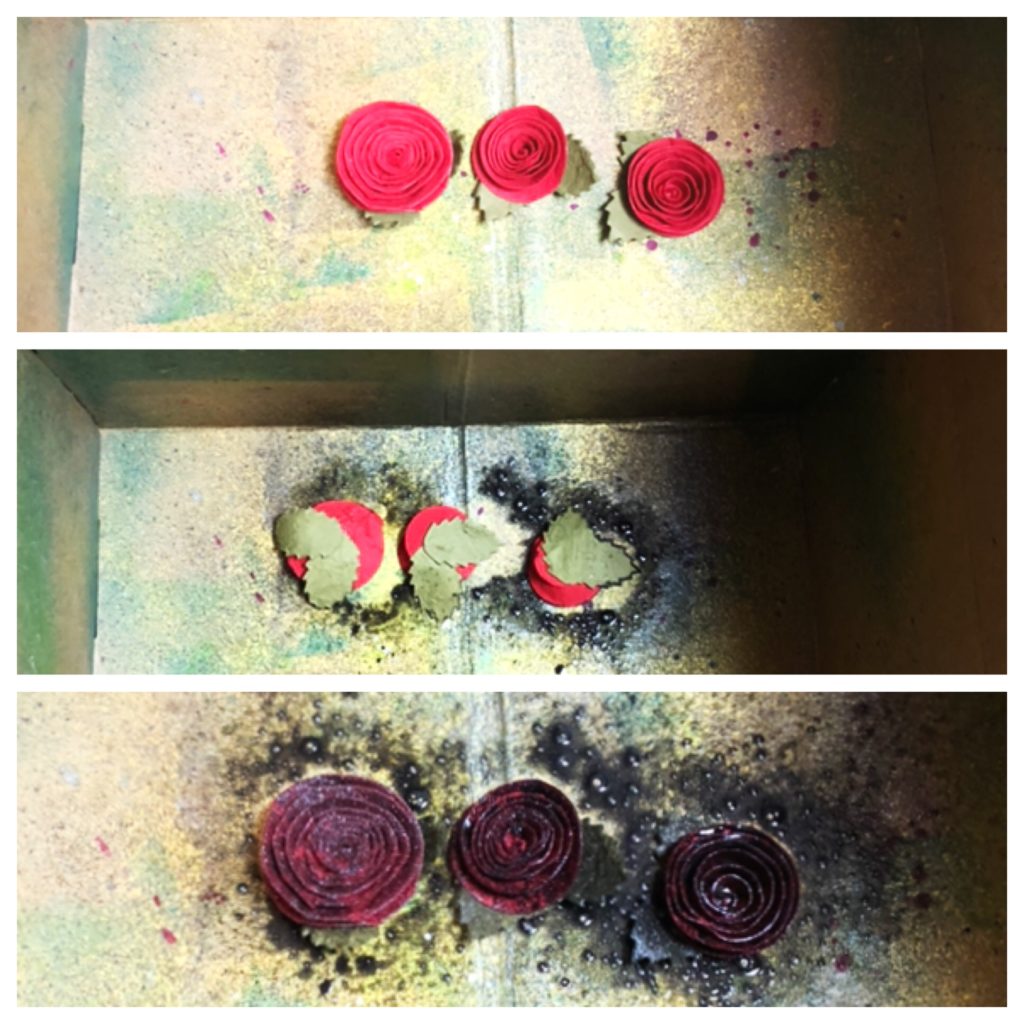


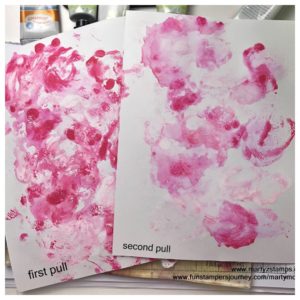
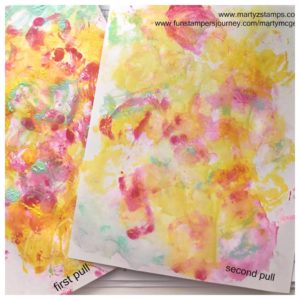
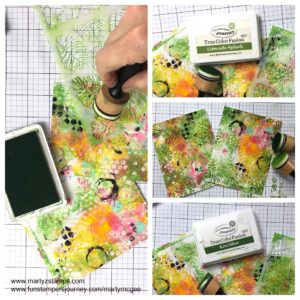
 First pull:
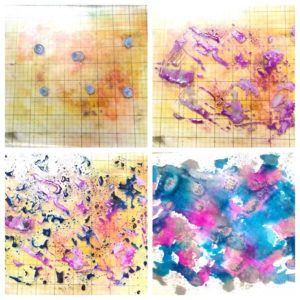 Second pull:
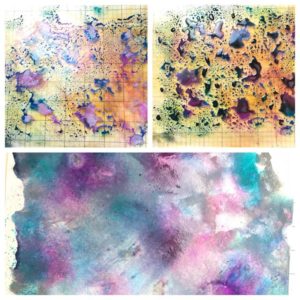
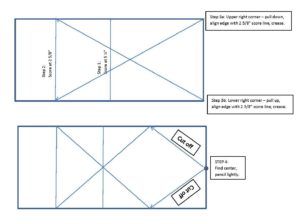
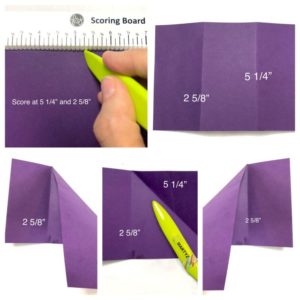
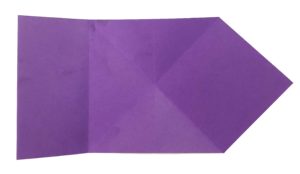
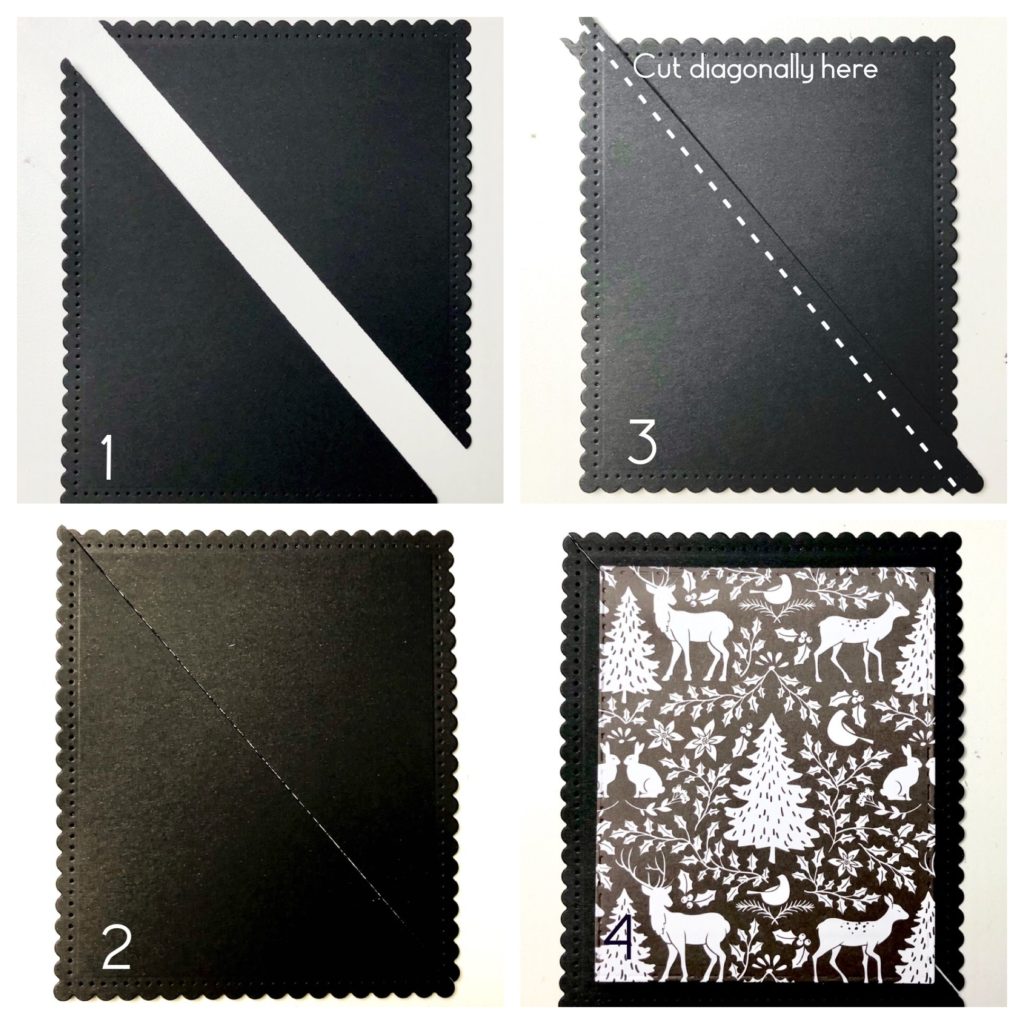
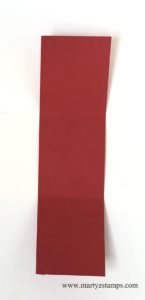
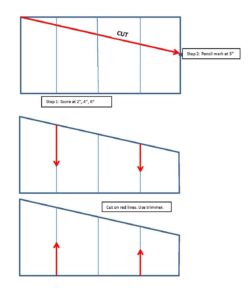
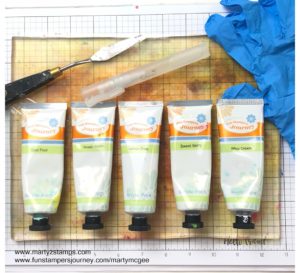
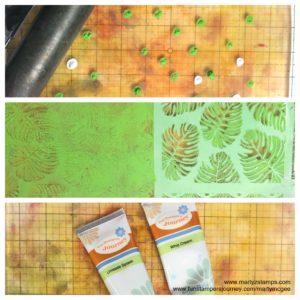
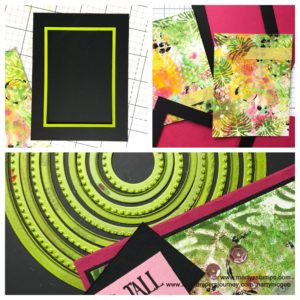
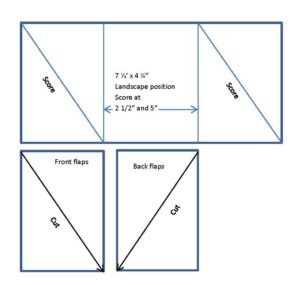 Step 1: Place 7 1/2″ x 4 1/4″ cut cardstock in landscape position,
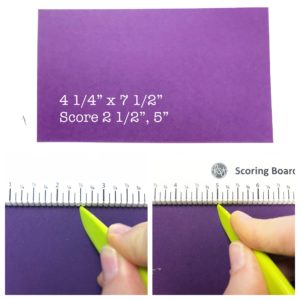


")


")
")


")


")
