Tag : spellbinders

7 posts

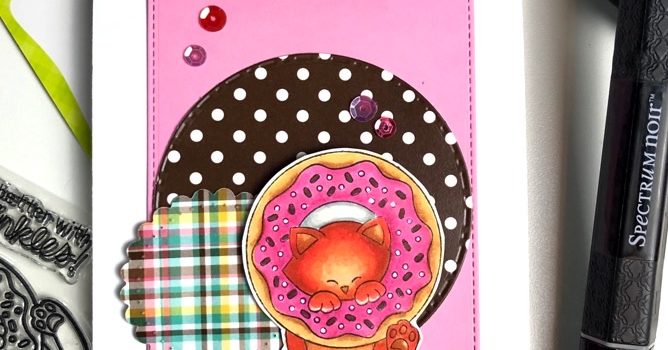
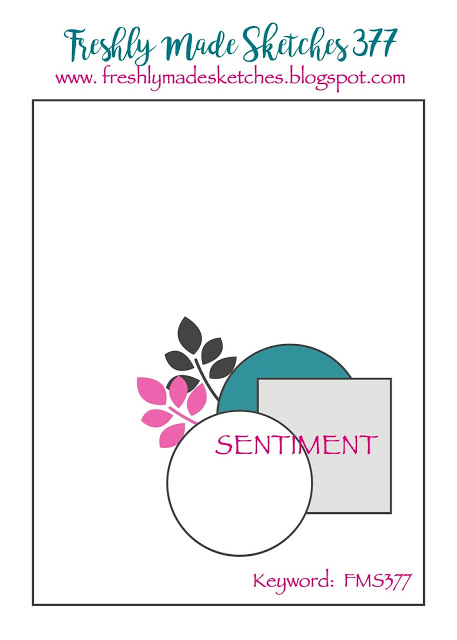
Two posts in one day? You are not hallucinating. Sit back and enjoy reading about the doughnut and Sassy Kat. I created a card project from this story for Freshly Made Sketches #377 card challenge (the sketch is below):

I know everyone has heard the phrase, “curiosity kills the cat,” but have you ever heard, “only a doughnut can make a kitty happy?” I hadn’t heard that phrase either until I read this story.

Little Sassy Kat was known to be a snoopy busy-body. There was no place in her house she had not explored except for the box under her owner’s bed. She didn’t know what could be in it, but it always smelled so good.

Every night after the house became still and quiet, she noticed, while pretending to nap on the bed, her owner would lie down on her belly and reach far under the bed pulling the box out very carefully. Once the box full of heavenly aromas was tight in her owner’s arms, she would walk softly into the very large walk-in closet, shut the door and the click of the lock would faintly sound.

Of course, the lock clicking to the closet door would cause Sassy Kat to lift her head, look around the room, rise up stretching every muscle before jumping from the bed onto the floor. She would wind her way around the room letting her tail hug every bed post spindle until she was at the closet door.

She pressed her body against the door and tried to push herself in, to no avail. She even tried to open the door by pushing her paw under the door and pulling the door towards her. That didn’t work either. After a while of unsuccessfully opening the door, she stretched out on the floor waiting for the door to open.

She was just about asleep when she heard little foot steps running down the hallway, into the room and a little voice crying for mommy. The closet door clicked open and her owner scooped the child into her arms and carried him back to bed.

What!!!!! The door was open; Sassy Kat couldn’t miss this opportunity. She quickly ran into the closet and saw the open box in the corner. She ran over and gently sniffed inside the box. It smelled so good! And, a round circle with a hole in it, covered in pink goo with dots smelled the best. She grabbed the tasty treat in her mouth and ran out of the closet into the bedroom.

She quickly ran beside the night stand and settled in for a midnight snack. Before she could get a good bite of the sugary goodness, she noticed two large feet in front of her. She looked up with big soulful eyes, asking for forgiveness as her owner reached down picked her up and said, no sweet treats for you Sassy Kat. It’s time for bed.

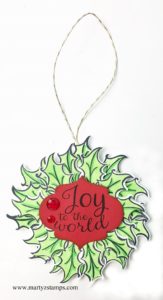
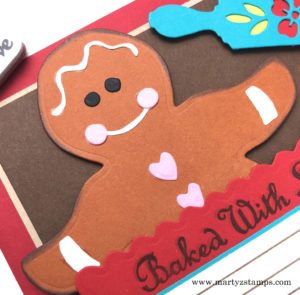
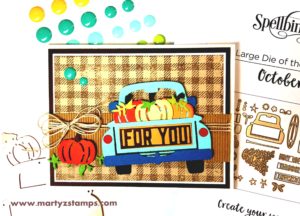
Hope you enjoyed the short story. Here is the card for the story and the challenge.

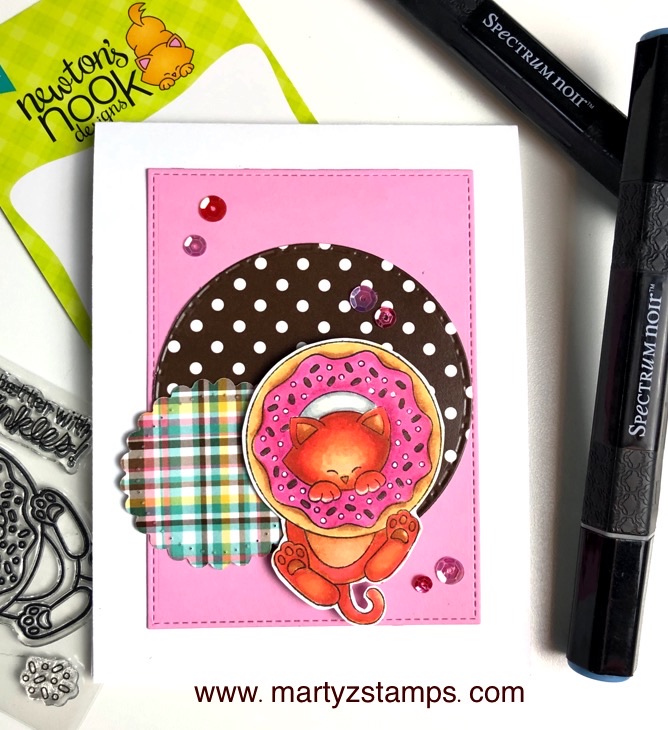
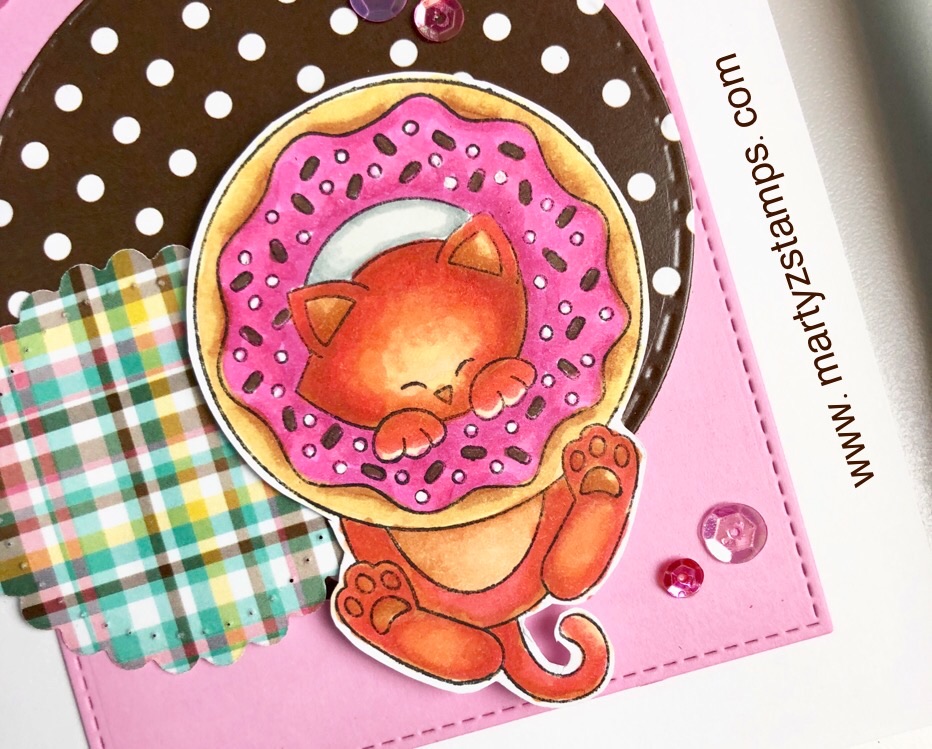
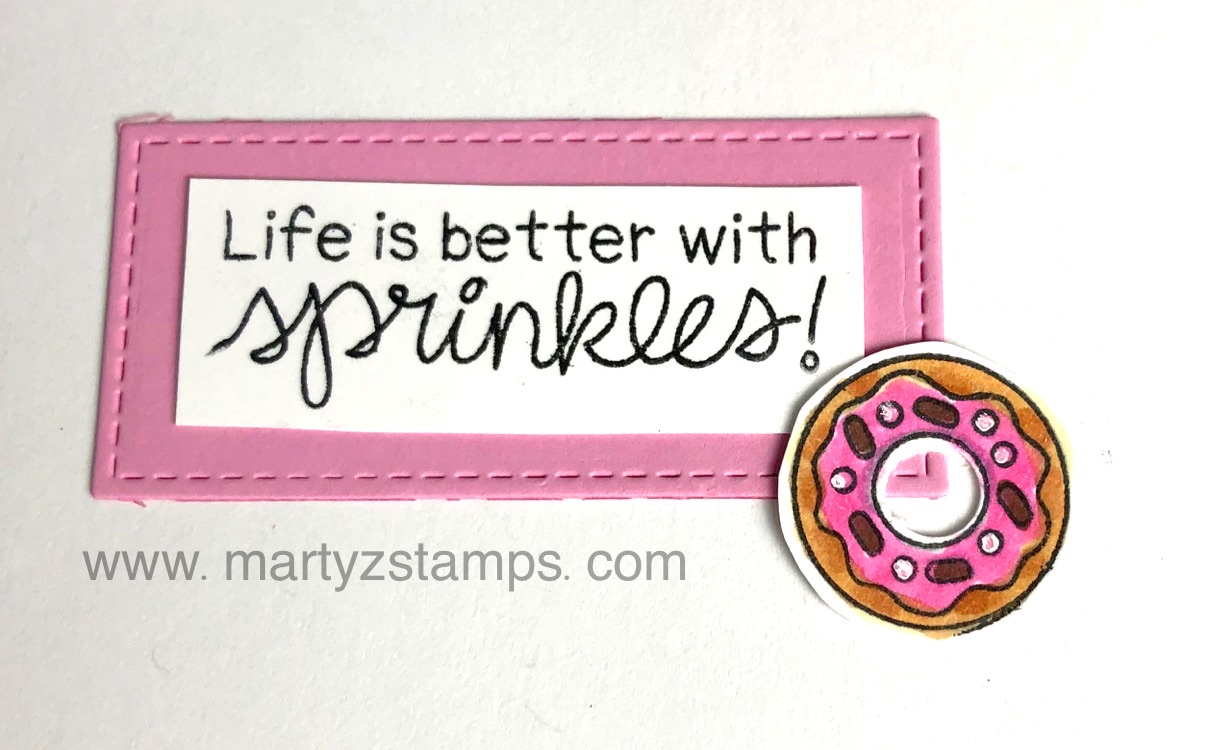
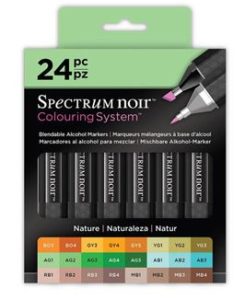
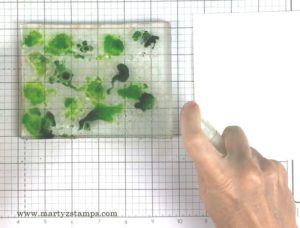
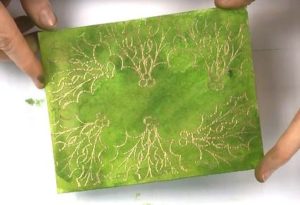
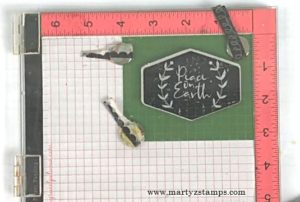
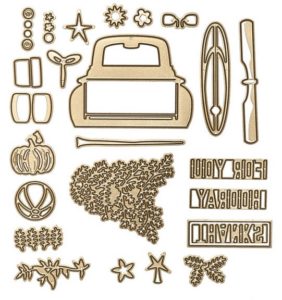
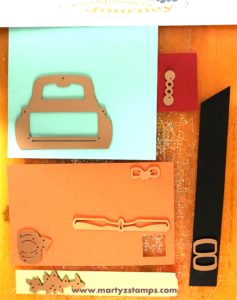
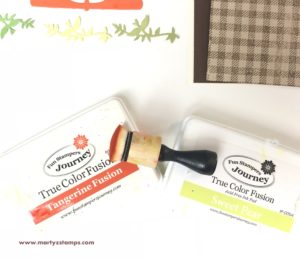
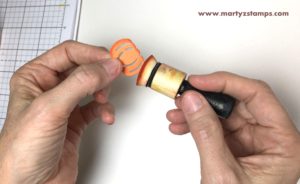
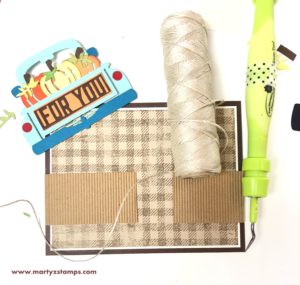
Supplies: Scrapping for Less Flavor of the Month January 2019 kit, Spectrum Noir alcohol markers, Spellbinders Fancy Edged Circle Dies and FSJ sequins.

Spectrum Noir alcohol markers purchased from Consumer Crafts

Welcome, to the November Creative Team Blog Hop.

Once you finish my blog click on the names below to hop along:

Kazan Clark

Lezlye Lauterbach

Carrie Rhoades

Christine Chan

Jill Hilliard

Marty McGee (you are here)

The blog hop theme for November is Christmas and I wanted to bring to life a 3D project featuring the Gingerbread Boy Tag Set.

Click on the banner below to order your Gingerbread Boy Tag Die Set:

This little guy evolved from a Pumpkin Bread Gingerbread Boy to a Santa Gingerbread Man. In fact, there are two Santas bringing you a special treat for Christmas.

To begin, cut one each of the gingerbread boy die in the following cardstock colors: Peaches and Cream, Candy Apple, Whip Cream and Black Licorice.

To create a Santa, take your die-cuts and proceed as follows. On the Black Licorice die-cut, cut off the arms and legs for Santa’s gloves and boots. On the Whip Cream die-cut, cut rectangular shaped pieces off each arm (near the shoulder),  off each leg (near body), at neck into the body portion and the middle part of the face. For Santa’s suit cut off the arms, feet and head from the Candy Apple die-cut. You will need to cut off the top portion of the Candy Apple head for the hat and save back one of the hands for the tip of the cap (the top portion for the cap is not pictured).

Glue the arms and legs onto the Peaches and Cream gingerbread Santa. Add the facial features onto Santa’s face. These pieces are cut from Black Licorice, Watermelon Fusion and Whip Cream.

Adhere the red suit and cap to Santa’s body.

To finish off Santa’s outfit, die-cut a curvy Whip Cream strip, three large Black Licorice circles and one large Whip Cream circle. Apply the curvy strip down the front of Santa’s suit, add buttons and puff to end of Santa’s cap. Go ahead and add the cuffs, rim of cap and neck trim to body.

Set aside the two Santas. Cut two strips of Candy Apple cardstock one at 5 3/8″ x 1 1/2″ and the other 5″ x 2 1/2″. Score both pieces at 1 3/4″ measure in from each end. On the 5″ x 2 1/2″ strip, score down each long side at 1/4″, cut out the scored tabs on the middle portion (between the two 1 3/4″ score lines).   Place the 5 3/8″ x  1 1/2″ strip crosswise onto the 5″ x 2 1/2″ strip.  Adhere the tabbed edges to the inside of the crosswise strip.


Adhere a Santa to each narrow end of the box, where the middle of the Santa hides the box.

The last step is to Place candy or small cookies into a cello bag and tie off with a ribbon. Place treat into holder.

How cute is this for a Christmas treat.


Supplies:

Gingerbread Boy Tag Die Set
Cardstock – Peaches and Cream, Candy Apple, Whip Cream, Black Licorice, Watermelon Fusion
Trimmer
Cello Bag
Twine
Journey Glue
White Liner Tape
Precision Shears


Y’all it is Day 4 of the FSJ + Spellbinders Better Together launch. I had a little time to whip up a gift tag project and once the recipient of the gift opens their package, the tag can be re-purposed as a tree ornament.

The following stamps and dies were used for the project:

holly bells, gold embossed holly leaves

In celebration of the 30 Day Coloring Challenge, I decided to use my Spectrum Noir alcohol markers to color the holly leaves. I stamped them onto Spectrum Noir cardstock using Memento Tuxedo Black ink. Markers AG1, AG2, AG3 were used to color the leaves. Once colored, they were die cut with the Holly Bells coordinating die. I glued the leaves to a round scrap of cardstock creating multiple layers with medium foam squares.

The center sentiment was stamped onto Candy Apple cardstock with Memento Tuxedo Black ink and cut with Holiday Joy’s coordinating die set Special Day Tags Die Set. Two red Rainbow Drops were added to the sentiment for a touch of bling.

The final step was to create a twine loop to hang the ornament on a tree using Gold Thread. It was adhered to the wreath and a Candy Apple cardstock circle adhered to the back to give a finished look.

If you like coloring, this is definitely the project for you.

I hope this inspires you to create some Christmas Tags for those special gifts for family and friends.

Click on images below to order:

Holly Bells Wreath Gift Tag-2

It is Day 3 of the FSJ + Spellbinders launch. So many awesome products and so many ways to bring paper to life!
I decided to do something a little different than a regular A2 size card.

Today’s inspiration showcases Spellbinders Gingerbread Boy Garland Tag and Recipe Card set by Sharyn Sowell.
I featured a 6 x 6 recipe card because they hold a special place in my heart. For over 10 years, I held a Christmas In The Woods Stamp Camp, each participant created a 6 x 6 recipe card swap and made the dish featured on the swap. So many wonderful dishes were enjoyed over the years. I still have every swap safely stored in 6 x 6 scrapbook albums.

Here are the stamps and dies I used on this project:

There are no special techniques used to create this project, just die cutting and a little stamping. Cardstock used on the Gingerbread Boy are Pumpkin Bread, Whip Cream, Bubble Gum and Black Licorice with the edges of the “boy” sponged with Pumpkin Bread Fusion adding depth to the die cut figure. The Candy Apple rick-a-rack mat has a Butter Cream mat with Hazelnut Blend stamped lines. The sentiment “Baked With Love” is stamped first with Pumpkin Bread Fusion Ink and then offset slightly and stamped with Hazelnut Blend Ink. The absolutely adorable rolling pin is cut from Turbo Teal cardstock with a Candy Apple red flower and Electric Lime leaves. I adhered a double bow from the Beach Breeze Twine onto the rick-a-rack mat. All die cuts are popped out with medium Foam Squares. The mat dimensions are 5″ x 5″ Hazelnut Blend mat, 5 1/8″ x 5 1/8″ Oatmeal Cookie mat and a
5 7/8″ x 5 7/8″ Candy Apple base mat.

I hope this inspires you to create recipe cards to give to family and friends or to start your own recipe album.

Click on the images below to order:

Gingerbread Boy Recipe Card

The FSJ + Spellbinders partnership launch is today! To celebrate this day, I created a Christmas card using the Zenspired Holidays, Holly Bells stamp and die set by Joanne Fink.

I began with a FSJ Butter Cream base and added a 5 1/4″ x 4″ FSJ Kiwi Slice mat to the base.

The gold embossed holly leaves mat took several steps. First, I cut a 5 1/2″ x 4 1/4″ watercolor paper mat and set it aside. Next, I placed my Gel Press onto my desk and applied FSJ Fresh Forest and Limeade Splash Liquid Colors to it. Tip: Apply more Limeade Splash for a more Christmas green color. Note: The pictured Gel Press with liquid color was created by cutting a full 8 1/2″ x 11″ Gel Press into fourths.

After spritzing the Gel Press and the watercolor mat generously with water from my media mister, I pressed the watercolor paper mat onto the Gel Press, lifting and reapplying until the entire mat was covered with color.

Before embossing with gold embossing powder, I made sure the colored mat was completely dry. To make sure the powder only stayed on the inked image, I applied anti-static powder over the entire mat and then stamped the holly leaves using FSJ Clear Pigment ink. Once I finished stamping, I applied the gold embossing powder and using my heat tool melted the powder creating shiny, gold holly leaves. The last step for this portion of the project was to cut the mat down to 5″ x 3 3/4″ using FSJ Trimmer.

For the sentiment, I gold embossed “Peace on Earth” stamped image from the Holiday Joy stamp set and die cut it with the coordinating Special Day Tags Die Set.

Tip: I used my MISTI to stamp the image four or five times to get a good inked impression.

This card definitely needed some ribbon. A 5 1/2″ length of Special Day White Organza Ribbon was placed across the mat and adhered to the back. The die cut sentiment was centered and adhered on top of the ribbon with medium foam squares. A double bow created from the ribbon is attached with a piece of gold thread and the finishing touch are the Sea Stones embellishments. And, of course, they sparkle just a little bit.

Here is the finished project. I hope this inspires you to create your own holly themed Christmas card.

Supplies Used For This Project (click on the banner above to order):


I am so excited to announce a new partnership that begins Thursday, November 1, between Spellbinders and FSJ.  They are coming together to bring paper to life.

What does this mean for you? Great savings on awesome product lines. And, there’s more! Shipping is only $5.00 for orders up to $75 and “drum roll, please” . . . .  FREE shipping on orders over $75! If you live outside the US, you can now buy FSJ and Spellbinders. So easy to do, just click on any image on this post or one of the images in the sidebar.

Check out the new logo!

I can’t wait for you to experience some great deals. Let me tell you about one of my favorite programs, the Club Kits. What a deal? I especially like the Large and Small Die Club Kit. It’s only $30.00 a month plus shipping (tax may apply depending on where you live). Check them out the Club Kits here.

Spellbinders NEW Monthly Die Cutting Clubs

Y’all, it gets even better. Are you a paper crafter that likes to make beautiful cards from dies? There’s a new club starting up on November 1st called the Amazing Paper Grace Die of the Month membership. It features an exclusive die designed by Becca Feeken and the membership is only $30.00 plus shipping and tax. Here’s a sneak peek. Click on the image to get all the details.

I have saved the best deal for last. It’s the Fall Surprise Bundle a $185 value for only $45! This bundle includes dies and more. This deal is while supplies last (note: all bundles are the same). Click on the picture to get the scoop on this extraordinary bundle.

I’m already loving this partnership and I know you will too.

Check back on Thursday for a blog post featuring one of Spellbinders’ stamps and dies combined with FSJ inks, cardstock and more.

Let me know what you think about this new partnership in the comments below.


Do you love dies as much as I do? I confess I am a die addict and if you love dies like I do, then you are one too. When FSJ partnered with Spellbinders, I couldn’t get enough viewing time of their die selections. One of Spellbinders biggest Wow products, to me, is their Die of the month club. This month’s Large Die Club features an adorable truck with a truck load of accessories.

Here is a look at all the dies:

There are endless possibilities as to what you can make with with this set. My friend, Debbie Kissel, joined the Large and Small Die Cutting Club (a much better price point) and she was so gracious to bring both sets over for us to create a card project (we had no more than two hours of creating time; therefore, one card). She thought pumpkins would be good and I agreed.

The process began with me choosing the color combinations and cutting out the pieces on my Platinum die cutting machine.

Such a great use of scraps and it saved on cutting time as well.
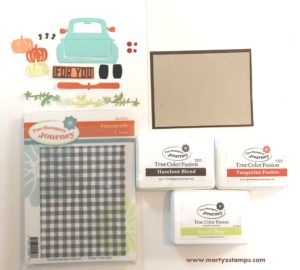


As you can see in the picture below, I have a base of Butter Cream CS, a Hazelnut Blend base mat, a Buttercream mat (not shown) and an Oatmeal Cookie mat. The truck is Cool Pool with a fender and side view mirrors cut from Blue Lagoon CS (photo shows Tangerine Fusion, but as we put the truck together the side view mirrors blended in with the pumpkins – time to rethink those colors). The pumpkins are Sweet Pear, Tangerine Fusion, Citrus Cooler with Hazelnut Blend stems. The sentiment “For You” is cut from Hazelnut Blend and matted on Citrus Cooler. Of course, there are red tail lights and black tires. Last but not least is the greenery, it is Limeade Splash, Sweet Pear and Green Olive cardstocks. The stamp set is Flannel Life and the inks are Hazelnut Blend, Tangerine Fusion and Sweet Pear.

Before I began the assembly process, I sponged the edges of the pumpkins with their coordinating ink and I stamped the Flannel Life onto the Oatmeal Cookie with Hazelnut Blend.

Now comes the fun part, putting the truck together! Once the truck is assembled, it is time to bring the card together. I wanted to keep this rustic and “fallish”; so, I grabbed a piece of Corrugated cardstock and trimmed it. As you can see it wasn’t wide enough, but no problem, I just cut it in half and glued it down knowing the truck would cover up the gap. Some loops of Natural Twin with a triple ribbon with tie everything together.

Last but not least is a final accent piece. I placed a couple of Candy Drops in the upper left hand corner.

It is just too cute! Such a fun and relaxing project.


As we move toward November and the final transition to the new Spellbinders + FSJ team, I hope this inspires you to check out Spellbinders today. The FSJ products will not be available on the Spellbinders website until November 1st. I have those supplies below the Spellbinders Banner. Click on a product from there and you will be taken to my FSJ website where you can order.

In this new transition of partnering with Spellbinders, I have become a part of the Spellbinders + FSJ affiliate program.  If you would like to purchase a Spellbinders product, please click on the banner below. It will take you to their site. I will receive a commission on anything you purchase at NO ADDITIONAL cost to you. This helps me to continue creating inspiring products for you.

Spellbinders NEW Monthly Die Cutting Clubs

Product List

PAGE TOP
[dealsbar preview] Amazing Deals: !!toolbar-deal-title!! - !!toolbar-deal-merchant!!