I am very excited to enter a card in the SUO Challenge #129: Cards Without Words card challenge.
For those stampers who send out cards, it is nice to have cards with no sentiment on them to have
on hand for any occasion. The inside of the card is great for writing a meaningful note with a
sentiment appropriate for the occasion.

I am also super excited to use the new SU! Happy Scenes stamp set along with the SU! Hearth & Home
Thinlits Dies. They are super awesome! I created a card looking out onto a Fall landscape. I think you will
really love this card as well.

SUO #129

Supplies: not pictured SU! stripe embossing folder, chocolate chip stampin’ write marker, SU! 2014-2015 Fall DSP

Price: $12.50

Supply List

Built for Free Using: My Stampin Blog

This week’s Freshly Made Sketches #199 challenge is:

FMS Final 199-001

I decided to use SU! Watercolor Wings stamp set for this challenge. I stamped the larger butterfly in Pool Party, Coastal Cabana, and Bermuda Bay inks and the smaller butterfly in Tangerine Tango and Tangelo Twist with Daffodil Delight accents and sequins from the Watercolor Wonder Kit (love that kit). The bottom of the card is accented with a strip of Cherry on Top DSP and washi tape from the Watercolor Wonder Kit (did I already mention, I LOVE THAT KIT).

FMS199

Supplies:


Supply List

Built for Free Using: My Stampin Blog

This week’s Freshly Made Sketch is:

FMS+Final+198-001I was inspired by Rita Wright’s card sample to pull out a MFT stamp set called Sew Nifty I bought a LONG time ago and never used. I used a blueprint die to make the base out of SU! DSP, I used the coordinating die to cut out the dress form and then I stamped the image on the pre-cut shape, I used a retired BigzXL die to cut some ric-rac, and I placed the sentiment on top of the ric-rac. Hopefully, you can see the Marina Mist rectangular panel which I made into a banner, and the Watermelon Wonder mat behind the mat of sewing machines. I love this card because it reminds me of my mother who could make anything with her sewing machine.

FMS 198

Supplies: not pictured (MFT stamp set Sew Nifty with matching dies, MFT blueprint die, BigzXL border die, SU! DSP sewing paper – don’t know the name of the paper).

In August, I am offering a Technique class featuring a hot glue mask/stencil. I found this technique on a YouTube channel with the Frugal Crafter and it looked like such a fun technique, I knew my stampers would love to learn how to do this in a class. Check out the YouTube website.

I found a small silicon mat I had purchased from Stampin’ Up! and forgot all about it until I cleaned out my tool bag. Lo and behold that was one less supply I needed to buy for the class. LOL  I hate to admit but this happens quite often to me; you know, you buy something just because, never use it, and one day you just happen upon it and become quite happy to have found it just in time for a project. Anyway, I broke out the glue gun with one glue stick left and heated it up. I really wanted to make a lot of hearts joined together (see the tutorial) but my glue gun didn’t want to cooperate. It wanted me to make something that would look good with globs of glue. How about a tree??? That worked well. So a tree making I did go.

Once I made my tree and let it cool for a few minutes. I made up the ink mist. I had two spritzer bottles and put 1/3 alcohol, 3 – 4 drops of ink, and filled with water (for lighter inks, you might want to put 5-6 drops of ink). I laid the hot glue tree on some watercolor paper and spritzed the yellow at the top and the orange half way down to the bottom of the card. On my next card, I will take something heavy and put on top of the paper so it doesn’t warp (I still can get the edges to lay flat on the mat).  Once the spritzed ink was dry, I sponged some Wild Wasabi on the branches and down at the bottom of the card for grass. I went back with a really, really old SU! stamp set Watercolor Minis and stamped leaves and grass with some flowers. Since the card had a modern/abstract feel to it, I stamped “You are a fabulous work of art” as the sentiment. Here is the card!

Hot Glue Card

Supplies: not pictured (hot glue gun with glue sticks, SU! Watercolor Minis)


This card was one of three cards made at my July Make-n-Take class. I usually offer three designs and my stampers make two of each design. Their tastes run from loving to make very simple cards to a few who like to make more detailed intricate cards; therefore, I try to appease both groups by giving them a very simple, quick card, a simple, quick card with some embellishments, and one card requiring paper piercing or piecing, multiple layers along with watercoloring/coloring, you get what I mean.

This was the simple, quick card with some embellishments. I had ordered two packs of Gold Soiree DSP. I used this paper as my mats and for the butterfly. I added Watermelon Wonder ribbon and accented the butterfly with diamond rhinestones.

It is truly an elegant card anyone would love to receive or horde.

Butterfly Card

Supplies:


This scrapbook page was a page I made for my friend as an example of a traditional scrapbook page using Project Life cards. I didn’t want traditional scrapbookers to feel limited by Project Life’s photo sheets, but rather the card sets could be used on a more traditional page.

Her son had gone to some type of swim park with his friend’s and she had captured the moment with pictures she wanted to place in a scrapbook. I didn’t have any 12×12 SU! new 2015-2017 in-color paper (Watermelon Wonder); so, I took a piece of Very Vanilla 12×12 and adhered the solid side of the new envelope paper to the Very Vanilla base. Hey, it worked. I used Project Life cards to add commentary areas and sentiments. I then wanted a 3D effect. I took baker’s twine and punched out banner shapes from the Project Life cards and adhered them to the twine (some with glue dots others with dimensionals. I used Bermuda Bay, Daffodil Delight, and Pool Party card stock as coordinating colors for the mats.

Summer Fun

Supplies:

One of my friends asked me to make a birthday card for his wife. I asked him what she liked and he responded her favorite colors were white, navy, and gold and she liked geometrical shapes. I began to think how I could incorporate the geometric shapes into the card design. I remembered geometric shapes were a feature of her wedding decorations and they reminded me of diamond, like the jewel, shapes. I did not have a stamp set of geometric diamond shapes, but I knew where I could purchase one . . . at the Duluth Scrapbook Expo.

My friends Cheyenne, Kevin (she is a female with a guy’s name), Robbi, and her friend Cindy attended the expo somewhat together, meaning Cheyenne and I were together and briefly encountered Robbi and Cindy. Kevin attended the Thursday night Make-n-Take (well worth the $$ spent), and she took a scrapbook class with us on Friday.

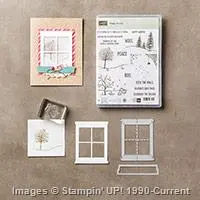
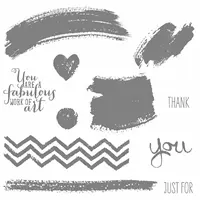
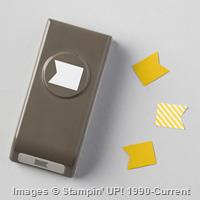
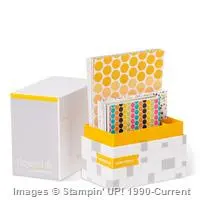
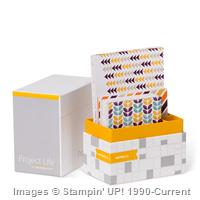
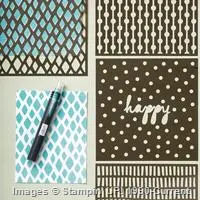
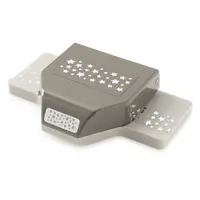
Anyway, back to the stamp set. I found only TWO out of a center full of stamps, glitter, ribbon, embellishments, dies, etc., etc., etc. . . . . . I went with Pink and Mains geometric stamp set. Here’s a picture and link to Pink and Main website:
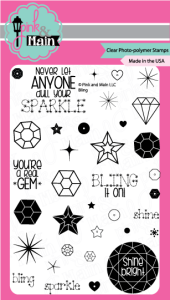
www.pinkandmain.com

www.pinkandmain.com

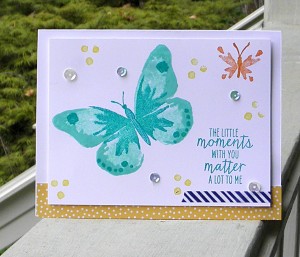
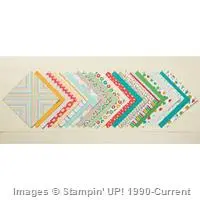
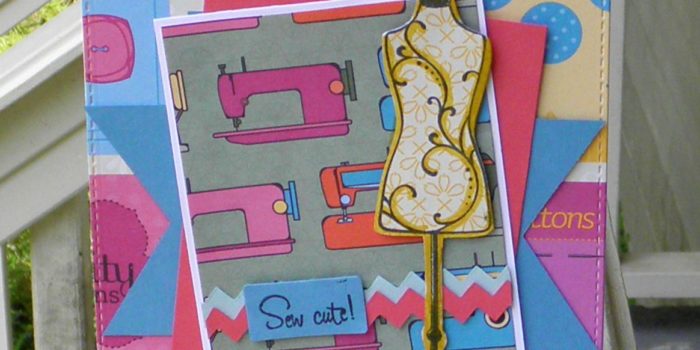
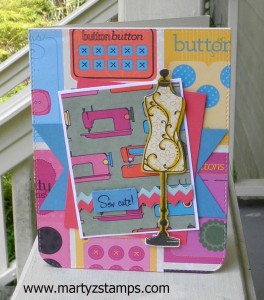
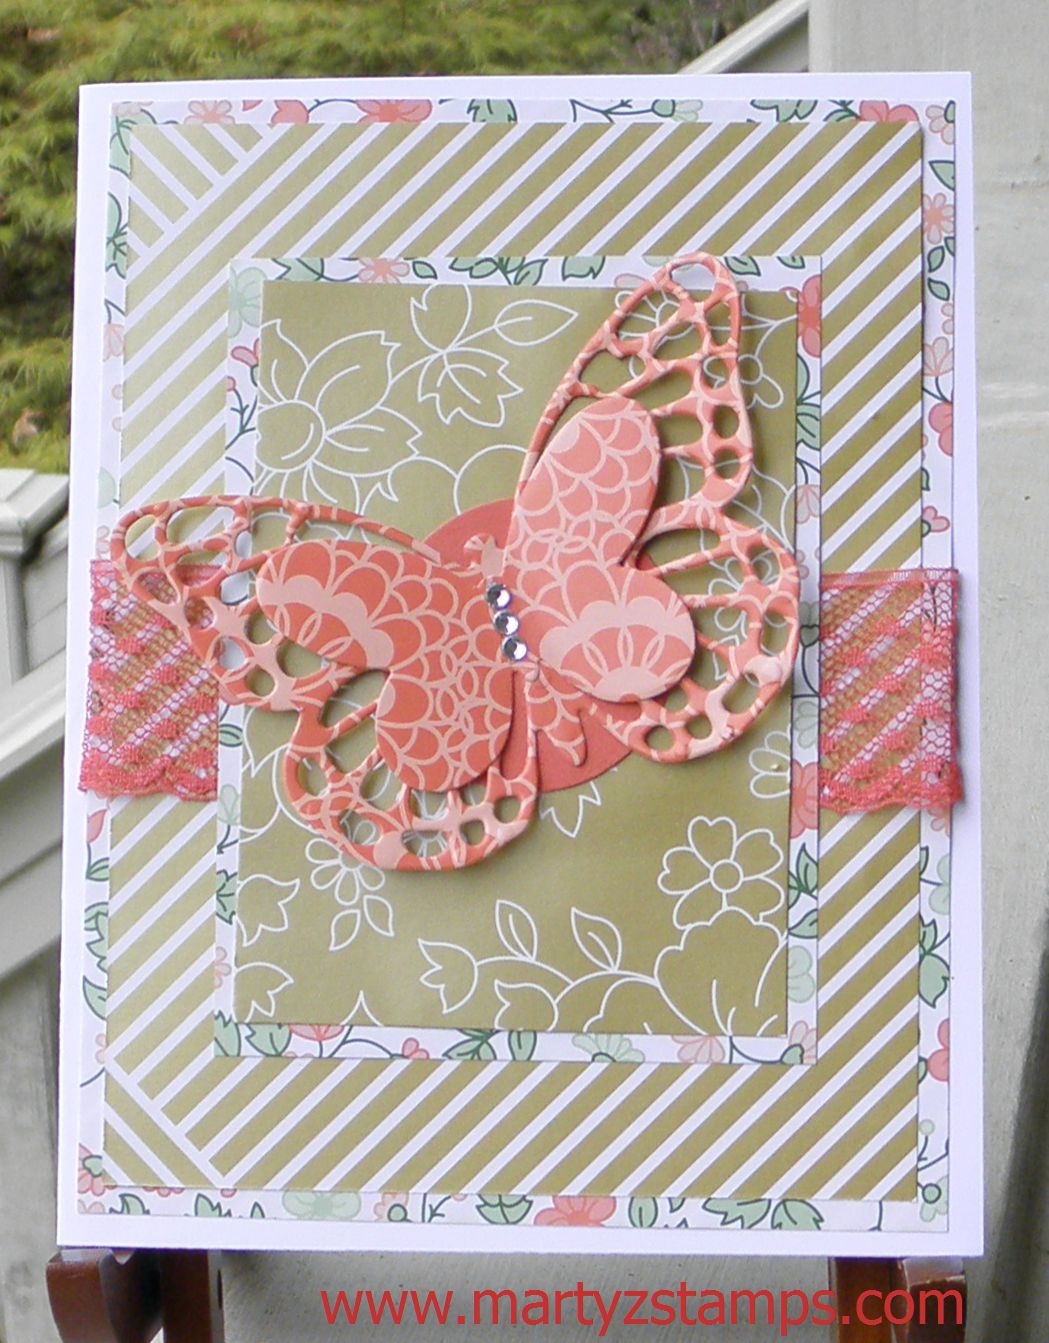
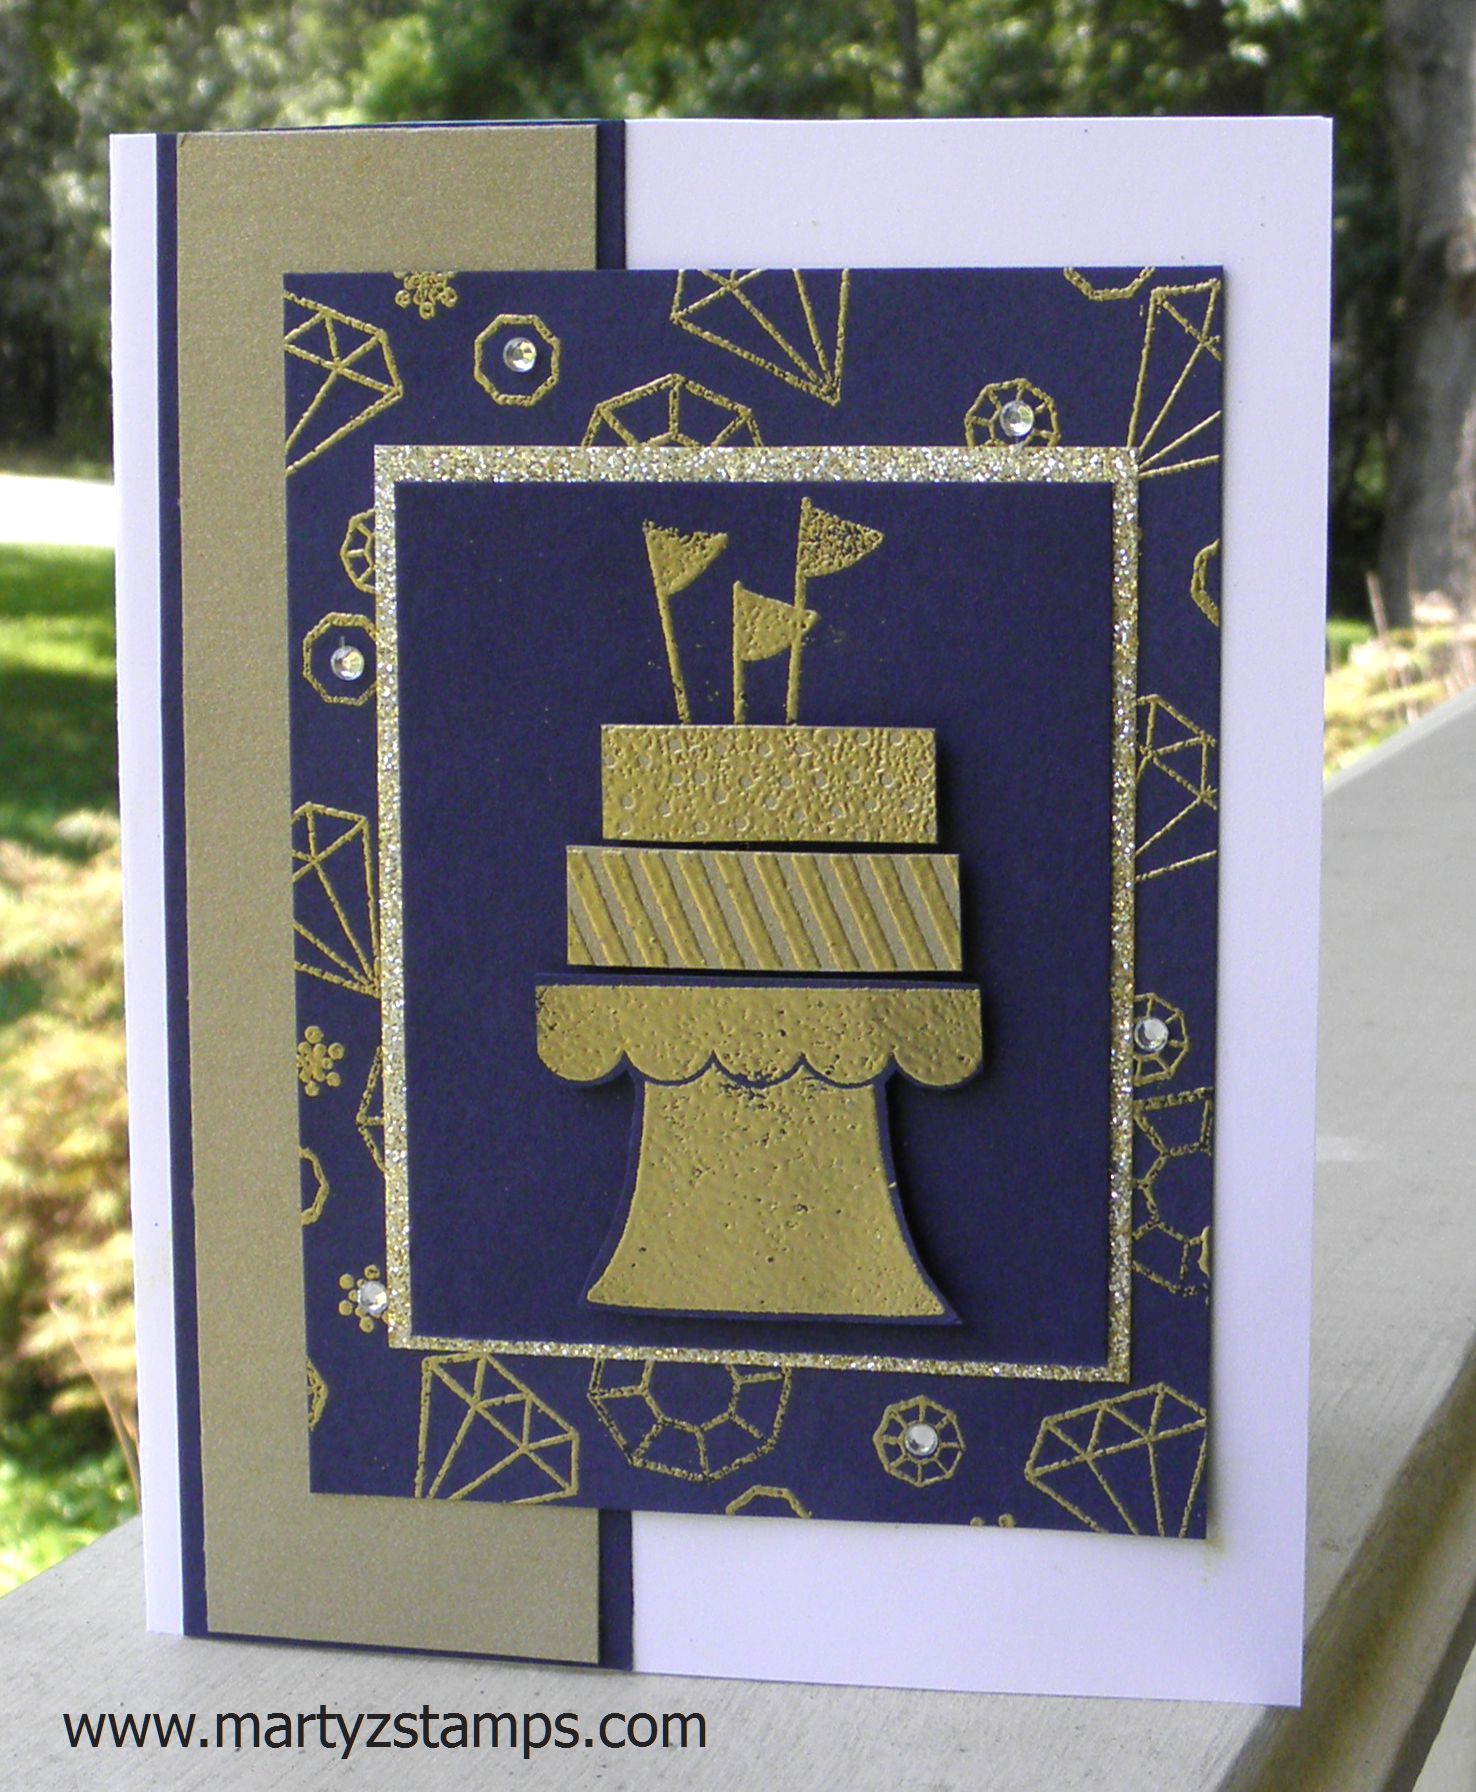
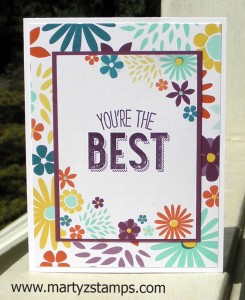
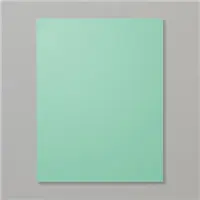
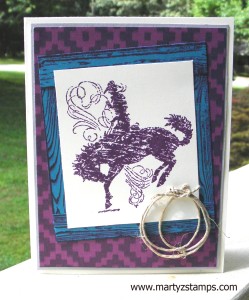
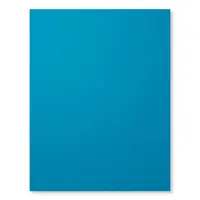
I got busy and made a blinged out card for his wife incorporating all of her favorite colors and shapes. I used Whisper White as a base, I used SU! Brushed Gold paper, along with Night of Navy, and glimmer paper while embossing the birthday stamped image and the geometric bling shapes with gold embossing powder. I accented the geometric shapes with diamond rhinestones. I posted two different photos but neither one captures the “bling” effect of the gold paper, gold embossing, and rhinestones. Personally, I was very excited to give the card to my friend. I really think this card turned out awesomely well.
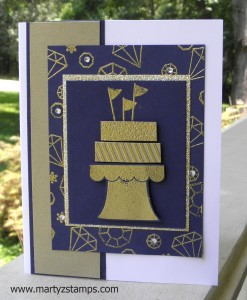
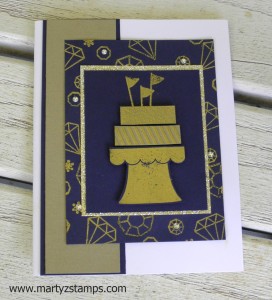
 

Anisha Bday

Anisha Bday

Supplies: (not pictured – Pink and Main stamp set “Bling”

A really great simple and quick card I made was one where I used cards from the Project Life card set. The set I used is a retired set; therefore, I am going to list a current Project Life card set in the supply list.

This is such a clean and simple/quick card I think it fits this week’s TGIF Card Challenge.  Here is their sketch:

tgifc13

Using the Project Life cards for mats and sentiment holders on a card is a great way to introduce stamping to new customers that might be intimidated by more technically challenging cards. This takes away the guess work of color combinations that work and limits initial supplies to a bare minimum. It’s also a great way to make cards for those crafters that already have a full plate.

All I had to do was cut my base, fold in half, cut down the largest project life card to 4″ x 5 1/4″, stamp a sentiment on a coordinating smallest project life card, and adhere all of the cards to the card base. This took all of five minutes, at the most. It will take you longer trying to decide what sentiment to use on the card.

I think this card turned out really well.

Project Life Card

Supplies:

I have an online Facebook Stampin’ Up! workshop with one of my long time friends. She just had her first grandchild this past May, and she wanted to showcase her in a scrapbook page sample. I thought this was a great idea.

The mother loves various shades of purple. I decided to use a 12 x 12 sheet of Elegant Eggplant (the only purple I had on hand). I added some depth and dimension to the base card stock by daubing Blackberry Bliss onto the Elegant Eggplant using one of the masks from Happy Patterns stencils/masks.

The photograph of the mother and daughter was initially a full photograph, BUT somehow a dot of water got on it; therefore, the silhouette of mother and child. I had some Project Life cards from last year’s catalog and found a really cute saying that just fit the page so well. I added another strip of a Project Life card to the bottom to even the edges of the rectangle. I matted the cards and photo onto a piece of Basic Black card stock and placed it onto a mat of Pool Party.

The page is blinged out with clear rhinestones on the Elegant Eggplant (yellow colored ones on the project life card using Blendabilities) and yellow stars from Silver Glimmer paper. The birth statistics are printed onto a piece of pool party and then punched with the small oval punch (not pictured in supply list – oval thinlits should work).

The page is just adorable.

Supplies:

I looking, yet again, through my retired stamp sets and espied Bronco Buster. It made me think of my friend Cheyenne and the cards she makes for her dad’s birthdays. I had looked at the SUO Challenge and TGIF card challenge for this week and felt I could use this card for both challenges.

The SUO Challenge is to use a DSP (Designer Series Paper) as a major part of your card design and TGIF color challenge is . . . . .TGIFC10

I immediately thought of the new Bohemian DSP featured in the SU! 2015-2016 catalog.

I made an initial mat out of Smoky Slate and placed the Bohemian DSP paper on top. I took the Blackberry Bliss ink pad and inked up the Hardwood background stamp, and I stamped the image onto Island Indigo card stock. It look really cool! I then cut out strips and made a frame to border around the cowboy stamped image in Blackberry Bliss on Very Vanilla card stock. I accented the card with a miniature lariat. I think the card is really cute.

SUO and TGIFC10Supplies: not pictured – SU! Bronco Buster and twine


PAGE TOP
[dealsbar preview] Amazing Deals: !!toolbar-deal-title!! - !!toolbar-deal-merchant!!