


Giftable, Card and Tag Ideas
I am so excited you are hopping along with us for the December FSJ Creative Team Blog Hop! This month’s theme is anything but a card. I couldn’t wait to create a 3D Seasonal gift that works well for Christmas and into the Winter months. There are also a couple of tag ideas and I had to include a coordinating card.
If you get lost along the way, click the Creative Team Image below and you will be directed to the FSJ Blog.
If you’re not lost and just hopping along, follow the trail of designers below:

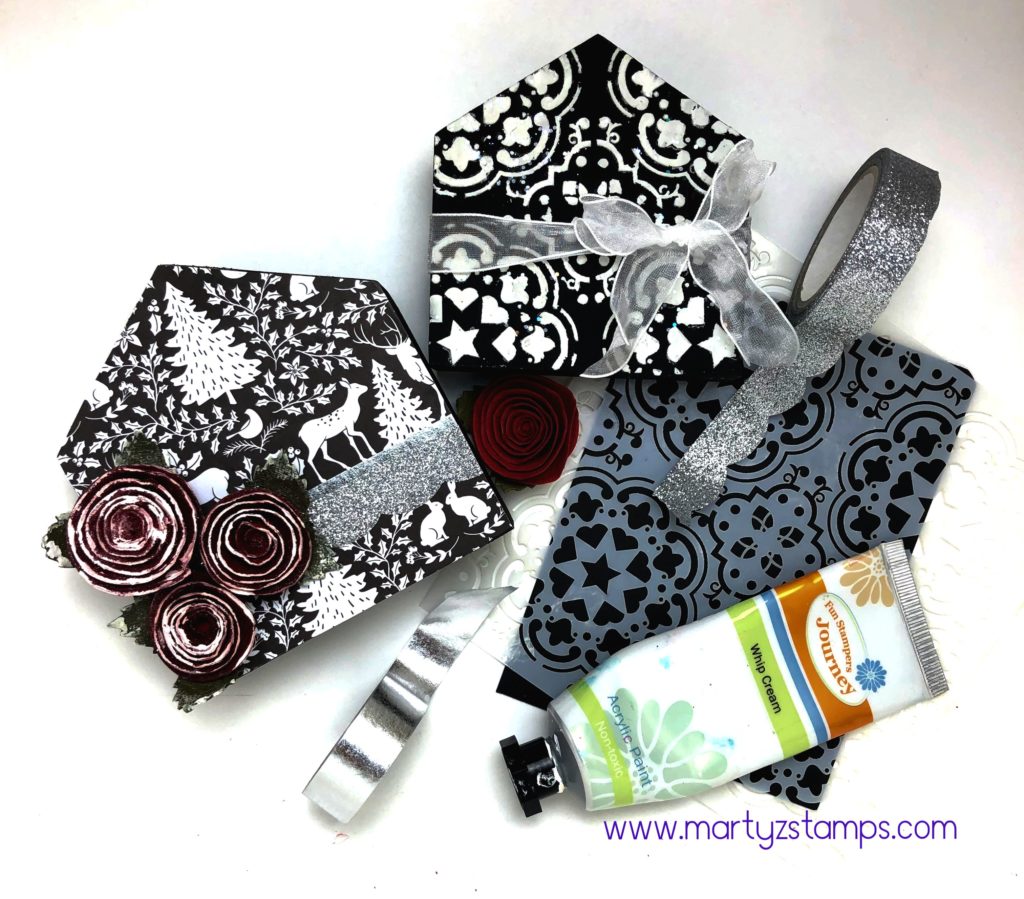
What a great gift for the mantle, dining table or side board. These were so easy to create. Here’s what you need. The Cozy Prints printed paper, Black Licorice and Whip Cream acrylic paint, Shimmer Silver Color Splash, Love Buds Paper Flowers, Cement Tile Stencil, Journey Modeling Paste, Sparkle Tape, Classic Elegance Washi Tape, Sparkle Cuts glitter, Journey Craft Glue, Square Paint Brush, Spatula, Crease Tool, Heat Gun and Special Day Organza Ribbon.
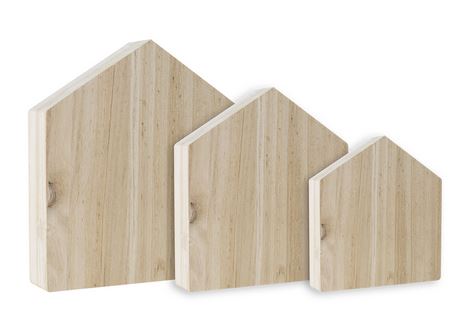
Make this gift by applying Black Acrylic paint to the wooden houses. Once they are dry, cut a piece of patterned paper a little bigger than the house you want to cover and gather your supplies to stencil the coordinating house.
Apply the patterned paper to the house using Journey Craft Glue.
Tip: To make spreading the glue easier, spritz with a little water.
Smooth the paper onto the house and using the edge of your crease tool, press out any trapped air pockets. Turn the house upside down and trim excess paper.
Tip: The glue dries really fast, make sure to position your paper quickly; otherwise, you’ll have a mess.
Choose three Love Buds Paper Flowers (large, medium and small). Place the flowers in a box to spray them with the Shimmer Silver Splash. Apply the Splash to the front and backsides of the flowers.
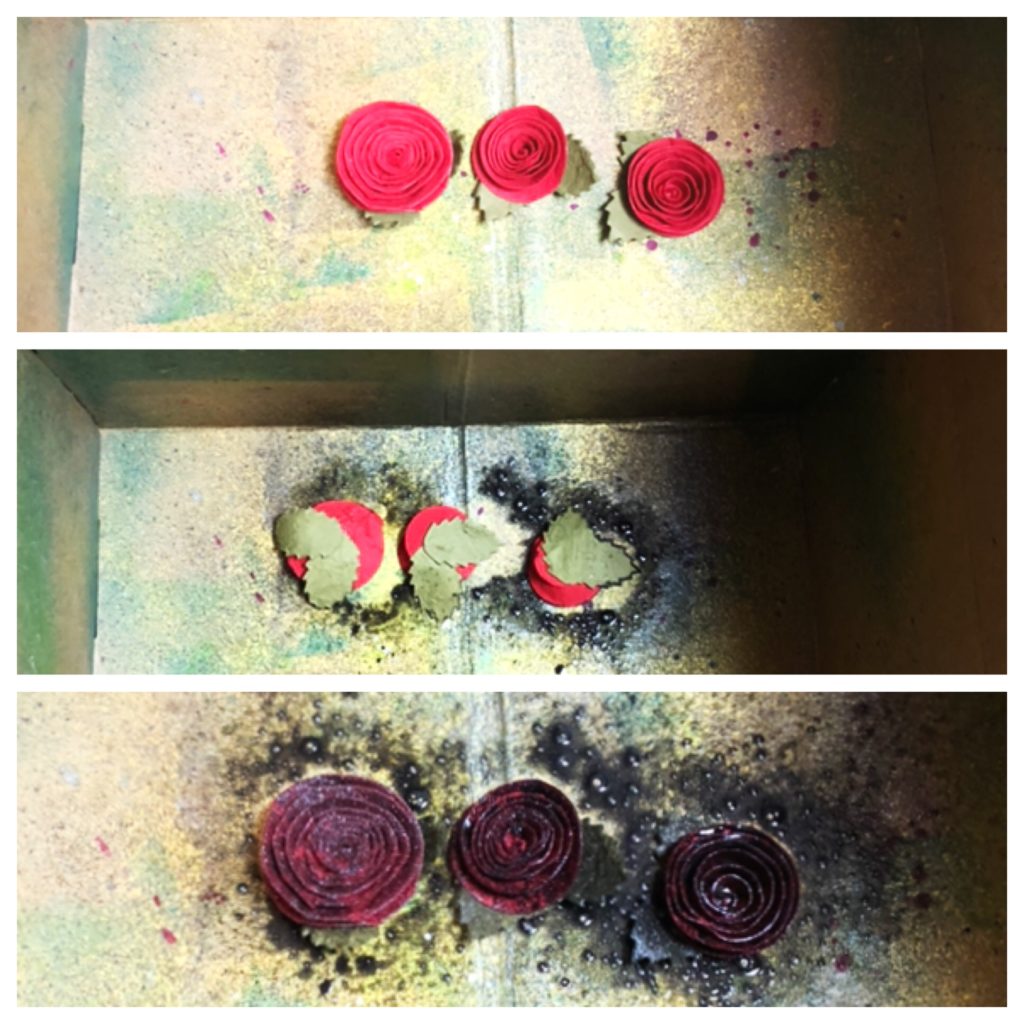
Once they are thoroughly dry (you may have to use your heat gun), place a small amount of White Acrylic Paint onto the tip of your finger and gently apply the paint to the edges of the flowers and leaves.
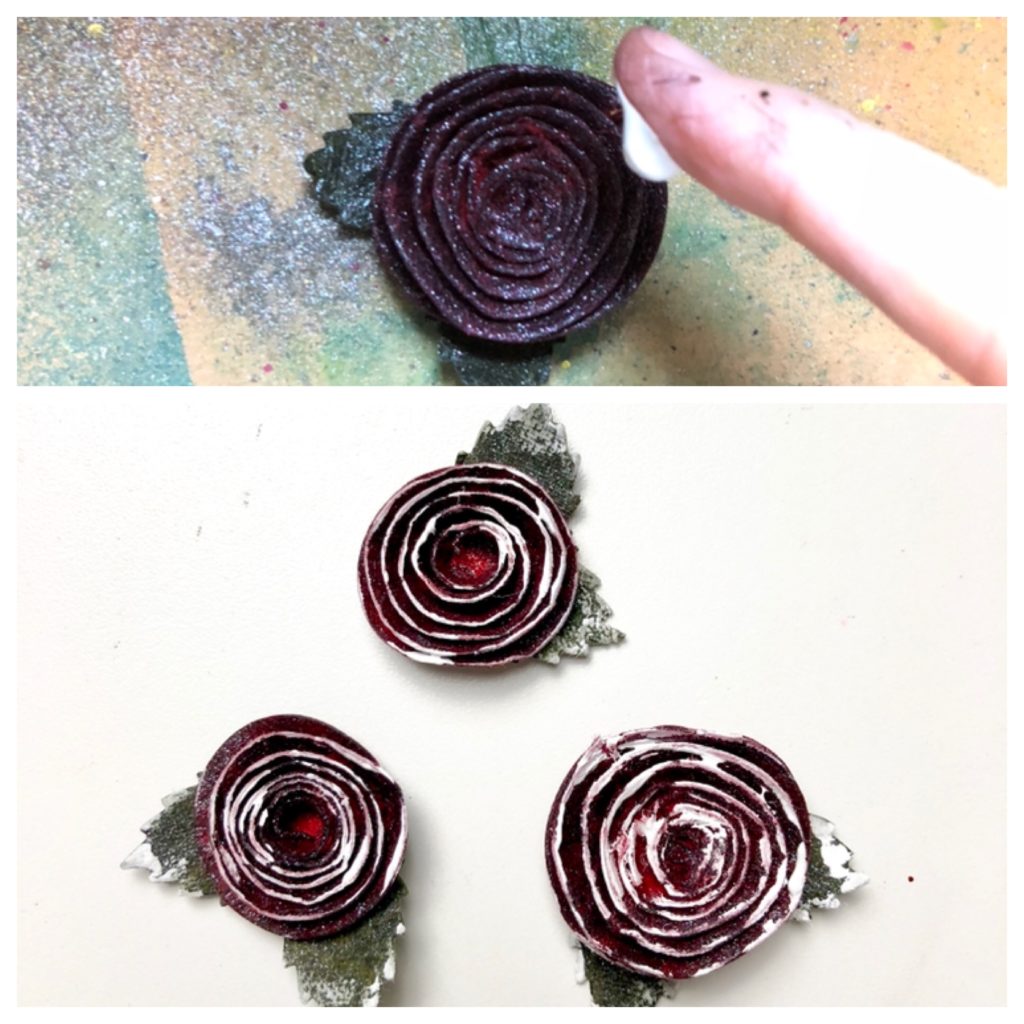
Take your silver and sparkle washi tapes and layer them onto the house. Adhere your flowers with Journey glue to the house and you’re done with the first house!
Moving to house number two, place some Journey Medium onto a non-stick surface that can be thrown away or cleaned. Mix in some Sparkle Cuts glitter.
Tip: Make sure to put the top back onto the Journey Modeling Paste to keep it from drying out.
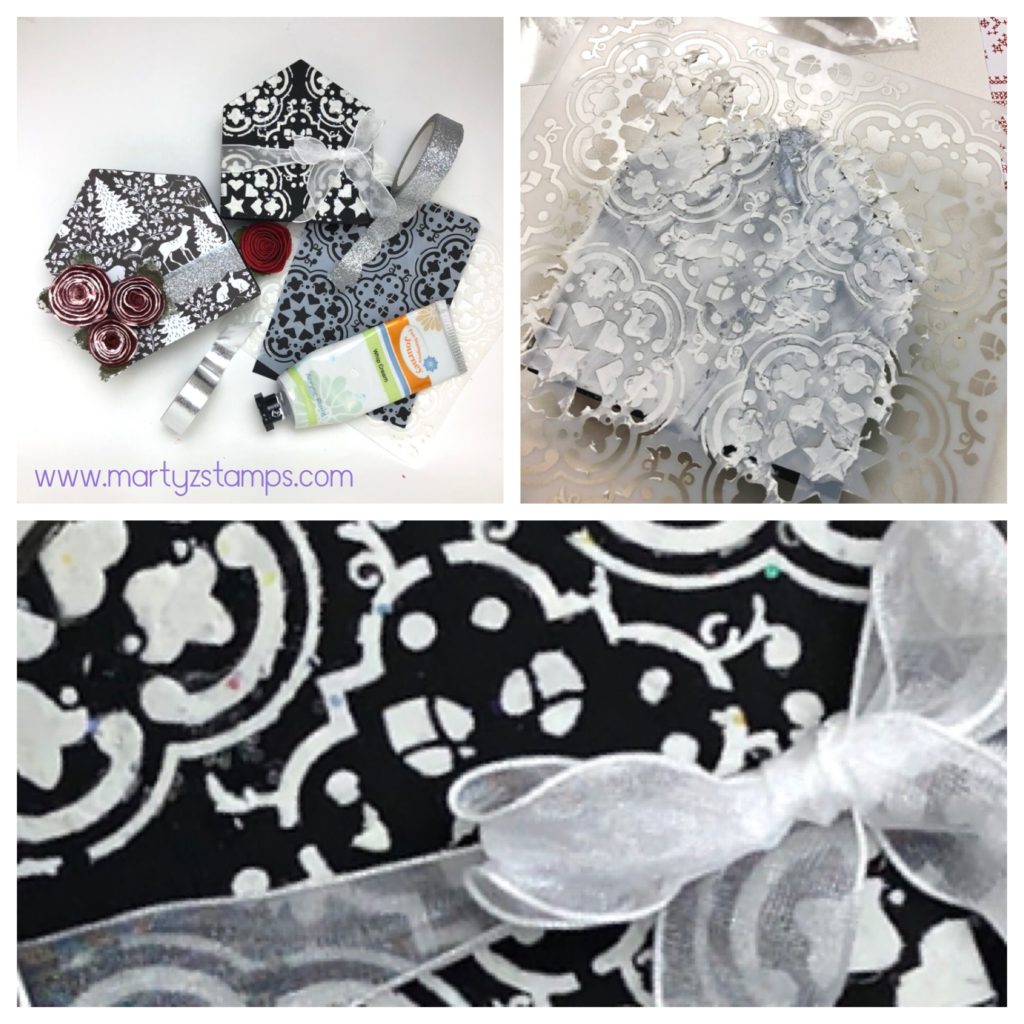
Place the stencil onto the painted house. Apply the Journey Modeling Paste evenly over the stencil making sure to cover every opening. Pull the stencil off. You may want to apply more Sparkle Cuts directly to the paste. When the paste is a little dry, use the palm of your hand to gently tap the paste. This will create a smooth stencil look to the design.
Wrap the Special Days Organza ribbon around the house and tie a bow.
TIP: For a really cool look, apply heat using a heat tool which will cause the ribbon to crinkle in a delightful way.
So easy and so fun!
Coordinating Card
You shouldn’t give a gift without a card, right? How about a coordinating card for the gift? Let’s do it.
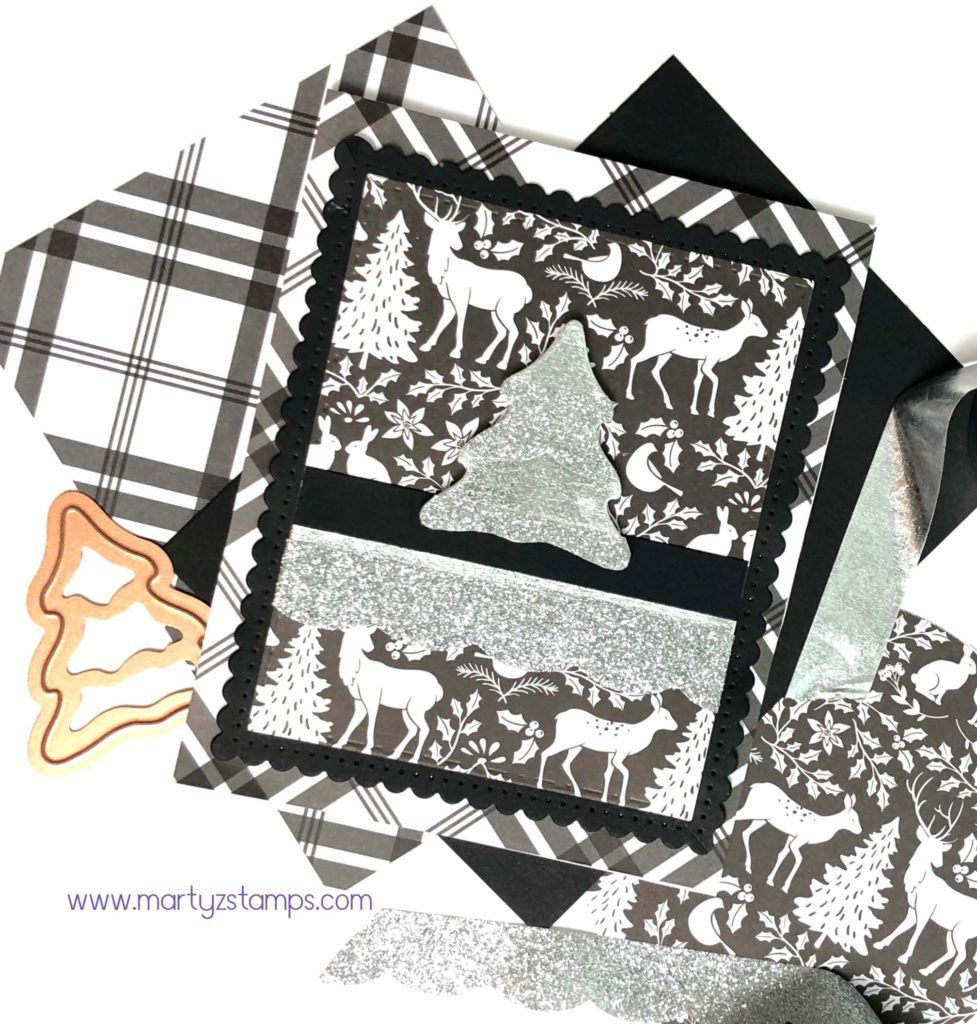
What a simple but elegant card to coordinate with the gift. This card uses a great technique to adjust the size of the scallop mat, but I’m getting ahead of myself. Start by cutting a base from Whip Cream cardstock 4 1/4″ x 10 1/2″. Next, cut a plaid mat from the Cozy Prints paper at 4 1/4″ x 10 1/2″ (it will cover the entire card front). Die cut a Black Licorice mat from Nestabilities Fancy Edged Rectangle Dies (second to largest). This is where we make an adjustment to the size of the mat.
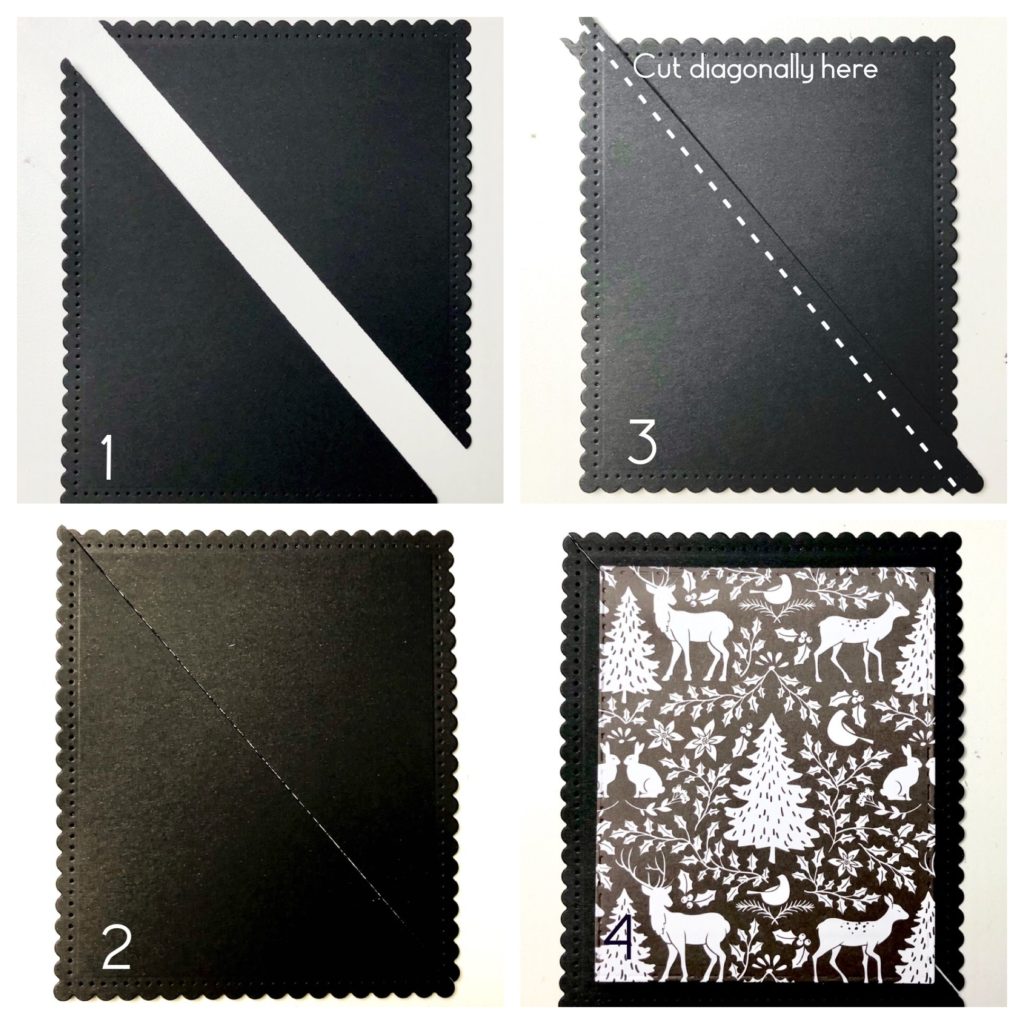
Place the Black Licorice scallop mat on a paper trimmer. Cut from one corner to the other (#1 & 2). Overlap the cut pieces to desired width or height (#3). Adhere the overlapped edges together. On the corners with the overlapped edges, cut diagonally.
TIP: Before cutting make sure the corner scallops line up to make one full scallop. This will allow a seamless mat. The printed mat was cut with FSJ Rectangles die (#4).
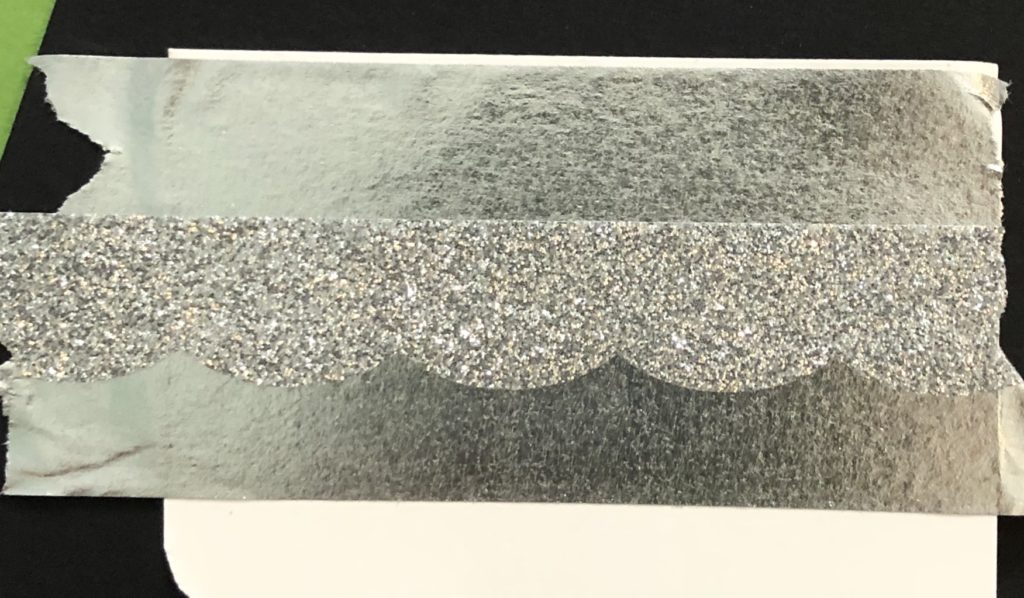
Adhere a black strip of Black Licorice cardstock to the top mat along with the silver and sparkle washi tape.
The last technique for this card is to create the Christmas tree. Apply strips of the silver and sparkle washi tape to a scrap piece of cardstock (overlap as necessary).
I die cut a tree using a tree die from the Holiday/Christmas 2015 Card Making Kit. If you don’t have this kit, any tree or ornament die will work.
Adhere all mats with White Liner Tape. Pop up the Christmas Tree with FSJ Medium Foam Squares. Finally, add your personal sentiment inside the card.
Tag Time
Last but not least are some incredible gift tags to set off your Christmas wrapping.
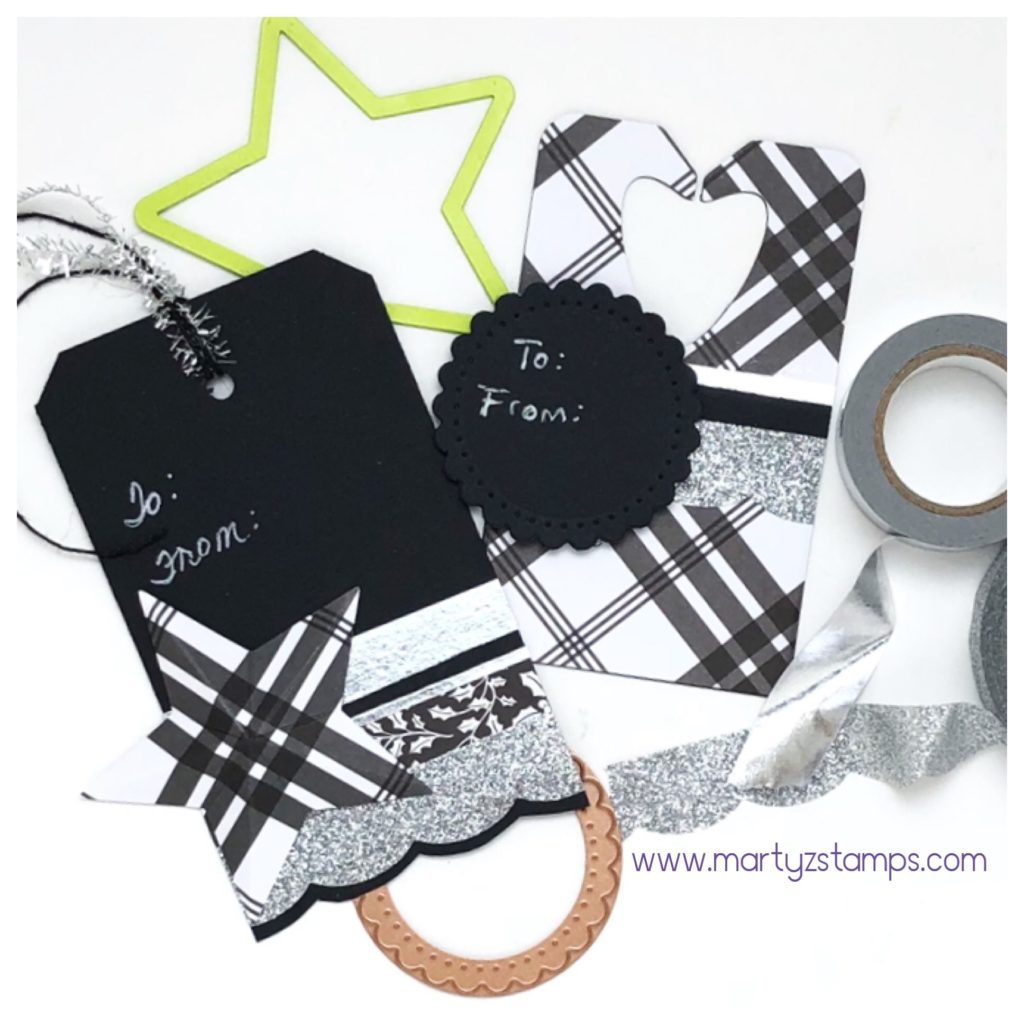
The Black Licorice tag is a rectangular piece of cardstock with trimmed corner and a hole punched at the top. A combination of washi tape and cardstock layers accent the bottom of the tag. The scalloped bottom was accomplished using Details Pro Shears and following the outline of the Sparkle Tape.
The accent piece is a 3D star cut from FSJ Star dies and scored from the top of the point straight down to the inverted point below. To create the 3D affect, crease each score line and manipulate the score lines into mountains and valleys. The top is adorned with Black Licorice Twine and Silver Sparkle Tinsel. It is as simple as that, really!
The plaid tag is cut from FSJ Bread Tag die. Strips of washi tape and Black Licorice cardstock break up the plaid pattern. The scalloped circle was die cut from Spellbinders Fancy Edged Circles. Both the “To and From” were written with a white gel pen.
All of these projects were such fun to make. Let me know in the comments what is your favorite out of the three projects.
Supplies:
Disclaimer – By clicking on an image you will be redirected to Spellbinders + FSJ website. When you purchase through my website link, I will receive a small commission. This helps to keep me crafting and inspiring others.

- Price: $12.95
- Sku:JM-0013

- Price: $16.95
- Sku:PP-0059

- Price: $5.95
- Sku:JM-0105

- Price: $5.95
- Sku:JM-0106

- Price: $7.95
- Sku:IP-0082

- Price: $6.95
- Sku:AC-0177

- Price: $7.95
- Sku:JM-0118

- Price: $7.95
- Sku:JM-0073

- Price: $3.95
- Sku:TO-0089

- Price: $4.95
- Sku:AC-0259

- Price: $11.95
- Sku:AC-0291

- Price: $5.95
- Sku:AC-0151

- Price: $8.95
- Sku:TO-0102

- Price: $6.95
- Sku:TO-0040

- Price: $27.95
- Sku:TO-0083

- Price: $6.95
- Sku:CS-0003

- Price: $30.00
- Sku:KOM-001A

- Price: $24.95
- Sku:DI-0052

- Price: $19.99
- Sku:S4-905

- Price: $24.95
- Sku:DI-0041

- Price: $17.99
- Sku:S4-903

- Price: $8.95
- Sku:DI-0133

- Price: $5.95
- Sku:AC-0004

- Price: $10.95
- Sku:AC-0341

- Price: $34.95
- Sku:TO-0039

- Price: $13.95
- Sku:TO-0063

- Price: $14.95
- Sku:TO-0073

- Price: $2.95
- Sku:AD-0084

- Price: $2.95
- Sku:AD-0085

- Price: $4.95
- Sku:AD-0111

- Price: $6.95
- Sku:AD-0001

Trackback 20