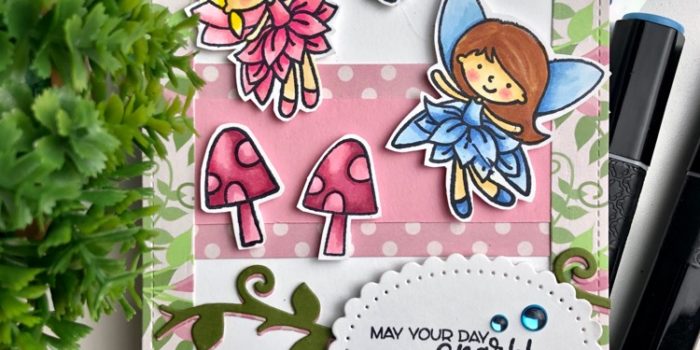
One of my favorite subscription kits is Scrapping for Less Flavor of the Month. I love that it includes 5 kits in one. This post features a card from the May 2019 FOTM Banana Split kit.
I created a sweet birthday card featuring two fairies. One dressed in pink and the other in blue with a tiny green butterfly floating above a bed of mushrooms. All images are colored with Spectrum Noir alcohol markers. The vine is a Fun Stamper Journey die and the oval is a Spellbinders die (see product list below).
If you are like me, there are times a little encouragement from friends or family can help to carry you through a rough time. One way to encourage someone is sending them a card.
Join me and hop along for Courtney Kreeber, Mary Polanco and Jenn from Scrapbena Creations Encourgement Hop. I know you will be inspired to create your own cards of encouragement.
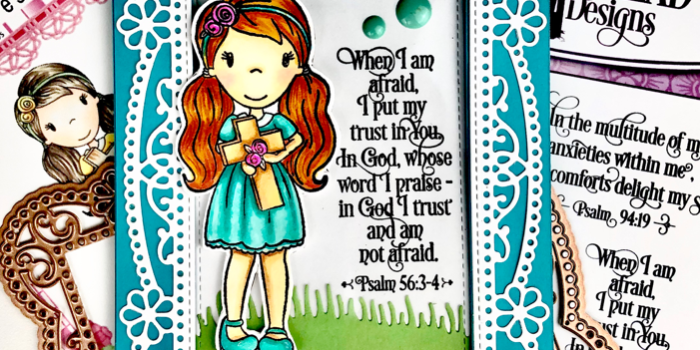
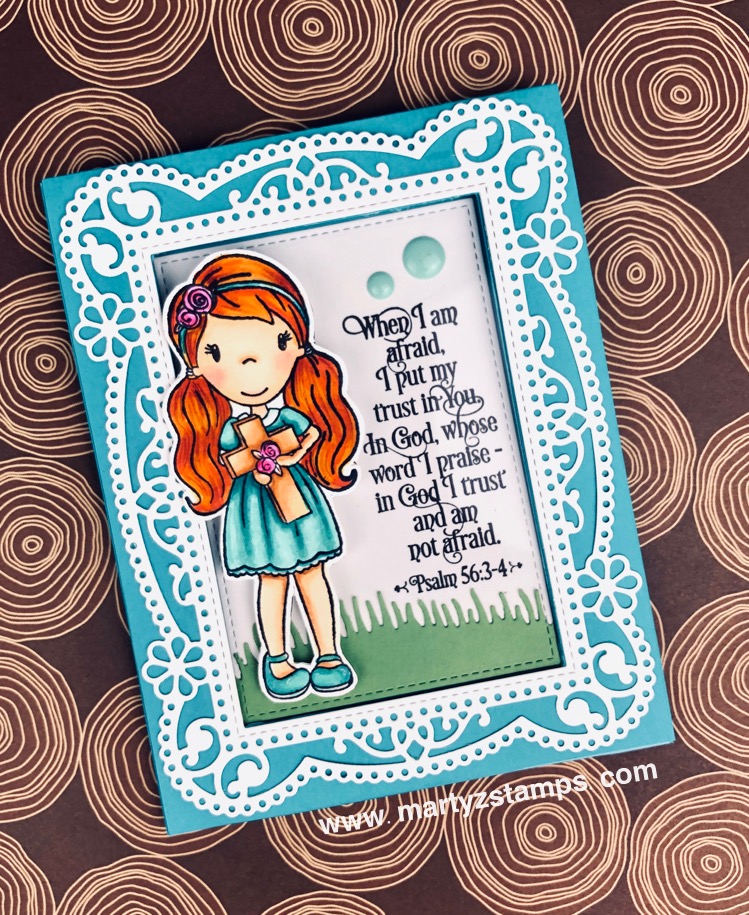
Encouragement comes to many of us through God’s Word. I chose Divinity Designs’ Grace’s Strength for the scripture encouragement (click here to check out their website).
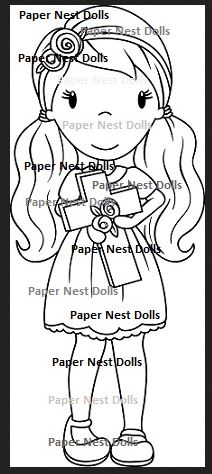
Paper Nest Dolls’, Avery with Cross added the cuteness factor. (click here to see their adorable stamps).
I chose FSJ Turbo Teal for the card base. I die cut a rectangle out of the front panel of the card base and a rectangle out of a piece of 5 1/2″ x 4 1/4″ Turbo Teal cardstock. I layered a 5 1/2″ x 4 1/4″ piece of acetate between the front panel and the additional piece of Turbo Teal cardstock and glued the panels together. This created a finished look on the backside.
This is the view from the backside of the panel. The extra pieces of cardstock as a frame and the extra white pieces of cardstock on the back of the colored image give the card a clean and finished look.
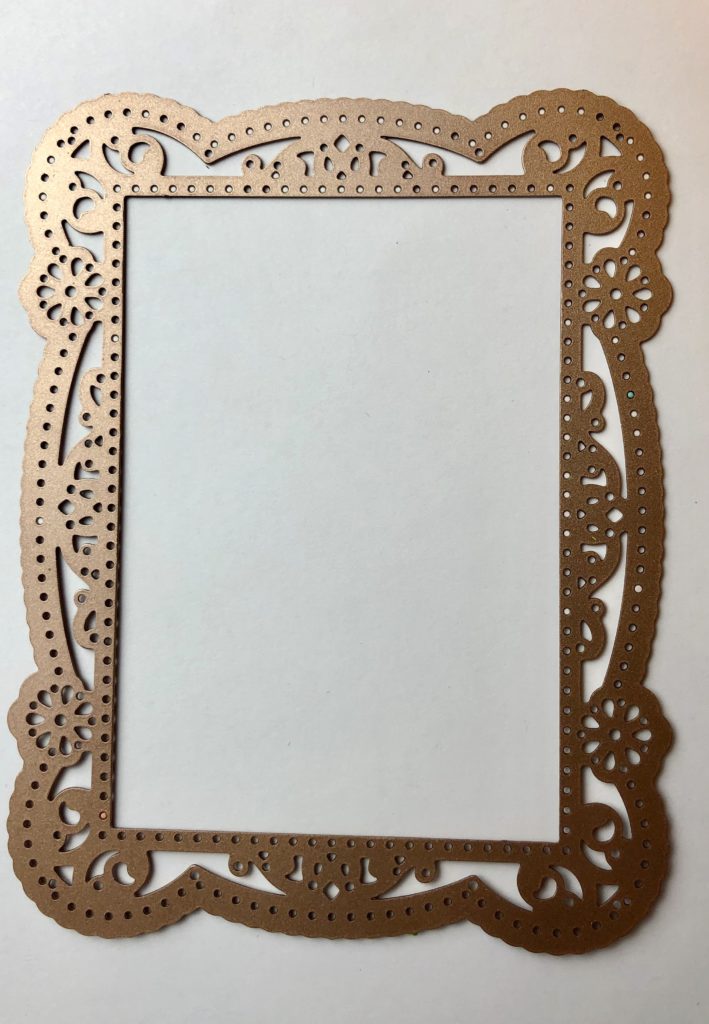
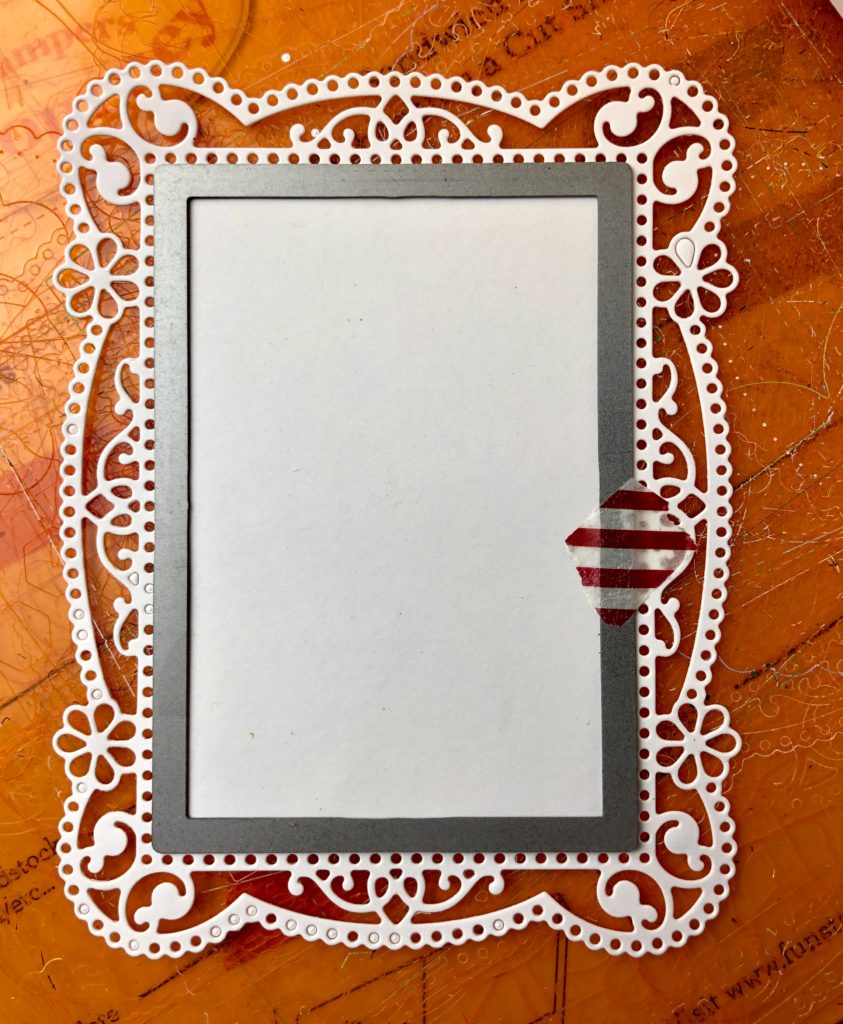
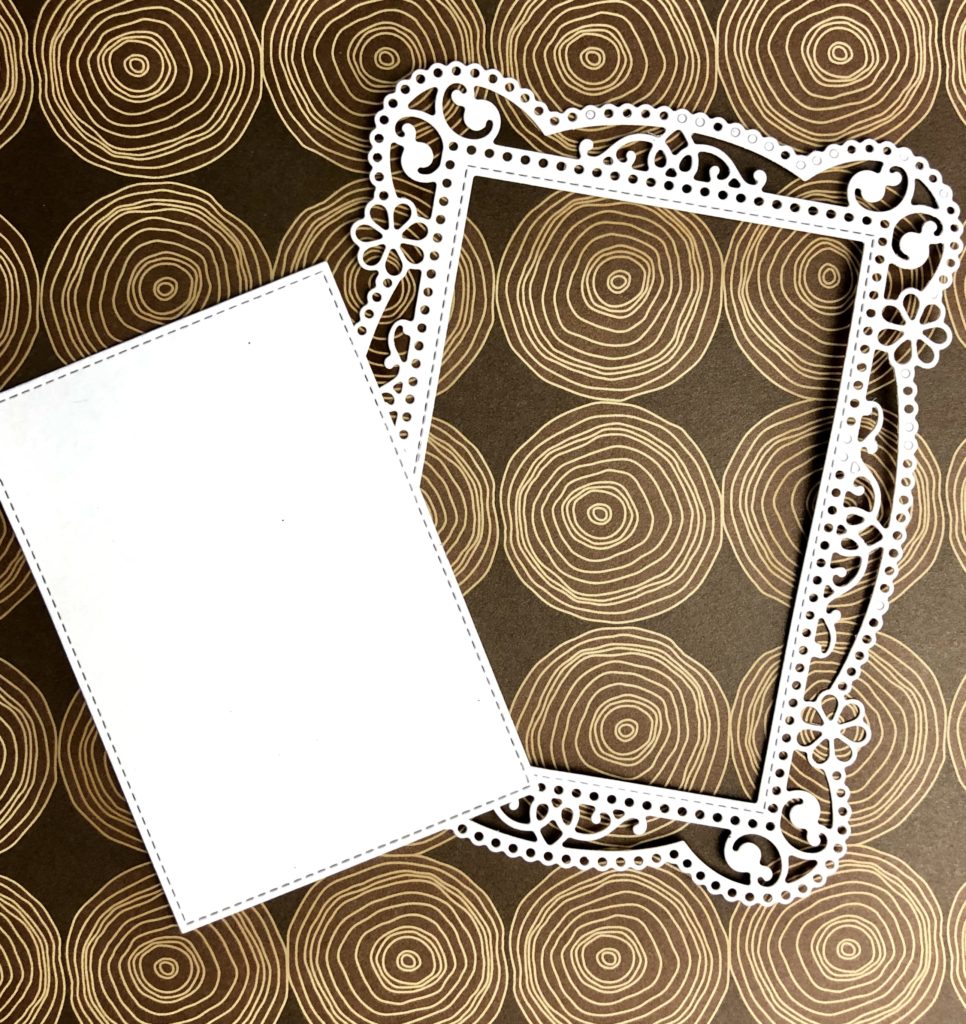
Next, I die-cut a frilly rectangle frame out of Whip Cream cardstock with Spellbinder’s Shapeabilities Tallulah Frill Layering Frame Small Etched Rectangle die (that’s a long name, wouldn’t you say?). I used the same stitched rectangle die to cut out the middle portion of the frilly frame.
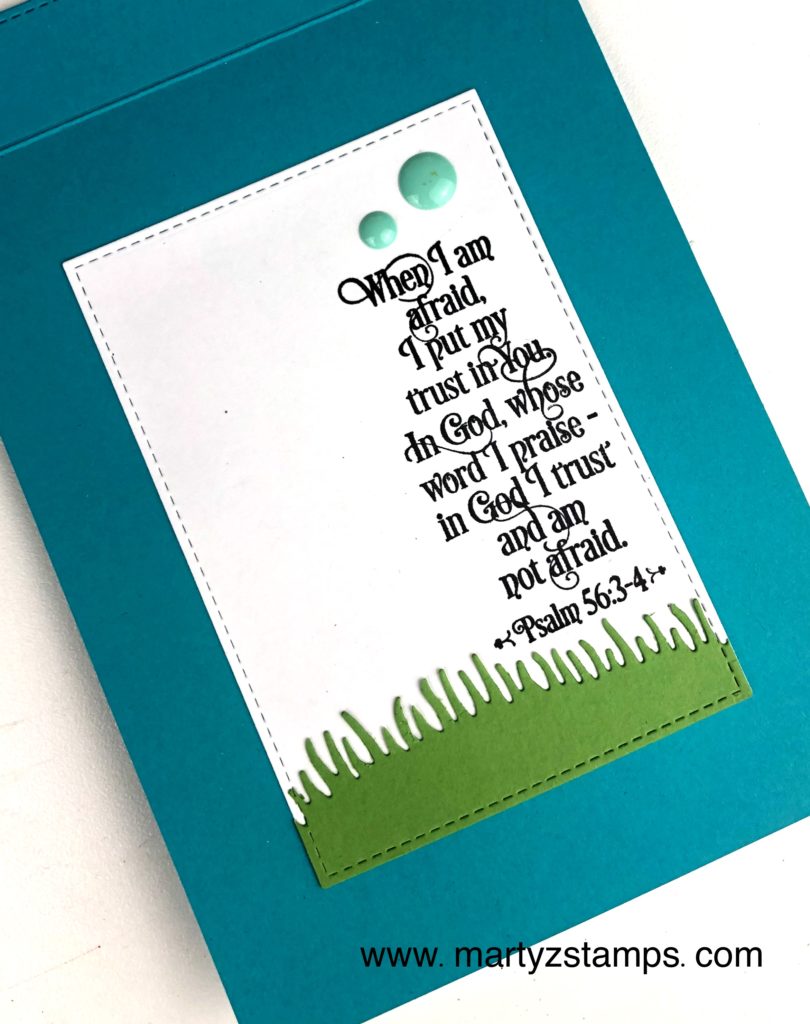
I stamped the sentiment on the right-hand side of the cut-out piece of cardstock. The grassy hill was die cut with a Divinity Designs grass border die and the bottom and sides were die-cut with the stitched rectangle die I used earlier.
I added two candy dots to the top portion and adhered the rectangle onto the inside back flap.
I die cut a adhered the frilly frame to the front panel. Now, to color Avery. It was so much fun to pull out my Spectrum Noir markers and color this sweet girl.
Skin: FS2, FS3, FS4 SN Illustrator FS9 and FS2 (cheeks) and a touch of TN4 Hair: TN2, TN4, TN5, BO2, BO3 Roses: BP1, BP2, BP3 Cross: TN1, TN2, TN3, TN4 Dress: AB1, AB2, AB3 Hair and Dress Shading: FSJ Color Burst Pencils
I fussy-cut Avery leaving a small white border. To create a finished back (it can be seen when the front of the card is opened), I traced around her and cut out two more outlines of her using scrap white cardstock. I glued all the layers together and then adhered her to the front acetate panel using glue dots (you can see them but it’s not too noticeable).
This website uses cookies to improve your experience. We'll assume you're ok with this, but you can opt-out if you wish.AcceptRead More
Privacy & Cookies Policy
Privacy Overview
This website uses cookies to improve your experience while you navigate through the website. Out of these, the cookies that are categorized as necessary are stored on your browser as they are essential for the working of basic functionalities of the website. We also use third-party cookies that help us analyze and understand how you use this website. These cookies will be stored in your browser only with your consent. You also have the option to opt-out of these cookies. But opting out of some of these cookies may affect your browsing experience.
Necessary cookies are absolutely essential for the website to function properly. This category only includes cookies that ensures basic functionalities and security features of the website. These cookies do not store any personal information.
Any cookies that may not be particularly necessary for the website to function and is used specifically to collect user personal data via analytics, ads, other embedded contents are termed as non-necessary cookies. It is mandatory to procure user consent prior to running these cookies on your website.