Category : Card Challenge

121 posts

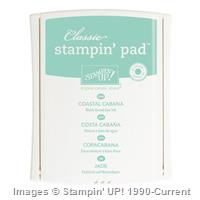
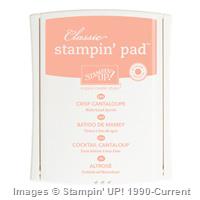
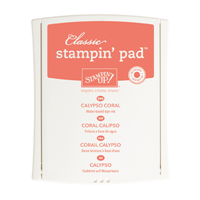
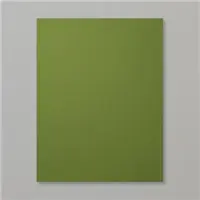
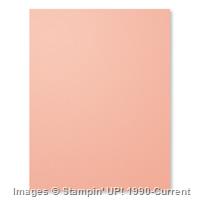
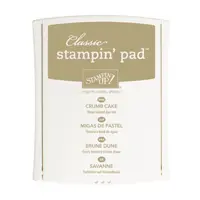
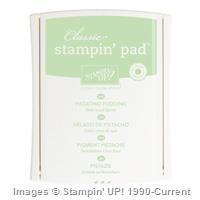
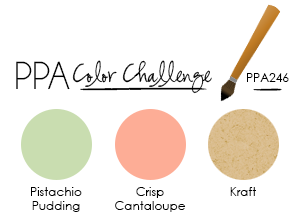
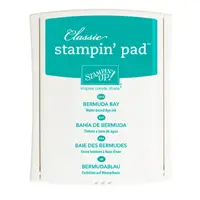
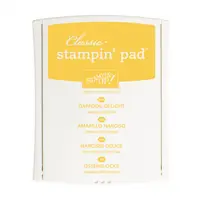
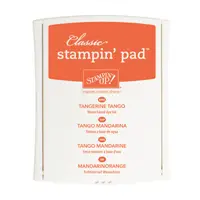
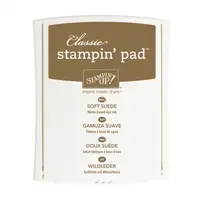
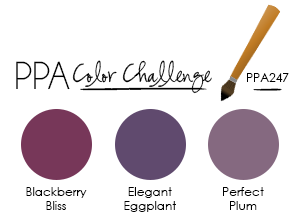
This week’s Pal Paper Arts’ Challenge is (for me) a real challenge.  The challenge is to make a card featuring the following three colors:PPA247 A Color Challenge

The Pal Paper Arts design team made some wonderful cards using these colors. My favorite is Mike Funke’s card. He really nailed it.

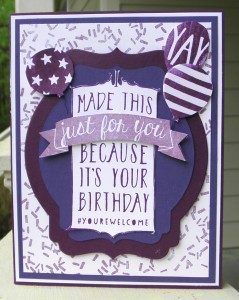
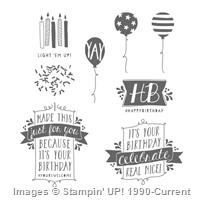
Anyway, I decided to feature the Balloon Bash stamp set, and thus began the card making. I didn’t want to introduce any other colors besides the challenge colors (other than white) just to see if I could pull this off.  In my opinion, this is a hard challenge because the colors can almost look the same depending on the lighting.

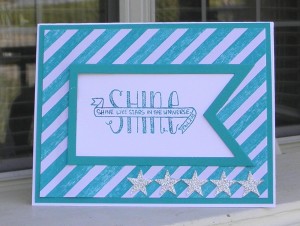
Here is the completed card:

PPA247


I must say the “real” challenge was taking a picture that looked halfway like the card. I took outdoor pictures, indoor pictures (a lot of pictures), and I finally decided on this one. So, needless to say, the real challenge was getting a decent picture. LOL

Supplies:

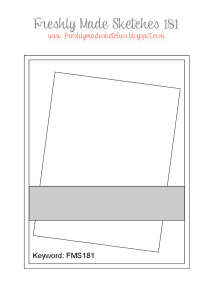
Here is the Freshly Made Sketches 181 sketch:

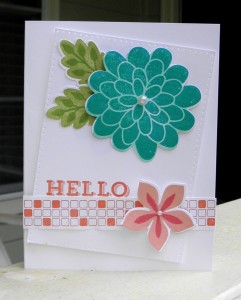
FMS Final 181-001I wanted to create a white mat on a white background for this challenge. I took the white mat and punched holes around the edges with my paper piercing tool and a piercing guide. I took the floral patch stamps and stamped two flowers along with some leaves; then, I accented them with a pearl. I took the Peachy Keen stamp set and created a border using Crisp Cantaloupe and stamped the word Hello with the ink as well.

Here is my entry in the Freshly Made Sketch Challenge 181 –

Freshly Made Sketch 181


This card is a quick and simple card that would work well for a make-n-take class.

Supplies:

Retired Stamp Set: Peachy Keen


I made it as a featured artist!!!! A BIG SHOUT OUT to Cheyenne Luken as a co-designer.

Paper Pal Crew Featured ArtistHere’s my card featured on their website http://www.papercraftcrew.com/pcccs-137-featured-artisans/

Up, Up, & Away

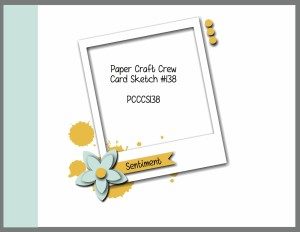
There are several card challenge websites I really like and Paper Craft Crew is one of them. Their challenge this week is

Card Sketch #138

PCCCS138

If you read my previous post regarding my last minute card challenge entry to Pals Paper Arts Card Challenge and how my first attempt at making the Very Vanilla mat stamped with SU! Dictionary stamp and two other stamp sets had turned into a Hot Mess of cluttered-ness, then you might recognize how I took a “Hot Mess” and used it in another card challenge.

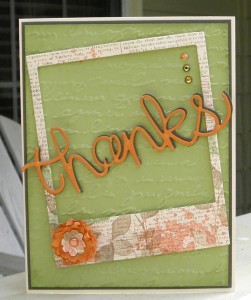
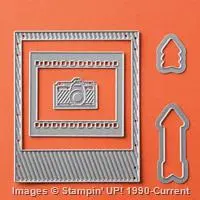
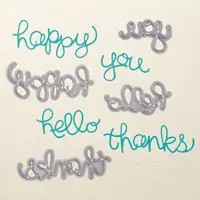
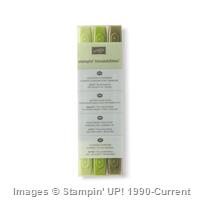
I took the On Film die and strategically placed it to take advantage of my “mess.” I think it turned out rather well. From that starting point, I ran a piece of Pistachio Pudding through the Big Shot and embossed it with the retired embossing folder Script (not sure of the actual name) and brushed the edges with Pistachio Pudding ink. I matted it on SU! Mossy Meadow. I colored three rhinestones with the darkest of the Blendabilities Old Olive marker (in the picture, the light causes the rhinestones to reflect the Crisp Cantaloupe paper). I cut out the thanks in Mossy Meadow and Crisp Cantaloupe offsetting the Crisp Cantaloupe on the Mossy Meadow to give a shadow effect. I made the flower with the Boho Blossom punch. I punched four flowers out of the Crisp Cantaloupe; then, ran them through a crimper several times until I could pull them apart, I crumpled them up and uncrumpled them stacking them on top of each other. I punched the smaller of the flowers on the Boho Blossom punch out of the “Hot Mess” paper. I placed them all together, secured them with a brass brad (retired), and curled the petals around the brad. I lifted the frame and thanks up from the cardstock with dimensionals.

Here is the results:

PCCCS138


Note: As I lay awake this morning, Saturday, April 11th, I realized…I think I used Pear Pizzazz paper instead of Pistachio Pudding (that’s what I get for having sheets of paper outside of their wrapping).

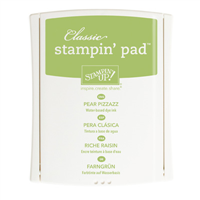
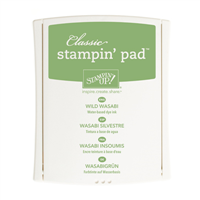
Price: $4.95

Price: $99.95

Supply List

Built for Free Using: My Stampin Blog

Another last minute card for the Pals Paper Arts Challenge.

6a00e54f95df92883401b8d0f9256c970c

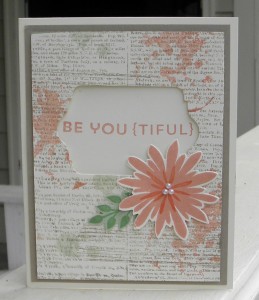
This is what I mean by “last minute.” I started the card at 11:00 a.m. I had the Crumb Cake mat and the Very Vanilla mat stamped with the SU! Dictionary background stamp using Crumb Cake SU! ink. I stamped the flower and the leaves using Pistachio Pudding, Crisp Canteloupe, Wild Wasabi, and Calypso Coral SU! inks. I had originally stamped two sets of leaves and two flowers with the second flower in the same colors but stamping off before I stamped the finished flower. I tried placing them in various places, but I just wasn’t happy.

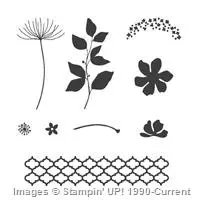
So, I then got the bright idea of stamping some leaves and one flower from SU! Shadow Silhouettes in Crumb Cake, Pistachio Pudding, and Crisp Canteloupe. What a mess! It just looked like a jumbled pile of cluttered-ness.

By this time it is 11:36 a.m. I’ll never make the deadline! O.k., o.k., o.k. What can I do to make this card look good. I know, I’ll put a sentiment on there, but which one. I first tried the other sentiment in SU! Flower Patch. I wanted to stamp a solid space of Pistachio Pudding and then ink the sentiment in Wild Wasabi; I would then use a die to cut out the sentiment in the shape I had chosen. Well, that just looked like a Hot Mess!

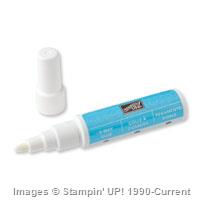
Working backwards here; the time is 11:43 a.m. I found the die I wanted to use and the other sentiment in the Flower Patch set worked. I first stamped it in Crumb Cake ink onto Crumb Cake – not. How’z about I just cut out the shape on the Very Vanilla stamped mat and stamp the words in Crisp Canteloupe; adhere to the card using SU! dimensionals. Done! Let’s place a flower and some leaves to accent the cut out. Done! Uh-oh, I could only find one set of leaves (I’m sure the other one is floating around my desk somewhere amongst all the creative explosion). I think some pearl accents will make the center of the flower pop. Oh My Goodness, they came off without the adhesive (I tried a fine tip glue pen – dried up) finally resorted to some good ol’ Snail adhesive. It is now, 11:52 a.m.

I grab the camera and the card. Run out to the front porch in my pajamas. LOL Take two pictures, grab the card, run back inside and start loading the pictures onto the computer. Did I mention it takes forever for my camera to updoad pictures???? So, while the upload is taking its time, I put in a short post with the mention of the challenge, etc, etc. according to the challenge rules. I’m ready for the picture. It still isn’t loaded. It is now, 11:56 a.m. AAAAHHHHhhh!

They are uploaded. I copy the two pictures I had taken and paste them to my blog file folder. I already have the photo software up and running. I crop and straighten the picture, save it. Go to my blog upload the picture and place it into the blog. Open my website and the actual page with the card challenge, copy the link, click the tab with Pals Paper Arts click on InLinkz to upload my card challenge to the website. Hit done, done, and it is DONE! The time is 11:59 a.m. (since my computer doesn’t track seconds for me, I’m sure I only had a few seconds left before the challenge closed). As I’m typing this previous sentence, I had a thought (astounding), what if their clock is not on the same time as mine. WHAT!!!!???? I have just clicked on the link and my card is there. Whew!

I hope you are not too tired after this post to look at the final card challenge for this week at Pals Paper Arts challenge.

PPA


Price: $99.95

Supply List

Built for Free Using: My Stampin Blog

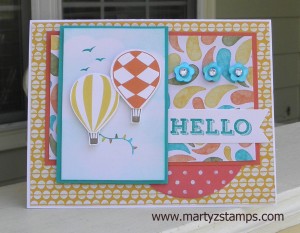
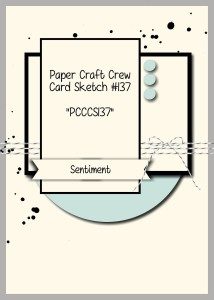
Here in Georgia, it really feels like Spring.  Cheyenne, my co-designer of this card, and I thought SU! stamp set Up, Up, & Away was the perfect stamp set to complete the Paper Craft Crew Sketch Challenge (PCCCS137).

Paper Craft Crew Sketch #137


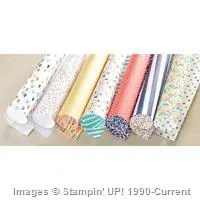
We took SU! Birthday Bash Designer Series Paper along with coordinating inks and card stock to showcase the Up, Up, & Away stamp set. Here is the completed card:

Up, Up, & Away


Discontinued Supplies: SU! Up, Up, & Away! Stamp Set, SU! Peachy Keen Stamp Set, SU! Flower Buttons, SU! Tangerine Tango Stampin’ Right Marker, SU! Tempting Turquoise Stampin’ Write Marker

Additional Supply (forgot to add to list below): Circle Framelit Dies

Price: $4.95

Supply List

Built for Free Using: My Stampin Blog

I missed last week’s card challenge by 5 hours, because I didn’t check the submission time. I have now made an Excel spreadsheet with submission times so I can easily check my spreadsheet and submit card challenges on time.

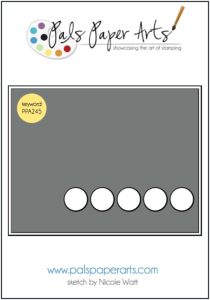
Pals Paper Arts sketch challenge PPA245 is below:


PPA245 Sketch Challenge


I made a KISS (Keep It Short and Simple) card for PPA245: Pals Paper Arts Sketch Challenge.  It took me less than
30 minutes. This included taking the picture, uploading the picture, posting on my blog, and submitting to Pals Paper Arts website. I think this card would be a really great card for a make-n-take class.

OLYMPUS DIGITAL CAMERA


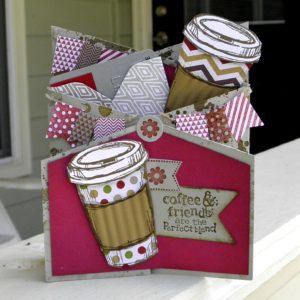
After Cheyenne and I finished the Picture Perfect girl card, we began on the SUO Challenge #119 – Fun Folds card challenge. The challenge was to create a card using a card fold other than the typical rectangle/square card. I am having a make-up class tomorrow featuring the tri-fold cascading card and thought this would be a really great card for a challenge.

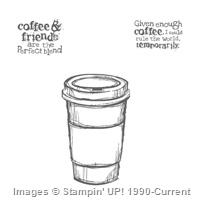
I had previously used flowers and a birthday theme on the first set of cards I had created back in February, but I wanted to use SU! Perfect Blend stamp set with a gift card envelope. We made the basic card, which included two cups of coffee matted on Cherry Cobbler with a sentiment stamped on a banner, but the card just needed something else.

I thought of SU! Banner Blast stamp set and added some banners to the card. It was just what the card needed. Here is the Fun Folds SUO Challenge card.

Perfect Blend2

Discontinued Supplies: SU! Banner Blast Stamp Set

Price: $4.95

Supply List

Built for Free Using: My Stampin Blog

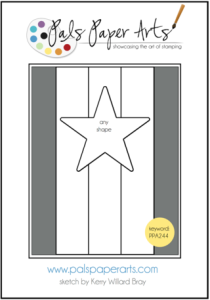
Missed opportunity. Boo Hoo! I missed the deadline for the Paper Pals Card Challenge by a few hours. Oh Well, I LOVE this card. So glad I was inspired by this challenge’s sketch.
6a00e54f95df92883401b8d0efaff4970c-320wi


My some times partner in design, Cheyenne Luken, came over this morning to make a card for this sketch challenge. We went right to work. I had already envisioned  how I wanted the cute little girl to pop out of a star showcasing herself within the star and her frame. As always, we are not only challenged by the sketch and/or color layout, but we are in competition with each other to see which one of us will change our card to look like the other one’s card. LOL

So, it started. I wanted to use the Blendabilities I had purchased on this sweet girl. We pulled out the very few I own and thus began our creation. Since we haven’t used the Blendabilites a lot, our artwork can look a little odd (to say the least). But, with many corrections, we came out with a breathtakingly awesome card.

Just to reflect on the process for a minute; here’s how our cards came to be.

Don’t you know, it seems you make a major mistake when you are almost finished with the card. Well, I was trying to use a brown Blendabilities marker to darken the edges of the paper where I had cut the girl out and the edges were glaringly white. Well, I should have used a regular black marker because the Blendabilities marker leaked onto the arm. Argh! I redid her arm, cut off the old one and adhered the new one. Then, learning from my mistake, I used a Basic Black Stampin’ Write Marker to touch up the edges and made a misstroke and marked a black line on her other arm. Argh, Argh! So, I redid this arm, cut off the old one and adhered a fresh new arm. Thought I was finished, other than placing my star on my paper.

Cheyenne had placed her girl lower on the paper and asked what I thought. I said, I was going to place my girl higher. Cheyenne thought this was a good idea, but upon my earlier instructions had covered the back of her star and girl with Stampin’ Dimensionals and adhered her to her card. She would have torn her paper mats to pieces to try and move it. I think it looks fine just where she put it. I noted the card needed a sentiment, and Cheyenne chose the “You’re Picture Perfect” that came with the stamp set from My Favorite Things.

Cheyenne had considered how to place her girl within the frame; to have part of the frame under the star, all of the frame outside of the star, etc. She placed her girl, but once I had finished mine and placed mine the way you see it. She changed her girl to match mine (she must have done this after I took a picture of her card).

I had also tried several times to add a blush to my girls face with the color lifter and one of the red Blendabilities marker. What a mess! I got most of the “mess” off and was happy with my card . . . . . UNTIL . . . . I walked by and noticed my girl’s face looked very, very pink in comparison to Cheyenne’s peachy skinned girl. So……I redid my girl’s face and her arms (so they would match) and her hair; cut out her head and arms and adhered them to the card. I added the blush to her cheeks with an aqua painter and Regal Rose ink (this is discontinued the supplies show Pink Pirouette, which will work just fine). I added the sentiment and took pictures of both our cards. I came inside and cropped the pictures and noticed, my sentiment was off-centered!!!!!!!!!!!!!! I repositioned the sentiment and retook the picture. So, without further ado, here are our pictures.
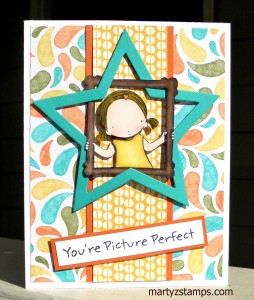
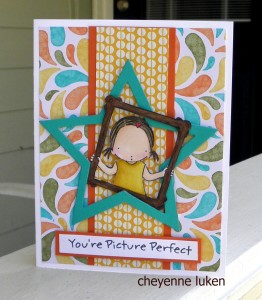
Framed SweetheartFramed Sweetheart Luken


non SU! supplies: MFT stamp set: Pure Innocence Picture Perfect
Supply List
Built for Free Using: My Stampin Blog
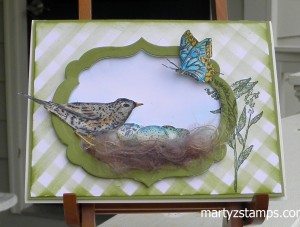
I am really on a roll. I received an update from http://livelovecards.com and went to explore what was new and came across the March card challenge using a stencil. My first thought was making a gingham type background using the stripe stencil from Stampin’ UP! I placed it on the diagonal and sponged using Wild Wasabi and Old Olive inks. I tapered the amount of ink on one side of the card as a highlight effect.

The next step was going through my framelits to determine what type of mat I wanted; then, on to finding the right stamp set. I was inspired by a couple of bird nests on our front porch, and it is really warm here in Georgia, and Spring is right around the corner, and. . . . . .  So, I chose Nature Walk utilizing the bird with its nest popping off the page.

Here is the challenge card I made for Live-Love-Cards:

OLYMPUS DIGITAL CAMERA


Stamp Set: Nature’s Walk (discontinued)
Stampin’ Write Marker (discontinued): More Mustard (Crushed Curry would work as well)
Nest: Pulled apart the ribbons and then glued to card


Built for Free Using: My Stampin Blog

PAGE TOP
[dealsbar preview] Amazing Deals: !!toolbar-deal-title!! - !!toolbar-deal-merchant!!