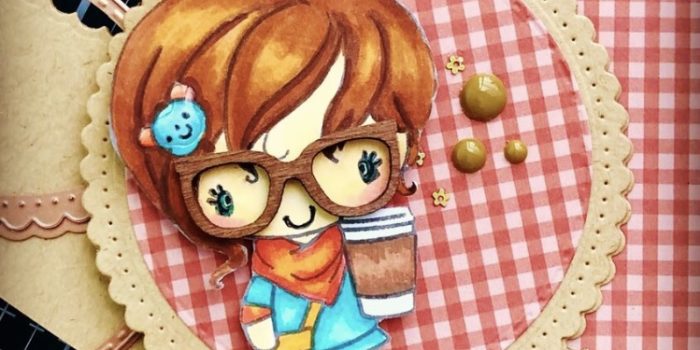
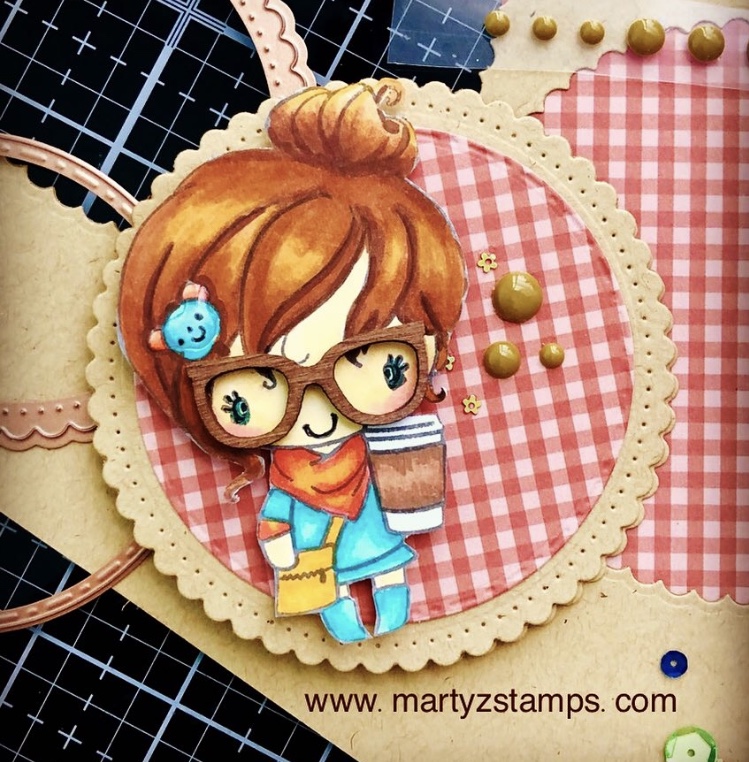
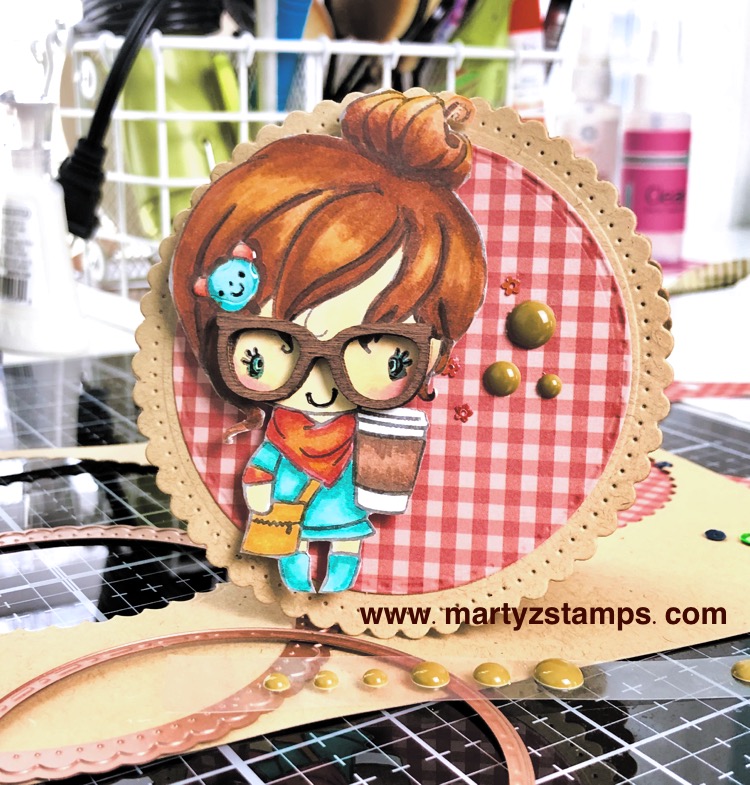
It is time for another Creative Design Team Blog Hop. I am so excited to feature products found in the new Easter Blessings catalog. So many possibilities for creating incredible cards, gifts and just plain adorable projects. Grab a cuppa coffee, sit back, relax and hop along on a journey of inspiration. Here we go!
The Design Team was blessed to receive some exciting new products from FSJ + Spellbinders to inspire your creativity. I received the Carrot Treat Box Die DI-0521, Pretty Plaid Embossing Folder EF-0041 and samples of the Create and Bloom Prints PP-0067 and the Easter Blessings Tags PP-0069. We also received the mini-catalog and all the inspiration in the catalog is soooo cute!
I’m going to let you in on a little surprise. All of my featured products involve NO Stamping! So, for those of you that don’t have a huge selection of inks and stamps, these projects are for you.
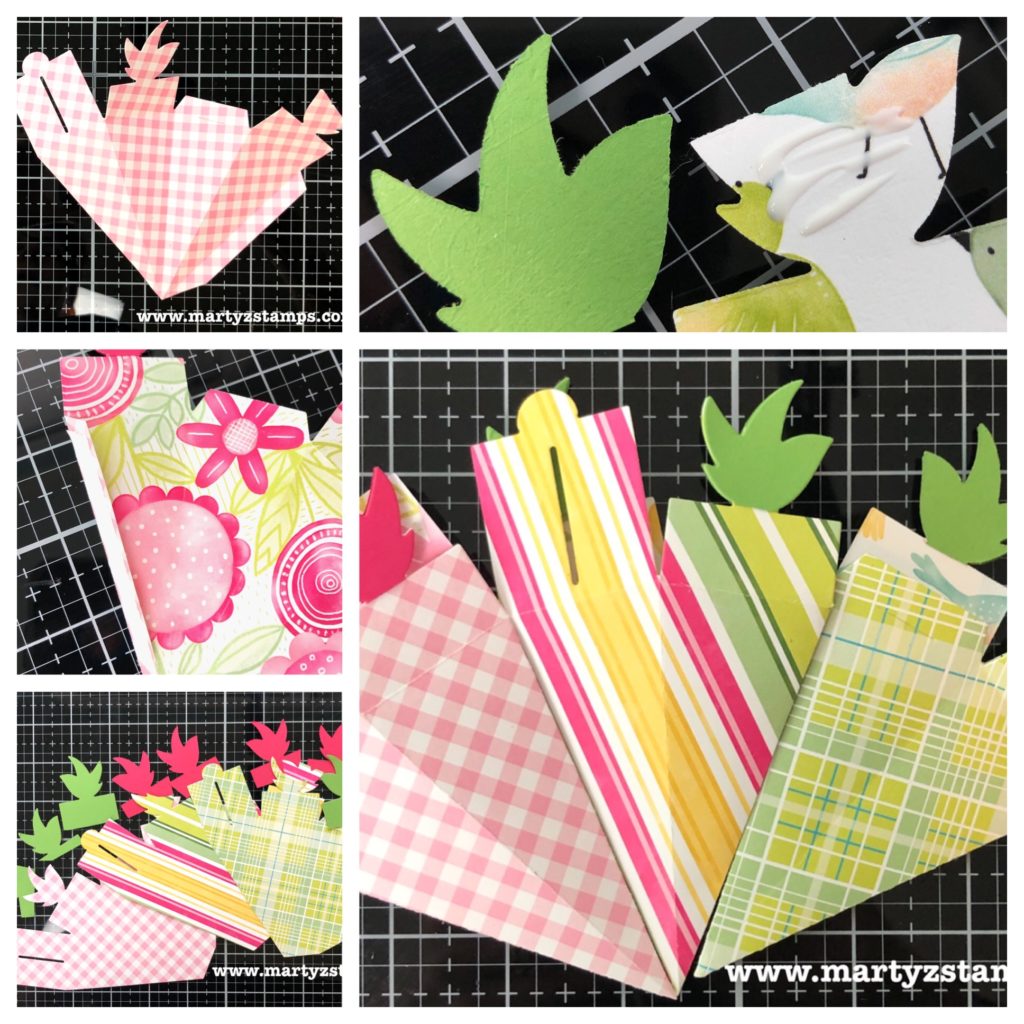
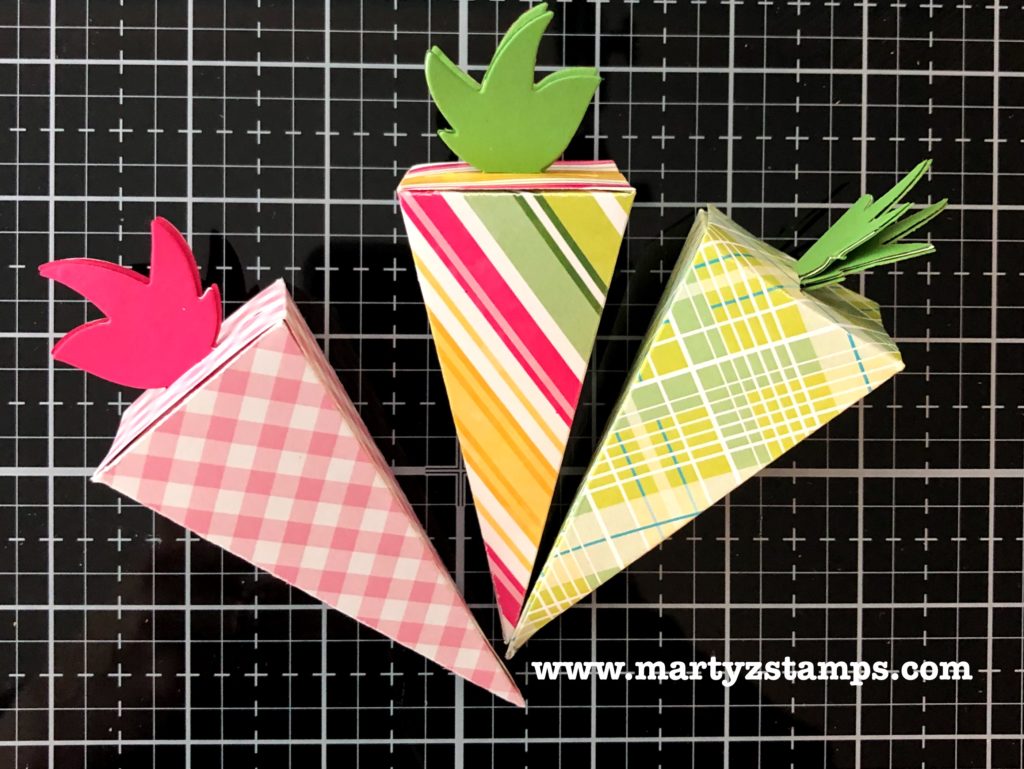
Carrot Treat Box
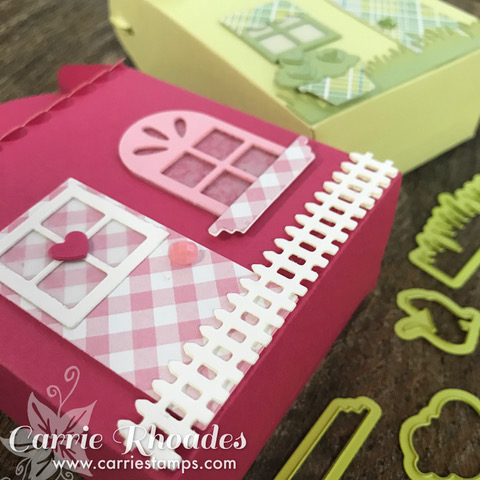
First up are some adorable Carrot Treat Boxes DI-0521. I used a variety of Create and Bloom Prints PP-0067 to inspire you to think outside the box. These carrot treat boxes are so uniquely cute they are sure to make someone you know hoppy. Check out the picture tutorial for how to create your own treat boxes.
Step 1 (top left hand corner) – Crease all score lines on of the die-cut carrot. Step 2 – Place adhesive on the side flap. Step 3 – Die-cut cardstock for the “green” portion of the carrot. Step 4 – Adhere the die-cut “green” portion to both sides of the carrot top. Step 5 – Adhere sides together.
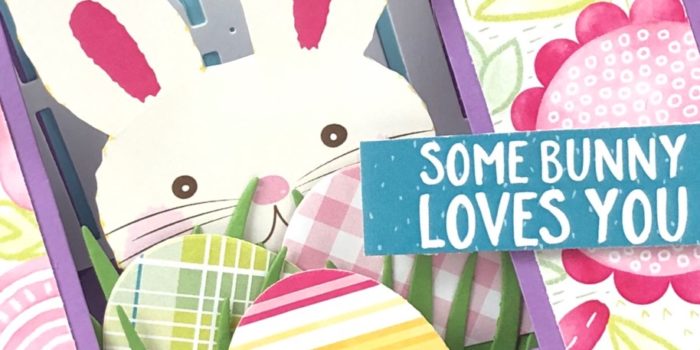
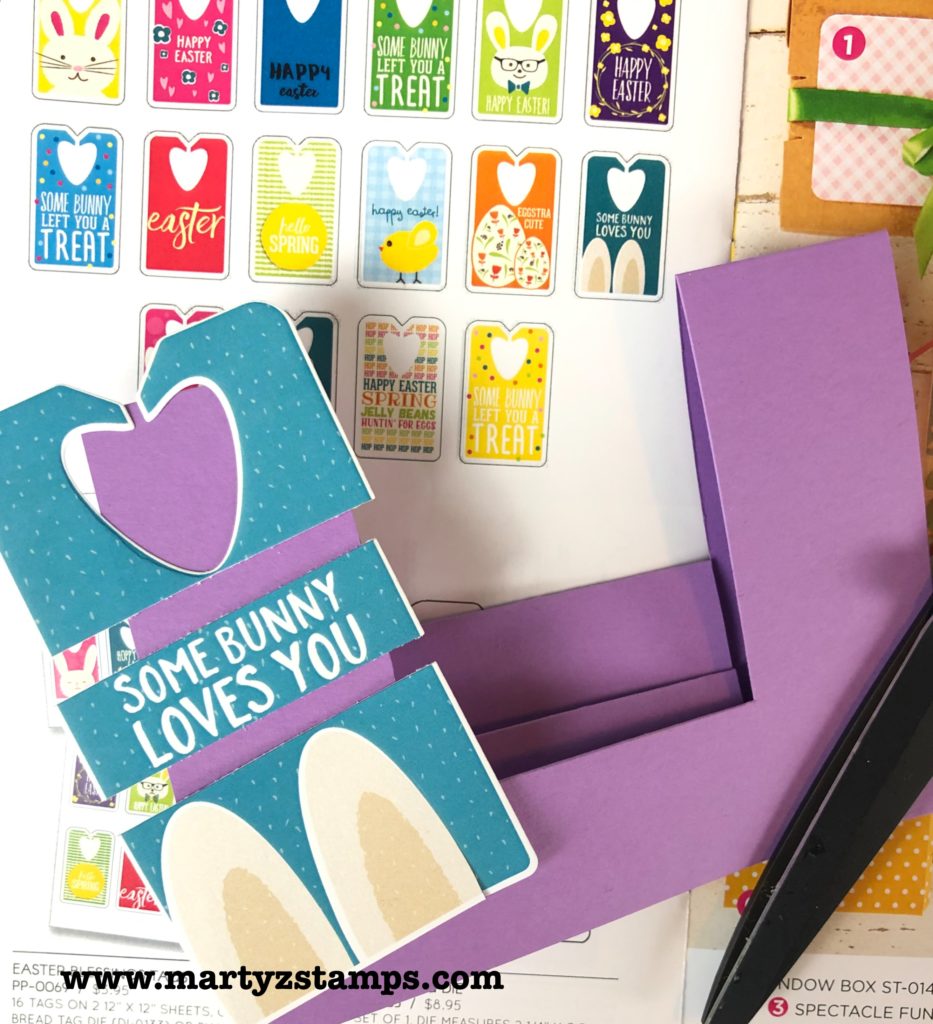
Fancy Fold Some Bunny Loves You Card
Ya’ll know fancy fold cards have a sweet spot in my creative heart. This one came together just like a rabbit hops, hops, hops.
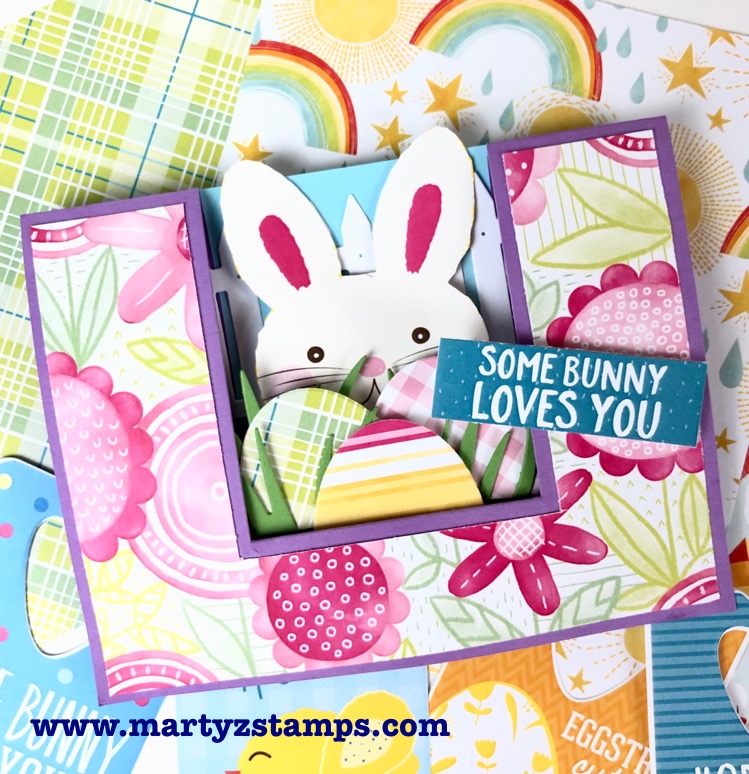
Begin with an Inner Stair Step Card. Choose a couple of Easter Blessing Gift Tags to use on your card project. I chose the Some Bunny Loves You for the sentiment and cut it down.
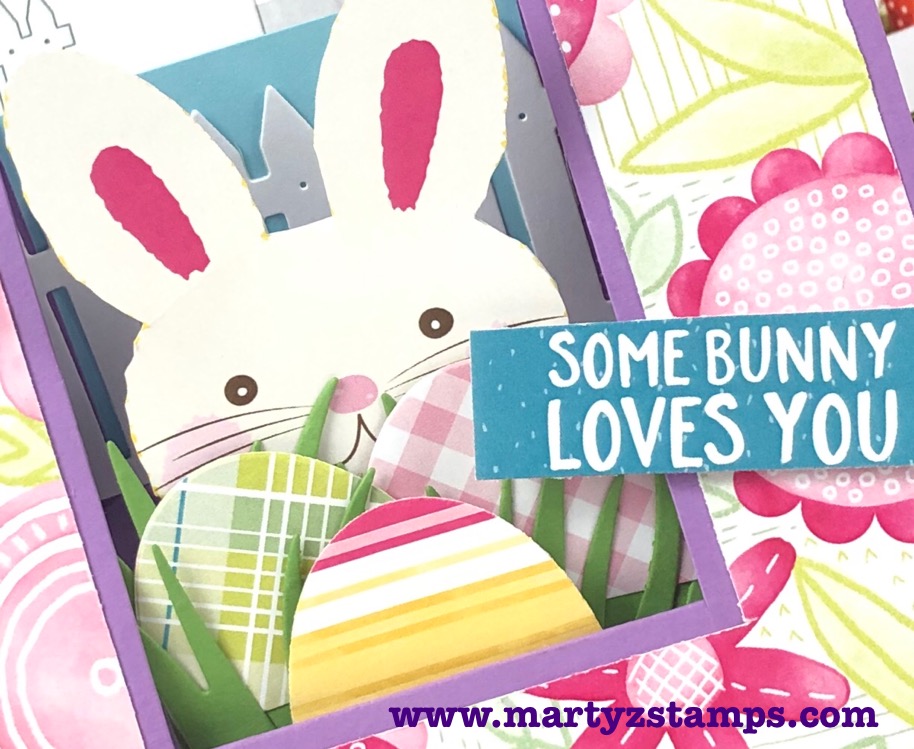
I took the bunny on the yellow background tag (see below) and cut him out.
Here he is peeking out from stash of candy eggs! He’s so cute.
I placed a full 5 1/2″ x 4 1/4″ piece of Pool Play cardstock on the back of the main card for the sky. I adhered onto the back piece a Whip Cream Garden Fence DI-0485. The bunny is adhered to the back side of the middle panel. Tip: I had to add a piece of cardstock to the back of the bunny to give him height. I die-cut grass from the Border Details die set DI-0144 and the eggs from the Fancy Eggs Die DI-0512. To create the print paper mat. I laid the printed paper on top of the base and marked my cut lines with a pencil. I trimmed the printed paper on my trimmer and adhered to the base.
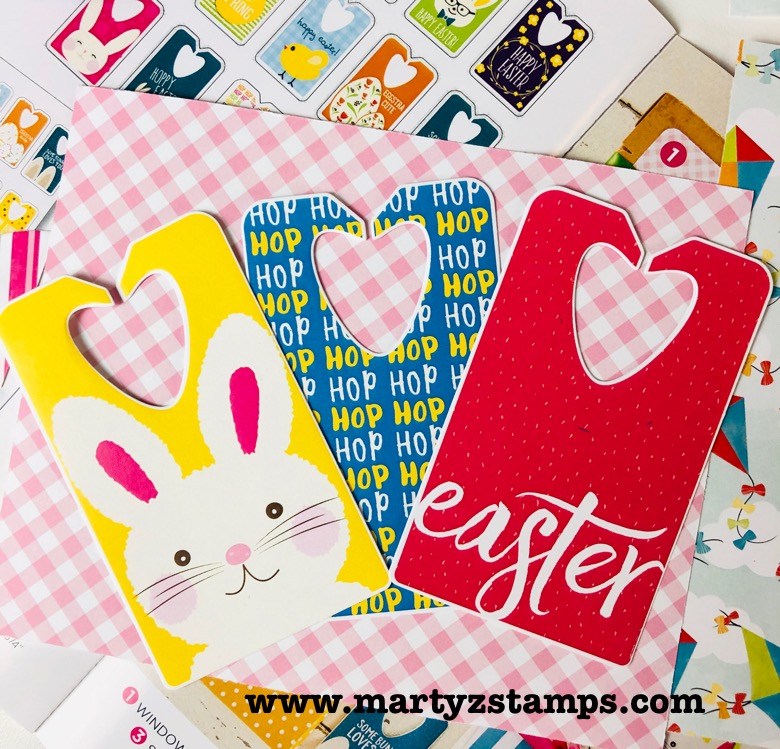
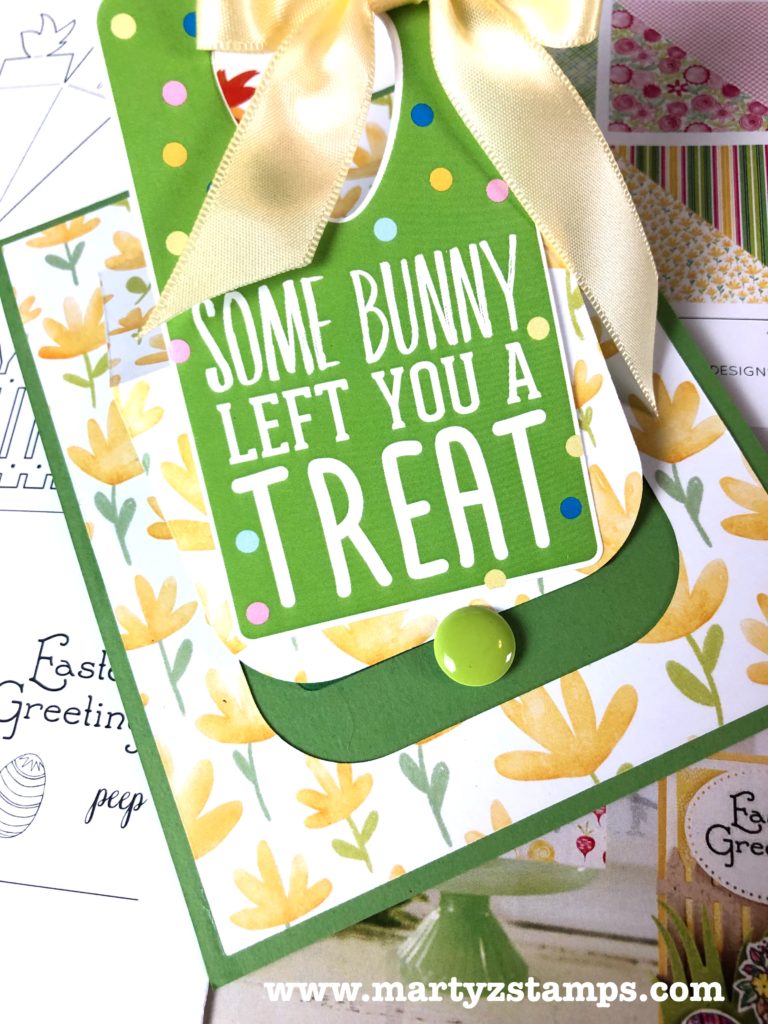
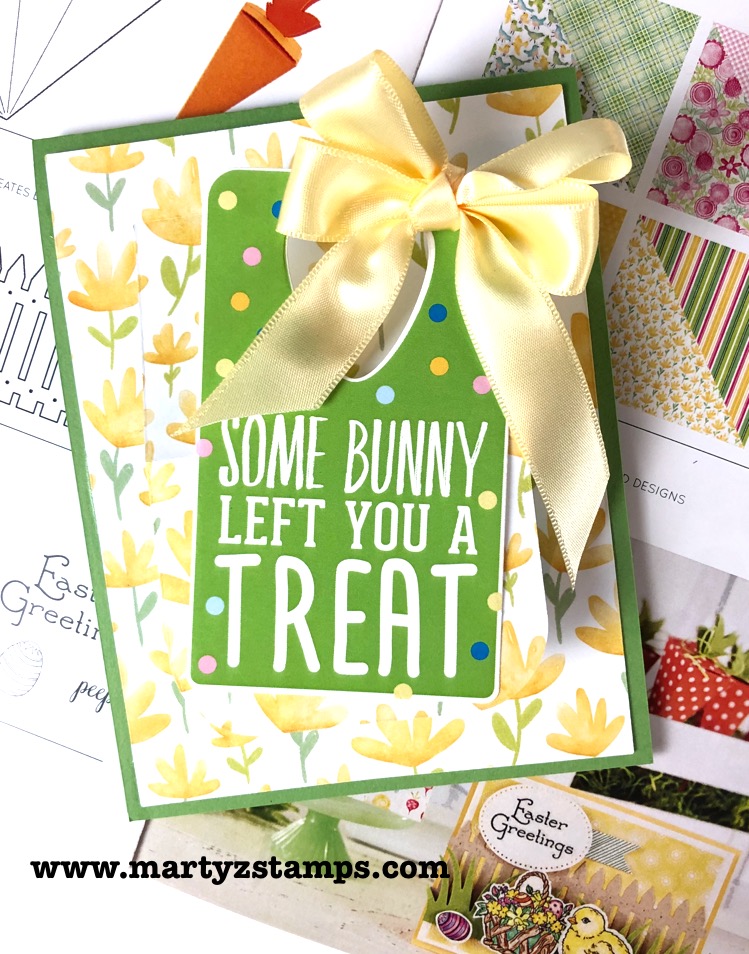
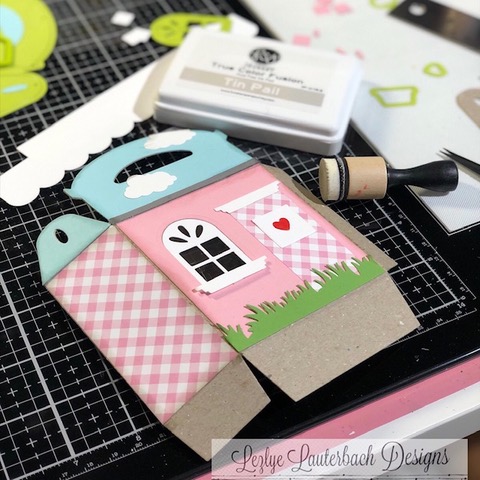
Easter Blessing Gift Card Holder
Many of you enjoy giving gift cards. This card is perfect for holding a gift card with a sweet Easter Blessings Tag.
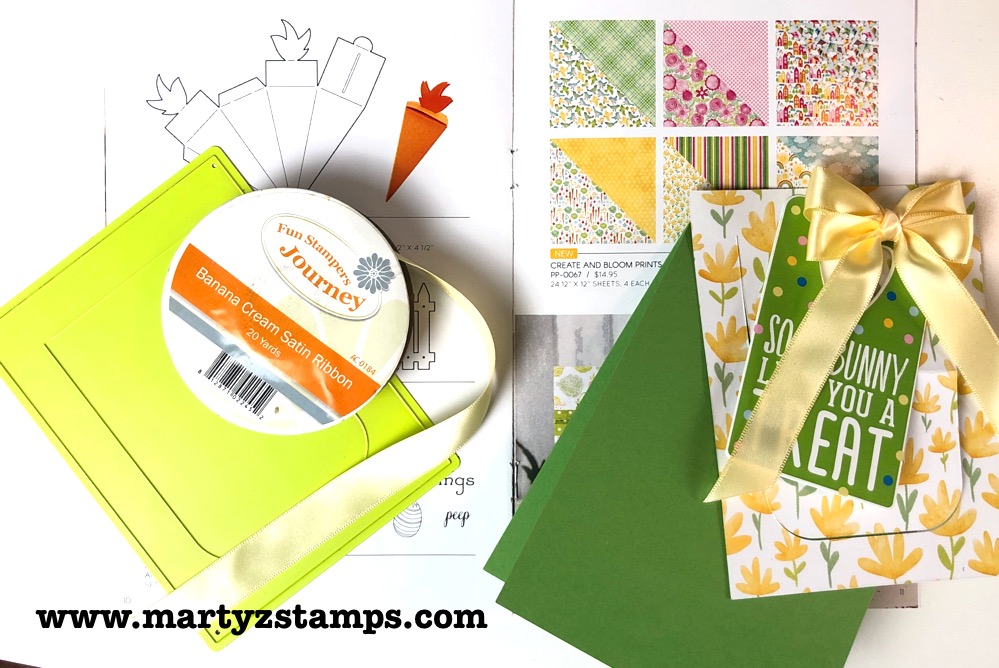
I used the following for this project: Window Pop die DI-0389, Banana Cream Satin Ribbon AC-0184, Easter Blessings Gift Tags PP-0069, Create and Bloom Prints PP-0067, Lemongrass cardstock CS-2019 and Sweet Candy Drops AC-0275.
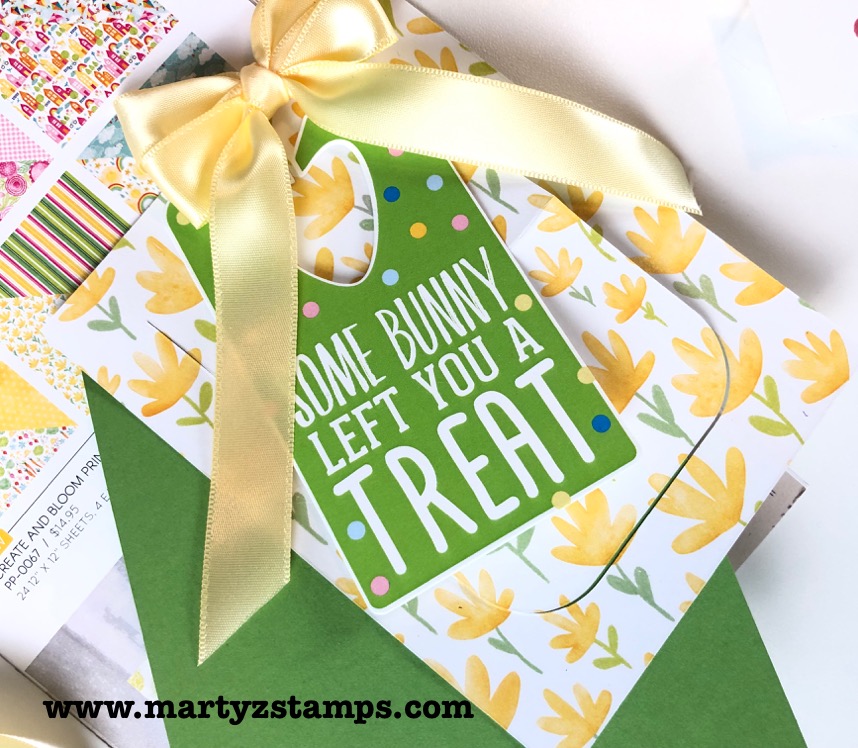
Die cut the printed paper using the Window Pop die. Create a double bow from the satin ribbon and choose a tag sentiment.
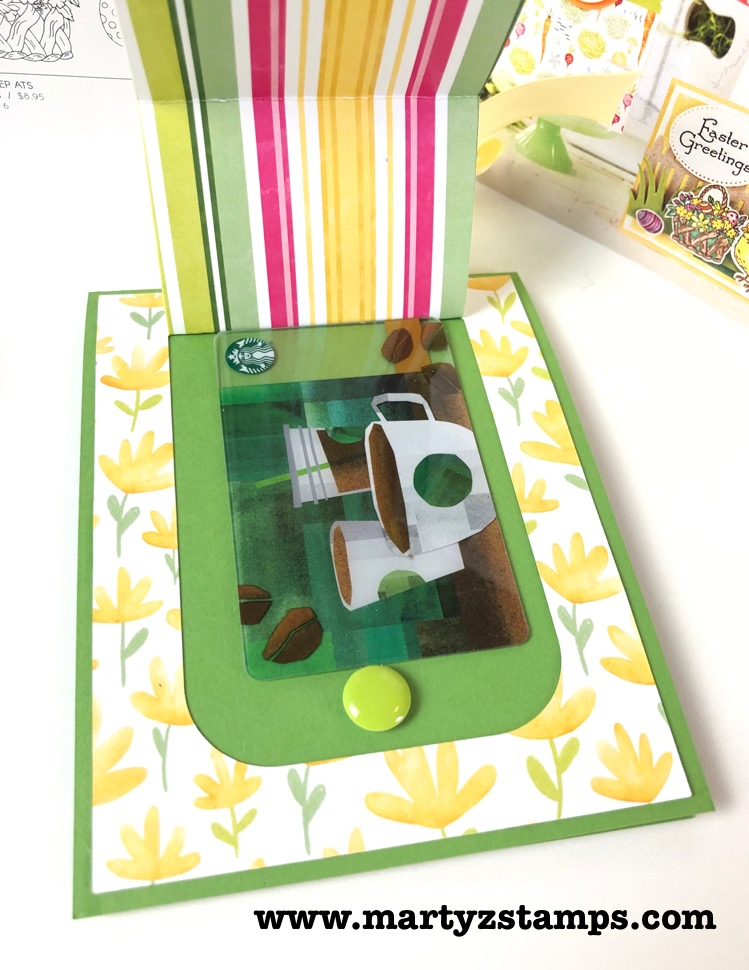
Adhere the die cut paper to the card base and fold the flap in half (this will create an easel effect for display purposes). Adhere the gift card to the card base and apply a Sweet Candy Drop on the bottom portion of the card base under the flap.
Adhere the tag to the bottom portion of the folded flap.
Adhere the bow to the card. It is just that simple!
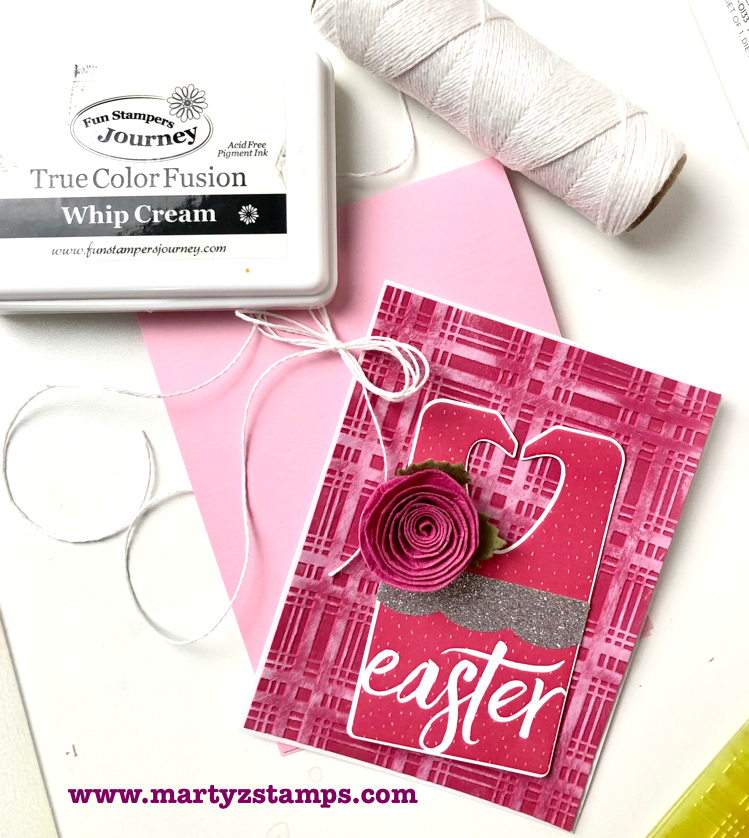
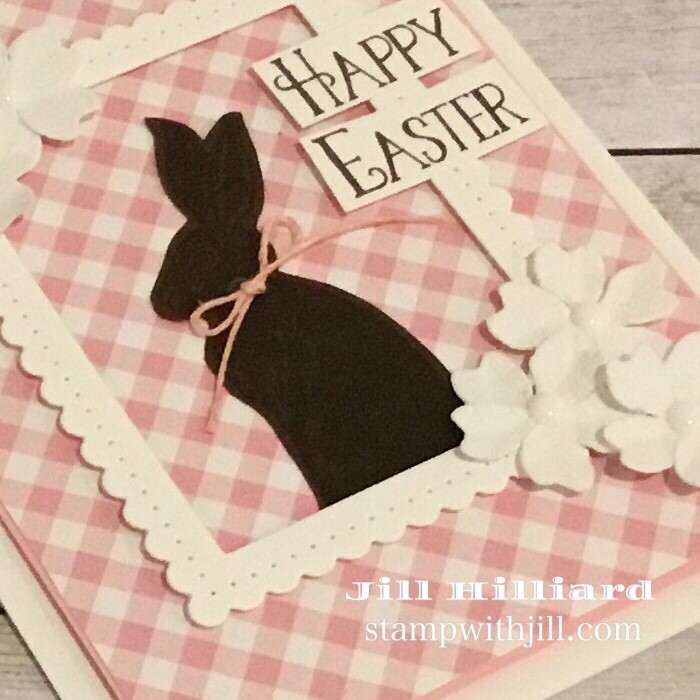
Elegant Easter Card
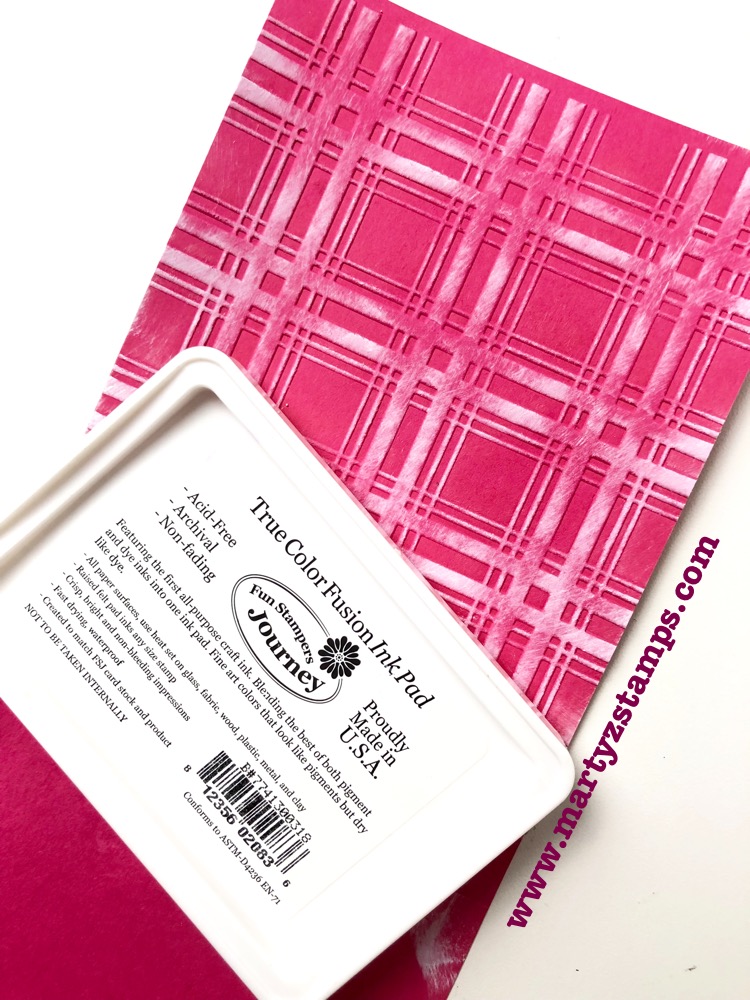
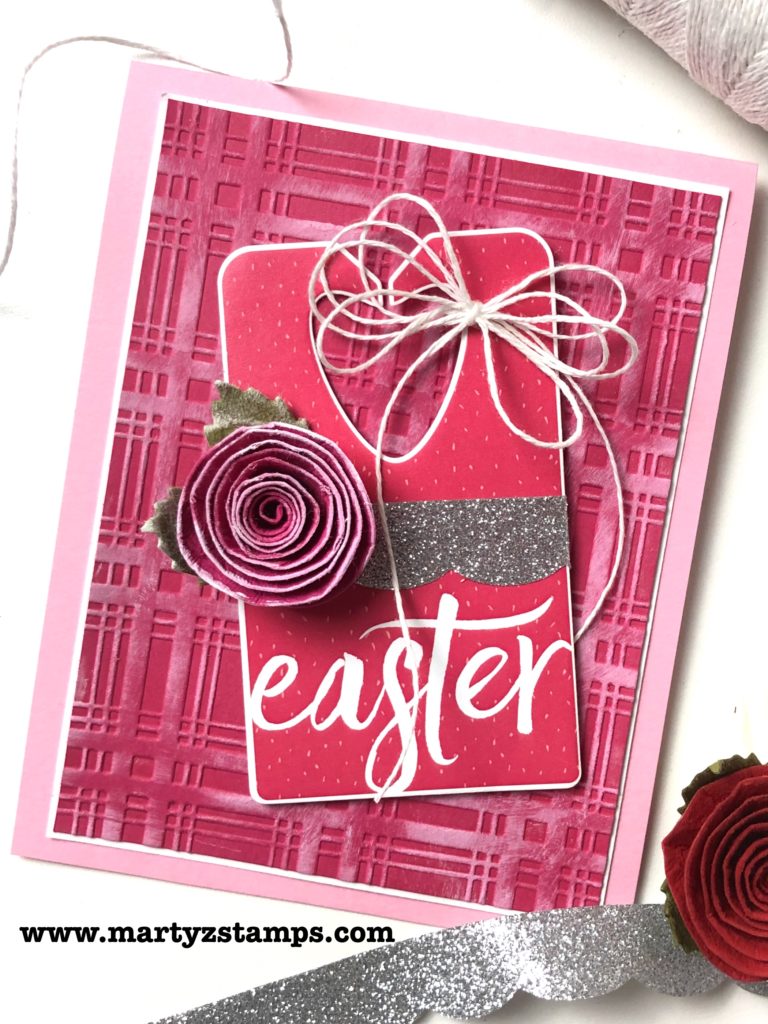
Last but not least, I used the Pretty Plaid Embossing Folder to create a background for this card project and placed another Easter Blessings Tag onto the card for the sentiment.
I applied Whip Cream Fusion Ink IP-0009 to the raised portion of the embossed Sweet Berry cardstock CS-0034.
I pulled from my FSJ stash the following to create this card project: Love Buds AC-0177, Whip Cream Thread AC-0128 and Silver Sparkle Tape AC-0259.
I applied the Whip Cream Fusion ink to the petal edges of a medium Love Bud, wrapped a piece of the Silver Sparkle Tape around one of the Easter Blessing Tags and created a quadruple bow from the Whip Cream Thread. I adhered everything to the card mat and base with the tag sentiment raised with Medium Foam Squares AD-0085.
What a WOW card that was quick and simple to make!

If you hop off the trail, hop right back on by clicking one of the Design Team names below or click on the FSJ banner to check out the official FSJ blog.
Marty McGee (You Are Here!)
Carrie Rhoades
Christine Chan
Jill Hillard
Lezlye Lauterbach
Kazan Clark
Alissa Hall
Supplies:
Note: For new release product, click on product name in blog to shop.