Tag : thinlits

9 posts

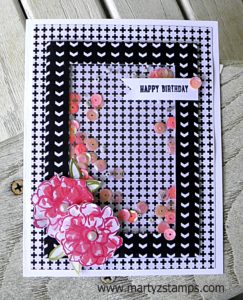
As I was browsing through the card challenge websites, I was inspired to create a black and white card with a pop of color from SUO Challenges website. Since I have a TON of SU! Stacked with Love paper, and most of the paper is black and white, I thought what a great way to use up some designer series paper and make a really cute card in the process.

The card started out to be a regular two mat card with a couple of flowers (the pop) accenting the lower left corner. I had yet to use the Sale-a-bration set “What I Love” from Stampin’ Up! and I thought this flower would work really well for this design. I stamped and cut out the flowers along with some petals and began to place them on the mats (nothing was adhered) trying to find the perfect spot for them to “pop”. Then, it occured to me I could make a shaker card. I made a really, really cute shaker card. I used some sequins from my Scrapbook Expo haul this past July. The picture does not do them justice.


Sentiment and pearls

Sentiment and pearls


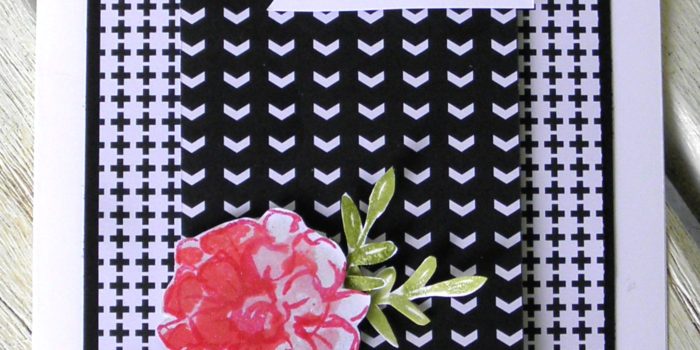
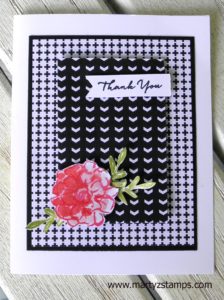
I had an extra flower and leaves along with the center portion of paper from the shaker card. So, I pulled out some more of the cross hatched paper for the first mat, placed the center of the cut out paper from the shaker card onto it using dimensionals. Then matted the first mat in black to make it stand out from the white cardstock. I added a sentiment banner to the top of the center mat and the extra flower to the bottom left corner (both are raised using dimensionals). I finished the card by brushing some clear Wink of Stella onto the flower and leaves.

Here is card number two:

SUO Challenge #153

Enjoy!!!

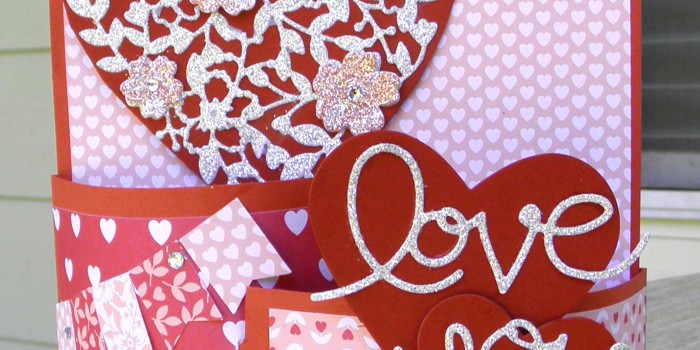
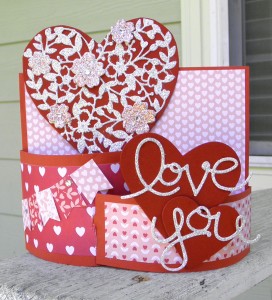
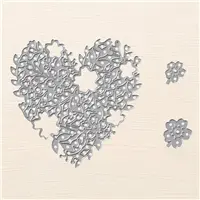
Last year I had a technique class featuring the Bendi Card fold featuring a birthday card (I guess I didn’t post that card – will do so soon and link up). It was such a fun card technique, I decided to use it for a Valentine’s Day card. I used the Bloomin’ Hearts thinlit dies to create a fun and stunning Valentine’s Day card.

Bendi Valentine's Day Card

This card will unhook and lay flat for easy mailing. The dimensions I used on this card would not allow it to fit into a 5 1/2 x 5 1/2 envelope, but I adjusted the measurements for the one we did in class and it fit quite well in the envelope. Of course, you would want to put a little padding to keep everything intact during the mailing process.

Supplies: love and you thinlits, x-acto knife (not pictured)


I haven’t posted anything since before Christmas. A lot has happened between then and now. My sister had a major stroke just before Christmas. She actually died, but thanks to the paramedics who resuscitated her she is doing well with some loss of use to her left arm. She stayed with me while she recuperated and she is now back at her home.

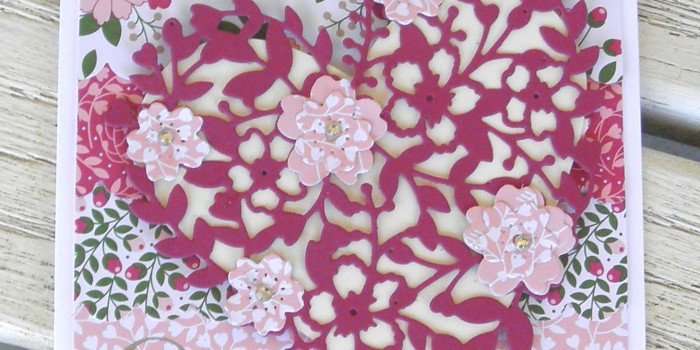
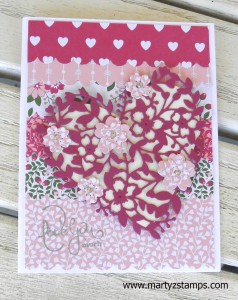
I did keep up with my make-n-take classes during January and the most recent class was a Valentine’s make-n-take class last week. The first class sample card I completed was inspired from Connie Collins’ Global Design card challenge entry (see here. . . .). I had the new SU! Love Blossoms paper pack but I had used a lot of it for a technique class (I’ll post that card next) and knew I didn’t have enough full sheets for a background left. This use of scraps from the Love Blossoms paper pack worked well. I took the coordinating Bloomin’ Hearts thinlit die and cut a lacey heart out of Rose Red card stock and placed a Very Vanilla cut out heart behind it to make the heart stand out from the rest of the busy background.  I used retired SU! Well Scripted set for the word phrase “Love You Much”, which was embossed using silver embossing powder. The flower blossoms were die cut out of the Love Blossoms paper and accented with clear rhinestones.


LoveYouMuch 2016


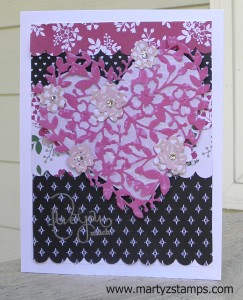
I made another card using some scraps from SU! Stacked With Love paper pack along with the Love Blossoms paper pack and I think it turned out well too.

Valentine 2016


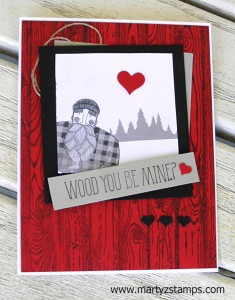
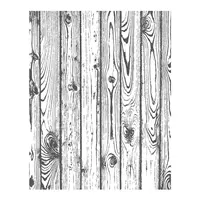
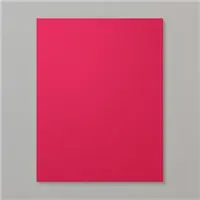
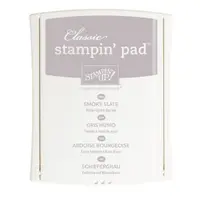
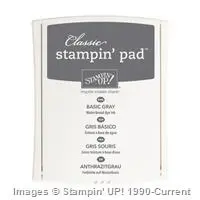
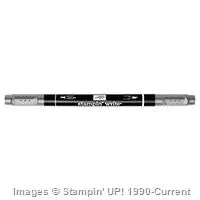
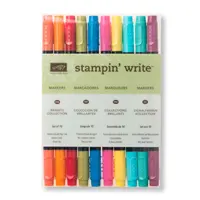
The other card I’m featuring uses last year’s featured SU! stamp set Wood You Be Mine (it was inspired by Cindy Shuster’s card – see here. . . )? I LOVE the lumberjack from this stamp set. I used the Hardwood background stamp with Basic Gray on Real Red card stock. I then layered a Basic Black mat with the stamped image with a hint of Sahara Sand showing from behind accented with some linen thread. I wanted to make the card look like a balck and white photo with the red heart signifying “love.” I used Smoky Slate for the shirt and Smoky Slate and Basic Gray Stampin’ Write markers to accent the lumberjack. The Wood You Be Mine? tag was stamped on Sahara Sand using Basic Gray. And, some tiny Basic Black hearts were placed at the bottom to balance the card using the Confetti Hearts border punch. Love this Card!


Wood You Be Mine 2016


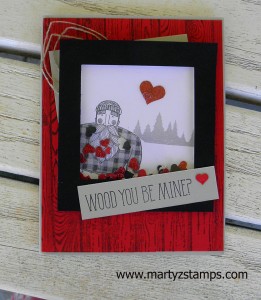
I made another card very similar to this one, but as a shaker card.

WoodYouBeMineShaker 2016

Supplies Used for Bloomin Hearts cards: retired SU! Well Scripted (not pictured)


Supply List

Built for Free Using:My Stampin Blog

Supplies for Wood You Be Mine Cards: basic gray stampin’ write marker, acetate and foam tape (not pictured)

Supply List

Built for Free Using: My Stampin Blog

This is the third and final card I entered on the SUO Challenge #136. See previous posts for Card 1 and Card 2.
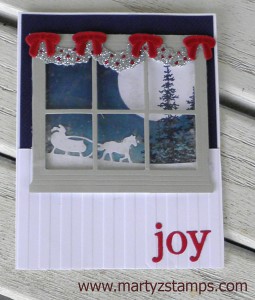


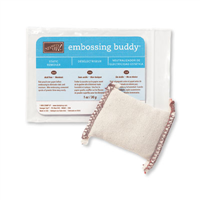
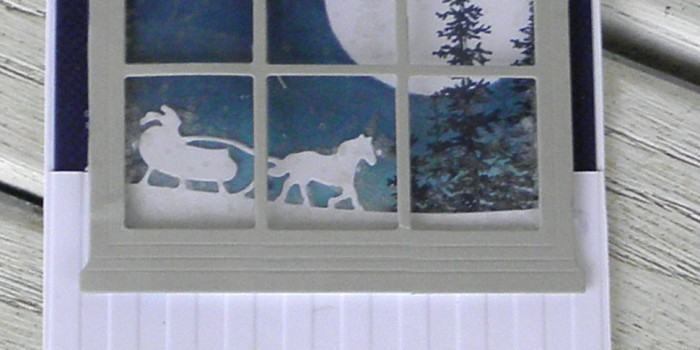
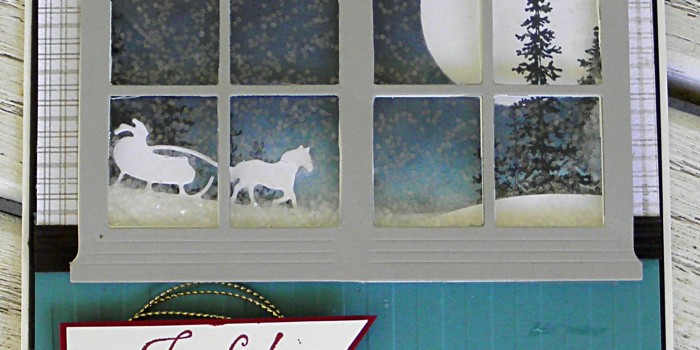
This is one of three cards my stamping group will be making at the next make-n-take. It is based on an October challenge card (see below). The card I created in October was going to be one of the make-n-take cards, but I felt it was just too big and used up too much paper (a little worried I wouldn’t have enough similar paper for everyone). I decided; if I could make a double window, I, certainly, could make a six-paned window using the Hearth and Home thinlit, and I was successful. Just make sure you hold the plates as they come out the other side of the Big Shot, because they are quite the projectile. I could see someone busting a window to bits or knocking somone in the head. I wanted to keep the sleigh ride scene from the original card; so, I carefully pulled apart the original card, cut down the window scene, made a new window, adhered the dimensionals, added the glitter, and then . . . . What a nightmare! I made the shaker card based off of a shaker card tutorial on YouTube. Note to self: DO NOT place the window on the table, put the glitter on the window sheet and then place the card upside-down onto the window. Ha! It wasn’t exactly where I wanted it, and well, you know, when you try to reposition something with dimensionals you are asking for a mess; especially, if glitter is involved. Needless to say, the glitter got on the adhesive part of the dimensionals and made it not adhere well; therefore, when the card was shaken, glitter filtered out the sides of the window. We certianly, DON’T want glitter snow in our house. So, if you make this card, be advised, put the card on the table, put the glitter on the card, and then place the window where it needs to be and DON’T put too much glitter either. I’m sure you can’t see the miniscule amount of glitter in this card, but there is still some left. And, no, I didn’t want to remake the card. No, no, no! I was so frustrated by the time I got it right, I wanted to pull my hair out. My friend, Cheyenne was over here making her card with me, and she had a good laugh at my expense. (Note: make sure to rub the embossing buddy on the side of the window sheet that will make contact with the glitter to get rid of the static electricity.)

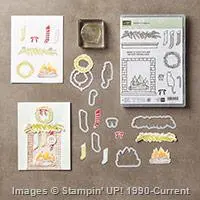
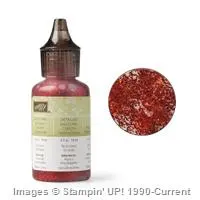
Anywhoo, we felt the card needed a little bling. We took the wreath framelit from the Festive Fireplace set and cut out wreaths in silver glimmer paper; then, cut them in half to make boughs. We added EVEN MORE bling by making lights for me and berries for Cheyenne on the boughs with Cherry Cobbler Dazzling Details. Real Red bows accent each bough. The bottom of the card looked so stark when we finished, I added joy in Cherry Cobbler cardstock from a retired SU! die (it’s really old).

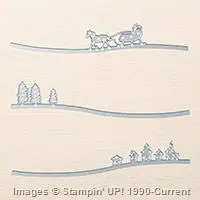
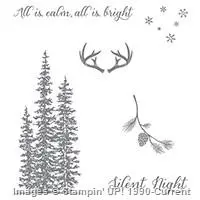
And least I forget, the scene was made on Whisper White paper. I cut a circle out of copy paper and placed it on the background piece of cardstock. I sponged Coastal Cabana and Midnight Muse to create the night sky. The trees are from the SU! Wonderland set stamped in Midnight Muse. The sleigh thinlit was used for the sleigh rider and horse, cut in Whisper White cardstock. The background mats are Night of Navy and Whisper White, with the Whisper White embossed with the Stripes folder.
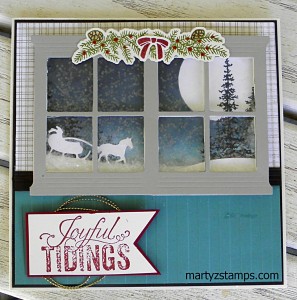
 

PCCCS165October Card

I think the revised version of the first card is much more to my liking. Either way, I really love this card.

Supplies: SU! retired Joy die. Note – it looks like Midnight Muse ink is not available, you can substitute Night of Navy (I listed it in the supplies).
 

Price: $110.00

Supply List

Built for Free Using: My Stampin Blog

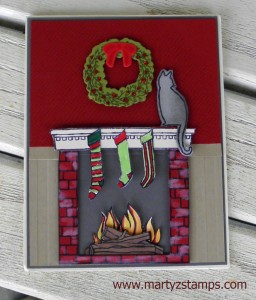
If you read the first post for the first card I entered for the SUO Challenge #136, you will recognize this is the second entry based on the title of the blog. Sometimes, I come up with original ideas for my Christmas make-n-takes and sometimes I use Pinterest when my brain just can’t be creative anymore. This is an original card based on many cards on Pinterest. There’s not too many ways you can have a fireplace with stockings on a card other than changing the color scheme. This is my favorite card out of all seven designs offered at my make-n-takes.


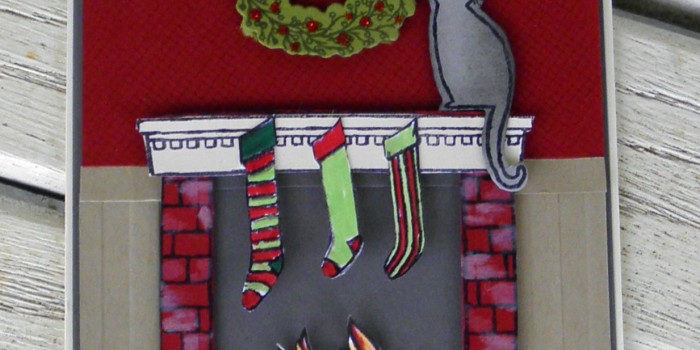
Again, if you read my first post, you can see Cherry Cobbler is a central focus of this card as it is one of my favorite SU! colors. I think the Crumb Cake wainscoat really sets the card up to make the fireplace/mantel really pop. Since you can’t hold this card in your hand and see all of the 3D detail, I’ll give you the run down on what is popped and what is not. Everything has dimensionals on it except the background mats, the inside of the fireplace and the bow on the wreath. I used SU! Festive Fireplace Photopolymer Bundle to make this card. I stamped the fireplace with Staz-on black ink onto Cherry Cobbler and went back through with Whisper White and Pretty in Pink Craft inks to highlight the bricks (I used a q-tip). I cut the center of the fireplace out and placed a piece of Basic Gray in the opening (I think it makes the flames stand out). The flames are watercolored and the logs are stamped onto Chocolate Chip paper with some watercolor shading. The stockings were colored with Stampin’ Write Markers. The wreath was stamped using Mossy Meadow on Pear Pizzaz (I think – better double-check that before my class this Saturday or I used Garden Green ink) and has a splash of glitz using the Cherry Cobbler Dazzling Details from SU! The cat was stamped on Smoky Slate and sponged with Basic Gray. I love the cat, It makes me think of my friend Cindy Hilton and her love for ALL things cats. I did use the framelits to cut out the fireplace, mantle, and cat, but I didn’t like having a “huge” border; so, I either trimmed all the way down to the stamped line or trimmed very close to the stamped image. I can’t forget to mention the top background mat of Cherry Cobbler is stamped with the SU! retired background stamp Netting; it just gives the top part of the card a little depth. The bottom background of Crumb Cake was embossed using the SU! Stripes embossing folder.

Well, I think the above description of how I made the card sums it up. Love it!

Supplies: Note – to make a pink craft ink combine a drop of Cherry Cobbler reinker to a spoon size amount of Whisper White Craft re-inker and blend – adjust as necessary to get desired color.
SU! reitred background stamp Netting


Price: $110.00

Supply List

Built for Free Using: My Stampin Blog

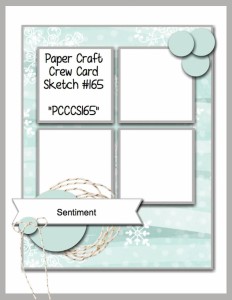
This week’s Paper Craft Crew Card Challenge #165 is featuring the Hearth and Home Thinlit set. I mentioned in the previous post I love this set. It is so versatile and just makes the most darn cute cards you have ever seen that I’m entering another card for this challenge. The card sketch is below:

PCCCS-161-204-002

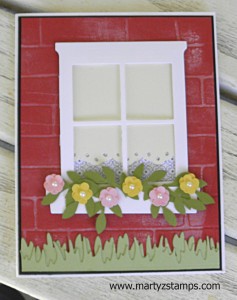
This card was one of September Make-n-Take cards. My stampers love this die set and several of them have purchased it already and others have it on their wish list.

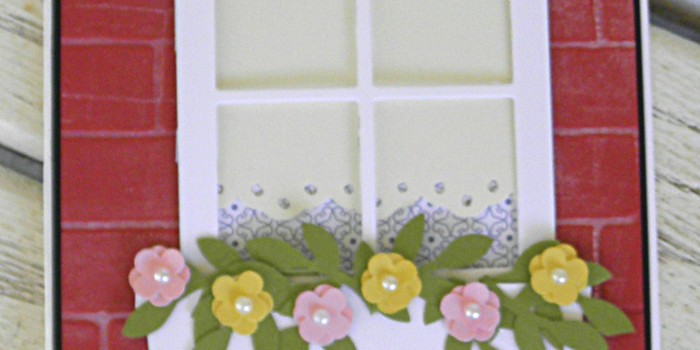
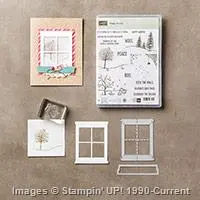
This card, also, features the new SU! Brick Embossing folder. It is an outdoor scene using the Hearth & Home Thinlit set. It looks very much like a Spring card, but I couldn’t help myself; I just had to put flowers in the flower box die that comes with the set.

PCCCS 165 Card 2

I matted the entire card with a thin layer of Basic Black to make the Cherry Cobbler brick wall stand out. I gave it a worn look by adding Very Vanilla Craft Ink to the embossing folder and then running the mat through the Big Shot. The flowers and leaves were made using punches. The grass was cut out with a die (it might have come from My Favorite Things – I’m not sure since I purchased it from one of my stampers who was getting rid of their stash). The shade was punched with a retired ribbon type punch from Stampin’ Up!. I love this card and I hope you do too.
Supplies:


This week’s Paper Craft Crew Card Challenge #165 is featuring the Hearth and Home Thinlit set. I love this set. It is so versatile and just makes the most darn cute cards you have ever seen. The card sketch is below:

PCCCS-161-204-002

I am having a December Christmas Card make-n-take. Each stamper will be making two each of three designs which are detailed and require extra time to complete. I had completed, I thought, one of the cards for this make-n-take, but once I saw this week’s card sketch, I changed a few things.

OLYMPUS DIGITAL CAMERA

This is a 6″ x 6″ shaker card. Yes, it will snow on the sleigh rider if you shake the card up and down. If you shake it sideways you have created a blizzard for the poor horse and rider to endure. This card had initially started off as a regular 5 1/2″ x 4 1/4″ card, but the double window took up the entire card and it just didn’t look “right.” I decided to make it a 6″ x 6″, which allows for a sentiment (card change from sketch).

I cut the sleigh rider out of SU! Whisper White and set it aside to create the evening background. I used a piece of Whisper White card stock for the background. I punched a circle to mask where the moon would be and then, I sponged on retired SU! Midnight Muse (Night of Navy would work) on the outer edges and Coastal Cabana in the center to add some light. I stamped the top portion of the trees from the new Wonderland stamp set in Midnight Muse (there are trees on both sides – the left side is obscured by glitter sticking to the acetate sheet I used for the window panes. I cut a double window out of Sahara Sand (first go-around was Very Vanilla, it really left the card looking washed out). I added a little glitter to the background piece after placing the sled and other hill onto it. Now, here is where things got a little dicey. I tried using the circle dimensionals.  Well, that tended to be a problem, because the dimensionals naturally curved, they are very thin, and don’t close the gaps between them very well. Needless to say, I had “glitter leak”. What a pain!!!! I tried squirting the new clear fine tip glue in the gaps, but I can say that did not work. I, eventually, went to Lowe’s and bout mounting tape, which I will cut in half and double. Oh, the joys of cardmaking snags.

Anywhoo, The top portion of the interior wall is SU! DSP from WAY BACK WHEN I can’t remember. It just look appropriate. Lost Lagoon is the bottom portion and it was embossed with SU! retired stripes embossing folder. I stamped the sentiment in Cherry Cobbler on Very Vanilla and ran it through the Big Shot with a banner die (oops! didn’t put that on the purchase list) and matted it with Cherry Cobbler card stock. I accented the sentiment with Gold Cording Trim. All of this is matted on Early Espresso.

Hope you enjoy!

Price: $110.00

Supply List

Built for Free Using: My Stampin Blog

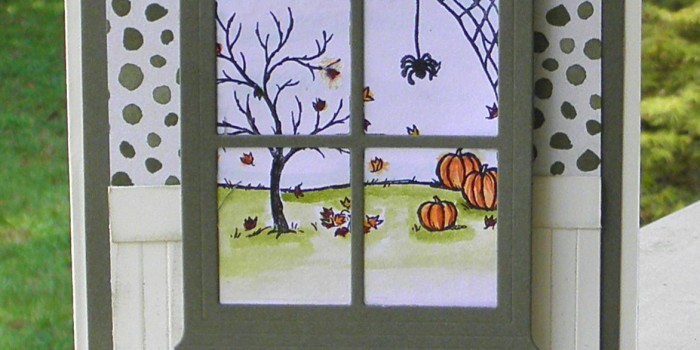
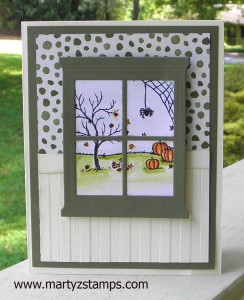
I am very excited to enter a card in the SUO Challenge #129: Cards Without Words card challenge.
For those stampers who send out cards, it is nice to have cards with no sentiment on them to have
on hand for any occasion. The inside of the card is great for writing a meaningful note with a
sentiment appropriate for the occasion.

I am also super excited to use the new SU! Happy Scenes stamp set along with the SU! Hearth & Home
Thinlits Dies. They are super awesome! I created a card looking out onto a Fall landscape. I think you will
really love this card as well.

SUO #129

Supplies: not pictured SU! stripe embossing folder, chocolate chip stampin’ write marker, SU! 2014-2015 Fall DSP

Price: $12.50

Supply List

Built for Free Using: My Stampin Blog

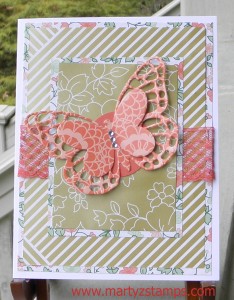
This card was one of three cards made at my July Make-n-Take class. I usually offer three designs and my stampers make two of each design. Their tastes run from loving to make very simple cards to a few who like to make more detailed intricate cards; therefore, I try to appease both groups by giving them a very simple, quick card, a simple, quick card with some embellishments, and one card requiring paper piercing or piecing, multiple layers along with watercoloring/coloring, you get what I mean.

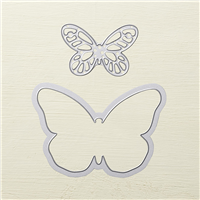
This was the simple, quick card with some embellishments. I had ordered two packs of Gold Soiree DSP. I used this paper as my mats and for the butterfly. I added Watermelon Wonder ribbon and accented the butterfly with diamond rhinestones.

It is truly an elegant card anyone would love to receive or horde.

Butterfly Card

Supplies:


PAGE TOP
[dealsbar preview] Amazing Deals: !!toolbar-deal-title!! - !!toolbar-deal-merchant!!