Tag : technique

17 posts

In August, I am offering a Technique class featuring a hot glue mask/stencil. I found this technique on a YouTube channel with the Frugal Crafter and it looked like such a fun technique, I knew my stampers would love to learn how to do this in a class. Check out the YouTube website.

I found a small silicon mat I had purchased from Stampin’ Up! and forgot all about it until I cleaned out my tool bag. Lo and behold that was one less supply I needed to buy for the class. LOL  I hate to admit but this happens quite often to me; you know, you buy something just because, never use it, and one day you just happen upon it and become quite happy to have found it just in time for a project. Anyway, I broke out the glue gun with one glue stick left and heated it up. I really wanted to make a lot of hearts joined together (see the tutorial) but my glue gun didn’t want to cooperate. It wanted me to make something that would look good with globs of glue. How about a tree??? That worked well. So a tree making I did go.

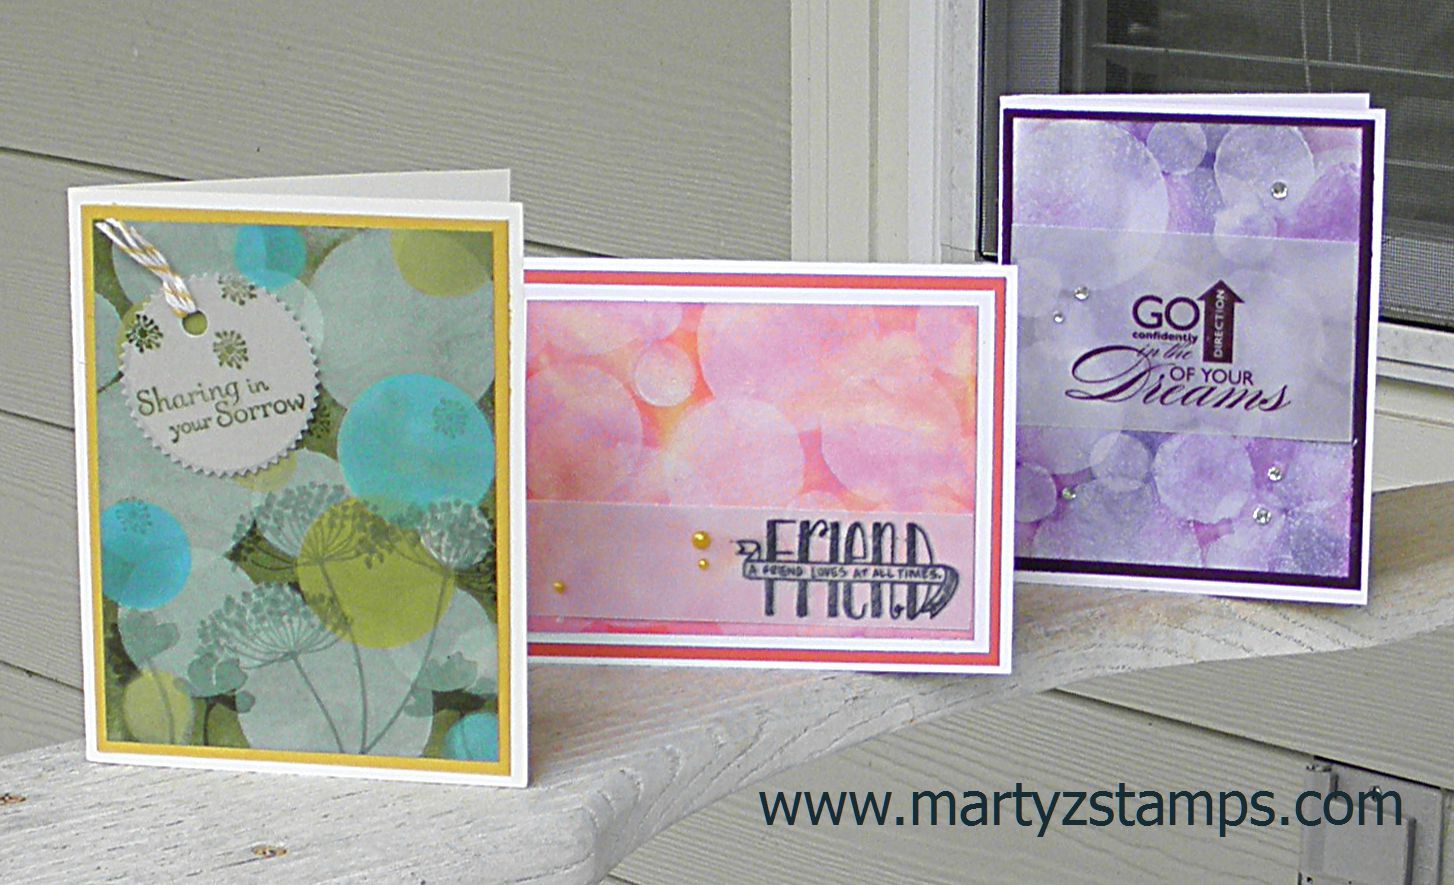
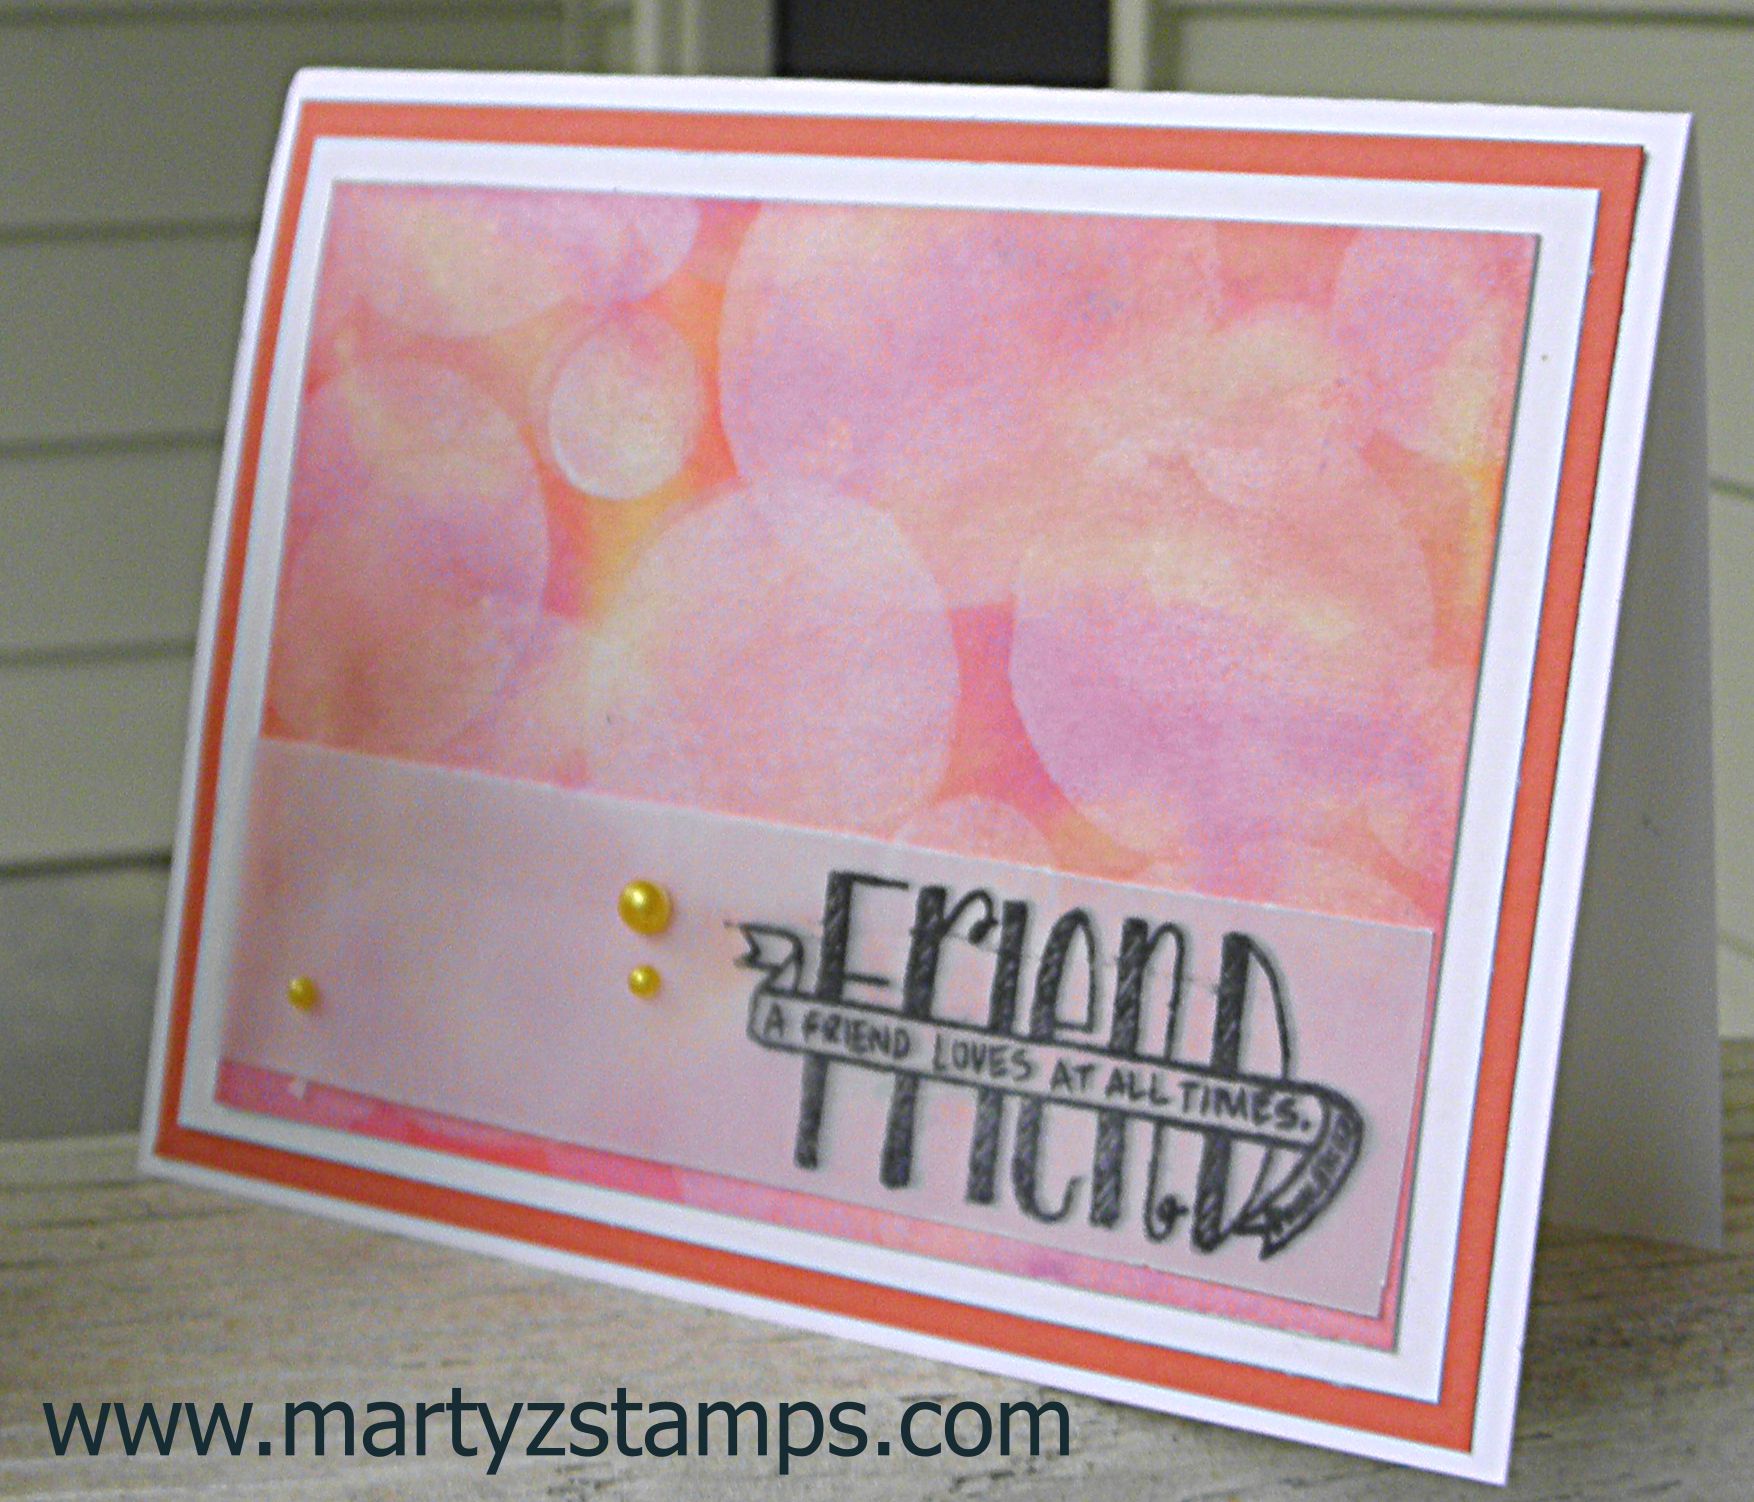
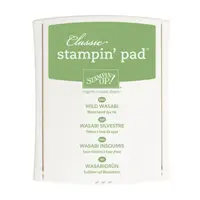
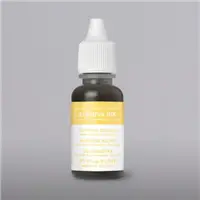
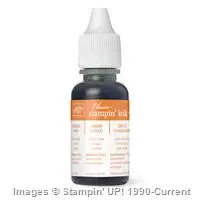
Once I made my tree and let it cool for a few minutes. I made up the ink mist. I had two spritzer bottles and put 1/3 alcohol, 3 – 4 drops of ink, and filled with water (for lighter inks, you might want to put 5-6 drops of ink). I laid the hot glue tree on some watercolor paper and spritzed the yellow at the top and the orange half way down to the bottom of the card. On my next card, I will take something heavy and put on top of the paper so it doesn’t warp (I still can get the edges to lay flat on the mat).  Once the spritzed ink was dry, I sponged some Wild Wasabi on the branches and down at the bottom of the card for grass. I went back with a really, really old SU! stamp set Watercolor Minis and stamped leaves and grass with some flowers. Since the card had a modern/abstract feel to it, I stamped “You are a fabulous work of art” as the sentiment. Here is the card!

Hot Glue Card

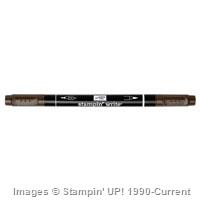
Supplies: not pictured (hot glue gun with glue sticks, SU! Watercolor Minis)


One of my friends asked me to make a birthday card for his wife. I asked him what she liked and he responded her favorite colors were white, navy, and gold and she liked geometrical shapes. I began to think how I could incorporate the geometric shapes into the card design. I remembered geometric shapes were a feature of her wedding decorations and they reminded me of diamond, like the jewel, shapes. I did not have a stamp set of geometric diamond shapes, but I knew where I could purchase one . . . at the Duluth Scrapbook Expo.

My friends Cheyenne, Kevin (she is a female with a guy’s name), Robbi, and her friend Cindy attended the expo somewhat together, meaning Cheyenne and I were together and briefly encountered Robbi and Cindy. Kevin attended the Thursday night Make-n-Take (well worth the $$ spent), and she took a scrapbook class with us on Friday.

Anyway, back to the stamp set. I found only TWO out of a center full of stamps, glitter, ribbon, embellishments, dies, etc., etc., etc. . . . . . I went with Pink and Mains geometric stamp set. Here’s a picture and link to Pink and Main website:

www.pinkandmain.com

www.pinkandmain.com

I got busy and made a blinged out card for his wife incorporating all of her favorite colors and shapes. I used Whisper White as a base, I used SU! Brushed Gold paper, along with Night of Navy, and glimmer paper while embossing the birthday stamped image and the geometric bling shapes with gold embossing powder. I accented the geometric shapes with diamond rhinestones. I posted two different photos but neither one captures the “bling” effect of the gold paper, gold embossing, and rhinestones. Personally, I was very excited to give the card to my friend. I really think this card turned out awesomely well.


Anisha Bday

Anisha Bday

Supplies: (not pictured – Pink and Main stamp set “Bling”

I wanted to complete a Center Step fold technique card this month. I began with a card stock choice of Cucumber Crush and Watermelon Wonder.  I, then, made my cuts and scores and suddenly thought maybe one of the card challenges this week incorporates some of what I was including in the card. I began to browse through the sites of the card challenges I like to submit and low and behold there are my colors with the addition of Night of Navy on the Pals Paper Arts weekly challenge!  So, now, I feel like I’m killing two birds with one stone!!! Yippee!! 6a00e54f95df92883401b7c7a76b46970b-800wi

I think the Night of Navy really adds a lot of dimension as a mat choice. As you can see in the card pictures below, there is a border on the vertical mat at the bottom of the card. This was a case of being given an opportunity to embellish. Yes, I made a boo boo. I scored ALL the way across when I should have scored only to the cut line. I’m really bad at watching and reading directions. LOL

I thought a bright birthday theme with a yummy cupcake would be just right for this card; and, as I was putting the card together, I realized I didn’t have to keep my banners within the confines of the white mat. How liberating! I really love this card.

PPA258 front

I took a picture of the side view so the cuts and folds would be showcased as well.

PPA258 sideview

Supplies: not pictured (Watermelon Wonder and Night of Navy Stampin’ Write Markers, scallop border punch)

Supply List

Built for Free Using: My Stampin Blog

I like Pinterest; no, I LOVE Pinterest. There are SO many awesome card examples along with some amazing techniques. Once I settle down for the evening, I begin pinning and pinning and pinning. I especially LOVE pinning card examples and card techniques. I saw the Bokah technique on several boards and was very intrigued with this technique and the soft, subtle look of cards featuring this technique.

I decided about two month’s ago the April’s Technique Class would feature the Bokeh technique. I knew my group of stampers would love to make a few cards using this AWESOME technique. It is a very uncomplicated technique and there is a wide margin for error. In other words, you really can’t create a “Hot Mess” using this technique.

There were three different variations of this technique I found on Pinterest; thus I decided the class would feature three cards using each variation. Below is a picture featuring all three cards.


Bokeh Technique


This is an absolute “go to” technique to use on cards made for friends and family. I included some up close shots as well.


Bokeh chalk Bokeh Chalk Ink Technique


Bokeh WatercolorBokeh Watercolor Technique


Bokeh Standard Bokeh Standard Technique


Supplies:

Retired Word Play Clear Mount Stamp Set

Price: $29.95

Price: $4.95

Built for Free Using: My Stampin Blog


This was February’s Technique Card Class. This class was canceled twice due to inclement weather.

Tri-fold Cascading Card


Discontinued Supplies: I used a 1/4″ scallop punch from one of the retired itty bitty punch packs for the center part of the flower. A 1/4″ circle would work in place of this punch.  When, I made the sample cards, my Birthday Bash paper had not arrived. On the actual projects Birthday Bash will be used.

Price: $99.95

Supply List

Built for Free Using: My Stampin Blog

This is my FIRST Card Challenge. I found this website http://fusioncardchallenge.blogspot.com and decided to make this my first ever card challenge entry. Here is the challenge:

FusionChallengeMarch24


I took the color challenge and combined it with the sketch challenge to make a fusion of both challenges. One of the cards in my March make-n-take class used a technique where watercolor paper was spritzed with water and the Painted Petals stamps were stamped onto the wet cardstock creating a slight watercolor effect. Without further ado, here is my challenge.

OLYMPUS DIGITAL CAMERA


NOTE: The retired Lace Ribbon Border punch was used.


Built for Free Using: My Stampin Blog

???????????????????????????????This is the first of three designs for the March Make-n-Take Class. My inspiration came from

paperpiecingmemoriesbybabs.blogspot.com . Since I had to use SU! punches to build my bear, it took several hours of making, remaking, remaking again, and remaking again, the hat, the hat rim, repositioning the ears at least three times, etc.  This little fellow did turn out quite adorable.
The supply list is below excluding some retired items as follows: 1/4″ square punch, SU! Kiss Me stamp set for background, the eyes can be punched from the three heart punch or cut using a Cricut.

Supply List

Built for Free Using: My Stampin Blog

PAGE TOP
[dealsbar preview] Amazing Deals: !!toolbar-deal-title!! - !!toolbar-deal-merchant!!