Tag : cards

110 posts

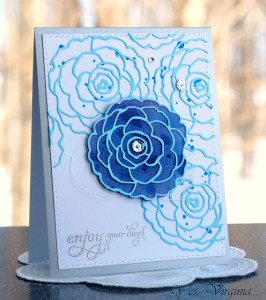
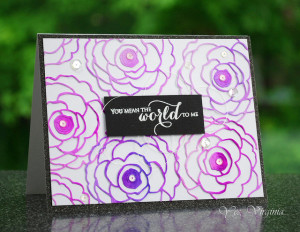
While looking for inspiration for card challenges, I came across Virginia’s View Challenge. I had just completed a monochromatic card for my next make-n-take, and I decided to enter this challenge. She specified Ombre & Monocromatic and gave a couple of examples:

Ombre Monochromatic

Ombre Monochromatic

I think these cards are gorgeous!

For my regular blog readers this card was featured as a Paper Craft Crew Challenge as well (might as well kill two birds with one stone). Here is one of June’s make-n-take cards as well as Virginia’s View Challenge:

Supplies:


Price: $28.00

Supply List

Built for Free Using: My Stampin Blog

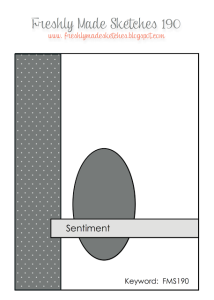
This week Freshly Made Sketches #190 features this card sketch:

FMS Final 190-001

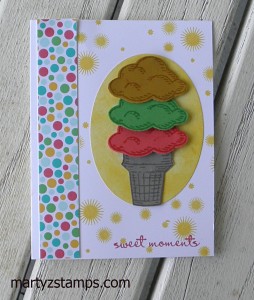
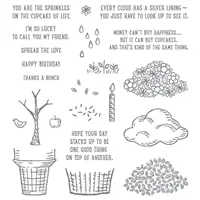
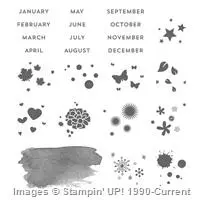
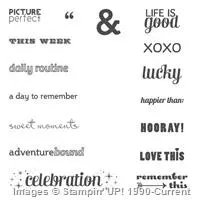
As you will see, I just can’t get enough of the new SU! 2015-2017 In-Colors. For my interpretation of the card sketch, I chose the Sprinkles of Life SU! stamp set and featured an ice cream cone topped with scoops of Delightful Dijon, Cucumber Crush, and Watermelon Wonder. I placed the ice cream cone on an oval mat I created by sponging Daffodil Delight ink onto the Whisper White oval cardstock. I created a background with the sunburst stamp from Perpetual Birthday Calendar stamp set and then accented with a panel of DSP from the Cherry On Top DSP paper stack. “Sweet Moments” seemed an appropriate sentiment from the Project Life stamp set Remember This.

FMS190

Price: $99.95

Supply List

Built for Free Using: My Stampin Blog

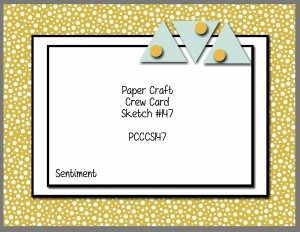
I have missed out on at least the last two Paper Craft Crew Card Sketch challenges due to making wedding invitations with a deadline and going on vacation. So glad to get back to making a card for this weeks challenge:

PCCCS105-159-015-2-300x232

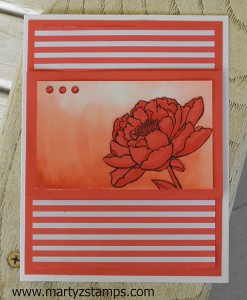
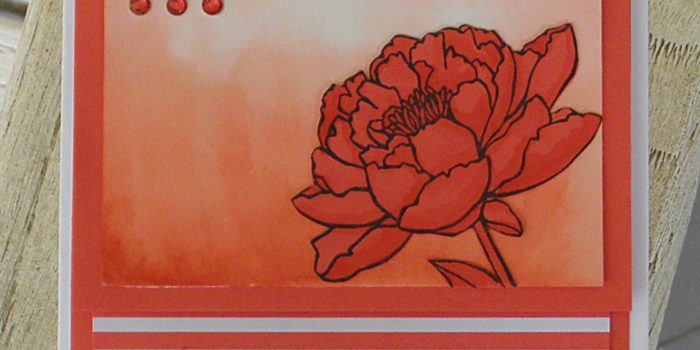
As usual, I started off with a completely different layout and stamp choice for this card than what I ended up making, but I’m really happy with how this card looked once I had changed the stamp choices. I really, really, really LOVE the watercolor technique I used on this card and several other previous cards to make a subtle color transition (this is the initial technique for Bokeh cards, but using only one color and smoothing out any rough transition areas). I chose SU! Watermelon Wonder as my monochromatic color for this card. I’m loving the new 2015-2017 In-Colors!

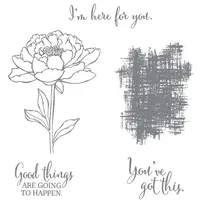
The matted flower was supposed to be laying on a landscape layout, but the OCD in me noticed I had not centered my striped paper and one side of the mat would have a white stripe while the other side would have a red stripe, and I didn’t want to cut anymore paper since I still have to use this paper for my catalog open house event. So, I made the card a portrait layout and placed the matted flower parallel with the stripes; it worked perfectly. I added diamond rhinestones tinted with the Cherry Cobbler Blendabilities marker, but decided to not included any other type of embellishment along with it. I decided to leave off the sentiment as well since everything I tried just didn’t “fit” the card. I almost forgot! I stamped the You’ve Got This flower in Black Staz-On onto a piece of Watermelon Wonder cardstock, and I watercolored shading onto the flower, stem, and leaf. I really love the way this card developed into a stunning card:

PCCCS147Supplies:

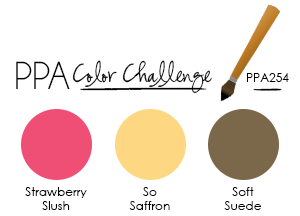
This week’s Pals Paper Arts Challenge is a color challenge:6a00e54f95df92883401b8d121b7dc970c-800wi


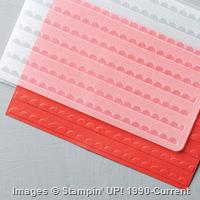
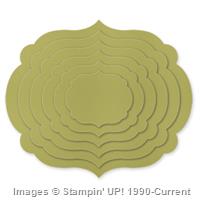
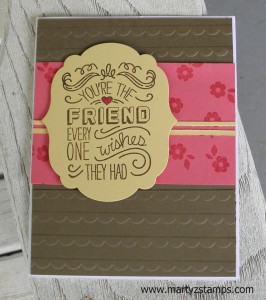
On this challenge I wanted to do something a little different. Instead of stamping on Whisper White or Very Vanilla cardstock, I decided to stamp the sentiment from SU! Friendly Wishes onto a piece of So Saffron cardstock using Soft Suede ink and cut it out using the Labels Framelits dies. I had tried several different looks with the soft suede background mat. I started off just doing nothing to it. It just wasn’t quite right (if you know what I mean); then, I tried stamping the small dot lines from Friendly Wishes in soft suede onto the mat. Yuk! So, I decided to try something else and realized I had used the last piece of cardstock scrap in the size I needed and I didn’t have any full sheets of Soft Suede cardstock. What??? How did that happen? No problem I left the original mat on the card and cut two pieces of Soft Suede cardstock to the width of the card; embossed it with the Scallop embossing folder and adhered the pieces to the Yuk, Yuk piece of cardstock. From there, I stamped a piece of Strawberry Slush cardstock with the flower from the same stamp set using Strawberry Slush ink. The card still needed something, but I didn’t want to detract from the sentiment focal point so I cut two small strips of So Saffron and placed them behind the sentiment (I didn’t have any ribbon that worked with this color challenge). Last but not least, I colored in the heart with the Strawberry Slush Stampin’ Write marker. And, here it is:

PPA254

Supplies:

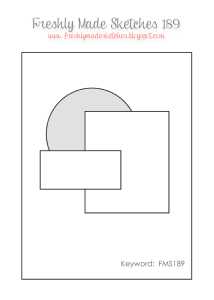
Freshly Made Sketches #189 is a great sketch to feature the new Stampin’ Up! In-Colors along with the new Envelope Paper.

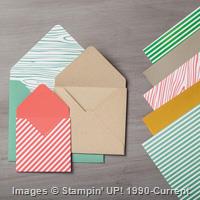
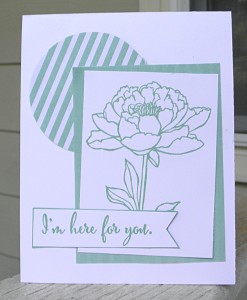
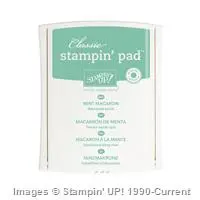
FMS Final 189I am having an SU! catalog open house and I wanted a clean and simple card to showcase the new 2015-2017 In-Colors. I used the striped side of the Mint Macaron envelope paper for the circle; then, I stamped the flower from You’ve Got This in Mint Macaron on Whisper White and matted the stamped image askew onto a solid piece of Mint Macaron. I added a sentiment from You’ve Got This in Mint Macaron on a Whisper White banner. Very monochromatic. I plan on using this card sketch and duplicating this card in all of the five new In-Colors as a quick make-n-take at the catalog open-house. I’m sure all of my stampers will LOVE this design as well as the new In-Colors and stamp sets I will be featuring.

FMS189

It has been a while since I have posted anything. I have been quite busy!!!! One of my daughter’s friends from Master’s Commission ATL at Victory World Church is getting married in July. She had asked Rebekah (my daughter) if I could give her a price for making wedding invitations. I said, o.k. But, I said I would do a digital one on MDS (My Digital Studio) for her because making invitations takes a lot of time. So, I worked on a digital version for her and I was never happy with the results; plus, Rebekah and her family moved in with us due to an apartment issue and it was just CRAZY around here! I ultimately suggested to the bride-to-be an online digital company that specializes in wedding invitations, because I just didn’t have enough time to do the project justice. Well, that company wanted to charge a ridiculous fee for postcard type invitations. So, I said let’s do it; we’ll just make them.

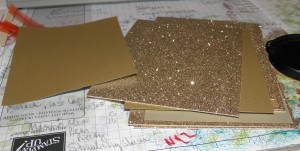
Thus, it started. I ordered the paper for 250 invitations as well as going to Hobby Lobby for specialty paper (SU! is no longer offering the gold matte paper and it was already sold out from the retired list). Once the paper was ordered, I began with printing out the main wedding portion of the invitation along with the reception location since I had Whisper White cardstock on hand. I was able to make a few of the envelope/card portions as well. Needless to say, there were a few revisions along the way.

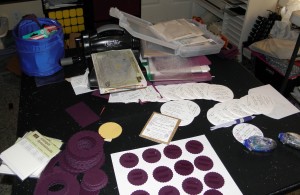
The paper came in on a Wednesday and the bride-to-be came over to help work on the invites all day Tuesday prior to the paper arriving. Wednesday the paper came in and I printed, printed, printed, and cut, cut, cut, and stamped, stamped, stamped. She came over again on Thursday, and we worked ALL day on the invitations. On Friday, we had help from one of the bridesmaids and the bride’s sister. We worked ALL day. Saturday and Sunday we relaxed and worked ALL day again on Monday. The bride came back over on Tuesday and we worked all afternoon pulling it all together.

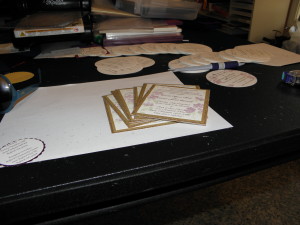
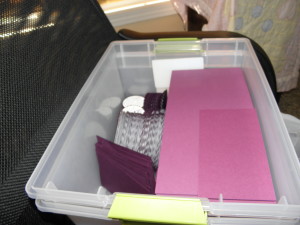
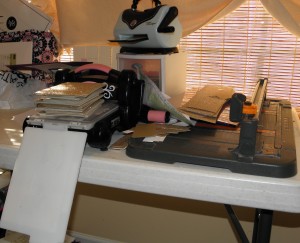
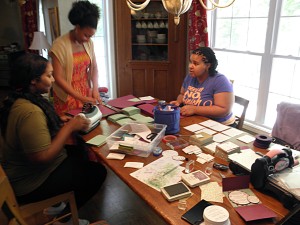
Here are some pictures of the Friday we worked on them:
Wedding Invites


I almost forgot, the bride-to-be and I still worked Wednesday afternoon (if I remember correctly – it’s all a blur). We were all, definitely, exhausted. In fact, I slept pretty much all day and evening Thursday after my hair cut appointment. I was still tired Friday morning and had a lot of errands to run before we leave on vacation.

I couldn’t have been happier with the results and here is the Wedding Invitation with the Traditional Nigerian Wedding insert which family and bridal party received.
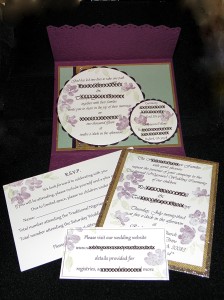
Wedding Invite

Note: I blocked out the names and locations of the bride, groom, and family for their privacy.

The base of the invitation is the envelope. I cut a piece of Rich Razzleberry to 11″ x 5 1/4″. I took the left over piece of cardstock and cut it to 3.25″ x 5 3/4″. I then took the larger piece and scored it at 2 1/2″ and 7″, and the smaller piece I scored at 1/4″ on three sides to create the pocket at the bottom of the envelope to hold the r.s.v.p. card, the website information card, and the Traditional Nigerian Wedding ceremony information.

I was able to cut three each of the circles and scallops at a time, but each circle was stamped individually (of course); that’s 250 x 2 sets of circles (500). The same is true for the r.s.v.p. card and the website information card. There were only 175 Traditional Nigerian Wedding invitations. The picture above is for my portfolio and I added some bling to it as well as the bride’s invitation with some pearls. Of course, the picture doesn’t do the invitation set justice. Once the wedding is over, I’ll add some pictures without the blocked information with individual pictures as well of each insert.



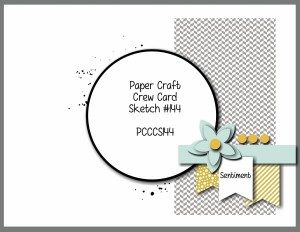
I have really been having a great time playing with all the Card Challenge websites. One of my favorite sites is Paper Craft Crew. This week the team is featuring a card sketch.

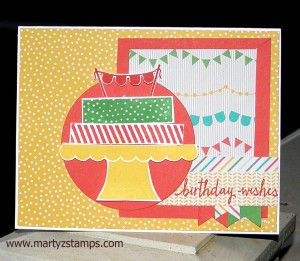
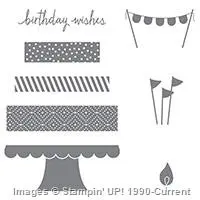
PCCCS144sketchI wanted to focus on a new SU! product this challenge and decided to use SU! Build A Birthday stamp set along with the new paper stack and In Colors. I managed to finish right before it turned dark and got a quick snapshot of the card. Oddly enough, the flash caused the surrounding background to appear black as if it were night-time. Here is this week’s entry:

PCCCS144

I think this is a fun, cute card sure to make anyone happy on their birthday. Enjoy!

Supplies:


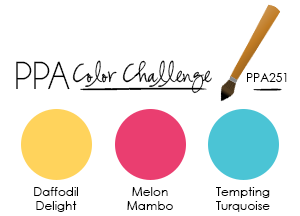
Pals Paper Arts 251 challenge this week is a color challenge featuring Daffodil Delight, Melon Mambo and Tempting Turquoise.

PPA251

These colors are part of the Bold Brights. which happens to be my favorite SU! Color Collection. As you can see from previous posts I tend to gravitate toward bright colors unless a card/color challenge specifies something different.
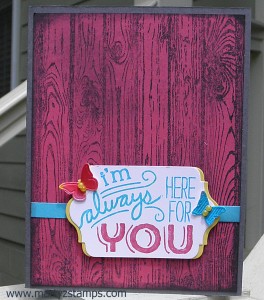
I’m sure all of you papercrafters have this dilemma quite often, you have a shelf/shelves full of stamps and you can’t find a stamp that really works for what you’re trying to create on paper. I finally settled on one, the new SU! stamp set Friendly Wishes. It just seemed to fit the card. I took the Melon Mambo cardstock and stamped on it with the Hardwood background stamp in Basic Gray to mute the Melon Mambo and allow the word phrase to stand out. I used markers to color in the areas of the stamp and then accented it with a Daffodil Delight mat and butterfiles cut from watercolor paper that had been water washed and the featured colors (ink dyes) applied directly to the paper. I accented the butterflies with pearls colored with my Daffodil Delight Blendabilities marker (the medium shade). I think this card says it all for a special friend or family member.

PPA251

Supplies:

Note: I used Melon Mambo and Tempting Turquoise Stampin’ Write Markers to ink directly to the rubber stamp.

I also used the retired butterfly embosslit folder.

Supply List

Built for Free Using: My Stampin Blog

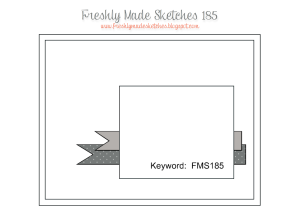
Freshly Made Sketches #185 is a card sketch this week:

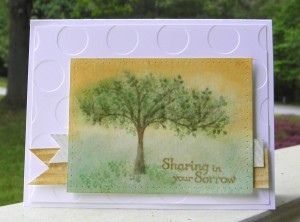
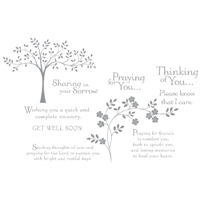
FMS Final 185-001In a previous post, I had mentioned wanting to make a sympathy card, but the card for that challenge turned out to be a Father’s Day card. I have successfully completed a sympathy card for the FMS185 Card Challenge. I really think the SU! Thoughts & Prayers stamp set is fitting for sympathy and get well occasion cards. I chose the tree and the sentiment “Sharing in your Sorrow.” I went with a color combo of Baked Brown Sugar, Hello Honey, and Pistachio Pudding. It took me two efforts to make the watercolor tree portion. This was due to the fact, I usually have “ants in my pants” and can’t wait for the paper to fully dry; therefore, the inks tend to smear easily where I don’t want them to smear.

Here is the card I made:

FMS185Supplies:

Note: Some reinkers and stampin’ write markers are not showing up on the supply list. I used Baked Brown Sugar, Soft Suede, and Pistachio Pudding Stampin’ Write Markers and the Pistachio Pudding re-inker.

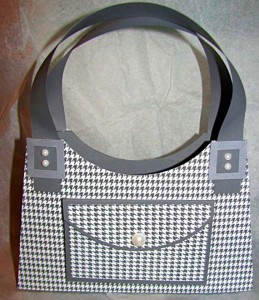
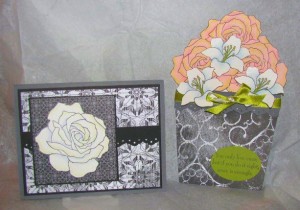
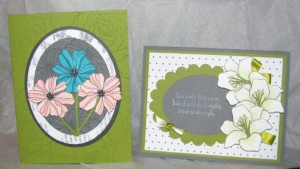
In a previous post, I mentioned our group of stampers has had an annual stamp camp focusing on Christmas cards and giftables. This throwback goes back to our 6th Annual Christmas in the Woods Stamp Camp. My friend and sometime co-designer, Cheyenne Luken, would help me prepare for this event for more than one stamp camp. As a thank you gift, I would make her something special. She really likes 3D projects; so, I found a tutorial on Inking Idaho and made her a purse along with a set of cards to go with it.

She was really excited to receive this set as a gift. I enjoyed making the set because I tend to like 3D projects that are challenging. Here are several pictures of the finished project:

TBT Stamp Camp 6 A


TBT Stamp Camp 6 B


TBT Stamp Camp 6 CEnjoy!

PAGE TOP
[dealsbar preview] Amazing Deals: !!toolbar-deal-title!! - !!toolbar-deal-merchant!!