Y’all it’s time again for the FSJ + SB Creative Design Team Blog Hop and I have a surprise for you. I am stepping out of my comfort zone and creating some quick and simple cards that can be used for Valentine’s Day, Anniversary or just to say you care about someone special.
One of my favorite sets is in the spotlight, Perfect Atoms Stamp Set and Dies (SS-0457 and DI-0315), along with, You and Me die (DI-0159). There are endless possibilities with these sets. Where the fun of creating never stops!
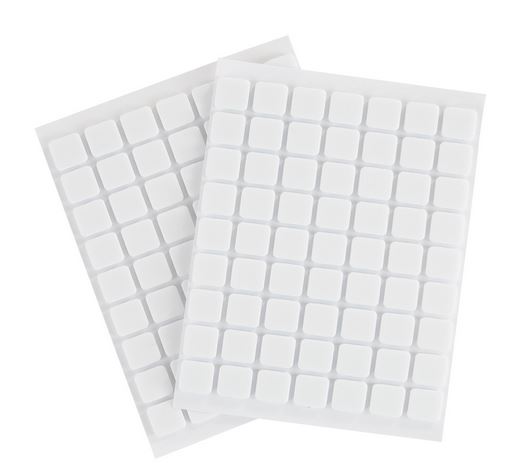
The first card is all about lighting up someone’s world. I pulled out a scrap of Whip Cream cardstock, rubbed a little Lemon Drop Fusion ink onto two areas. I die cut one of the colored pieces with SB Nestabilities Fancy Edged Rectangles Dies (S4-905) and stamped the light bulb image onto the other using Black Licorice Fusion ink and die-cut it out with the coordinating die. Of course, the bulb had to have a little Journey Glaze to give it that sleek shiny look of glass. The base is Whip Cream with the die cut mat adhered directly to the base. The light bulb is popped out with FSJ Medium Foam Squares. I stamped the sentiment in the bottom right hand corner and highlighted the would light with a FSJ Color Burst pencil (any yellow will do).

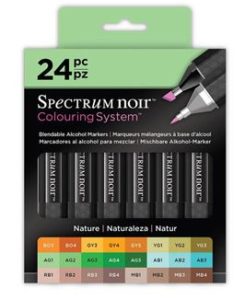
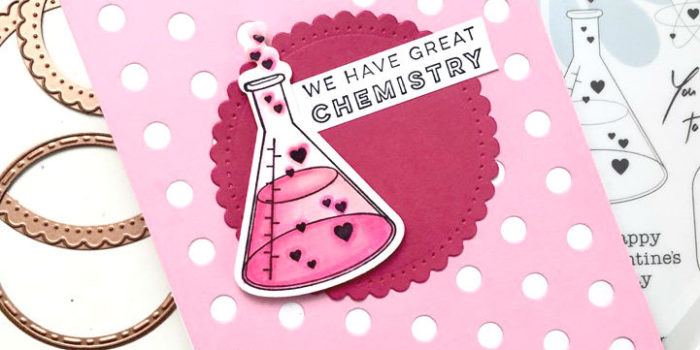
The next card is all pink. The base is Whip Cream with a Bubble Gum cardstock mat die-cut from Lots of Dots Die Set (DI-0424) and adhered directly to the base mat. The scalloped circle is die cut from Sweet Berry cardstock with the Nestabilities Fancy Edge Circle Dies (S4-903). The flask and sentiments were stamped with Black Fusion ink onto Whip Cream cardstock and the flask is colored with Spectrum Noir alcohol markers.

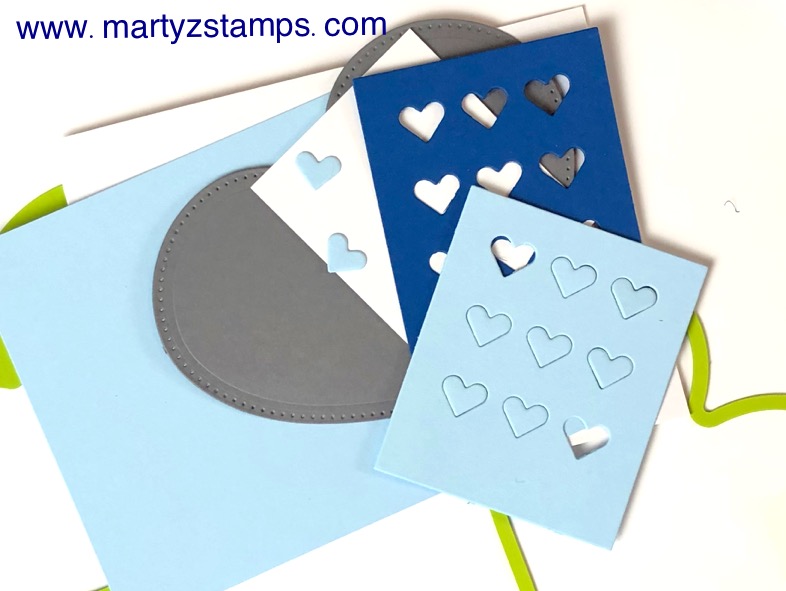
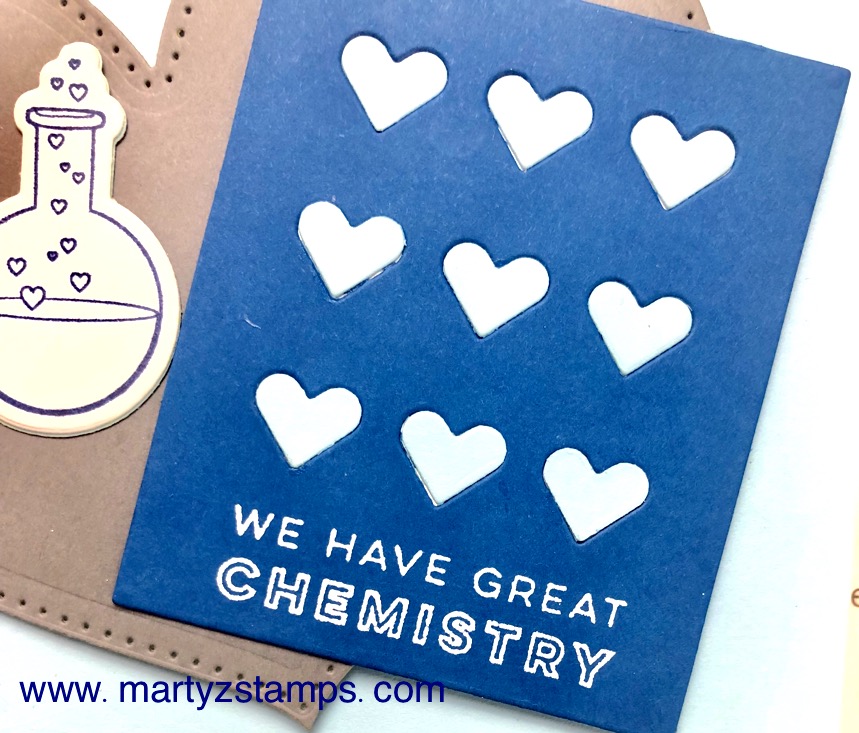
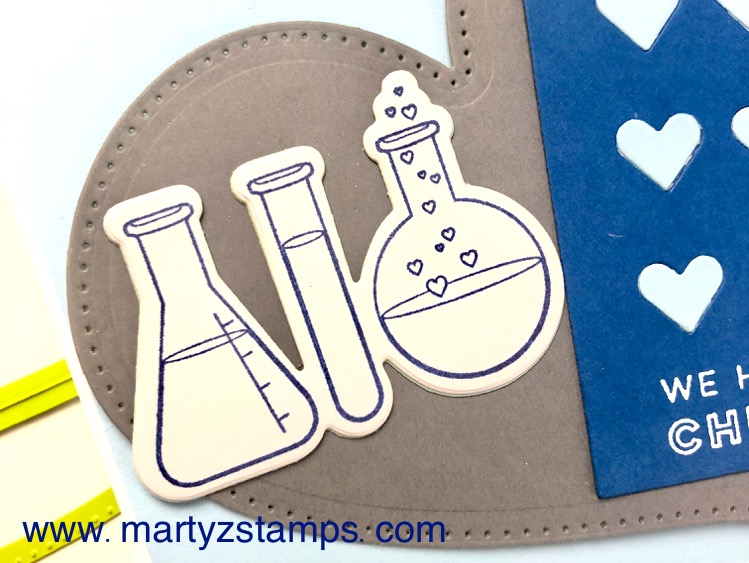
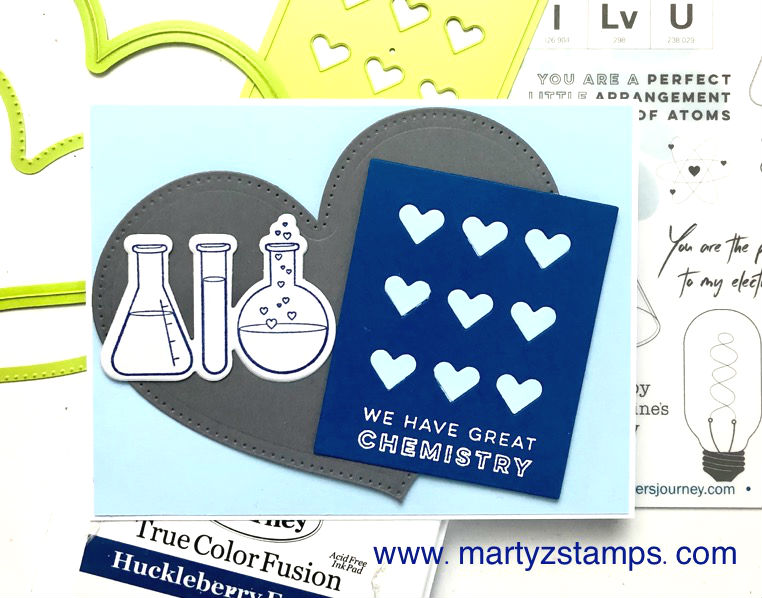
Now, we can’t have a pink card without a blue one, can we? This card is on a Whip Cream base with a Pool Play mat. The heart is die-cut with the Heart Felt Die and Piercing Elements Sets (DI-0033 and DI-0096) from Riverstone cardstock. The accent piece is die cut from Huckleberry Fusion cardstock using the Bunch of Hearts Die Plate (DI-0501). I adhered a piece of scrap white paper behind this die-cut piece and cut a second panel from Pool Play cardstock. I took the hearts from the second cut and enlaid them into the cut out hearts portion of the Huckleberry Fusion panel. The sentiment was stamped with Whip Cream ink and embossed with white embossing powder. The flasks were stamped using Huckleberry Fusion ink onto Tin Pail cardstock. The heart and panel are popped out with medium foam squares.
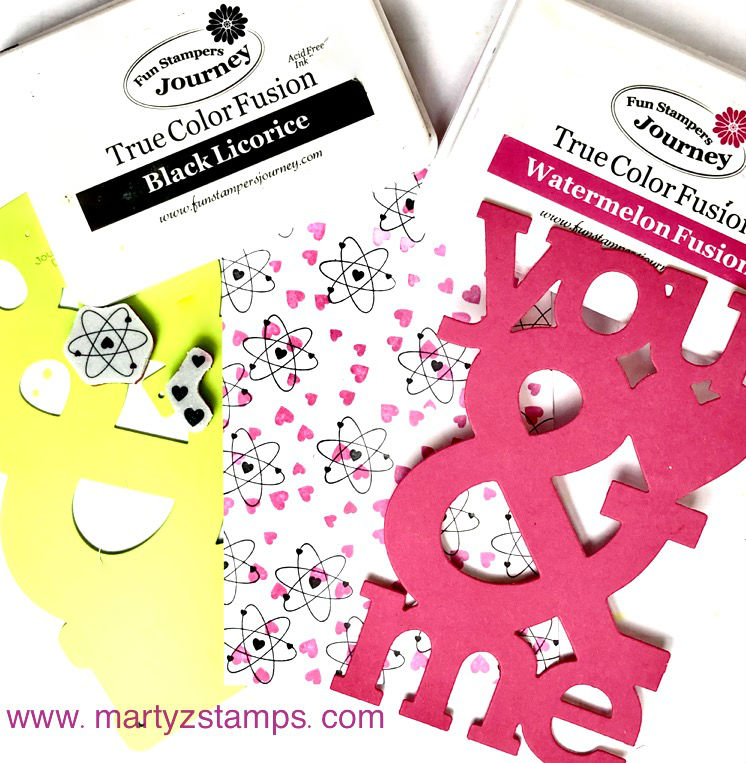
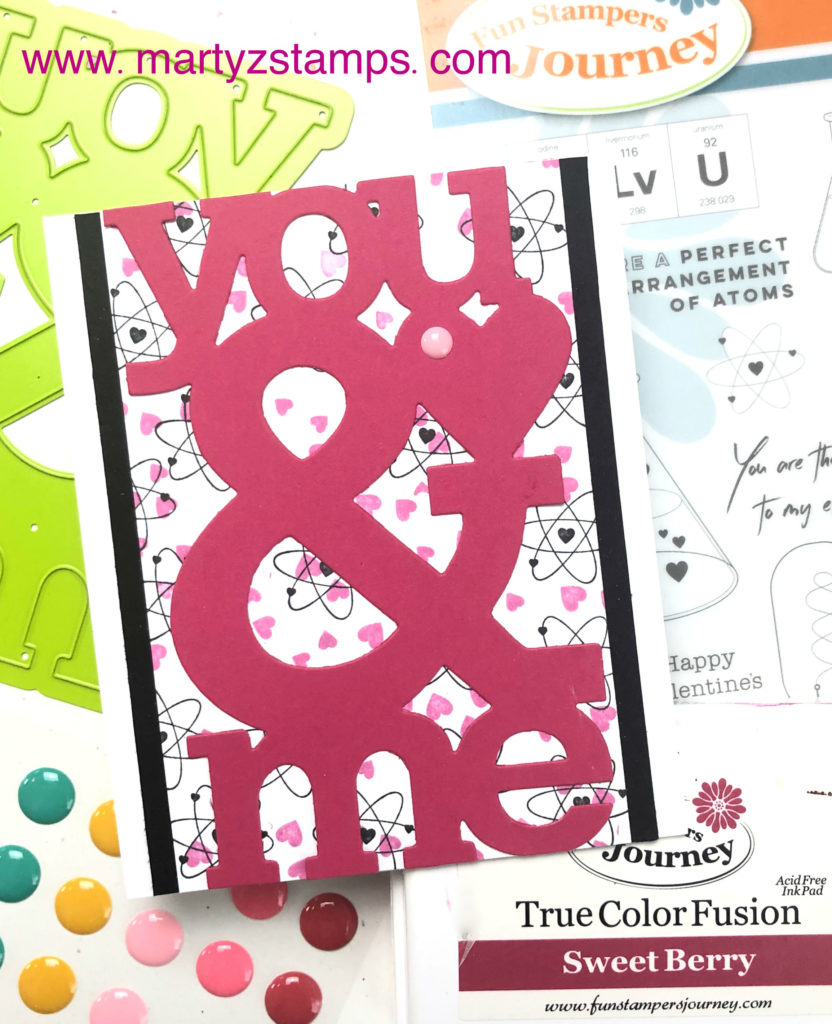
Last but not least is the adorable You and Me card. The base is Whip Cream cardstock with a Black Licorice Panel. To create the stamped background, I stamped the atom image onto Whip Cream cardstock using Black Licorice ink. I took the small cluster of hearts and stamped them all over using Sweet Berry ink. The You and Me sentiment is die cut from Sweet Berry Cardstock with a Bubble Gum pink Candy dot accenting the heart. All pieces are adhered directly to each other. No foam squares on this one! I can’t believe it, either. Note: This card is slightly shorter. I wanted the die cut sentiment to touch the top and bottom of the card. The finished dimensions of the card 5 1/8″ x 4 1/4″.
Let me know in the comments if this has inspired you to create some quick, simple and clean follow your heart cards for those special someones in your life.
If for some reason you get lost while hopping down the FSJ Creative Team Blog Hop trail, just click here and you will be directed to the FSJ blog.
Supplies:

- Perfect Atoms Stamp Set
- Price: $20.95
- Sku:SS-0457

- Price: $18.95
- Sku:DI-0315

- Price: $19.99
- Sku:S4-911

- Price: $19.99
- Sku:S4-905

- Price: $18.95
- Sku:DI-0424

- Price: $24.95
- Sku:DI-0033

- Heart-Felt Piercing Dies
- Price: $19.95
- Sku:DI-0096

- Price: $12.95
- Sku:DI-0159

- Price: $6.95
- Sku:CS-0040

- Price: $6.95
- Sku:CS-0003

- Price: $6.95
- Sku:CS-0099

- Price: $6.95
- Sku:CS-0034

- Price: $6.95
- Sku:CS-0092

- Price: $6.95
- Sku:CS-0015

- Price: $6.95
- Sku:CS-0094

- Price: $6.95
- Sku:CS-0147

- Price: $7.95
- Sku:IP-0043

- Price: $7.95
- Sku:IP-0041

- Price: $7.95
- Sku:IP-0035

- Price: $7.95
- Sku:IP-0009

- Price: $7.95
- Sku:IP-0029

- Price: $79.95
- Sku:JM-0077

- Price: $7.95
- Sku:TO-0138

- Price: $5.95
- Sku:IP-0098

- Price: $5.95
- Sku:AC-0275

- Price: $9.95
- Sku:AD-0002

- Price: $2.95
- Sku:AD-0085

- Price: $6.95
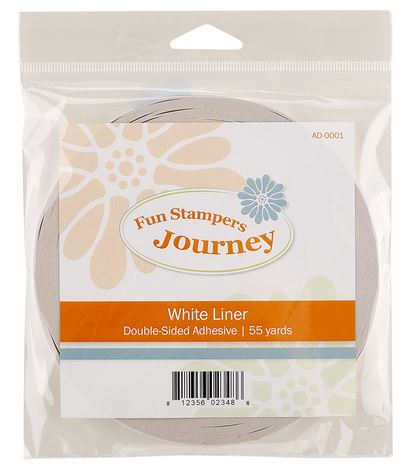
- Sku:AD-0001