In a previous post I had mentioned posting about my experience at the Scrapbook Expo 2016 in Duluth, GA. It was an awesome time of fun and shopping with some close friends. It all began Thursday afternoon at 3:00 p.m. The doors opened for the Mega Make-n-Take. We were there waiting in line to get in and save some tables for our group. The actual make-n-take didn’t start until 5:00 p.m. The cost was $45.00 and it was well worth the cost. Each attendee chose a free gift just for attending the make-n-take. I chose the glitter.
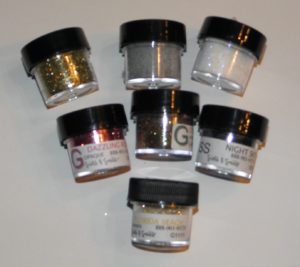
My friend, Cheyenne, chose the glitter as well, but she received bold and bright colored glitter.
The friends at my table, Cheyenne Luken, Debbie Kissel, and Kevin Kesler got settled in to begin the make-n-take. The following pictures and descriptions are not in order of when they were made.
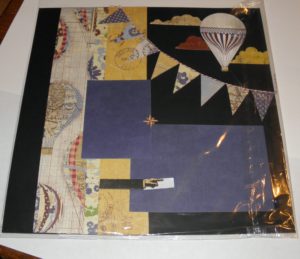
JustRite Stamps started off the night with a scrapbook page. I thought it turned out well even though these are not my favorite colors.
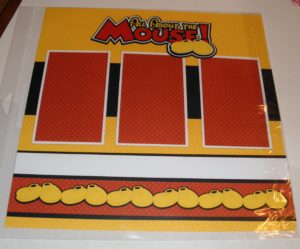
We made a laser cut All About the Mouse by Paper Wizard, Inc. It is adorable.
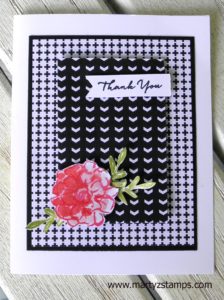
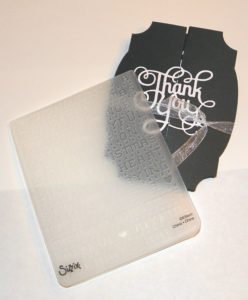
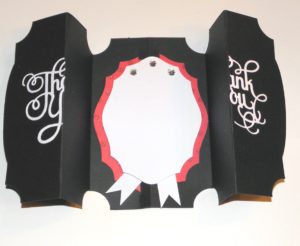
The next item is a fancy Fold-A-Long Thank you card by It’s Cheaper Than Therapy. This company sells Sizzix dies, machines, and anything Sizzix. I put my Thank You in the wrong place and when it opens up, it looks a little odd. We, also, received an embossing folder. My folder was Christmas themed.
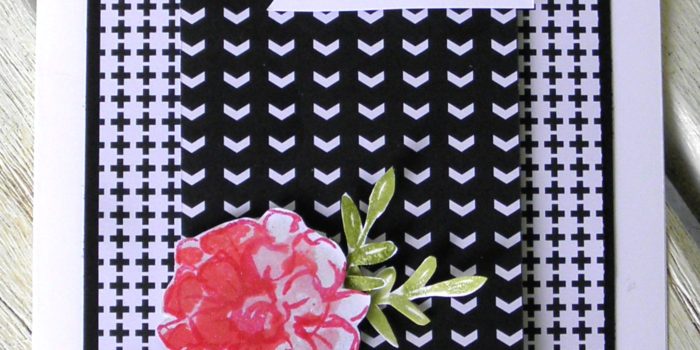
We made another card from Scrap That! It came with a free chalk marker and a selection of sequins.
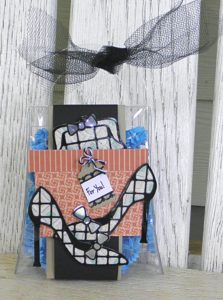
Krazy Kreations had a really cute gift purse with shoes accenting the front. Love it!
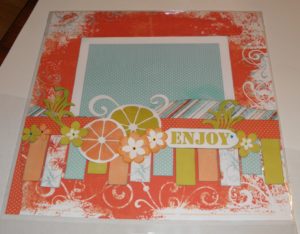
Last year Cheyenne, Kevin, and I attended the A to Z Scrapbook workshop and really loved their products. They were at the make-n-take and we created a scrapbook page entitled Enjoy. I ended up giving this page to a friend for her birthday along with one of the pages I made last year since the pages were from the same kit.
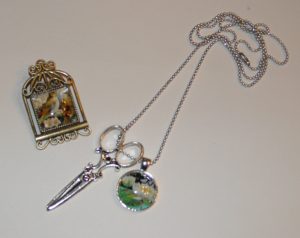
Craft Fantastic was here again this year. We made a pendant and a necklace. These are so easy to make and look so elegant.
I can’t show the Doo Dilly Design scrapbook page embellishment, because I messed mine up and then threw it away. Boo Hoo! It was really cute!
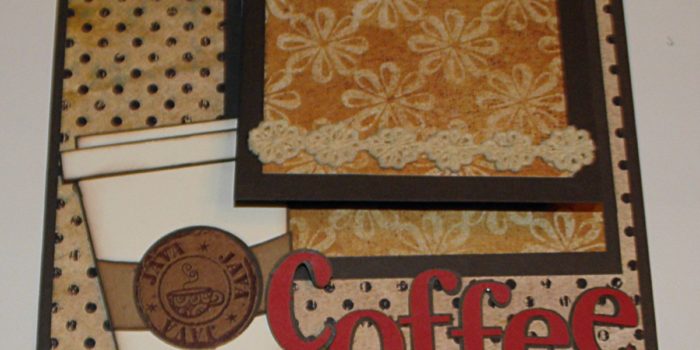
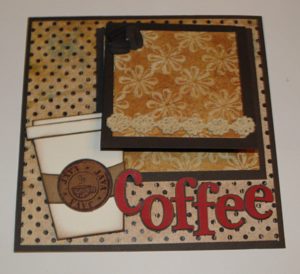
Shoestring Productions had a 6×6 coffee layout. This company has incredible laser cut page kits at a reasonable price.
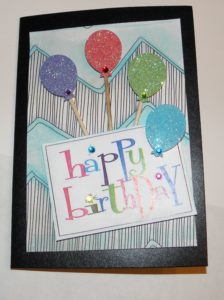
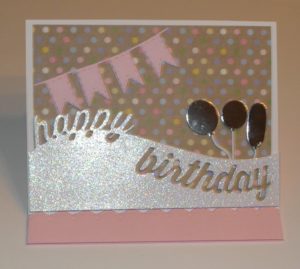
Loved, Loved, Loved this Happy Birthday Easel Card by Craft Fancy.
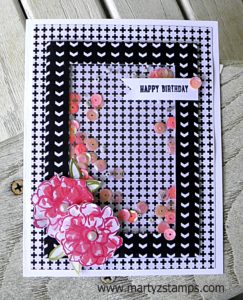
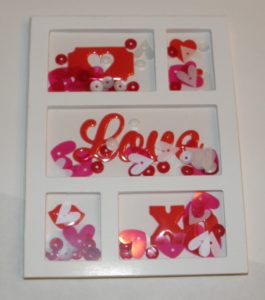
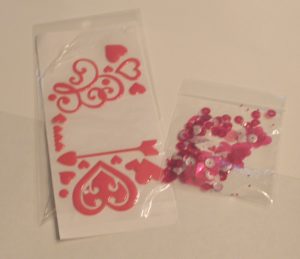
Queen and Co. had a fantastic shaker card to make and we walked away with extra sequins and epoxy embellishments.
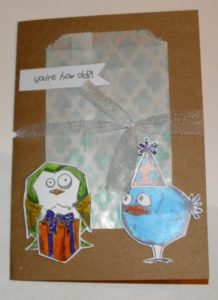
We did a Crazy Bird Birthday Card by Bee Creative. Everyone received a Spectrum Noir glitter/sparkle pen. My pen was purple!
All of this fun ended at 11:30 p.m. I didn’t get home until 12:00 midnight!

